Urgh! these bags did my head in. If you a regular sewer/dressmaker, this bag goes against all the rules. Cut out two indentical pieces, rather than opposits. Sew with wrong sides together, rather than good sides. I got so confused. I'm still a little mad at this bag. That's good, keeps me on my toes. But when you get it right these bags look spectacular, great for filling with all sorts of Easter goodies.
Stick with me on this one. This is not a difficult bag to make, but it is complicated to explain, one of those things where its easier to show and describe in person.
Oh, and I have used a sewing machine in this tutorial but you don't need to, handsewing would work well. All sewing lines and rough outer edges are visible in this bag.
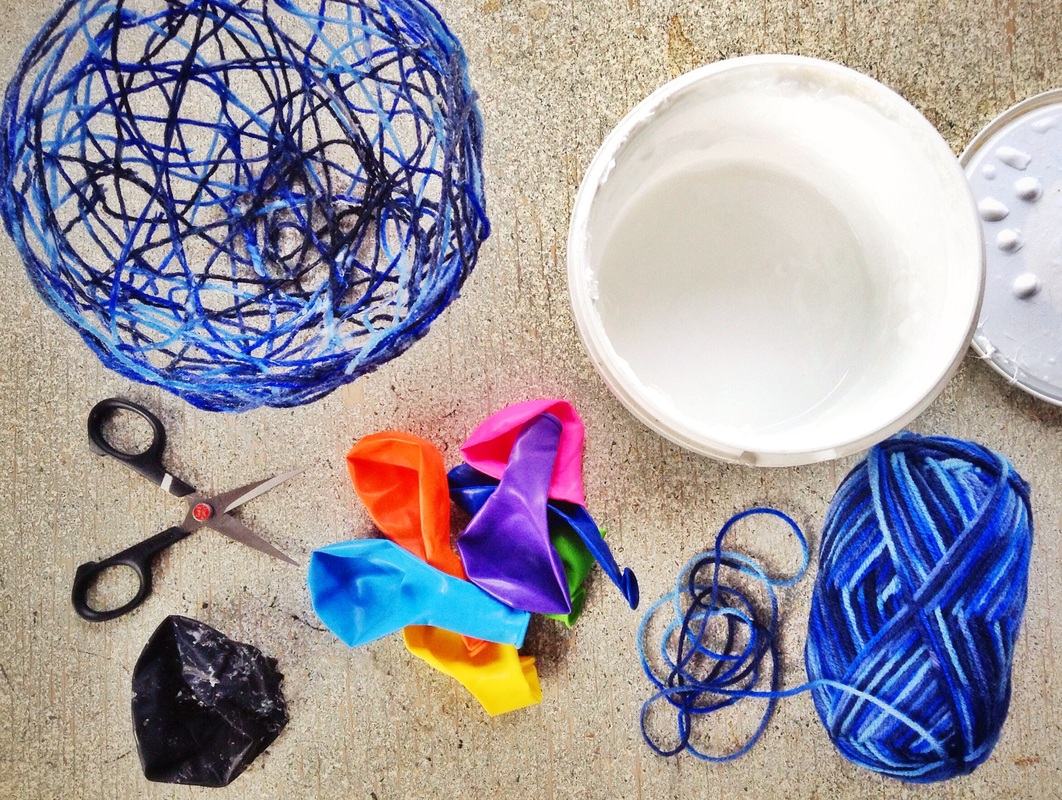
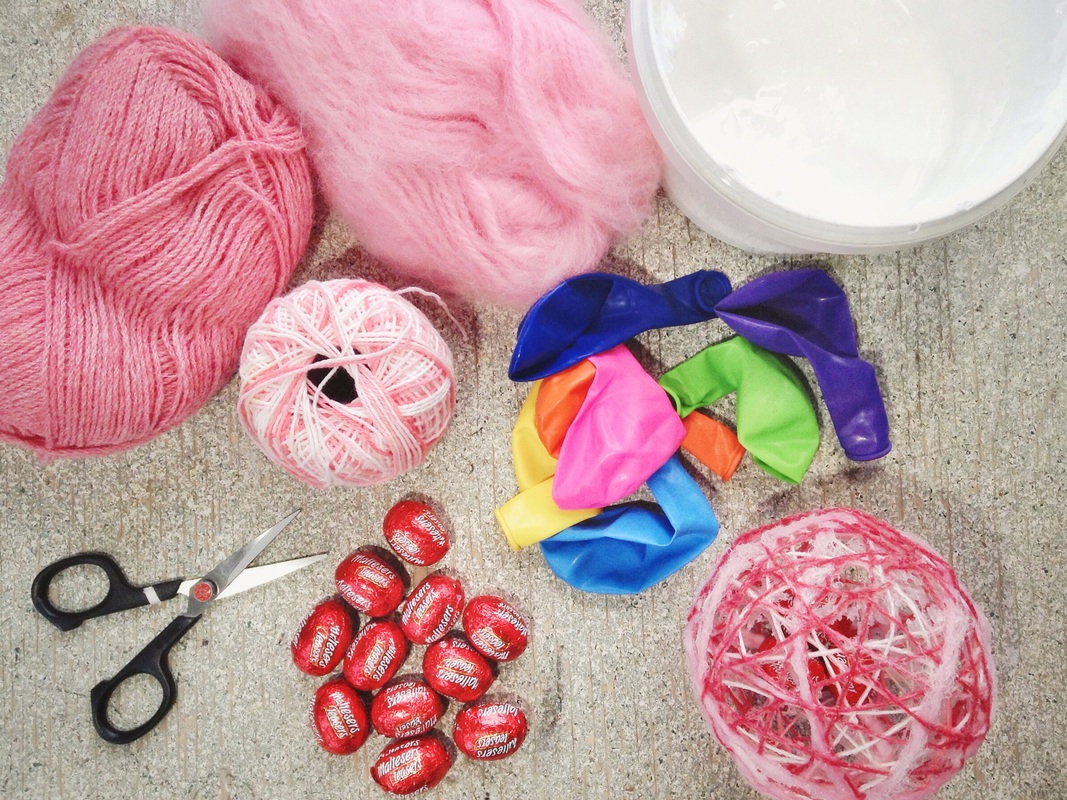
YOU will need
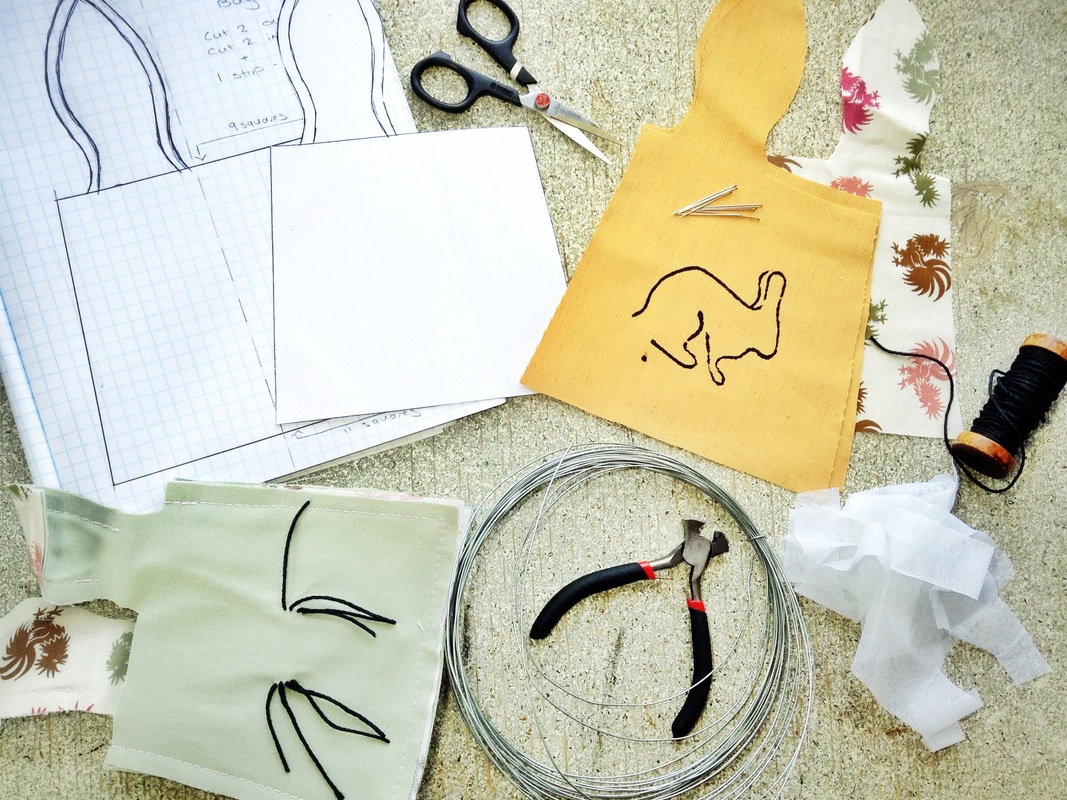
- Fabric (a thick cotton)
- Lining fabric
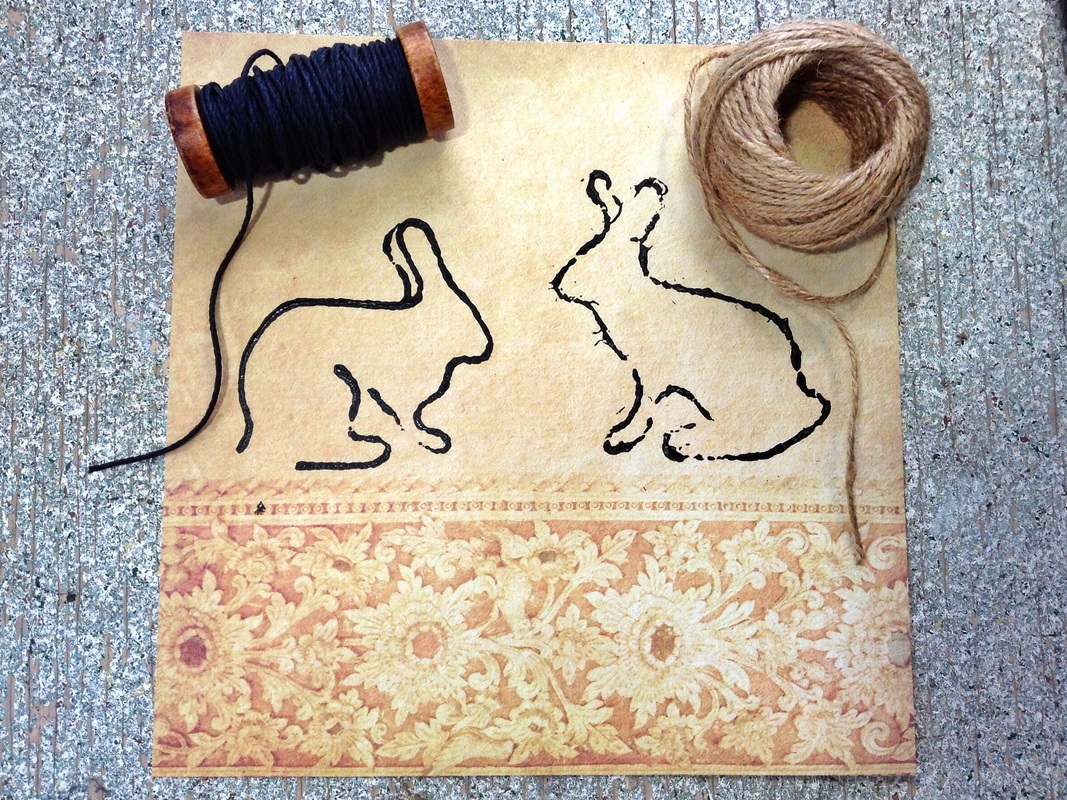
- Twine
- Wire
- Thread
- Interfacing
- Lining fabric
- Twine
- Wire
- Thread
- Interfacing
Making the pattern
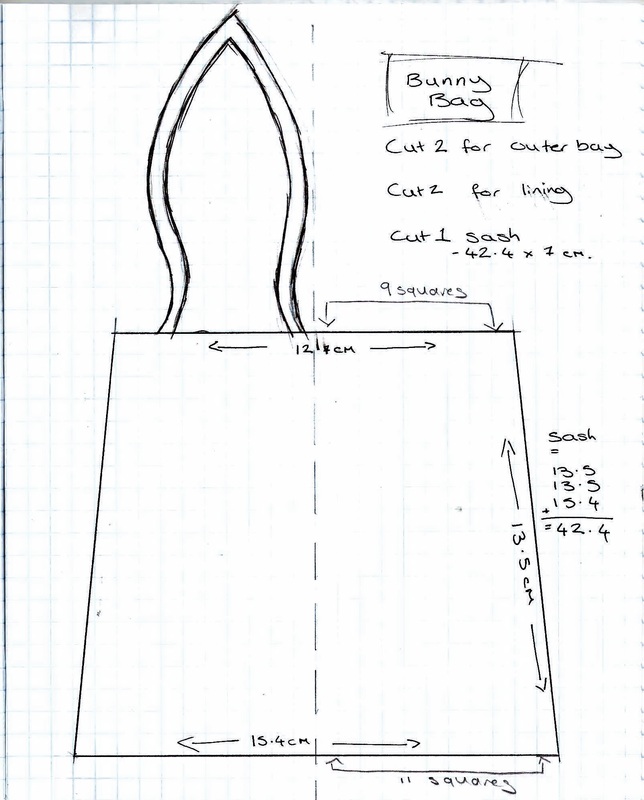
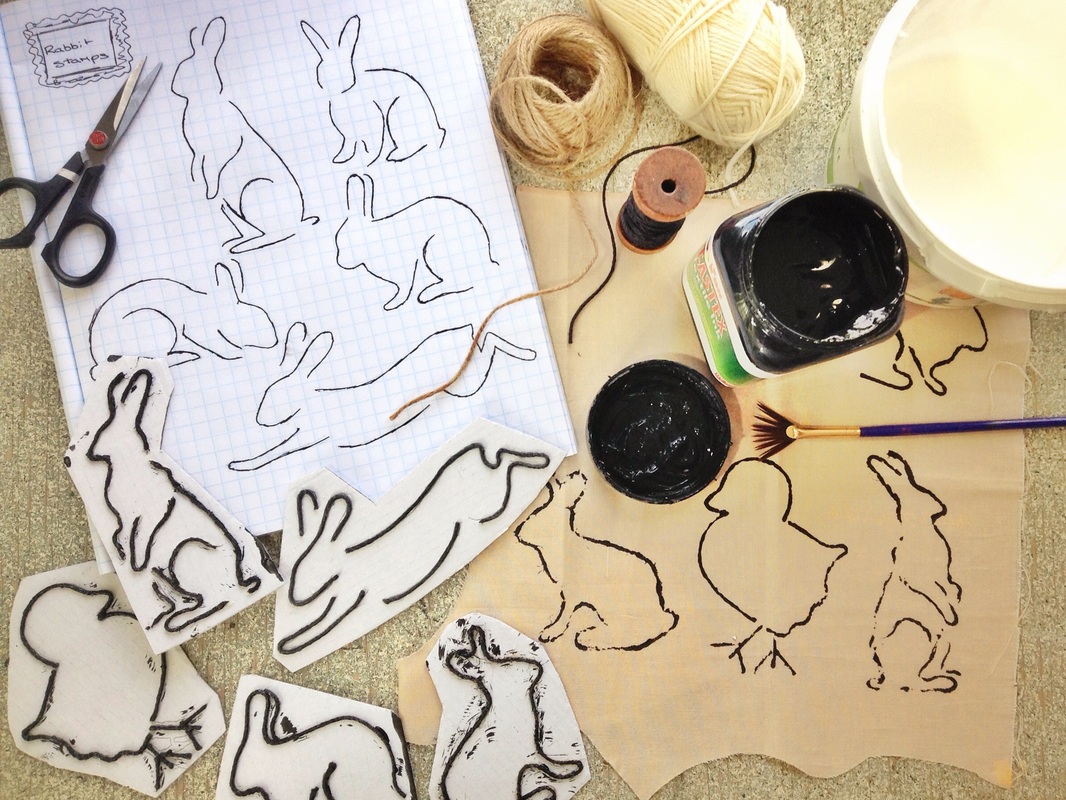
Above is a the page I scanned out of my checked/lined math book, where I draft most most of my patterns.
First off you want to make/draft out the main body of your bag.
Basically you want to draw a trapezium, at any size you like.
Draw a rabbit ear on one side.
And that's your pattern
I made my pattern in a checked math book, you can see the scan above.
My bag measures 12.7cm along the top. 15.4cm at the bottom. 13.5cm down the side. Symmetry is important in this bag so get your ruler out.
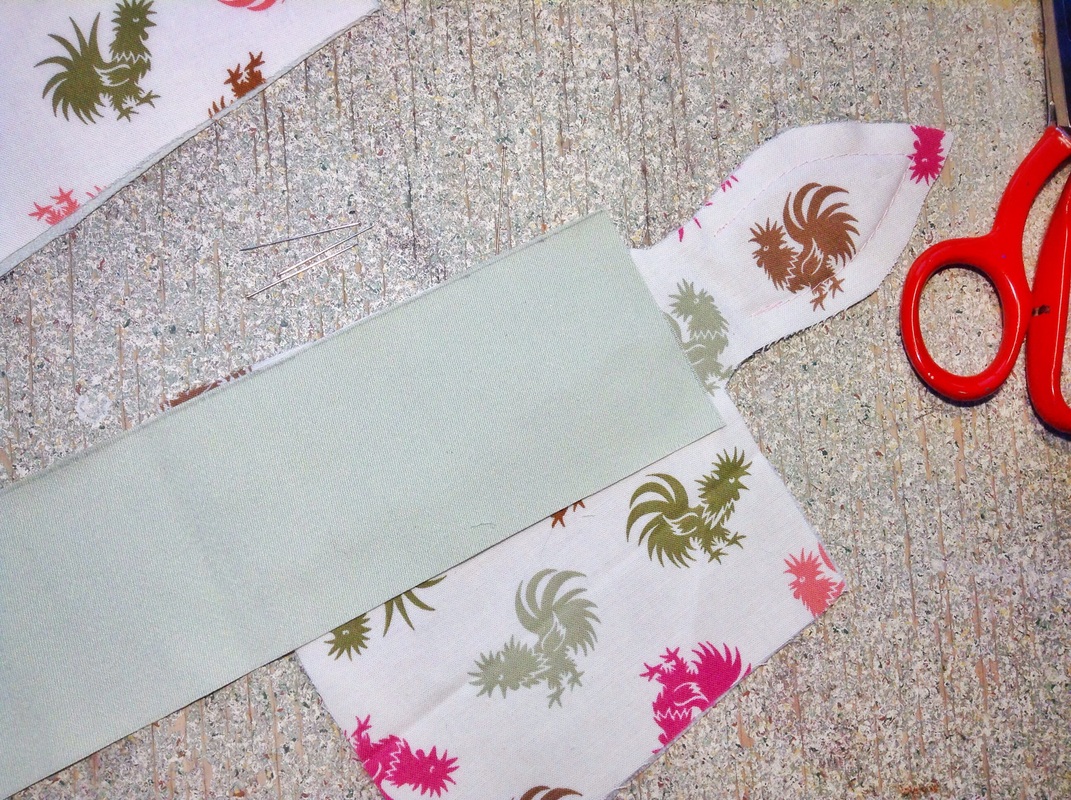
Of the main bag piece (above) you will want to cut two outer bag pieces and two lining pieces.
You will also want a sash.
To find out the length of the sash add up the length of two sides and the bottom on your bag pattern.
For me that's 13.5 + 13.5 + 15.4 = 42.2cm
42.2cm is the length of my sash, and I decided that it would have a width of 7cm
- The sash could be any length you like, its all dependent on how wide you want your bag to be.
First off you want to make/draft out the main body of your bag.
Basically you want to draw a trapezium, at any size you like.
Draw a rabbit ear on one side.
And that's your pattern
I made my pattern in a checked math book, you can see the scan above.
My bag measures 12.7cm along the top. 15.4cm at the bottom. 13.5cm down the side. Symmetry is important in this bag so get your ruler out.
Of the main bag piece (above) you will want to cut two outer bag pieces and two lining pieces.
You will also want a sash.
To find out the length of the sash add up the length of two sides and the bottom on your bag pattern.
For me that's 13.5 + 13.5 + 15.4 = 42.2cm
42.2cm is the length of my sash, and I decided that it would have a width of 7cm
- The sash could be any length you like, its all dependent on how wide you want your bag to be.
Don't add a seam allowance, its all included in the pattern.
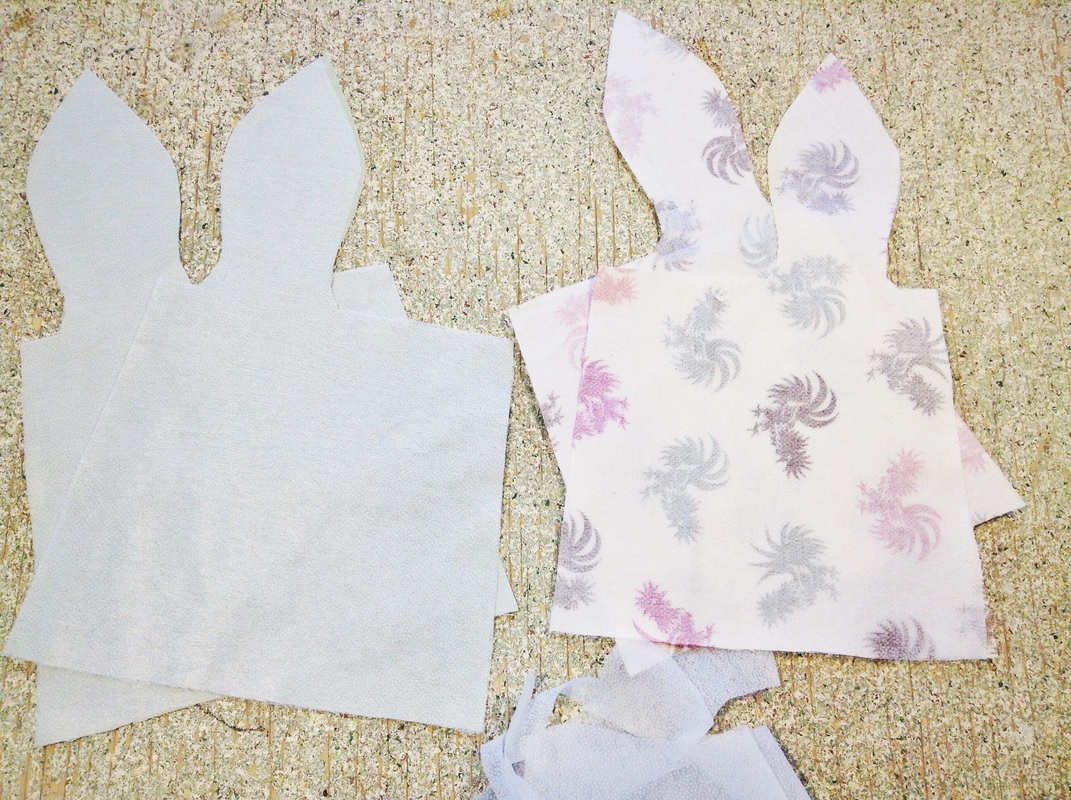
Cutting out the pieces
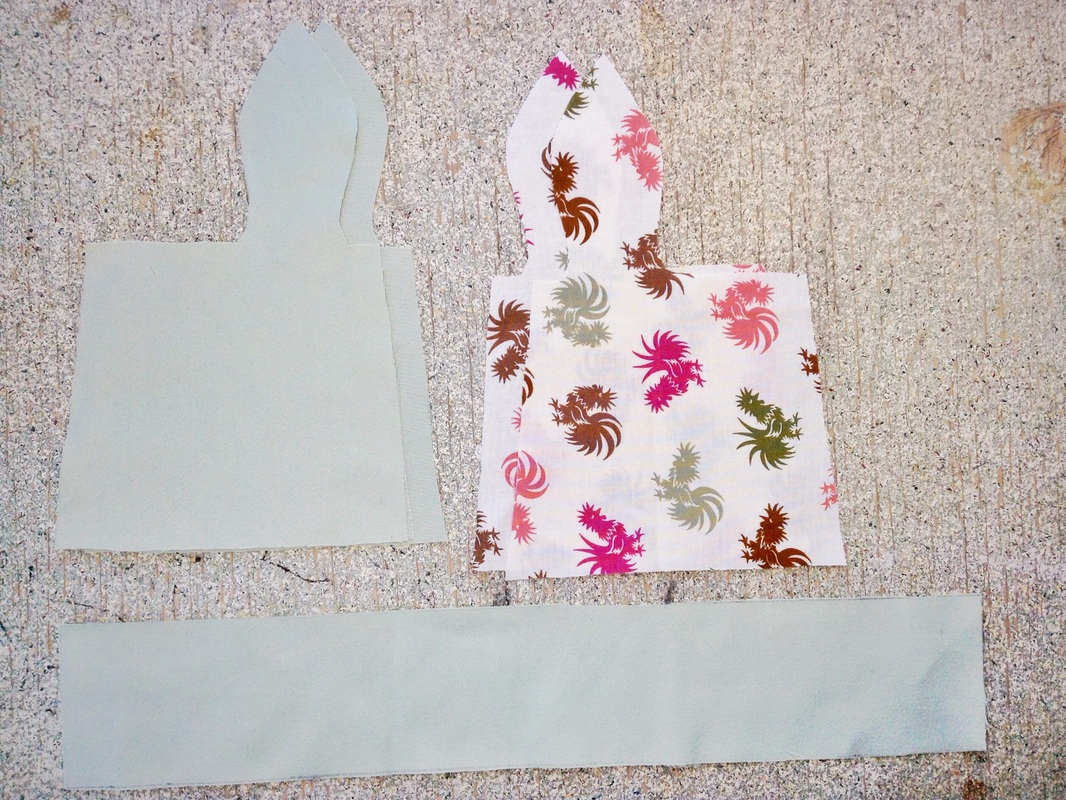
Cut out two outer bag pieces from the wrong side of your fabric (if your fabric has a wrong side). The two pieces will look the same.
Do not. I repeat, DO NOT, cut out on doubled over fabric, you will end up with two bag pieces that are opposites, we do not want opposites we want two the same. I know, I can hear the growns from here, that feels so unnatural but go with me here.
Cut out one sash piece from the same fabric as the outer bag pieces.
Pin outer bag pieces to lining fabric, with wrong sides together- wrong side of outer bag piece to wrong side of lining.
Cut out the two lining pieces.
Now you have all the pieces you need cut out and ready to go.
Interfacing?
These bags can get a bit floppy, especially if they are made out of soft material. So, I Iron some interfacing on to the wrong sides of the outer bag and lining pieces.
This is optional, not everyone has interfacing, but it is good.
-You can also buy iron-on waterproofing, which could also be added to these bags. That make these bags great for food storage, allowing for easy washing.
This is optional, not everyone has interfacing, but it is good.
-You can also buy iron-on waterproofing, which could also be added to these bags. That make these bags great for food storage, allowing for easy washing.
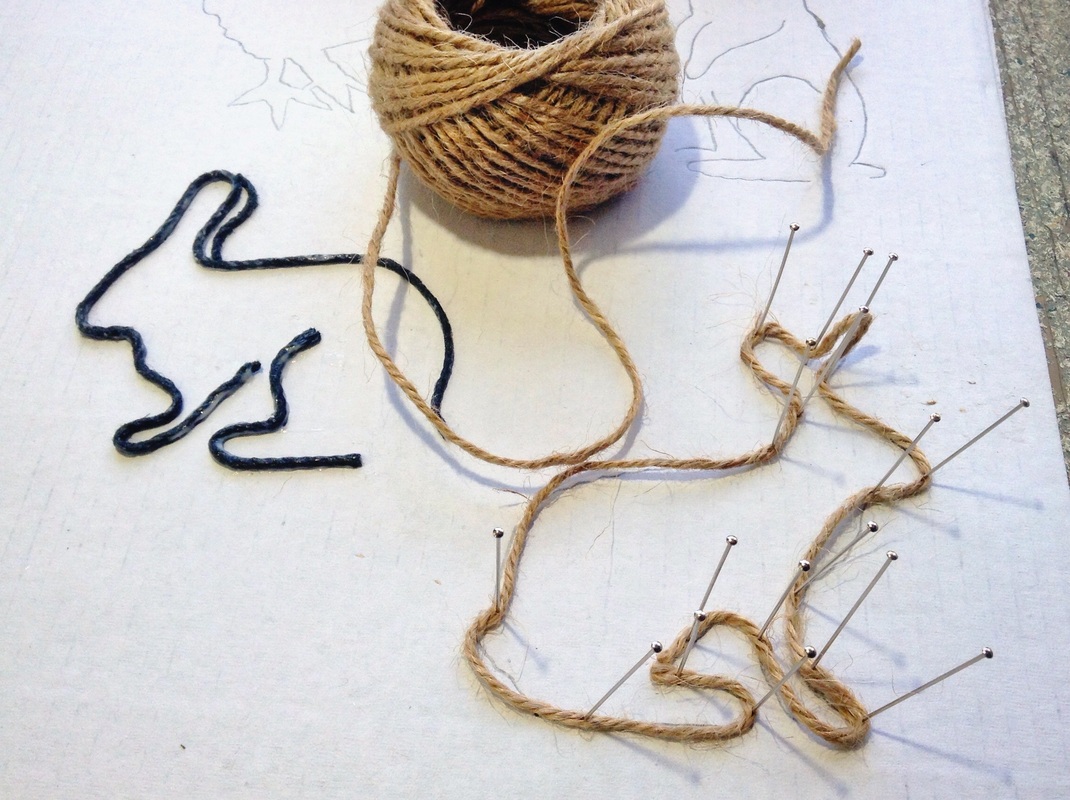
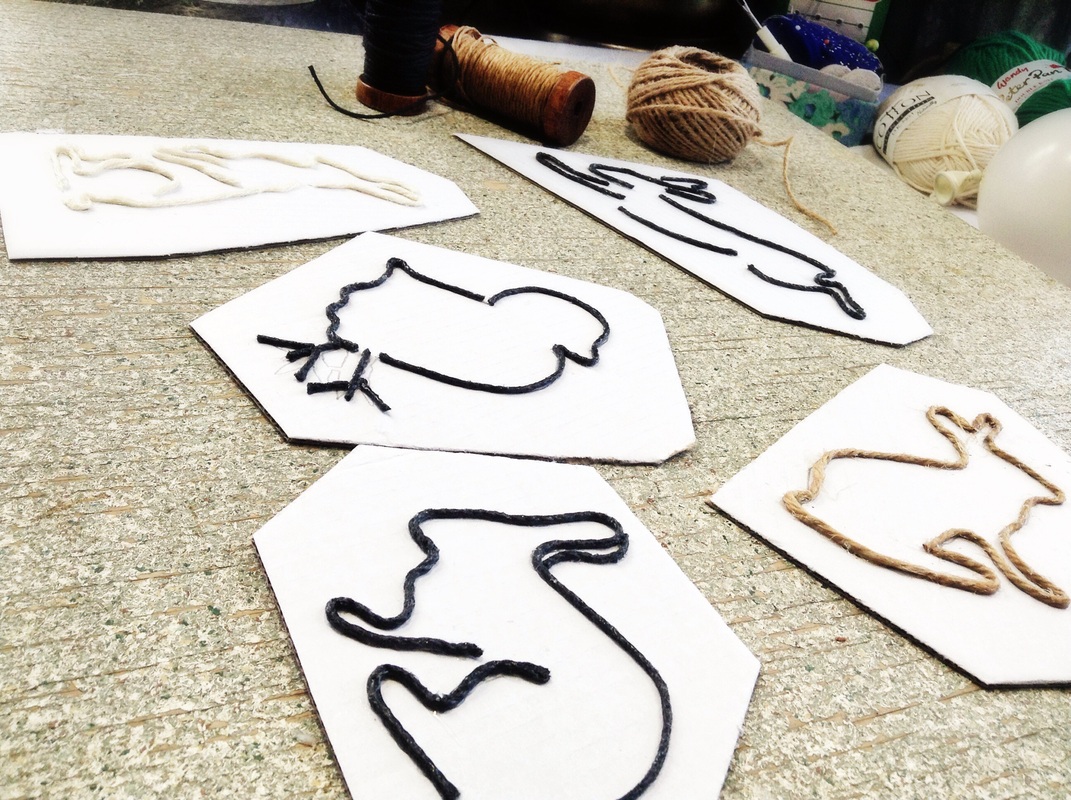
Whiskers
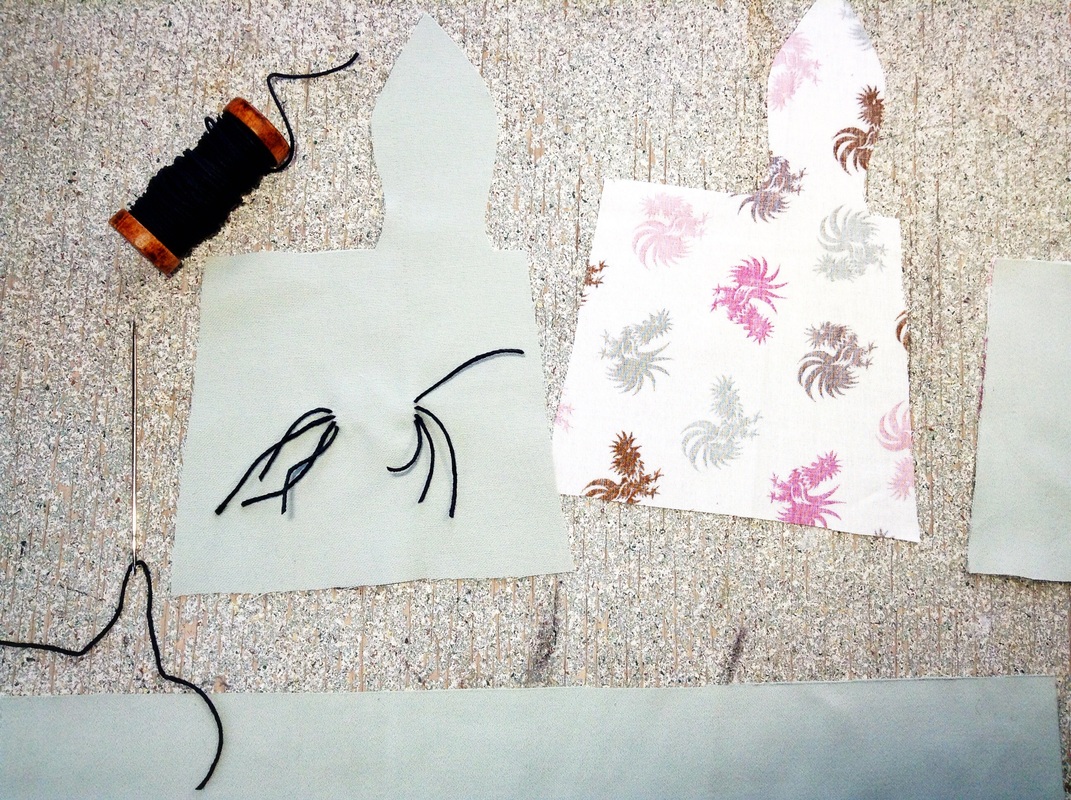
Now is the time to decorate your bag! :)
You can decorate these in any way you like; ribbons, paint, beads, glitter, sequins, feathers etc.
I have added some whiskers to my bag. Using a big needle and twime/wool sew some whiskers onto one of the outerbag pieces.
You can decorate these in any way you like; ribbons, paint, beads, glitter, sequins, feathers etc.
I have added some whiskers to my bag. Using a big needle and twime/wool sew some whiskers onto one of the outerbag pieces.
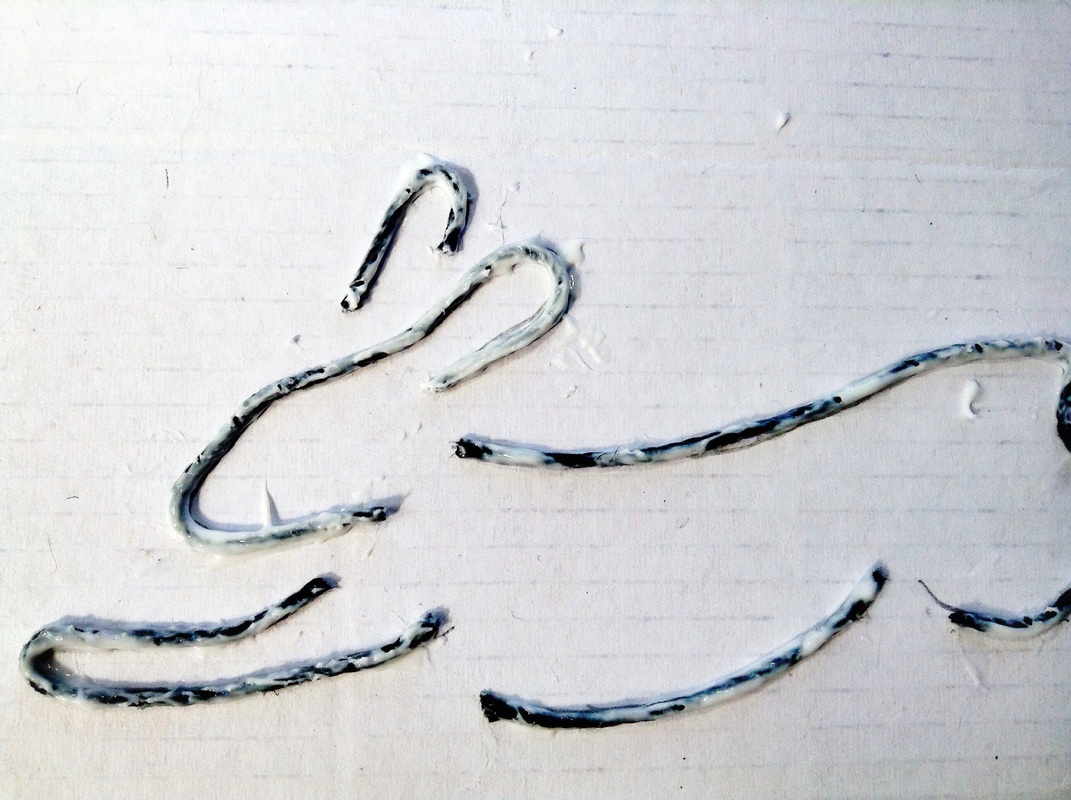
Ears!
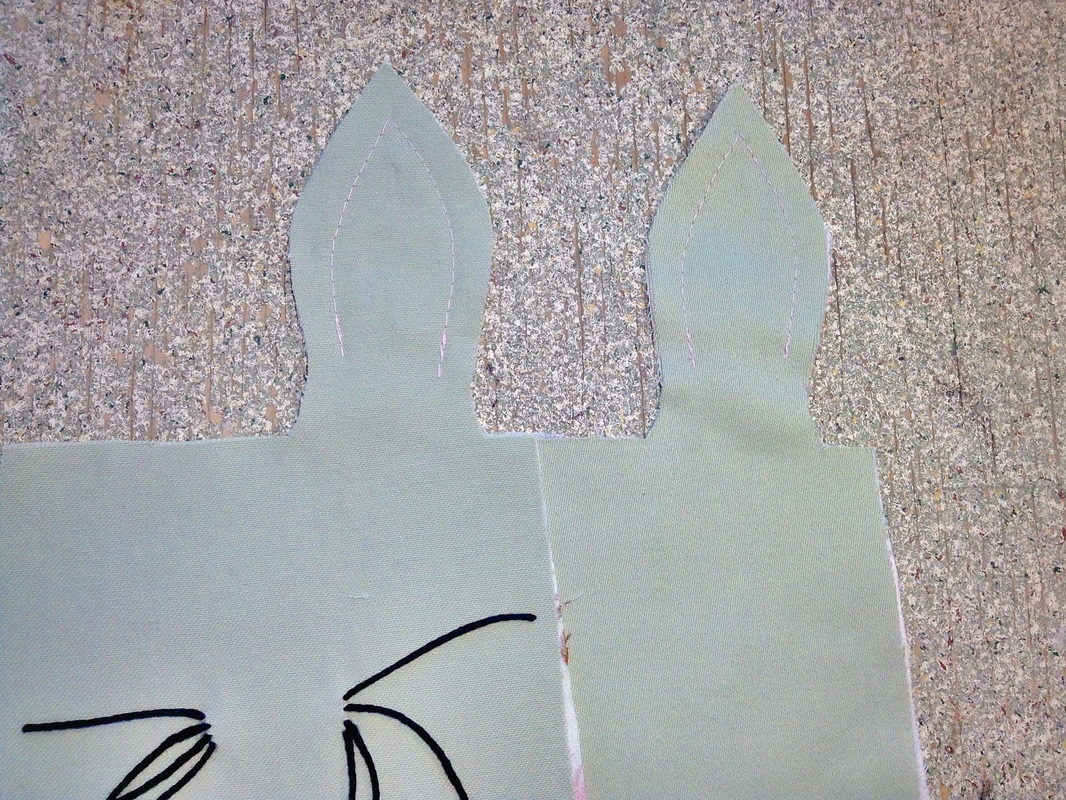
With wrong sides together place outer bag piece and lining together.
Sew around the ear. (hopefully you can see the stitches in the photo above)
Sew around the ear. (hopefully you can see the stitches in the photo above)
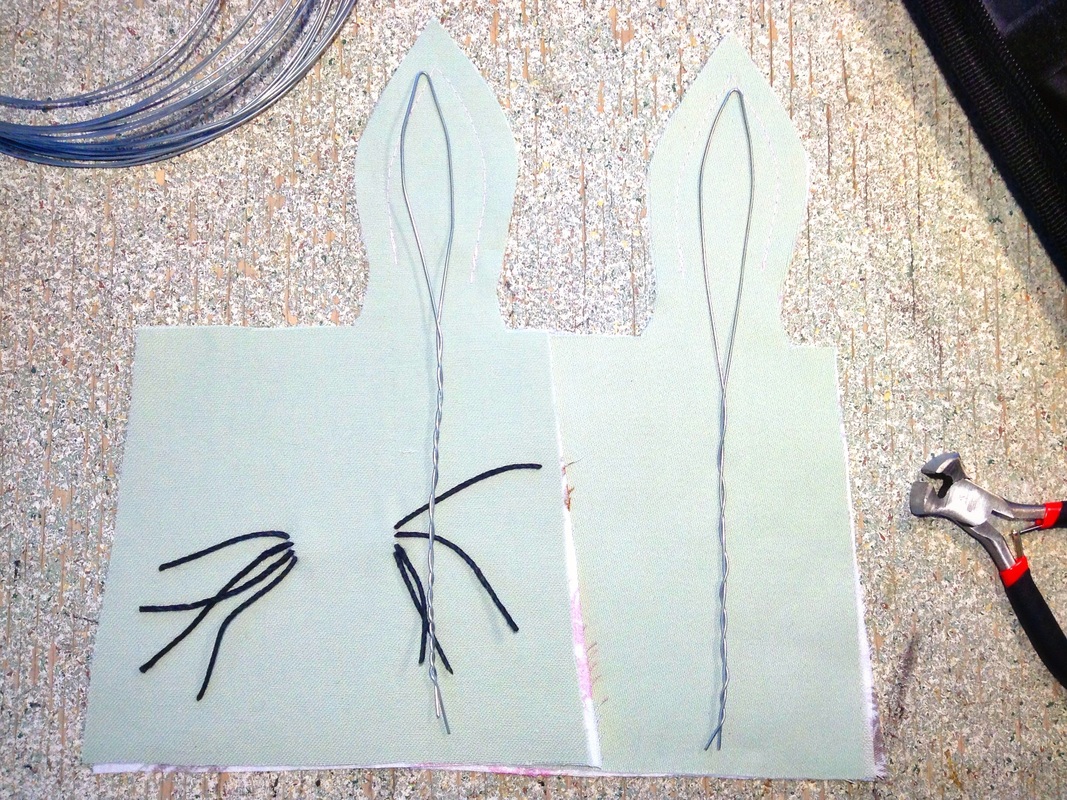
Twist lightweight wire into an ear shape and place between outer bag and lining.
Sewing the sash
Now is the tricky part. You want to sew the sash down one side, across the bottom, and up the other side.
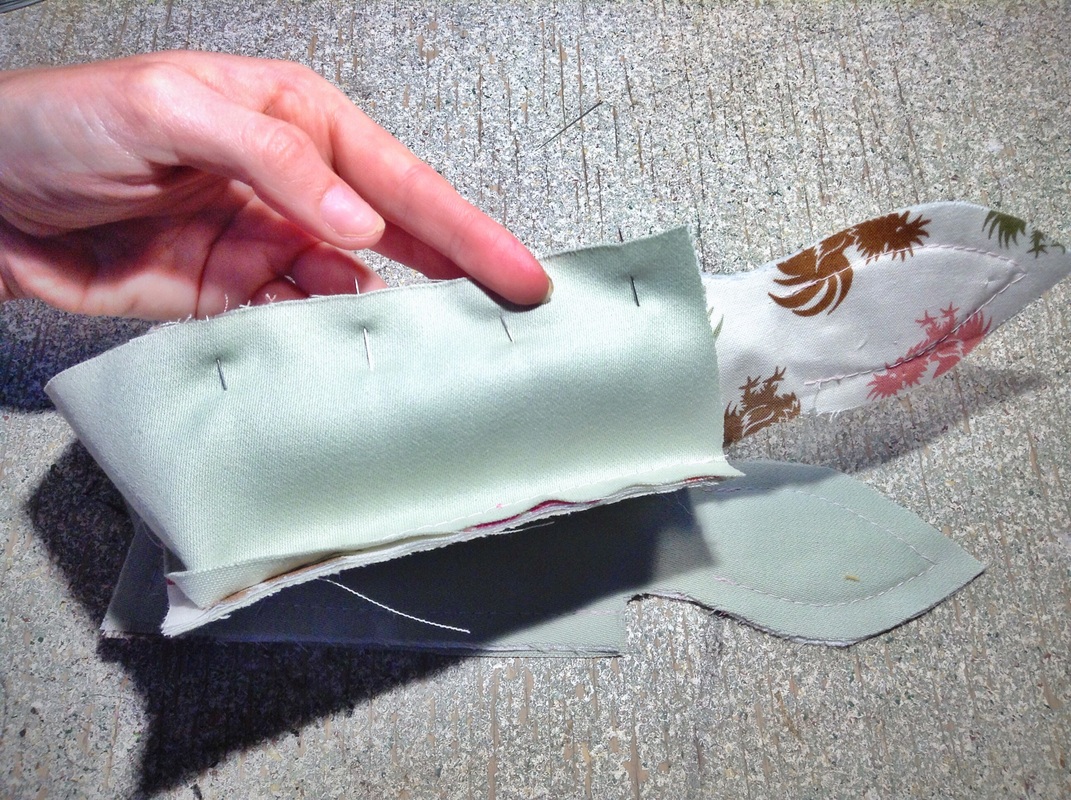
Place the wrong side of the sash on the lining on one of the bag pieces (doesn't matter which one)
Place the wrong side of the sash on the lining on one of the bag pieces (doesn't matter which one)
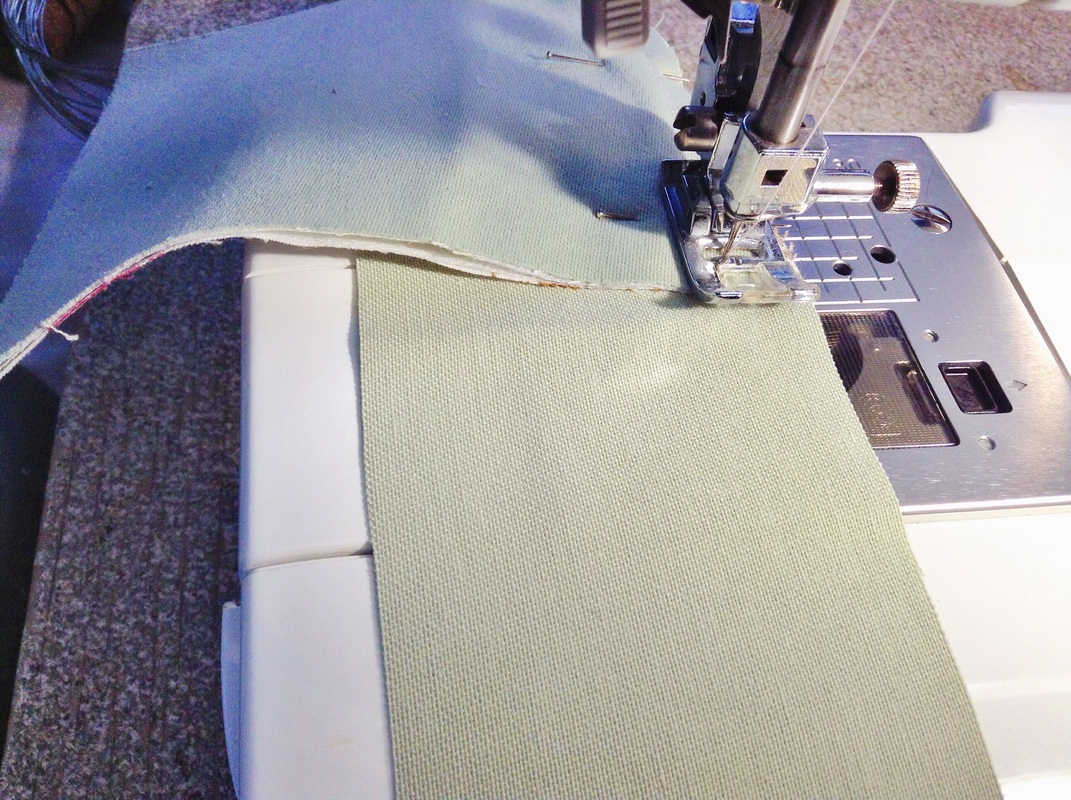
Sew down one side of the bag. I sew with the bag piece facing up, making it easier to see the corners of the bag.
When you get the end, stop a few millimetres from the bottom (about 0.5cm) Leave the needle of the machine anchored in the fabric.
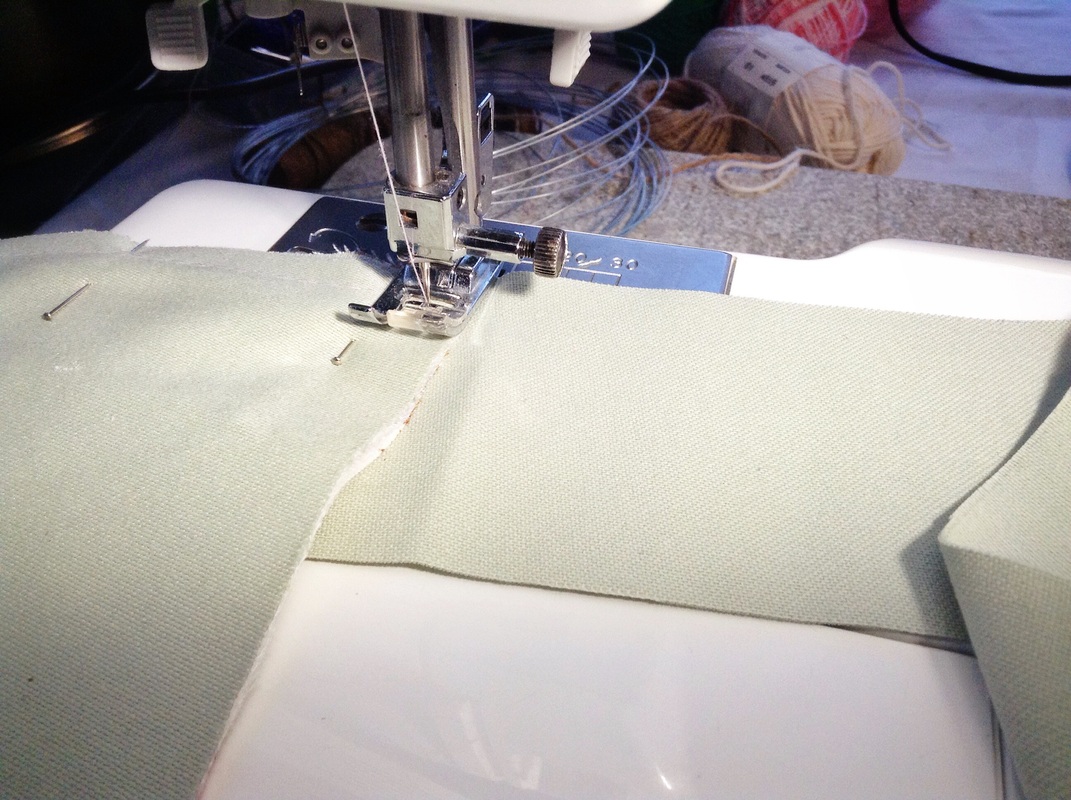
Lift the presser foot and swivel the bag piece round so you are ready to sew down the bottom of the bag.
Pull the sash piece round so it lines up with the bottom of the bag.
Put the presser foot back down and sew along the bottom of the bag.
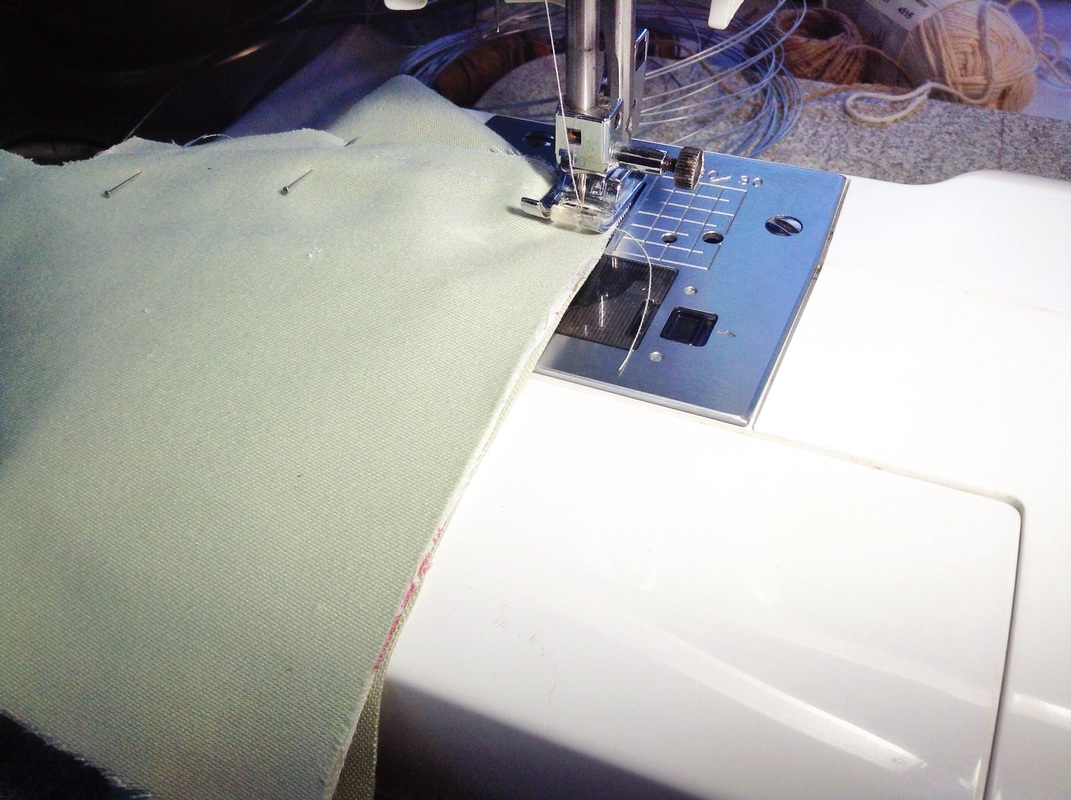
Stop 0.5cm away from the corner of the next side and repeat the swivelling, turning process you went through at the previous corner.
Sew up the other side of the bag.
Put the presser foot back down and sew along the bottom of the bag.
Stop 0.5cm away from the corner of the next side and repeat the swivelling, turning process you went through at the previous corner.
Sew up the other side of the bag.
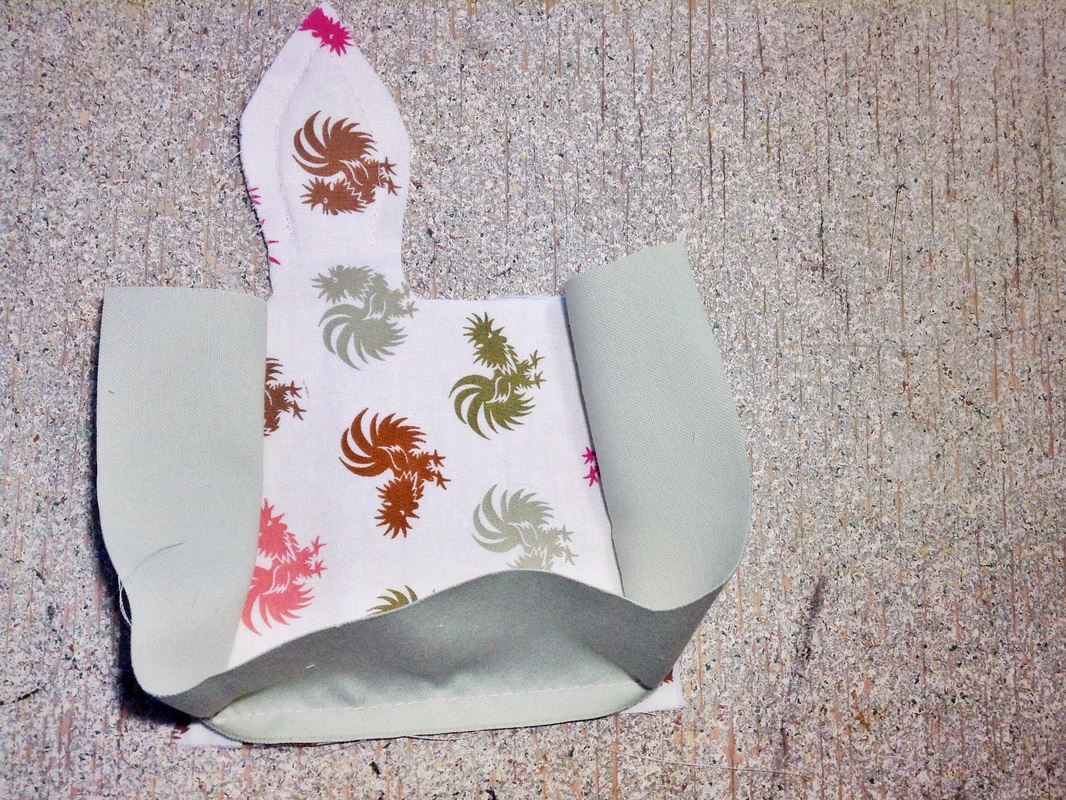
By the end the sash should be sewn onto the bag like the photo above.
*TIP - Wgen you get to the corners, leave machine needle in fabric, lift presserfoot and twist sash round so it lies in line with the bootom of the bag. This is the condensed version of the above sewing/cornering steps.
I wasn't sure how to explain sewing the sash on. So I've added both a long winded and photographed process alongside this small condensed tip. I do hope you aren't too confused :(
I wasn't sure how to explain sewing the sash on. So I've added both a long winded and photographed process alongside this small condensed tip. I do hope you aren't too confused :(
Sew the other bag piece to the sash. Using the same stopping, twisting and cornering technique as before.
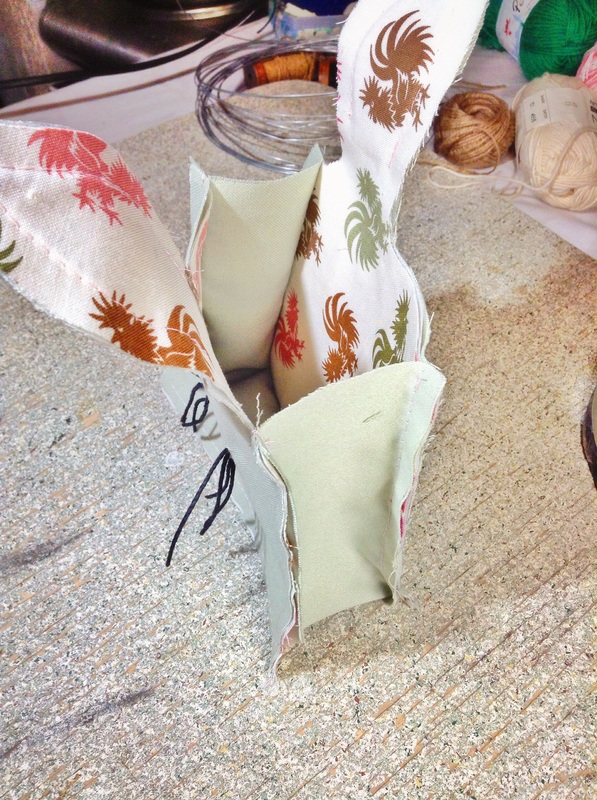
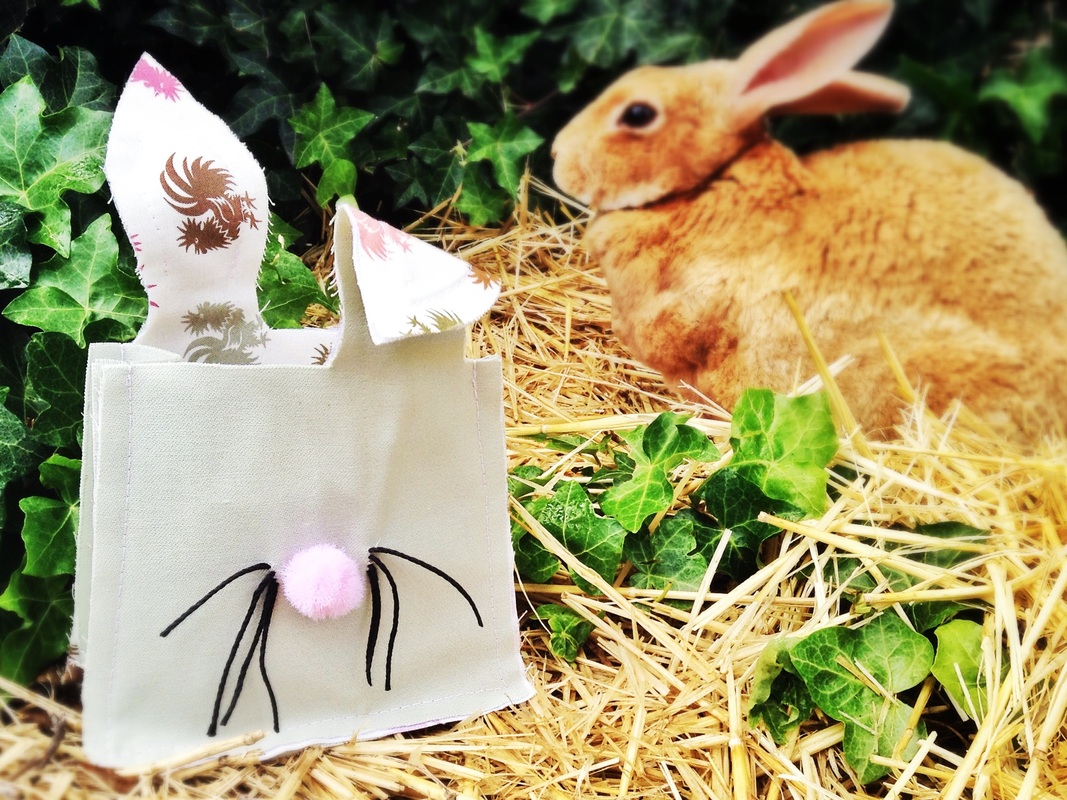
Bag should stand up as so.
Nose
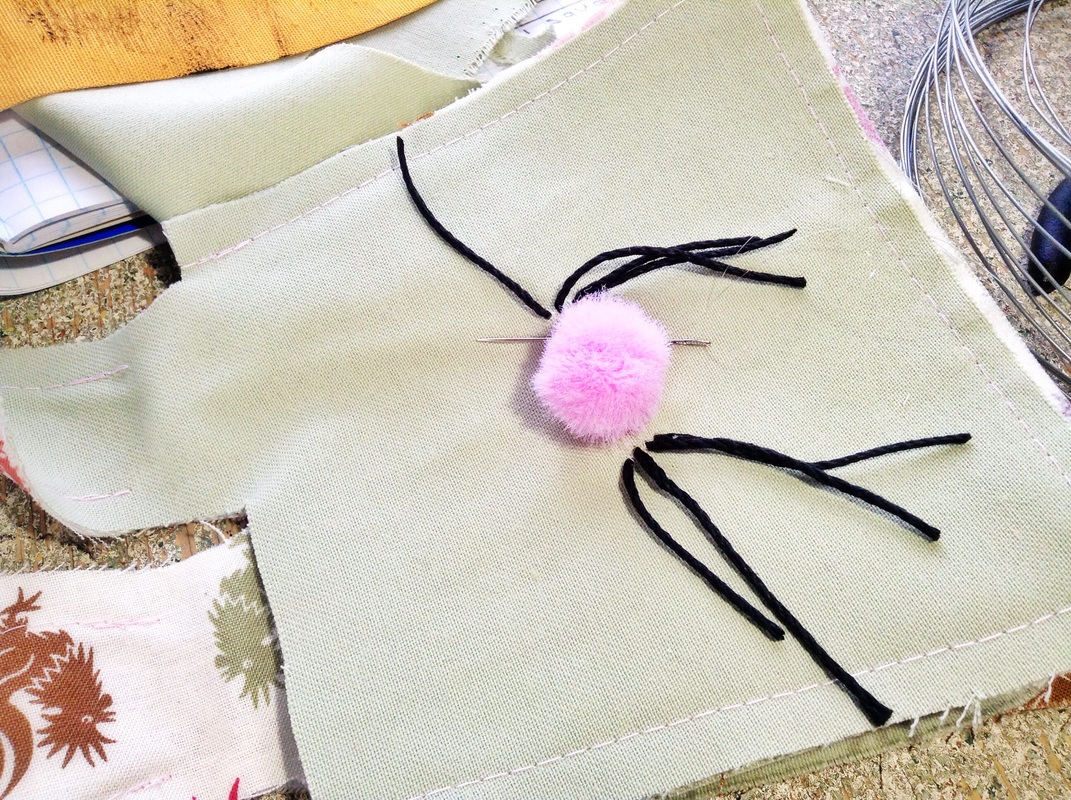
Lastly sew on a little pompom nose.
Origionaly I wasn't going to add the nose but I changed my mind by the end.
Origionaly I wasn't going to add the nose but I changed my mind by the end.


 RSS Feed
