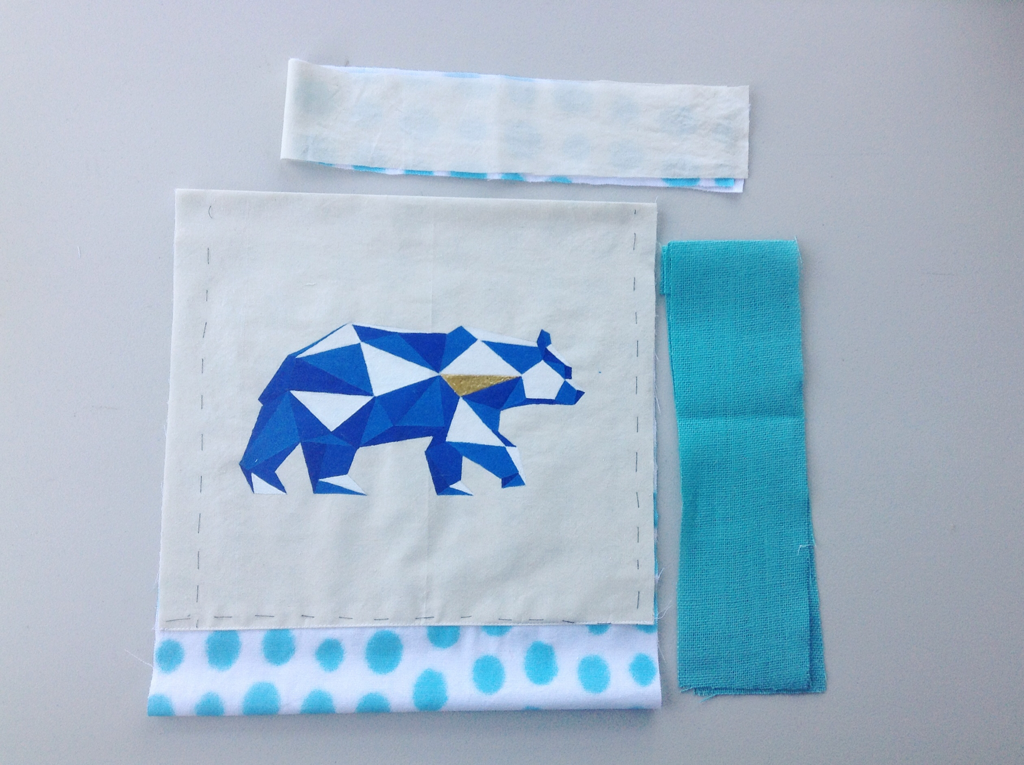
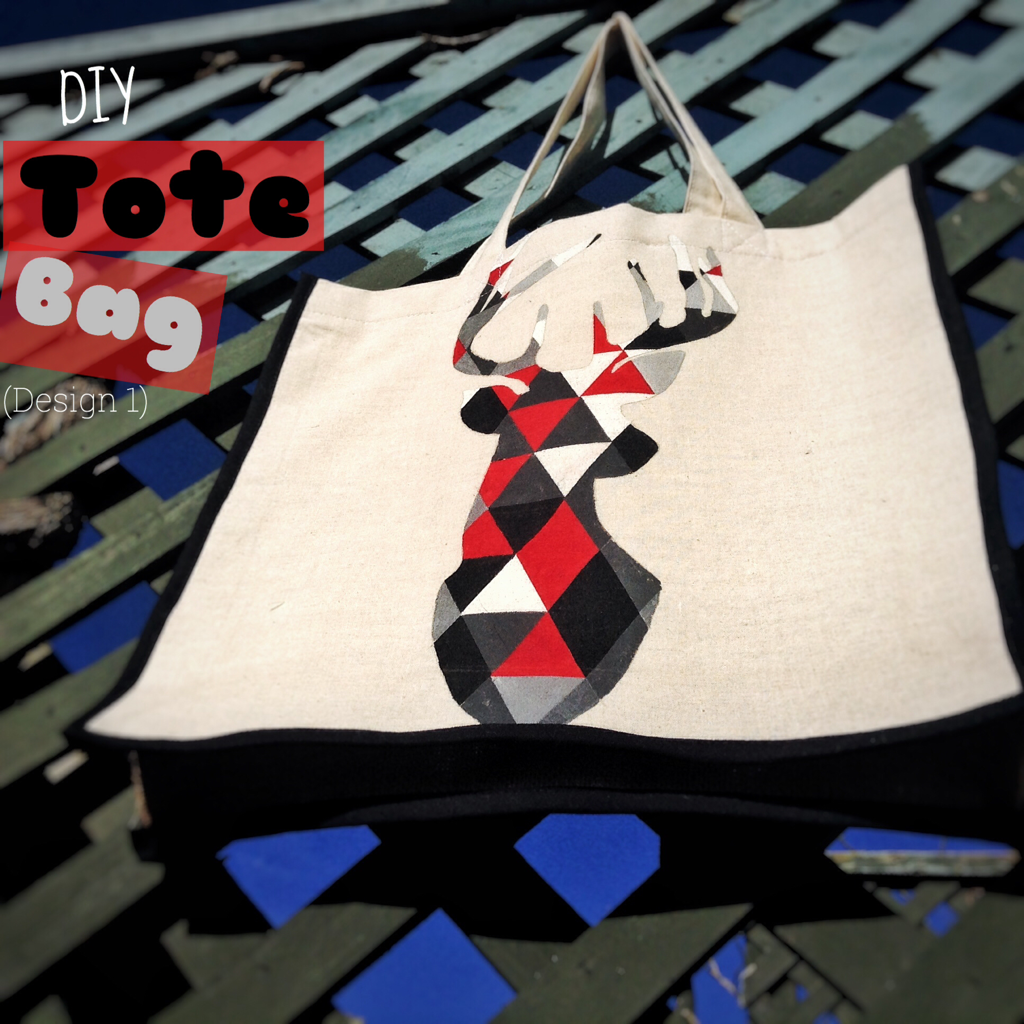
Outlander has gone French and so have I (sort of)
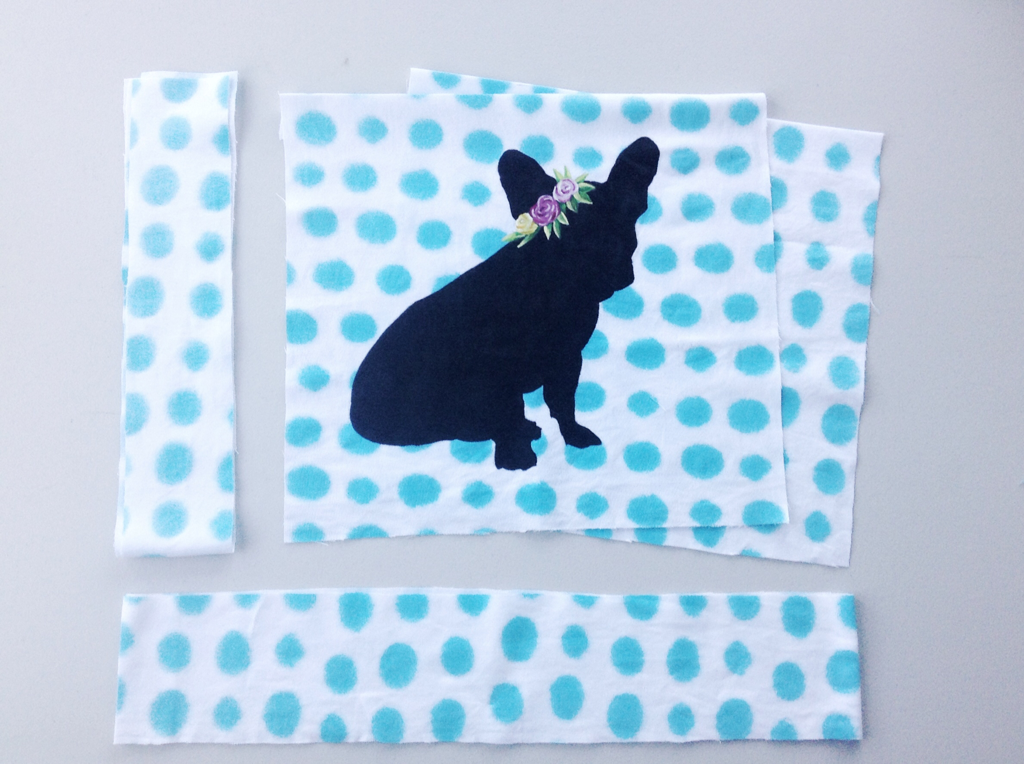
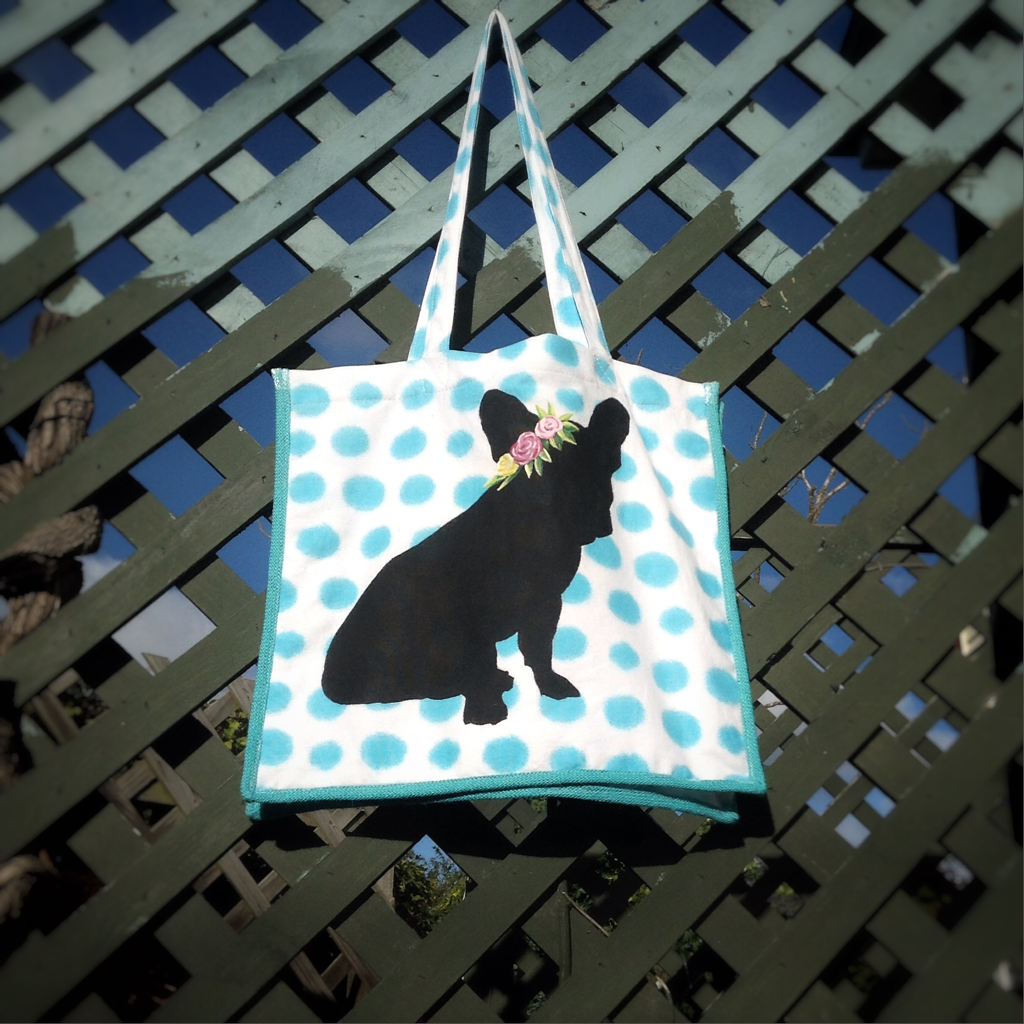
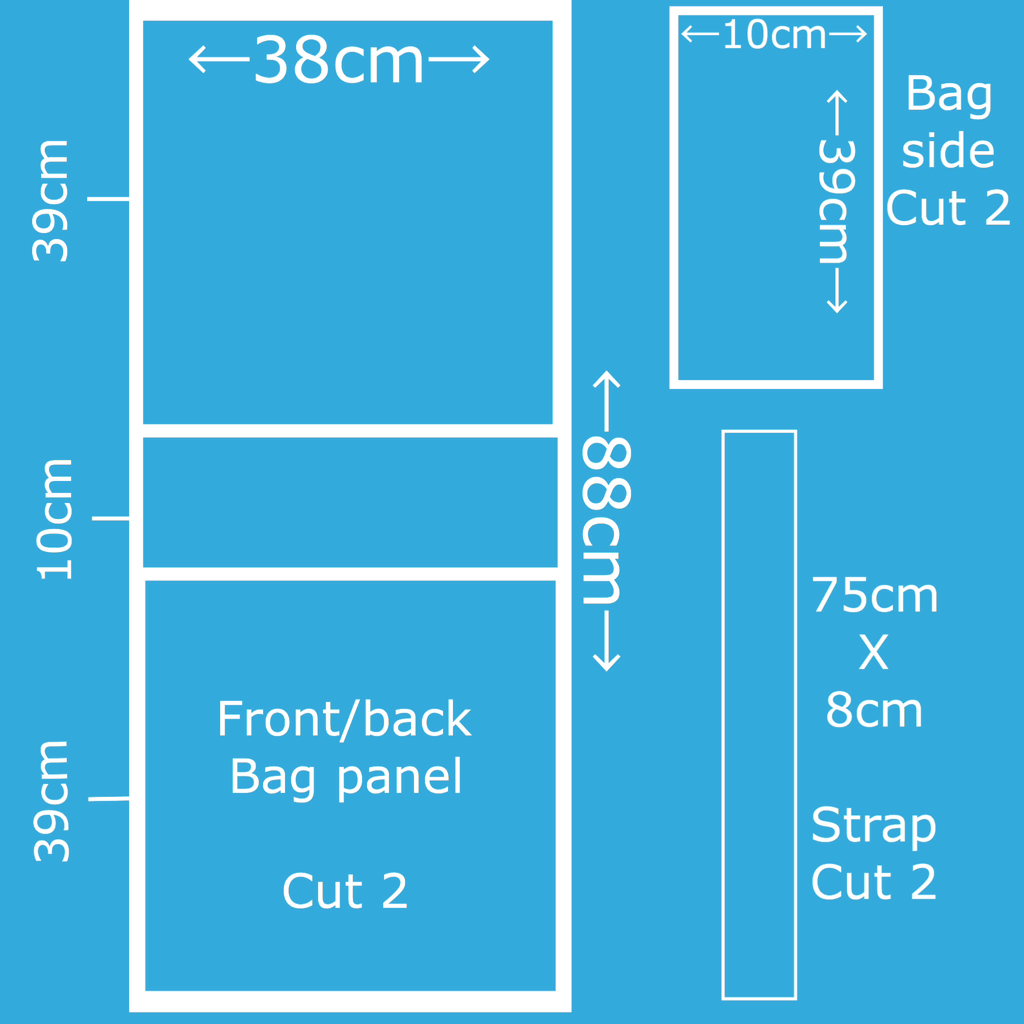
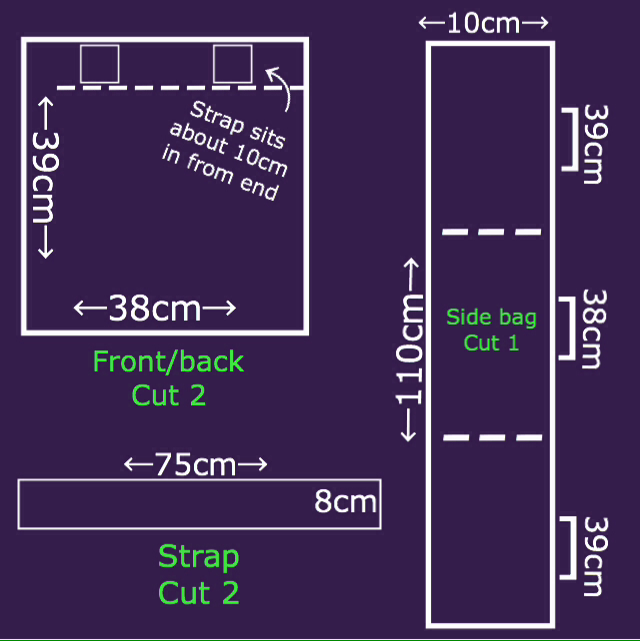
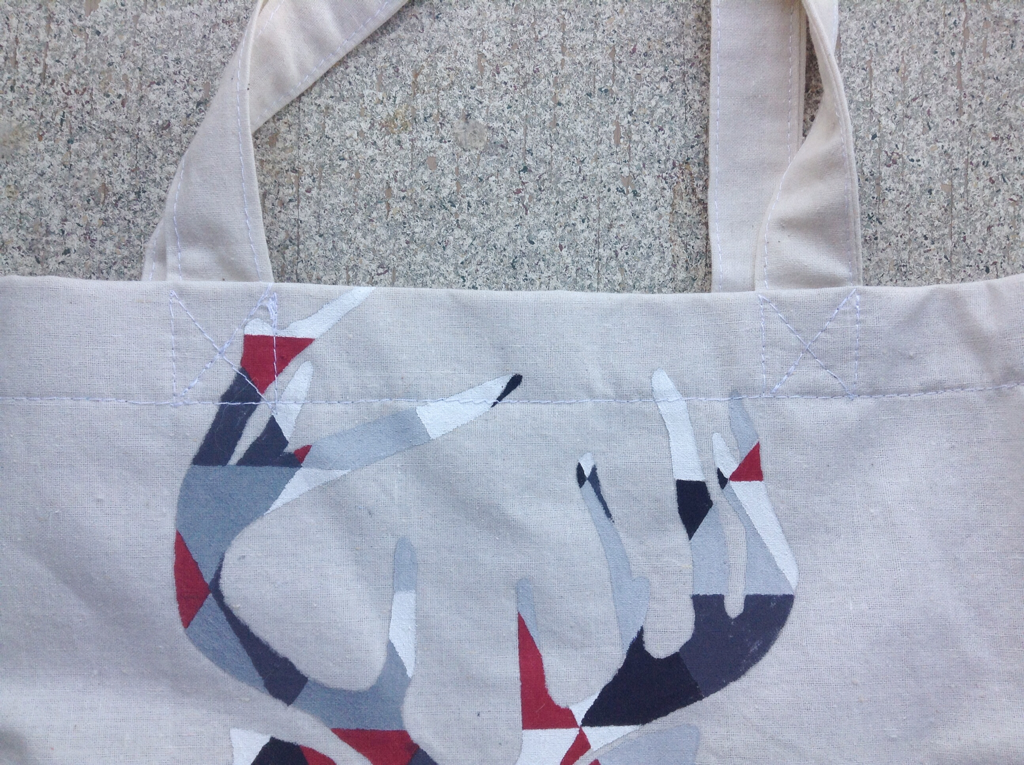
Using THIS tote bag pattern I made a tote bag that features the silhouette of a French bulldog wearing a flower crown.
I just wanted to share how I painted the bulldog (especially the flower crown)
Using THIS tote bag pattern I made a tote bag that features the silhouette of a French bulldog wearing a flower crown.
I just wanted to share how I painted the bulldog (especially the flower crown)
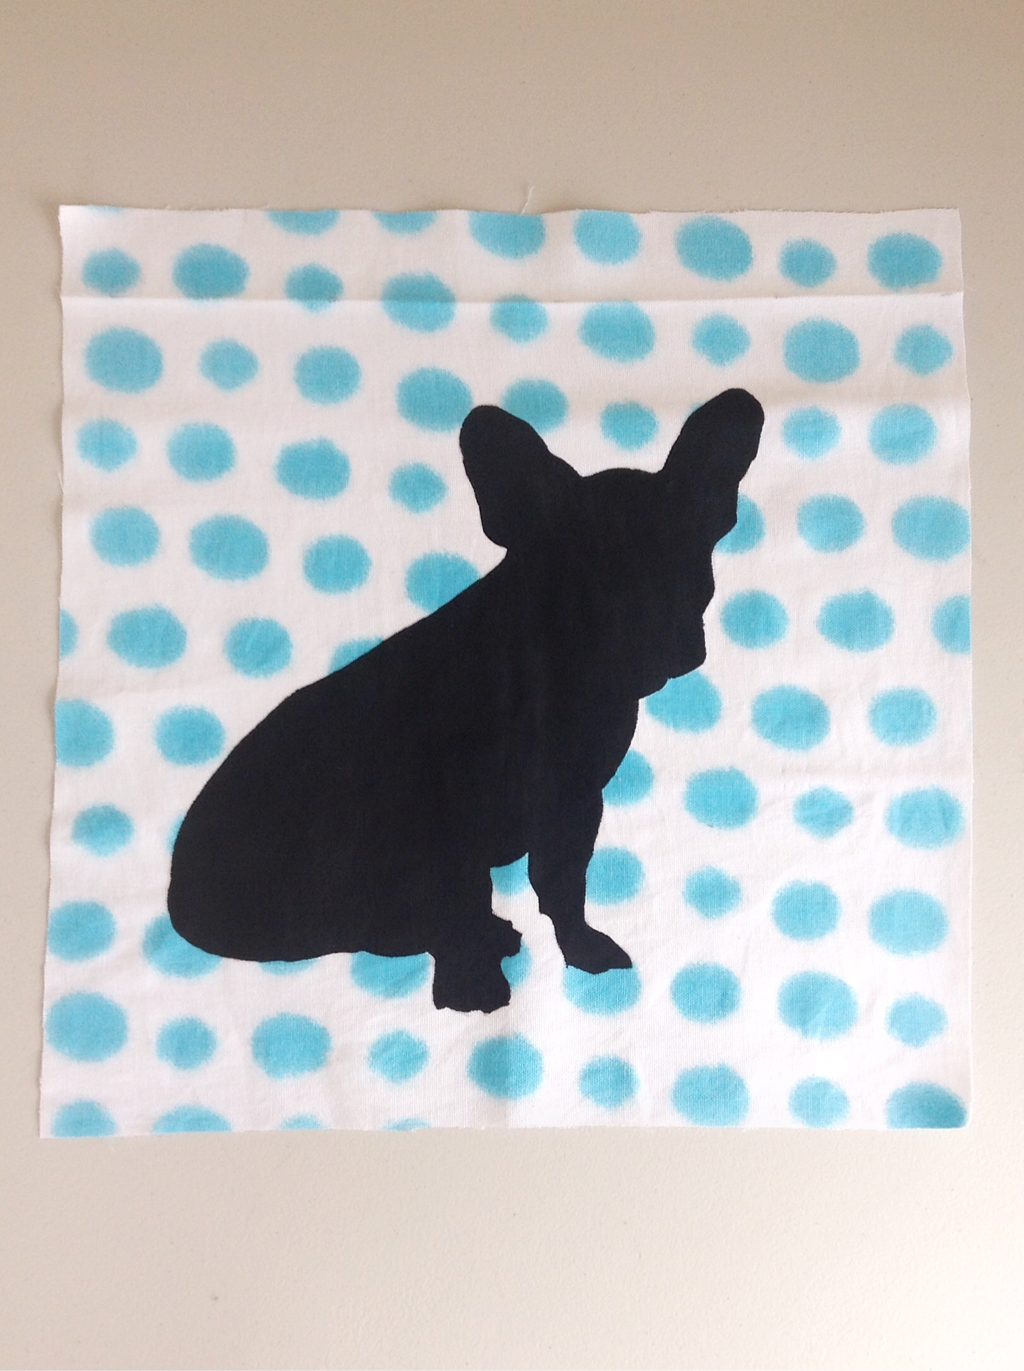
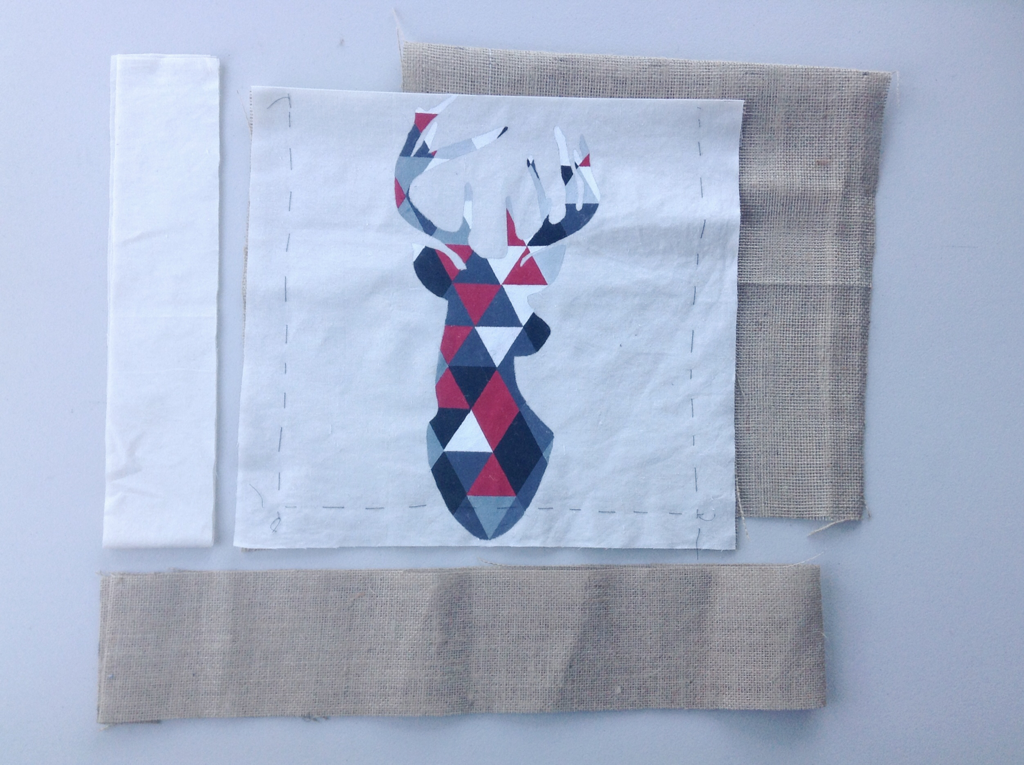
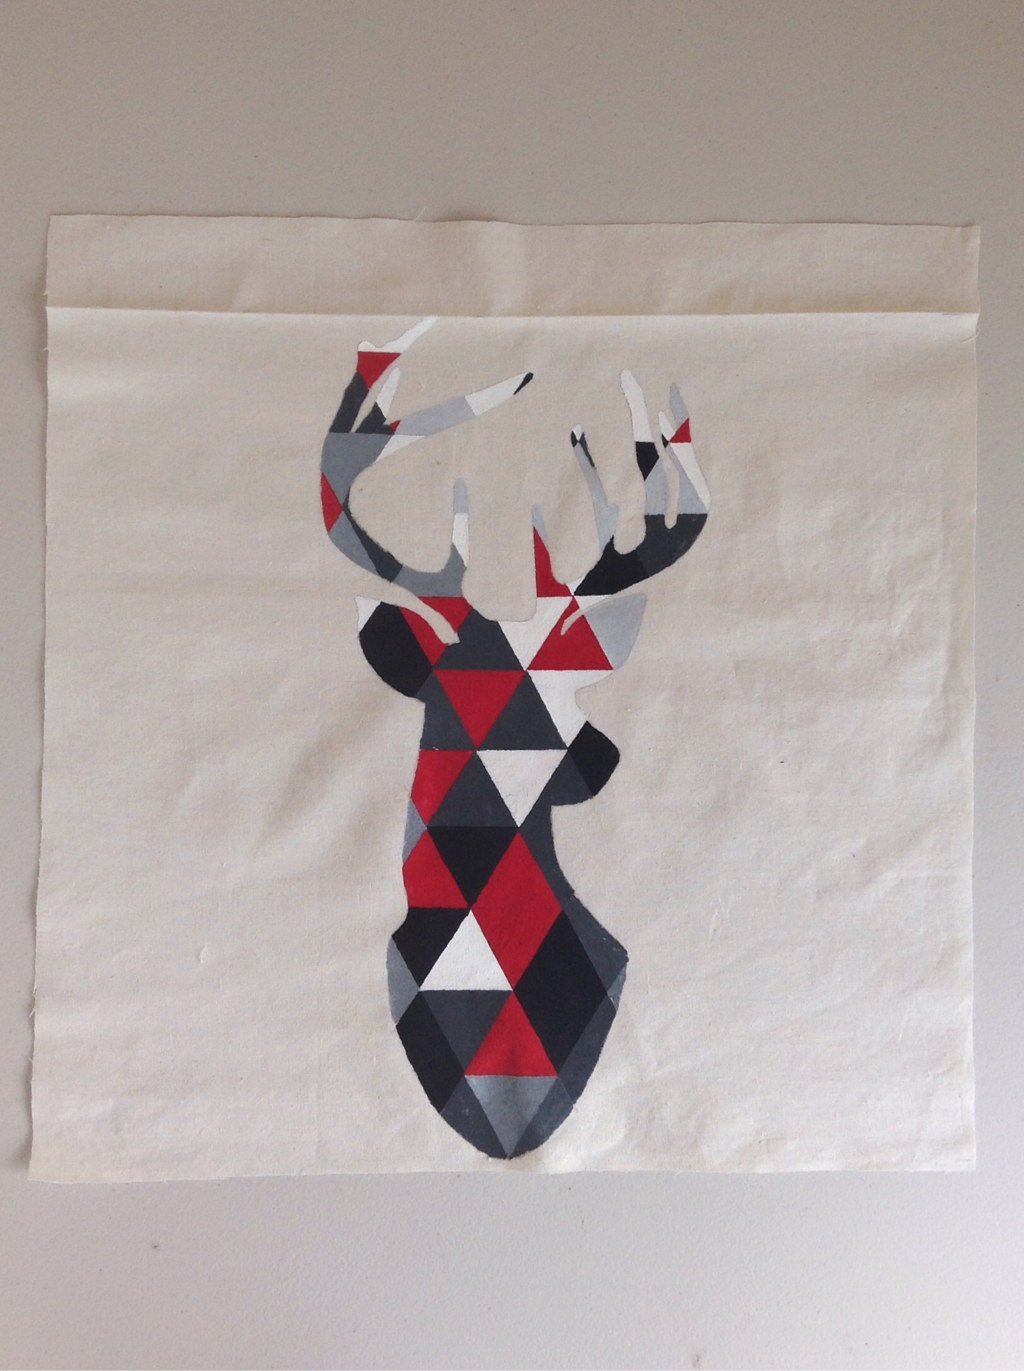
I drew an outline of a French bulldog and filled it in black creating a silhouette. I left this to dry fully.
Flower Crown
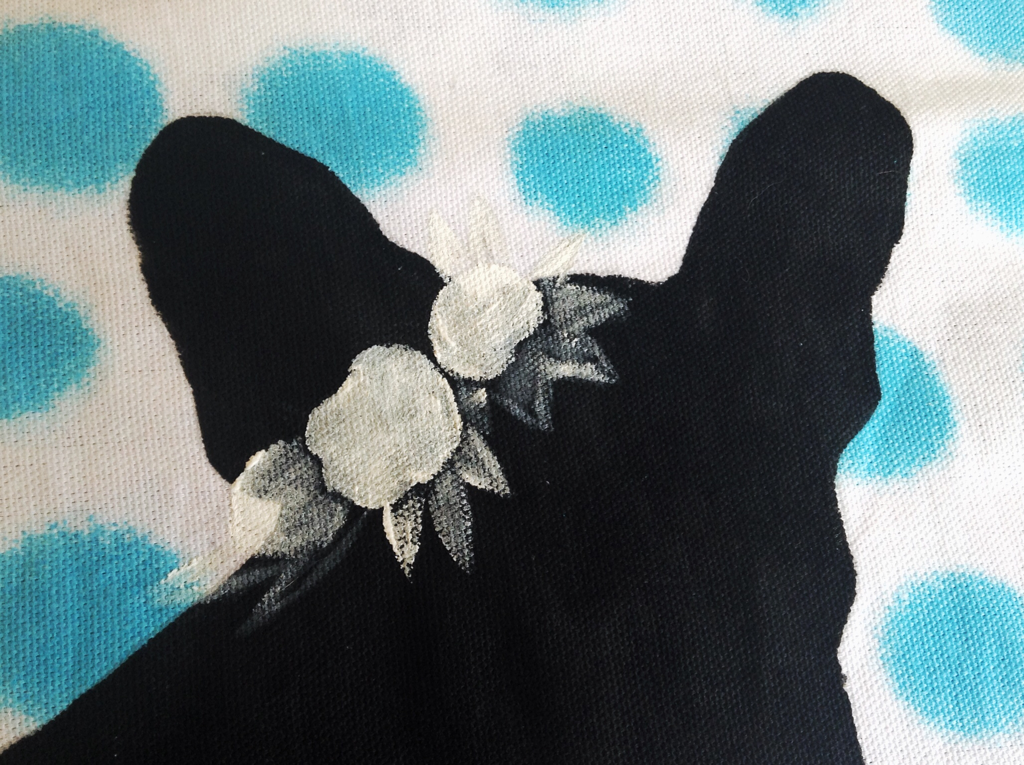 In base white paint I painted vague rose/flower shapes + leaves. | 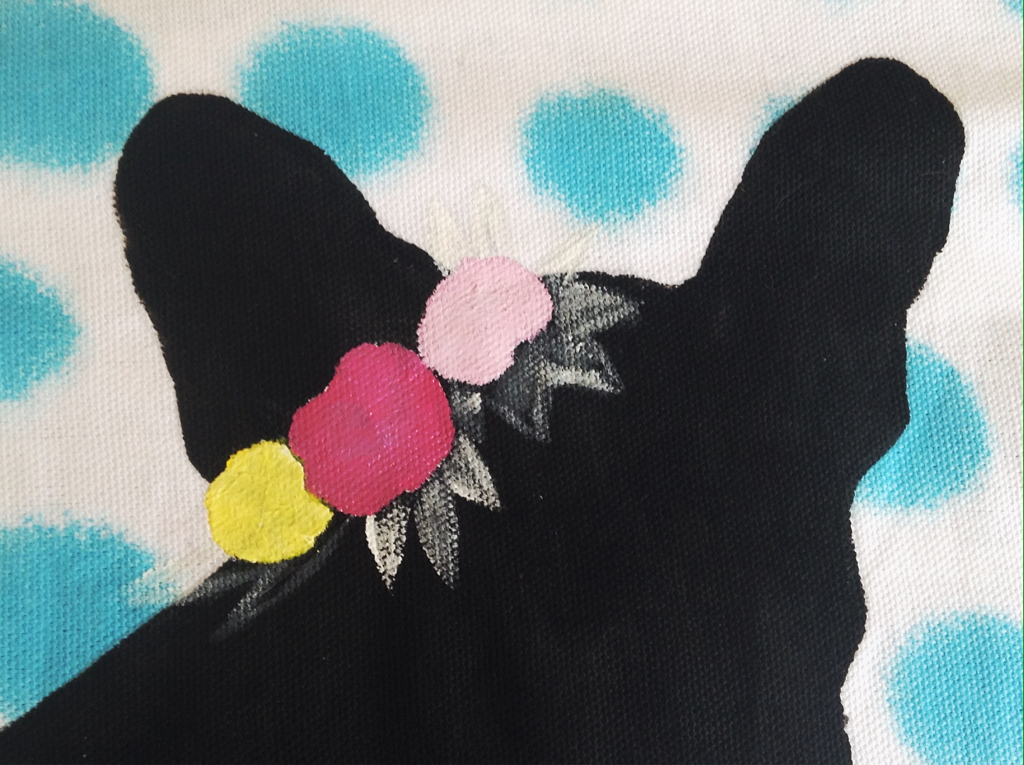 Next I added the base colours. Simple bock colours on the flowers + leaves. |
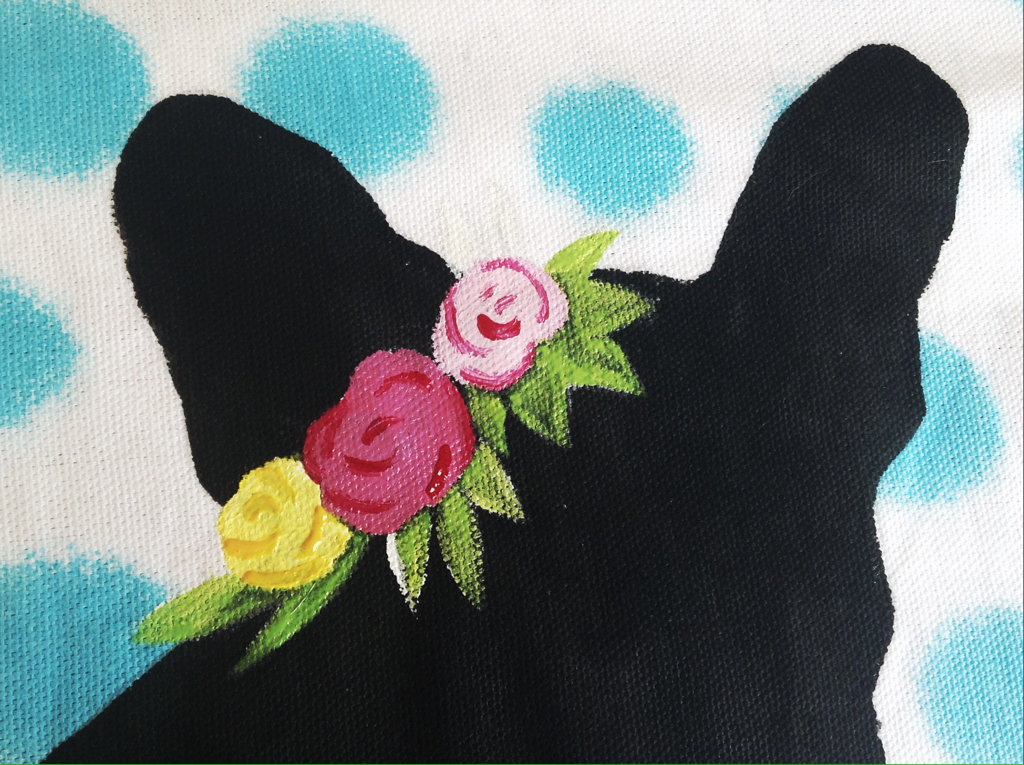 Next I outlined the basic petal + leaf shapes in a darker colour. | 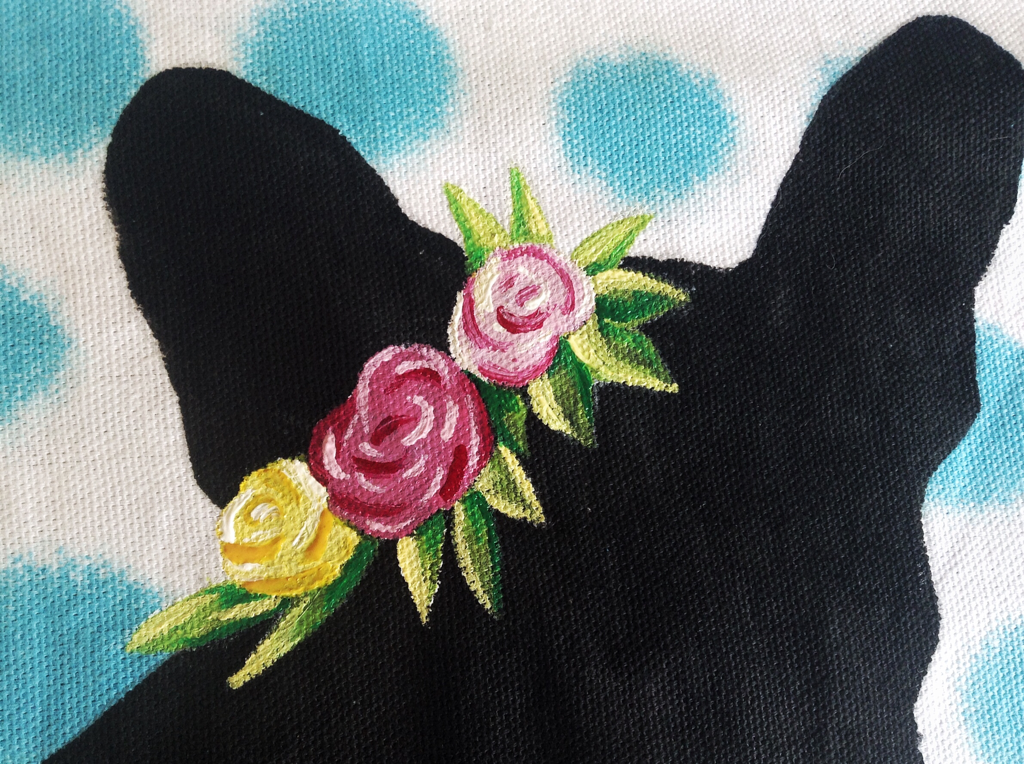 Finally I added highlights to both petals and leaves. |


 RSS Feed
