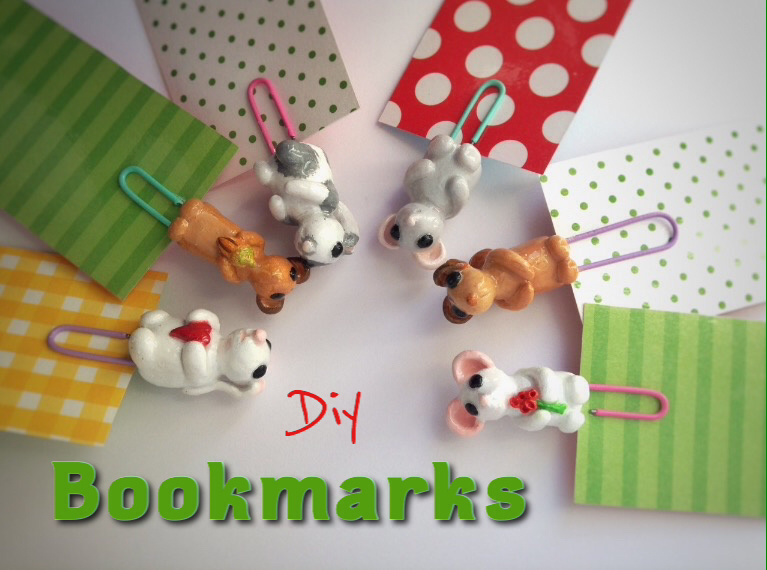
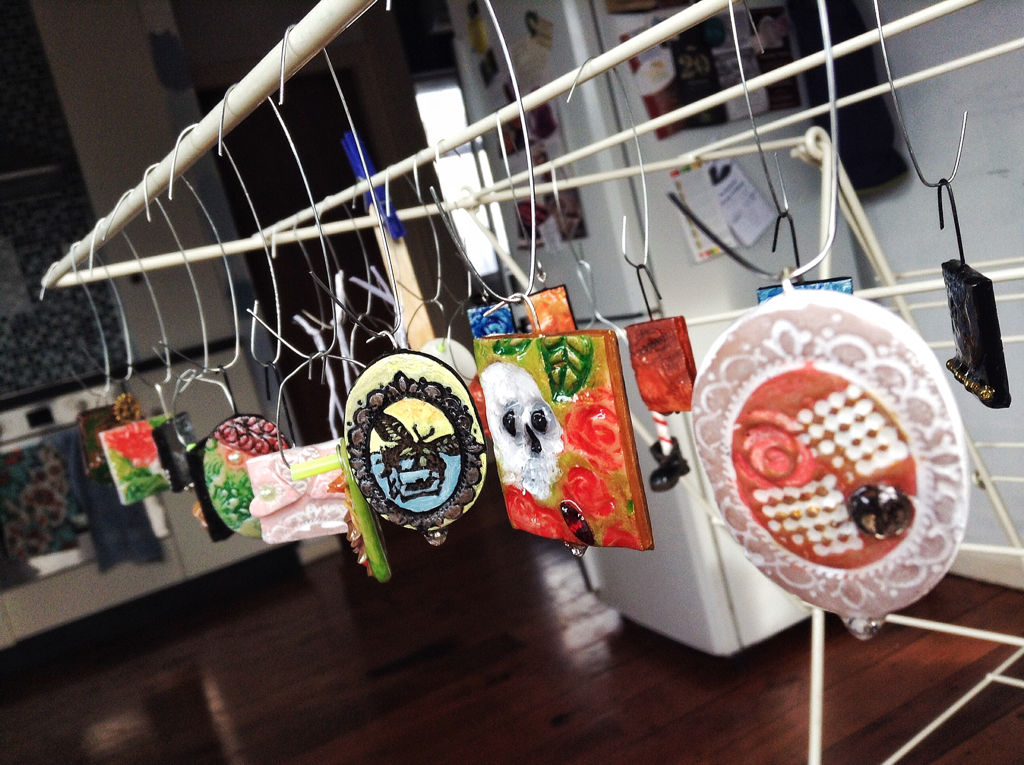
I suppose you could call this a master post of all the polymer clay paperclip bookmarks that I made a while ago. I've combined all the different animal bookmark DIYs together here, with brief tutorials and links to their original posts.
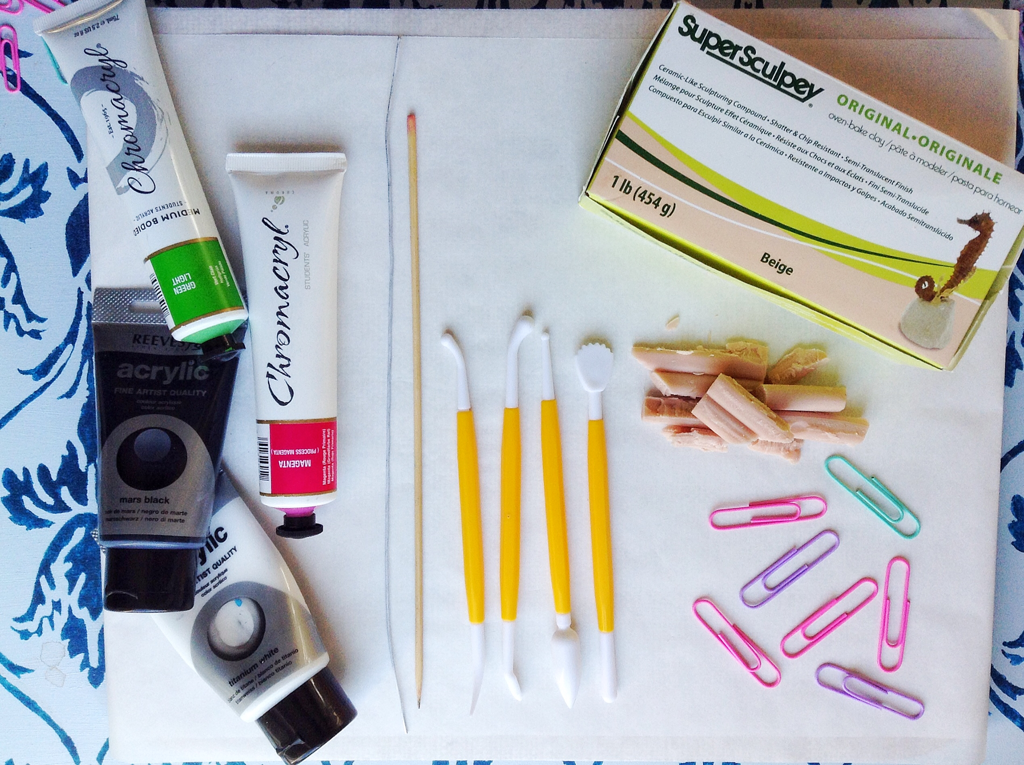
You Will Need
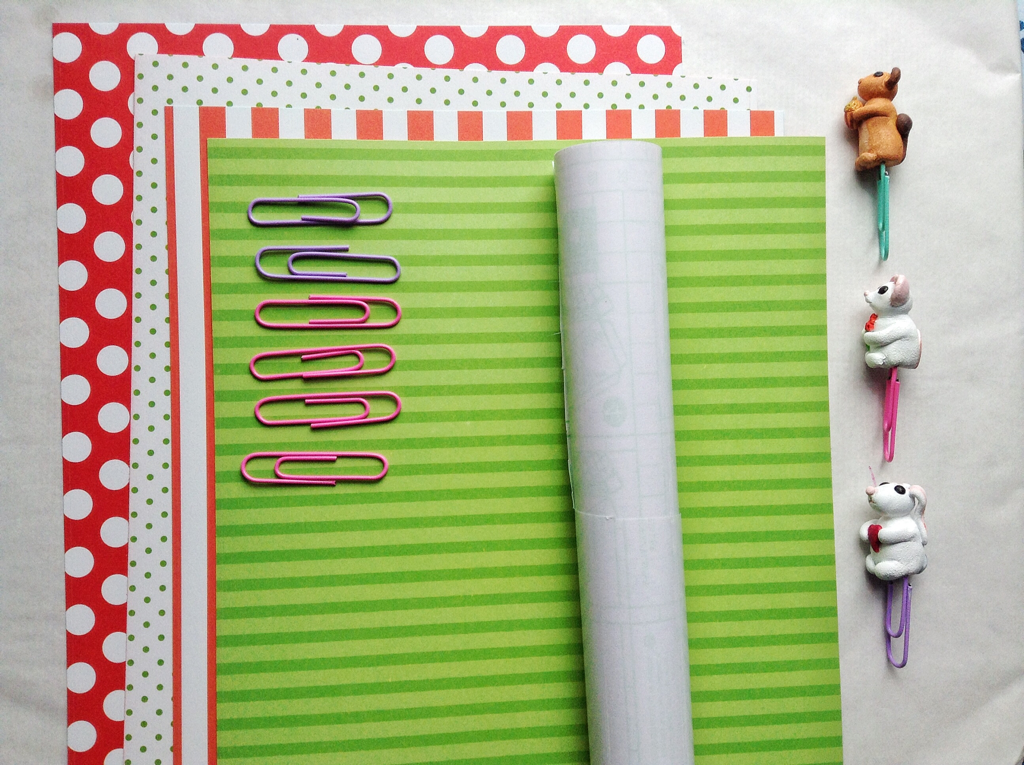 |  |
- Thick paper/ card
- Clear book covering
- Large paperclips
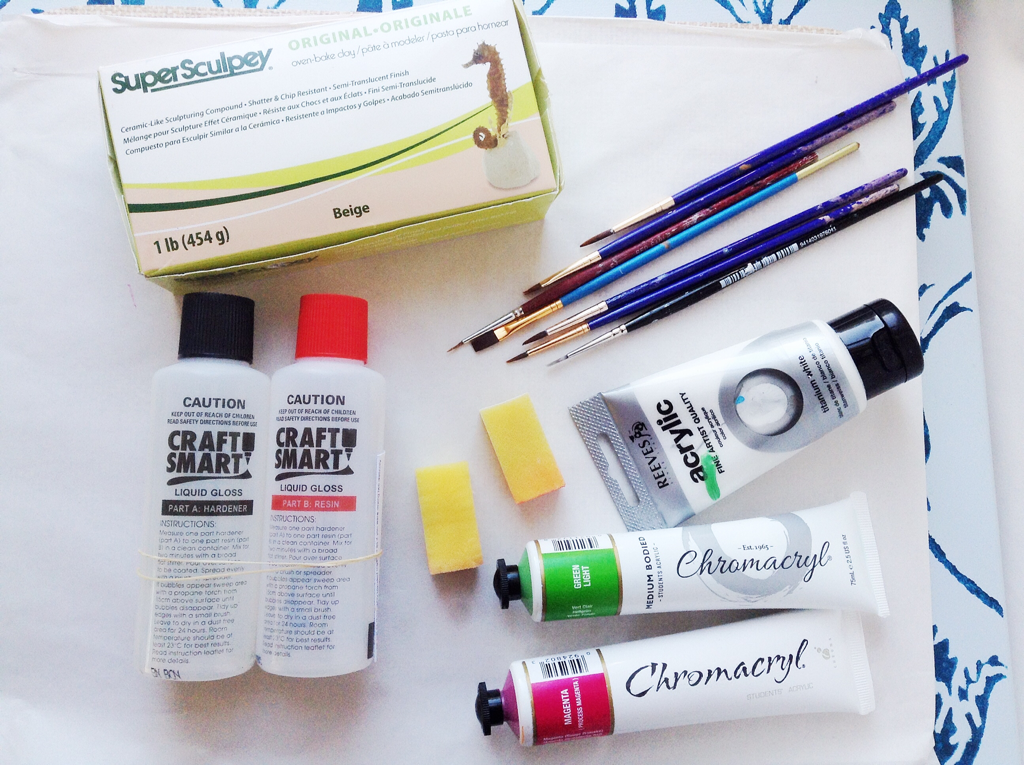
- Polymer clay
- Acrylic paint
- Varnish/resin
- Sculpting tools, craft knife, paint brushes
Making the bookmarks
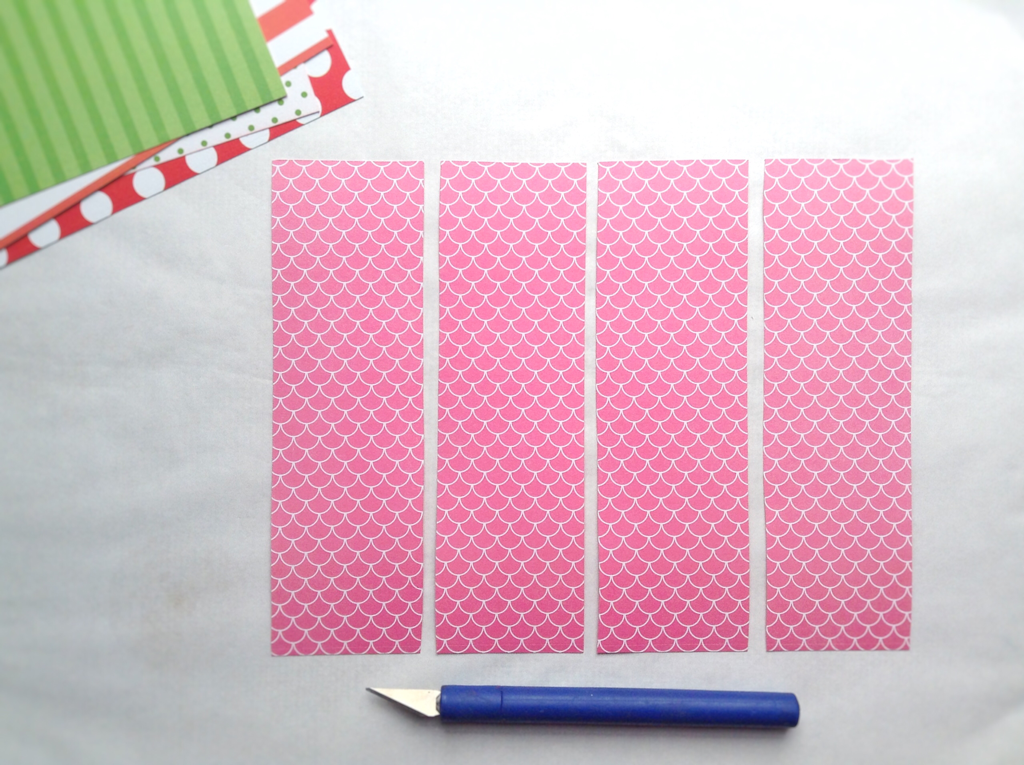
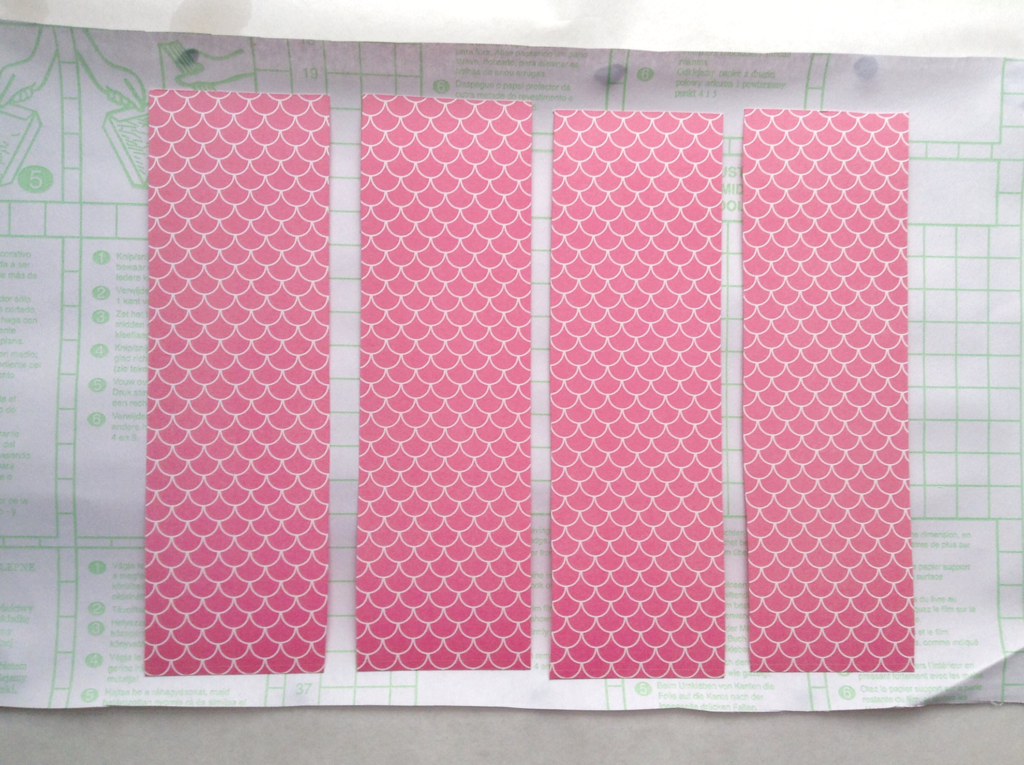
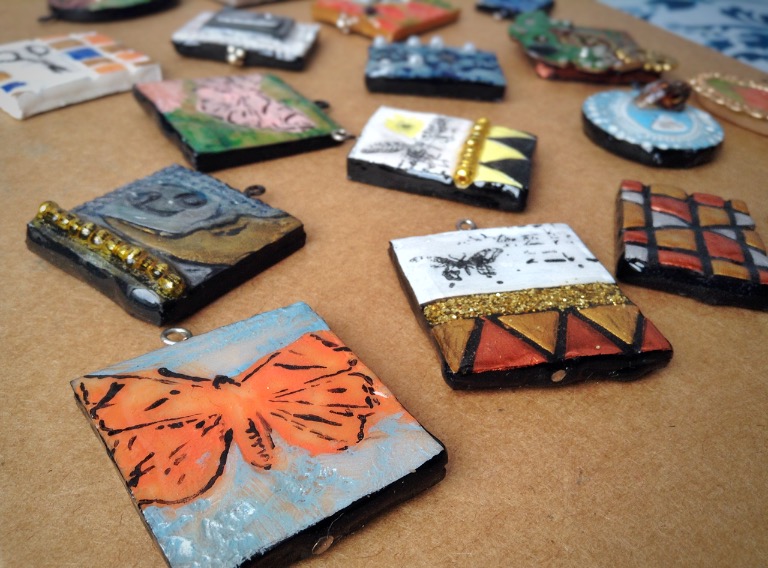
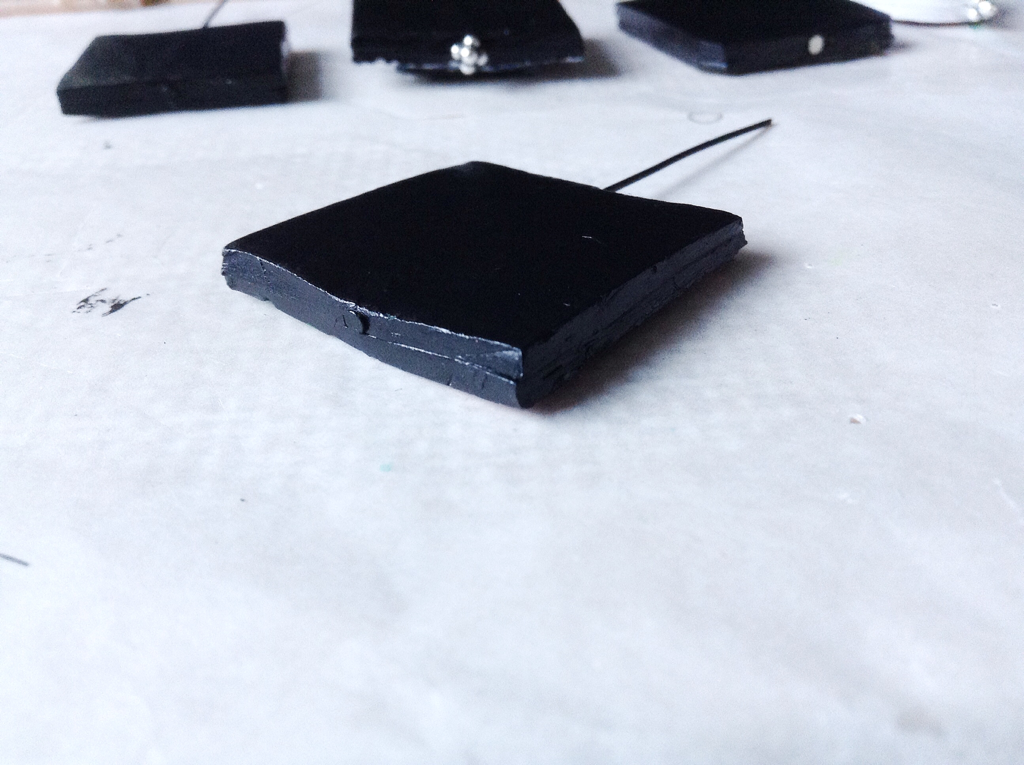
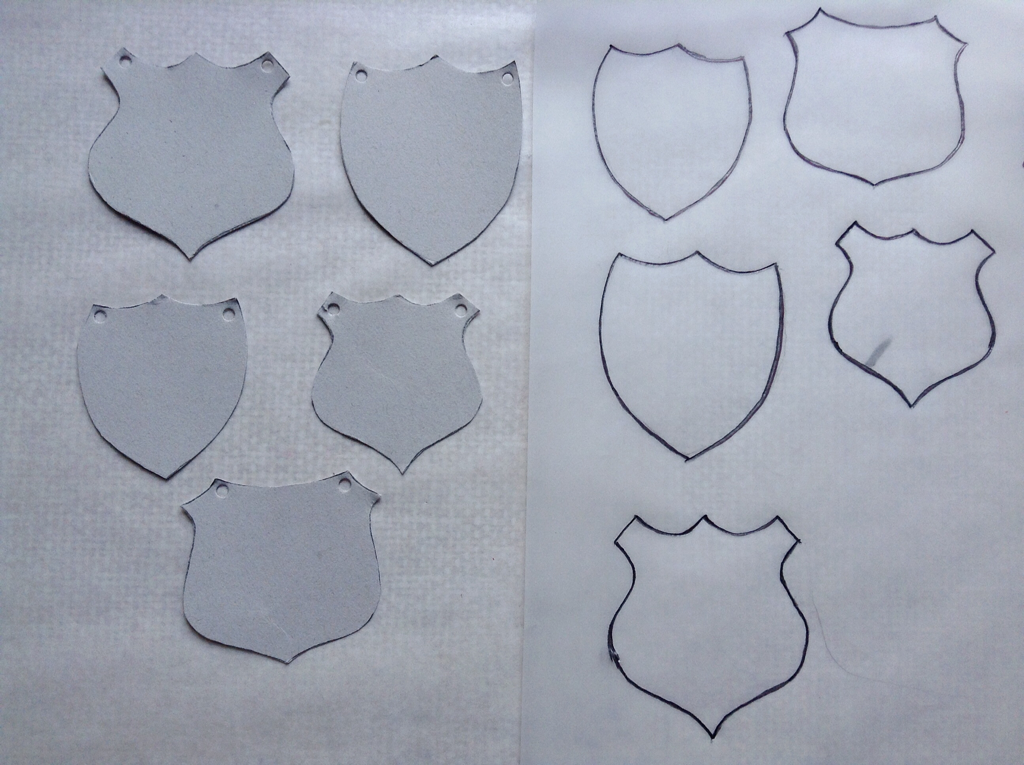
Cut card into long rectangles about just big enough to slip into a small paperback.
 | 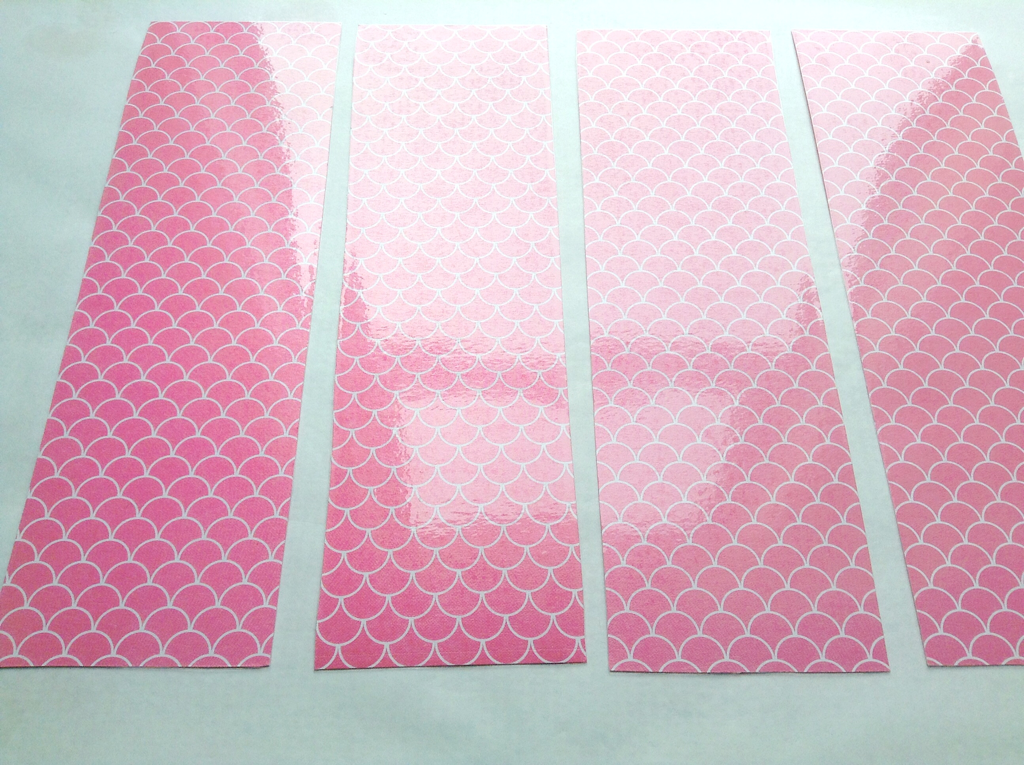 |
Cover both sides of card in clear duraseal/book covering.
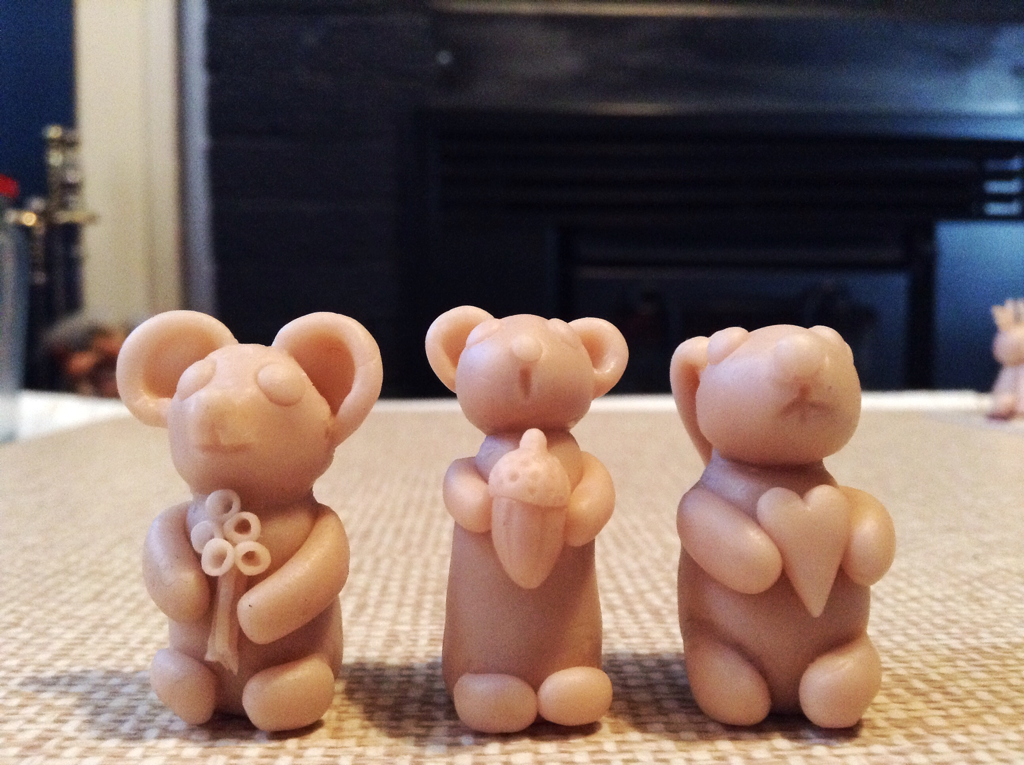 |  |
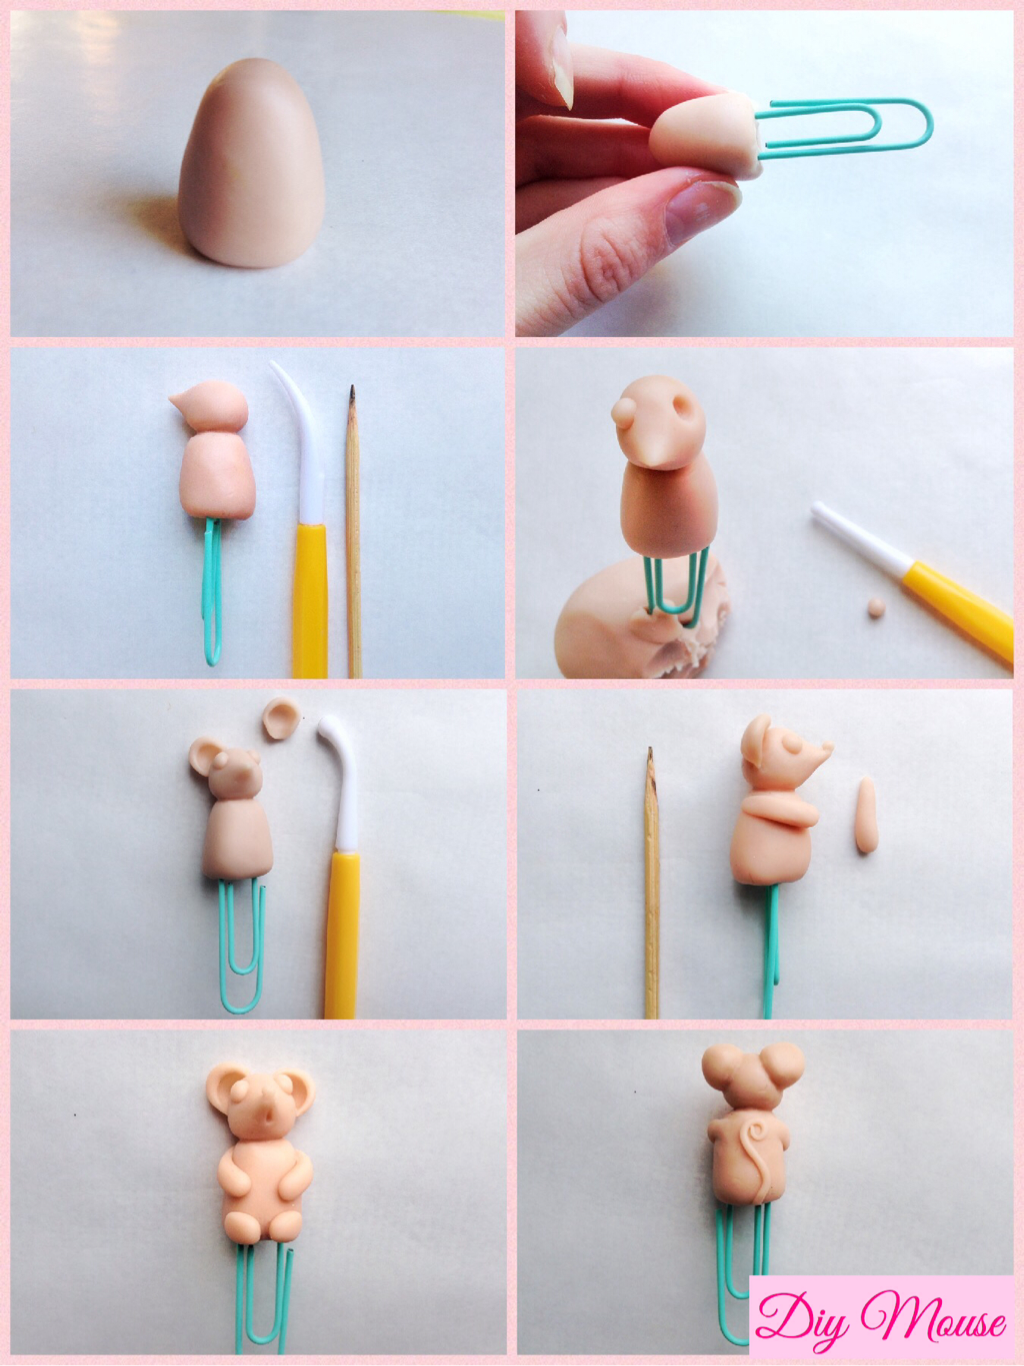
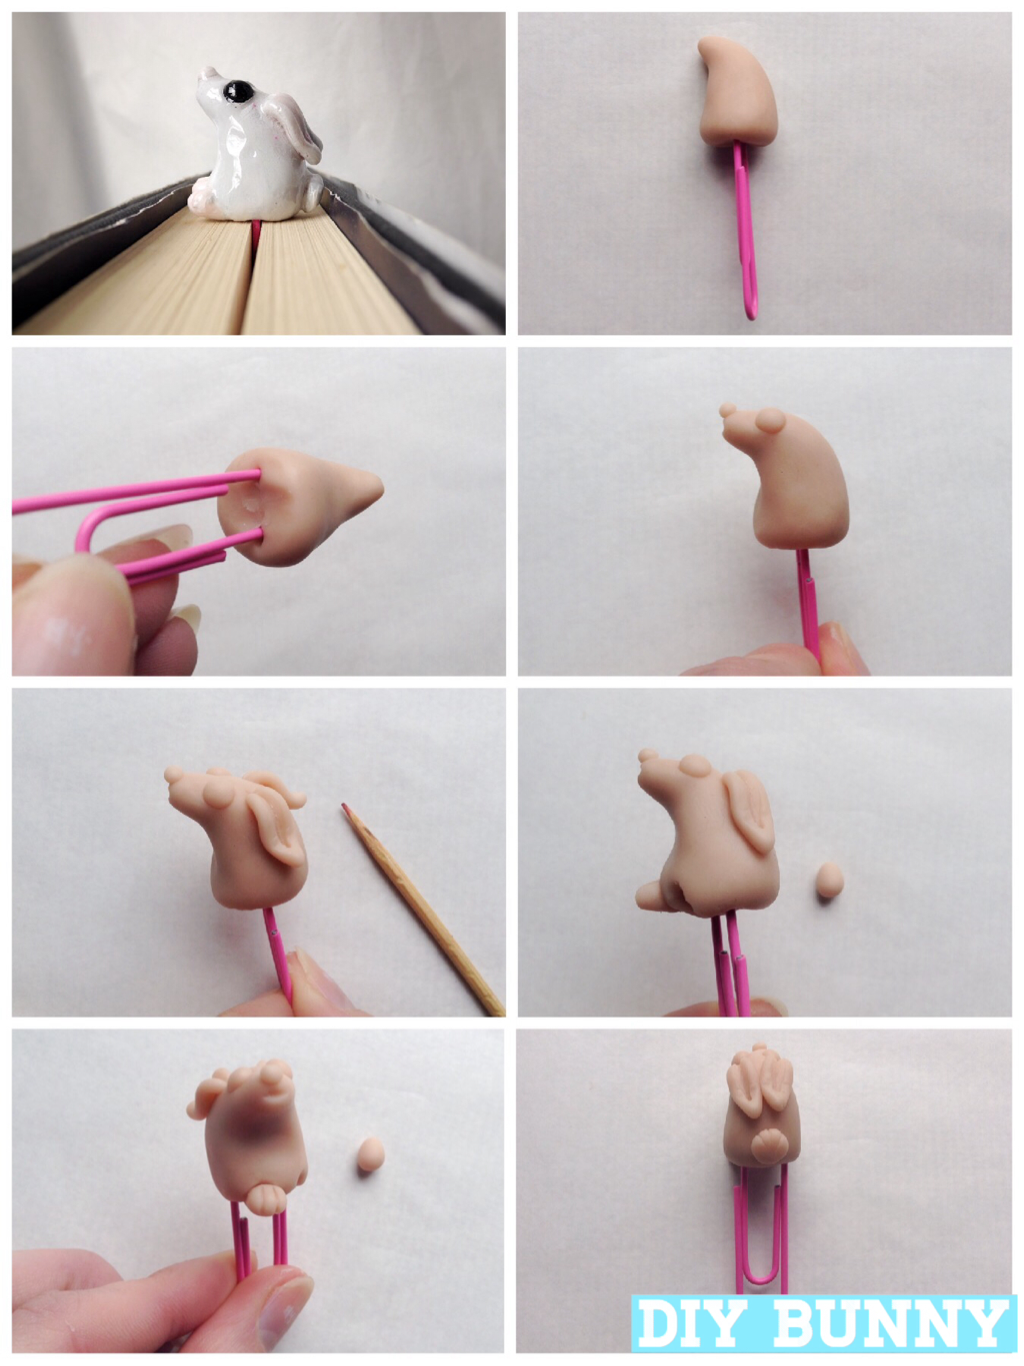
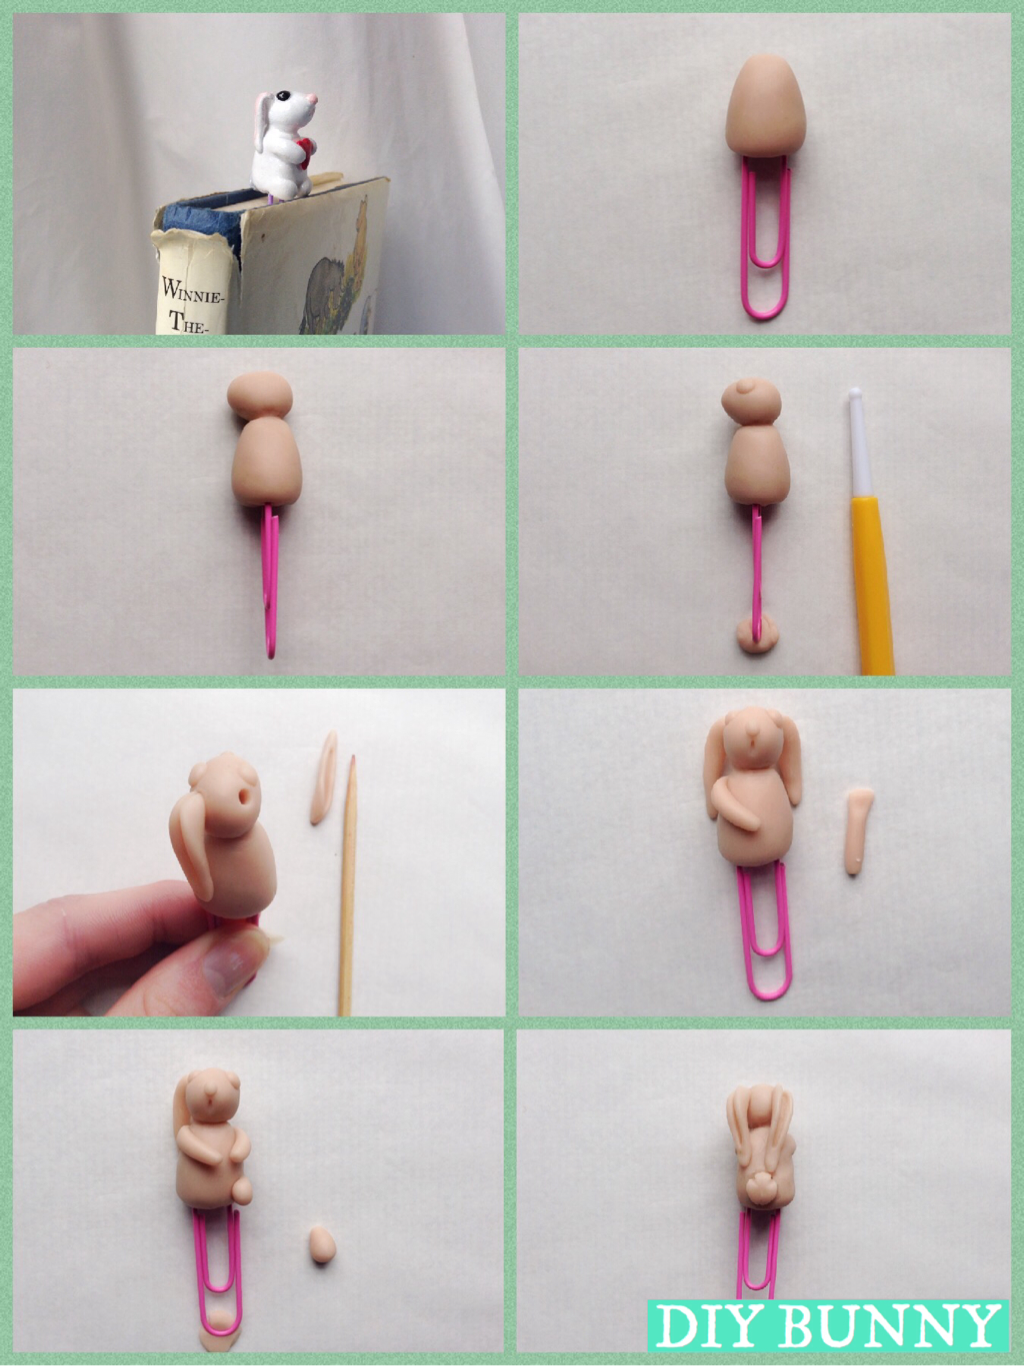
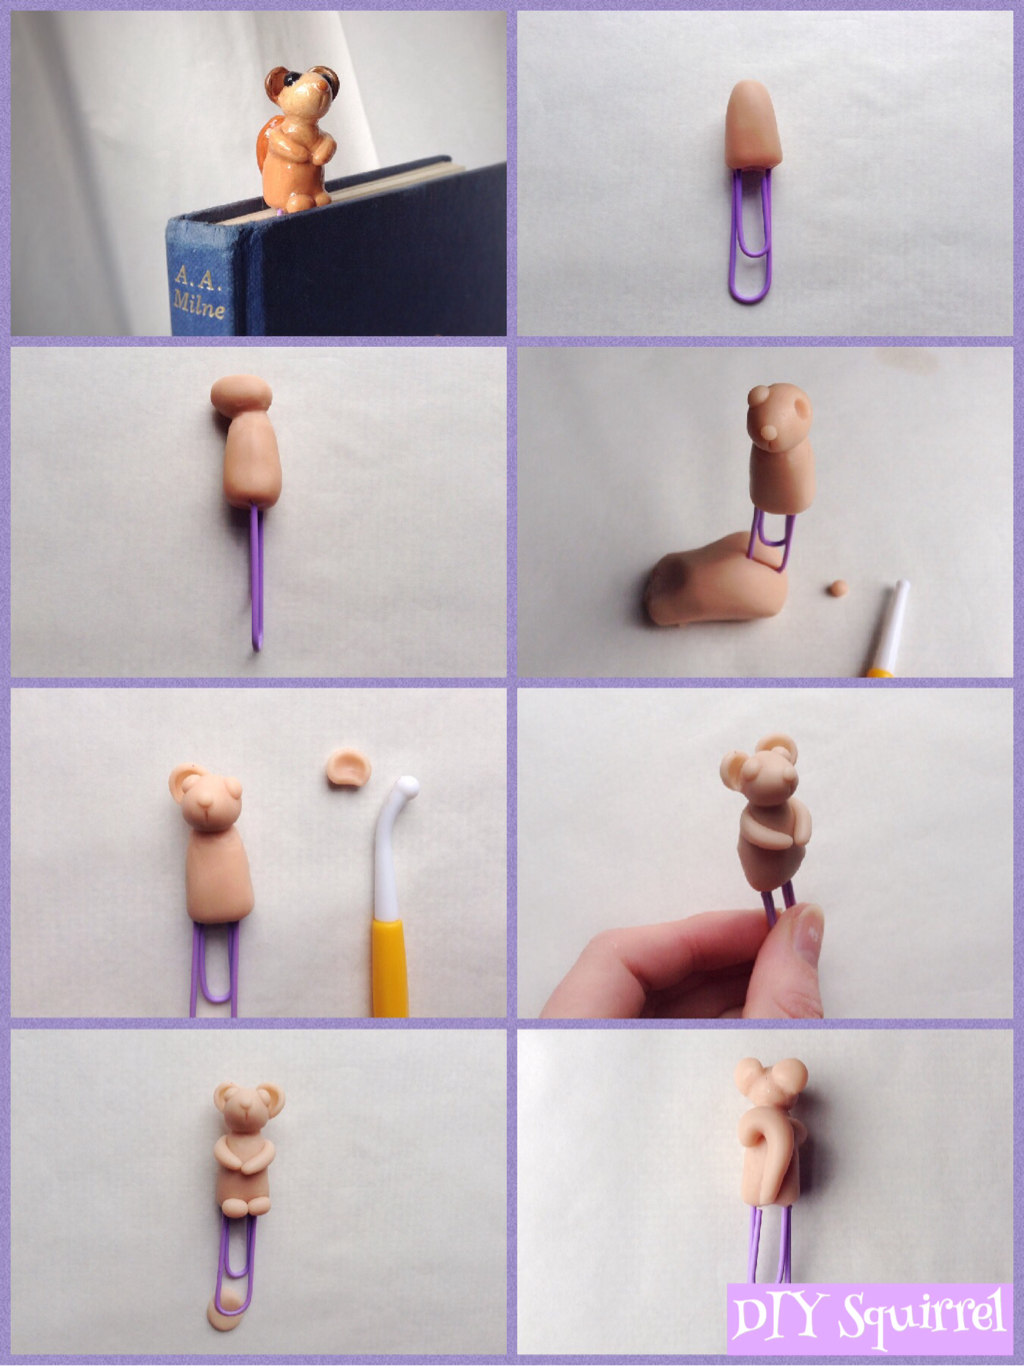
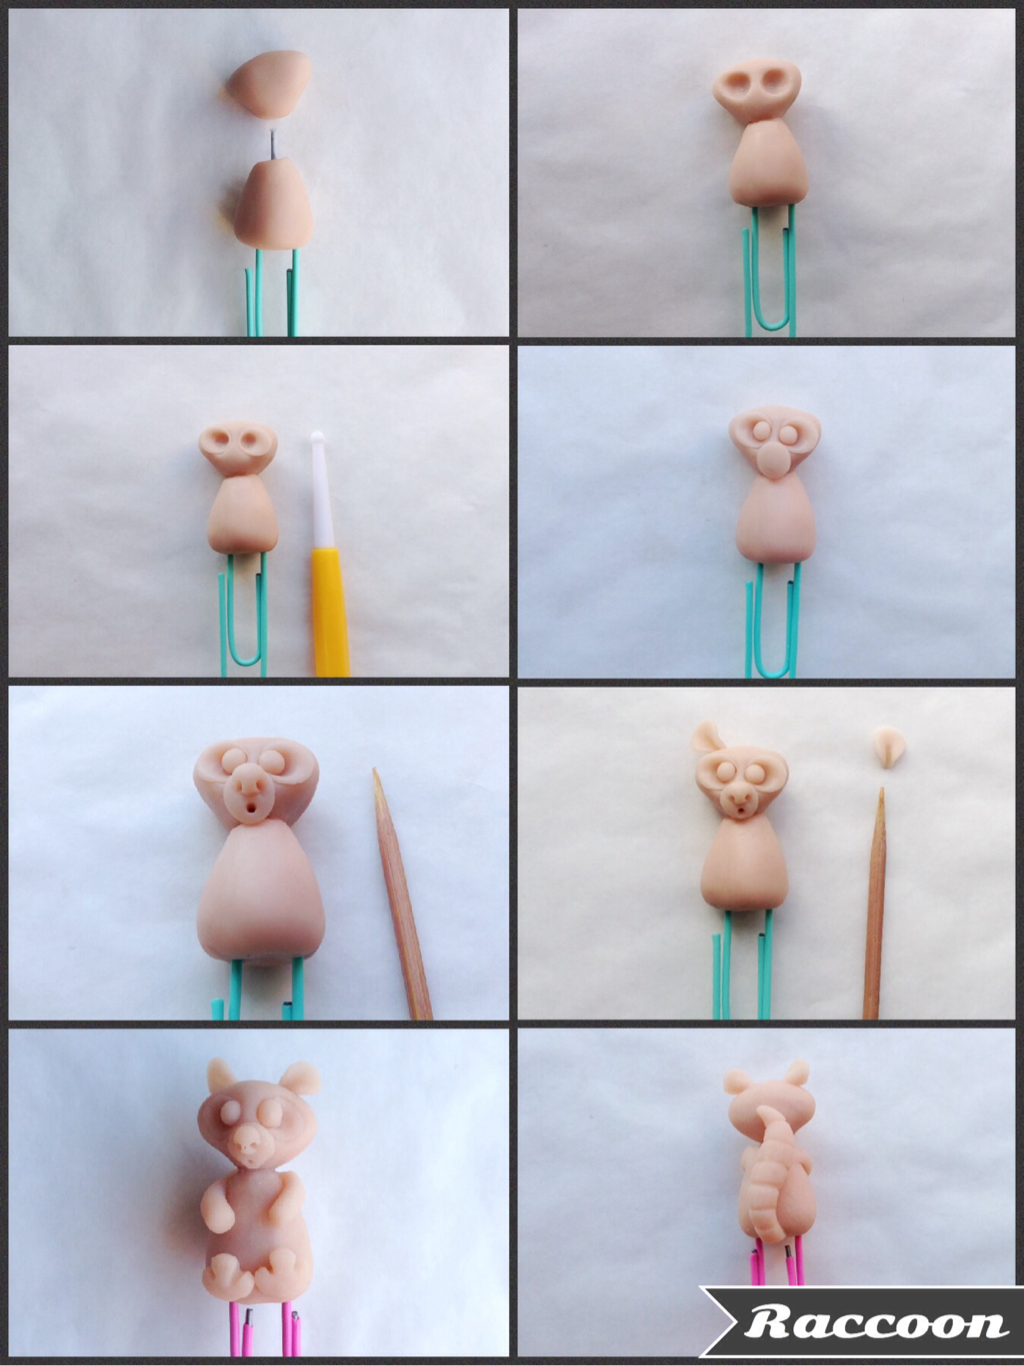
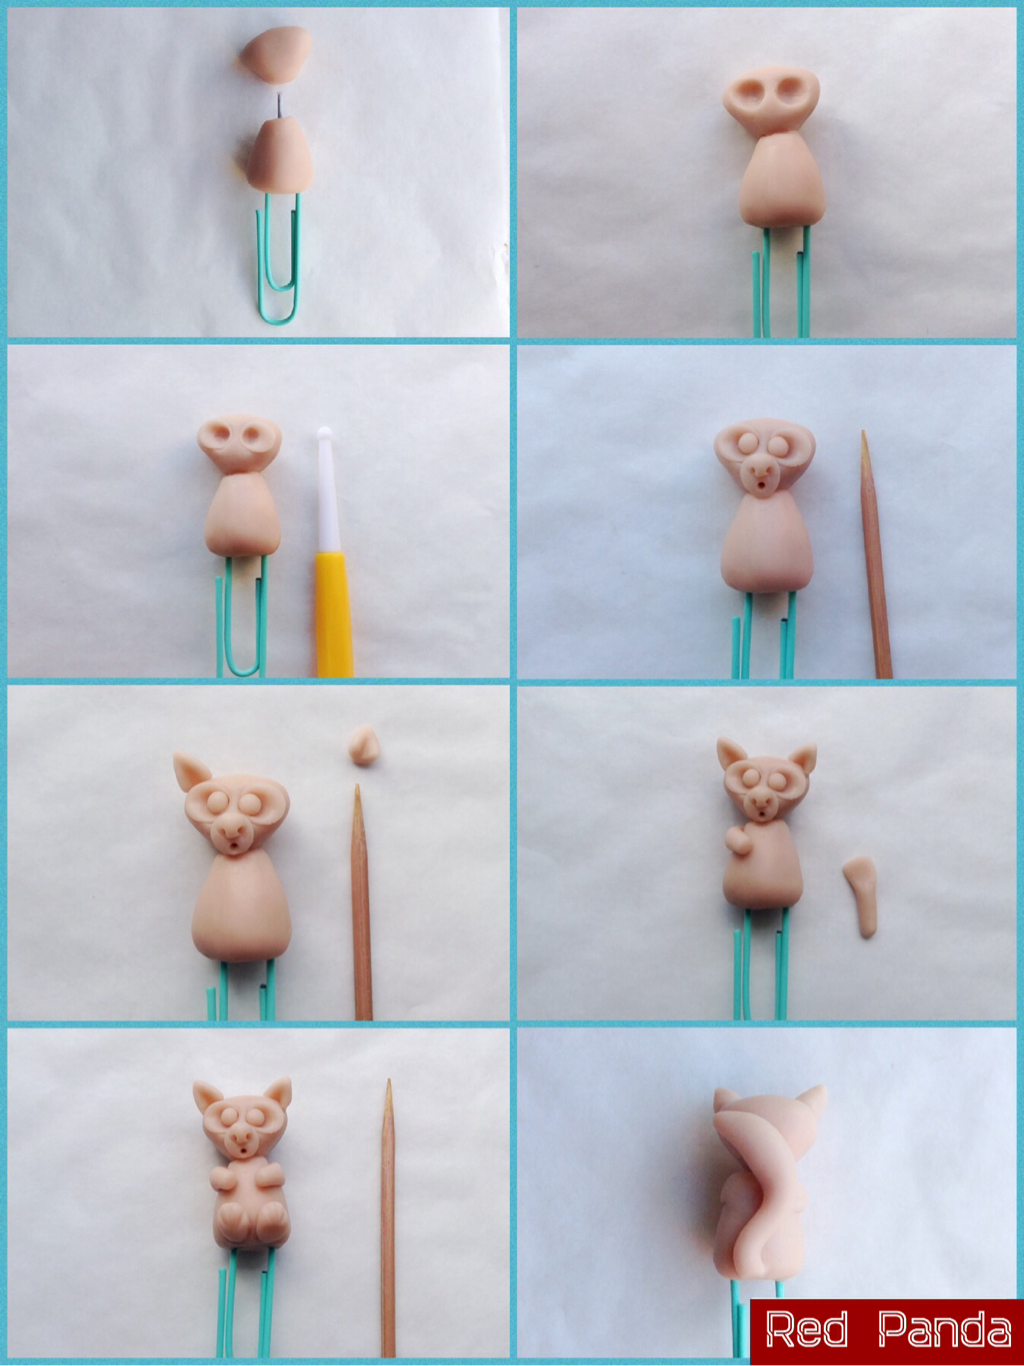
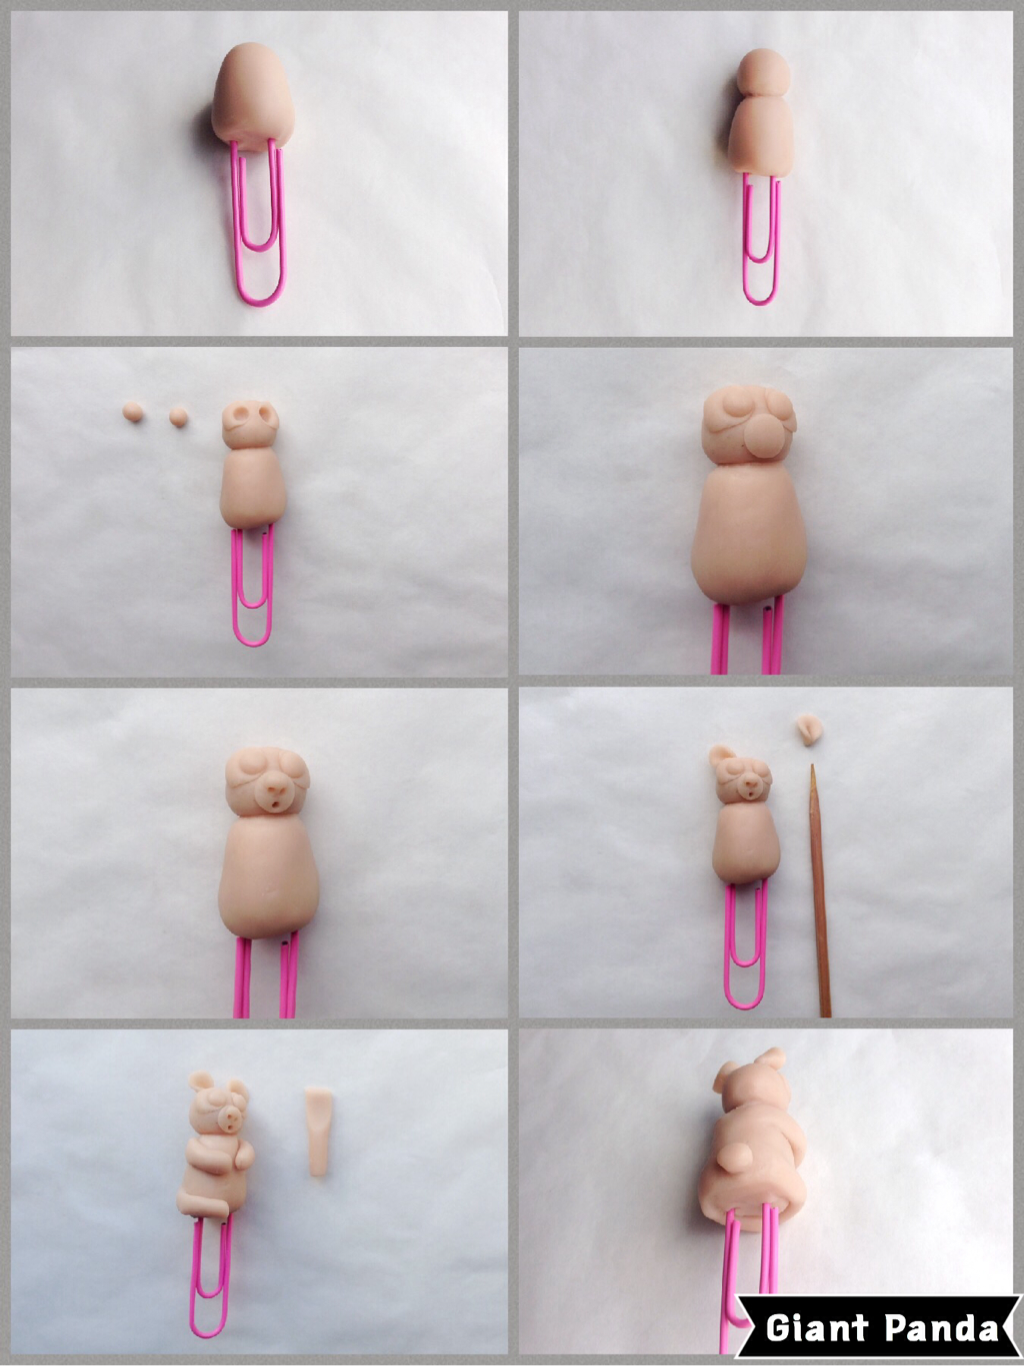
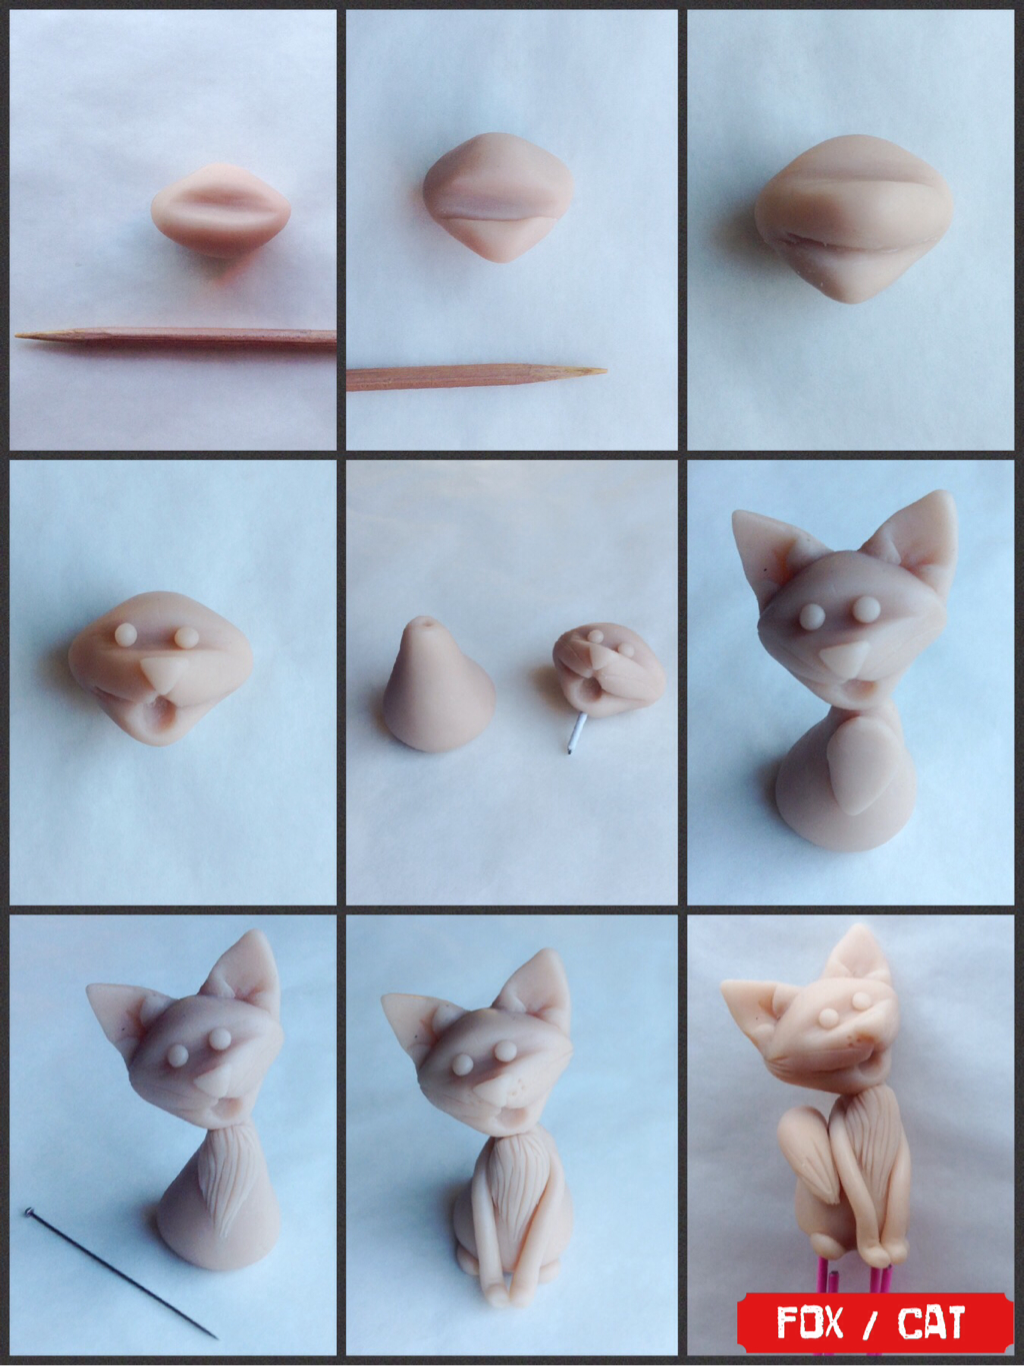
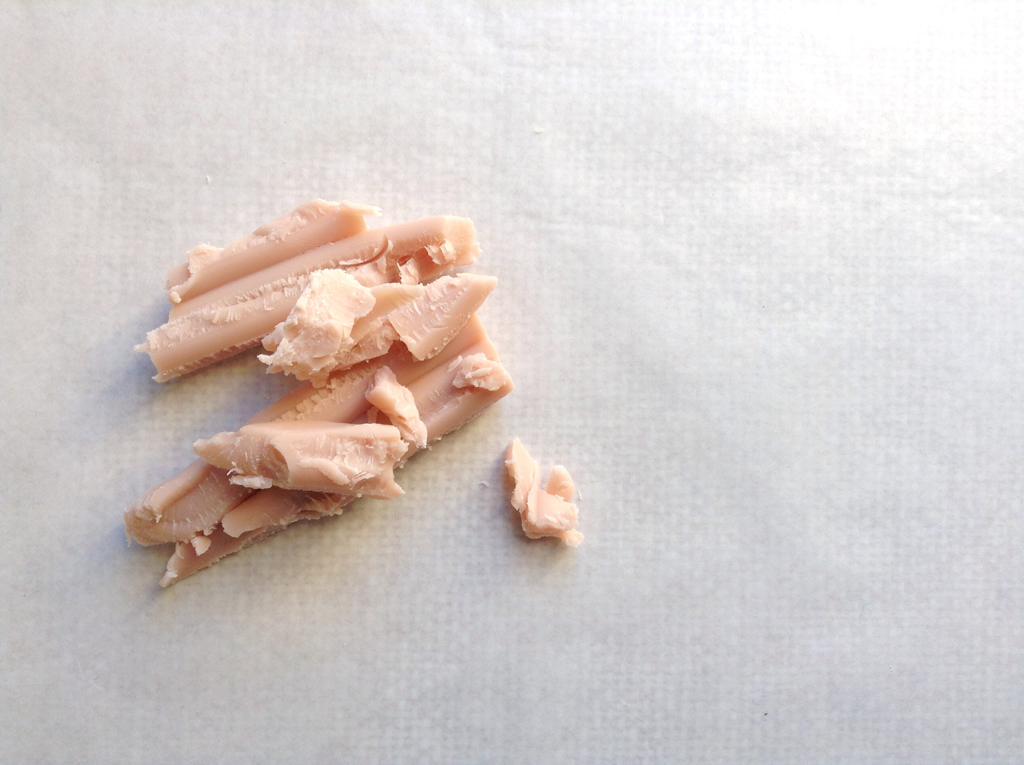
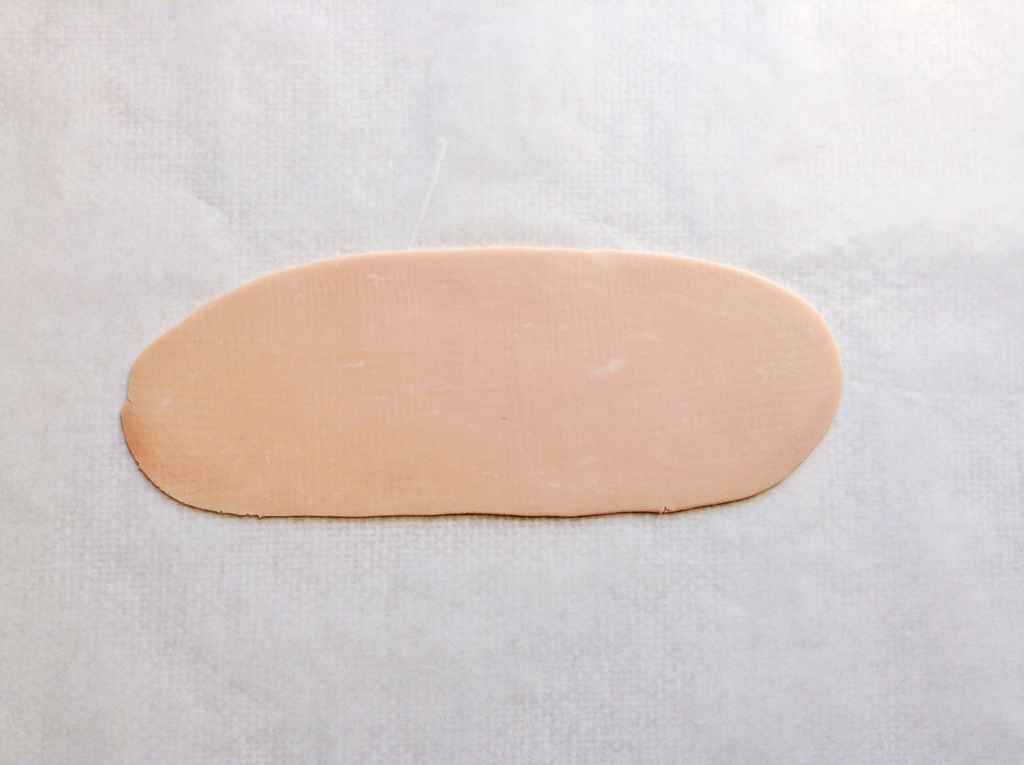
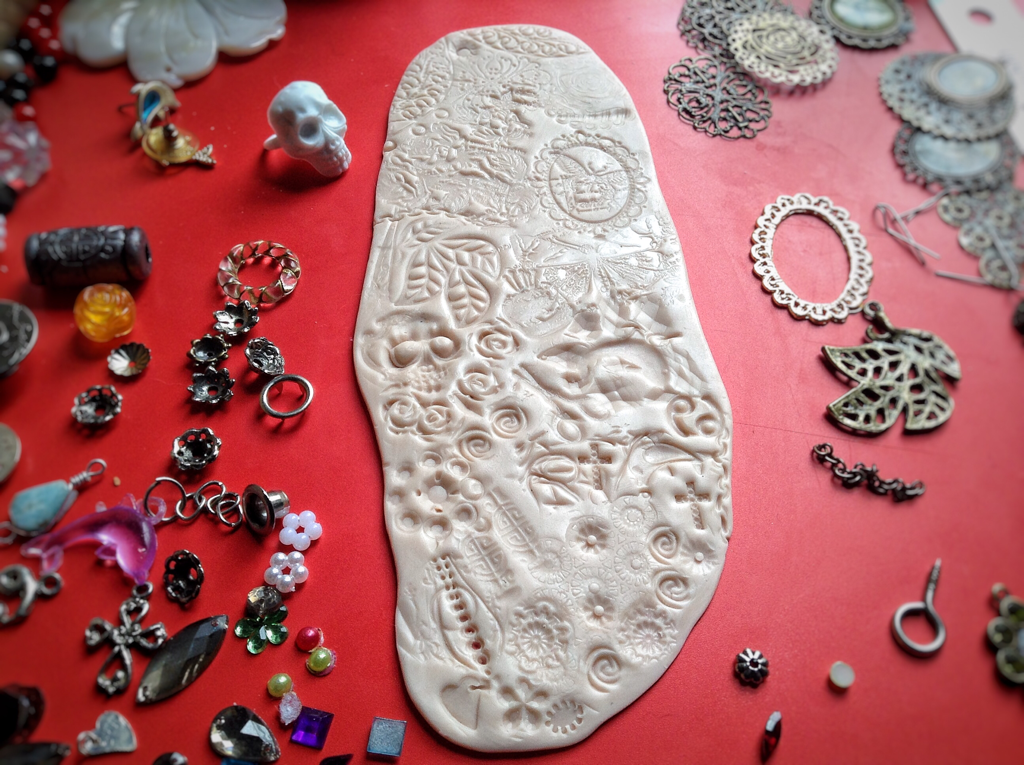
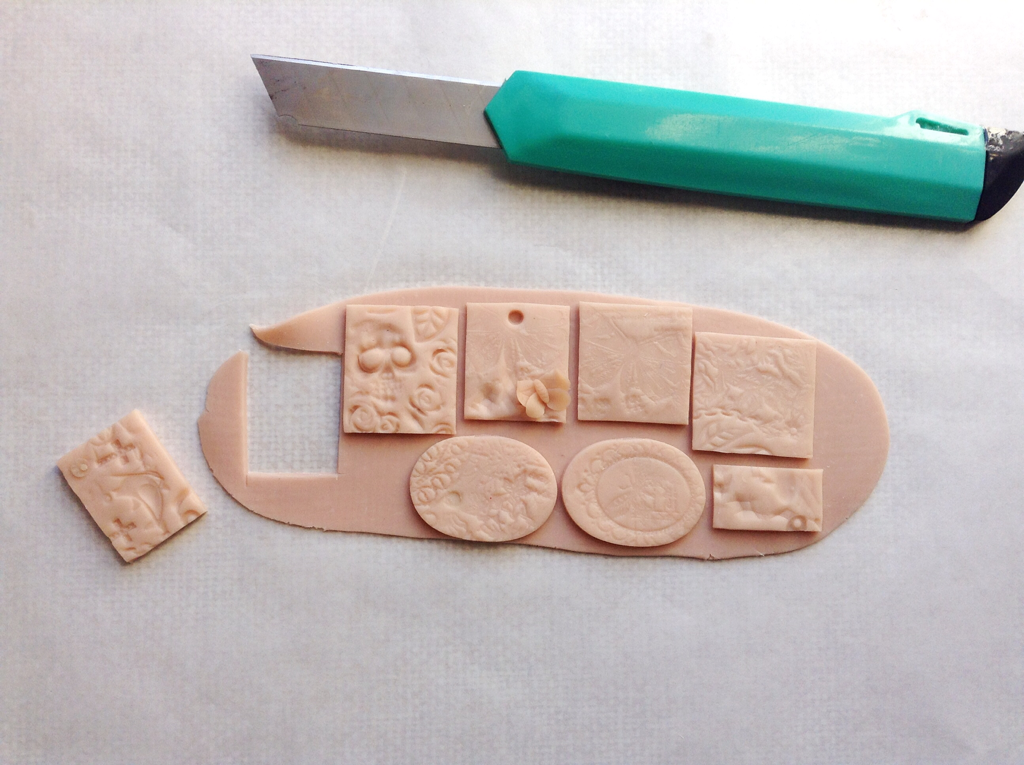
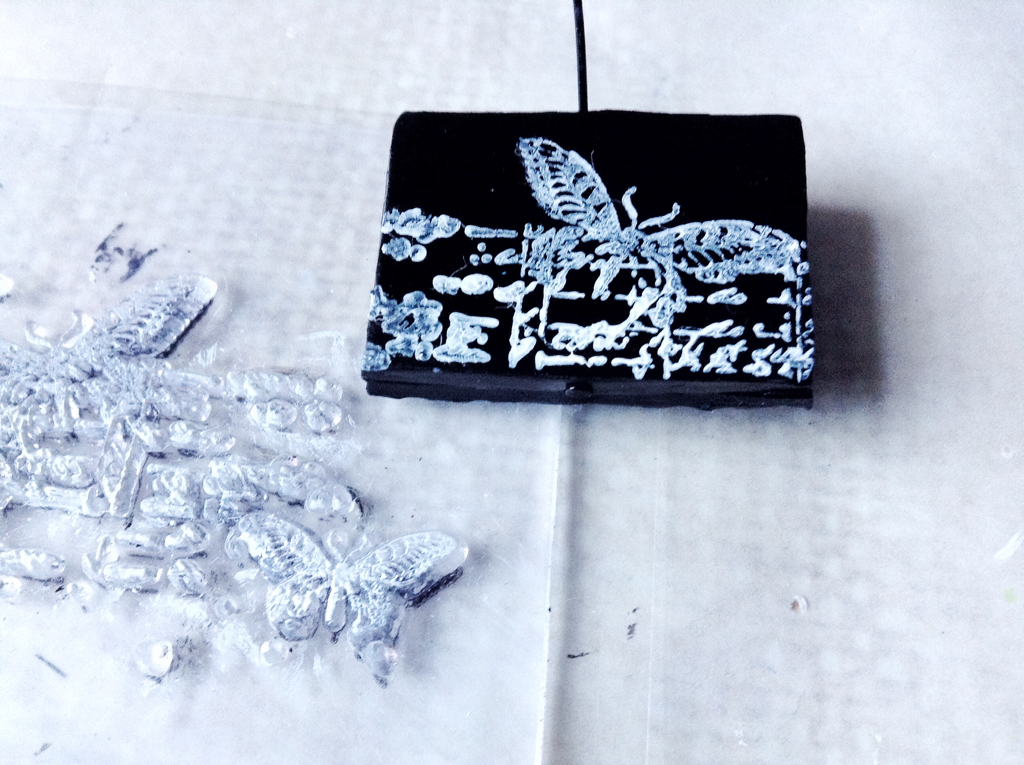
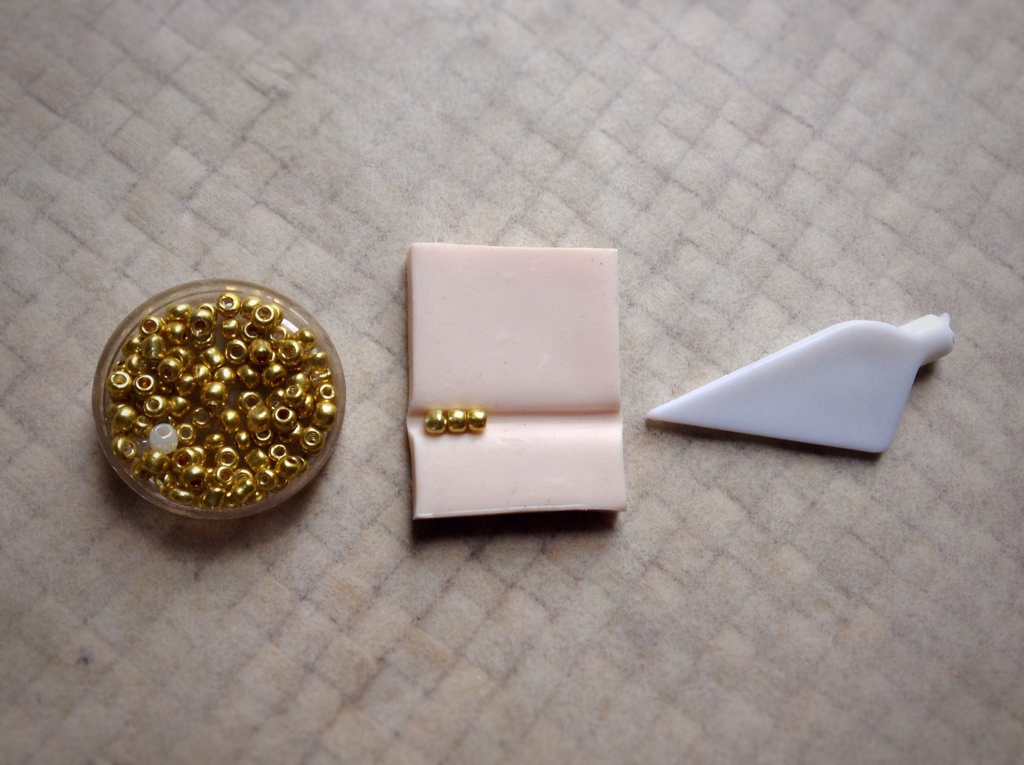
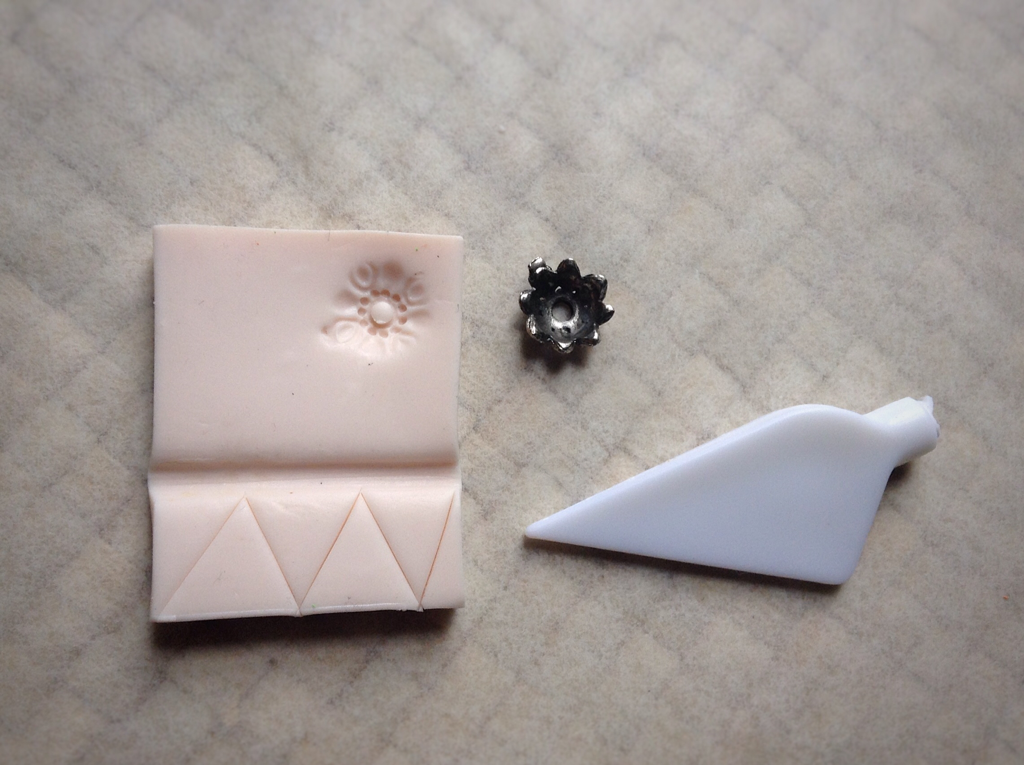
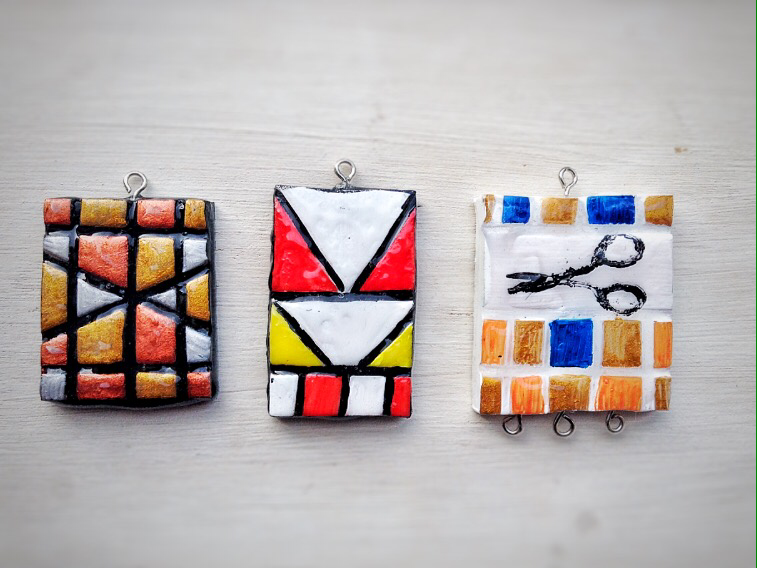
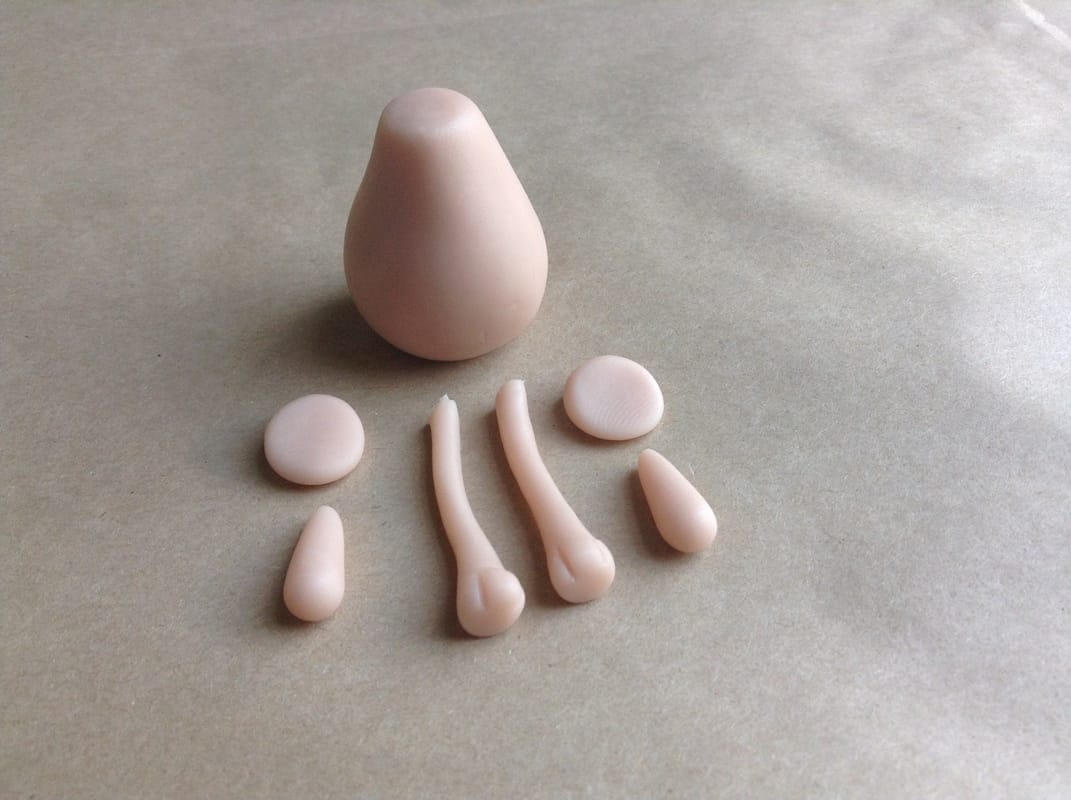
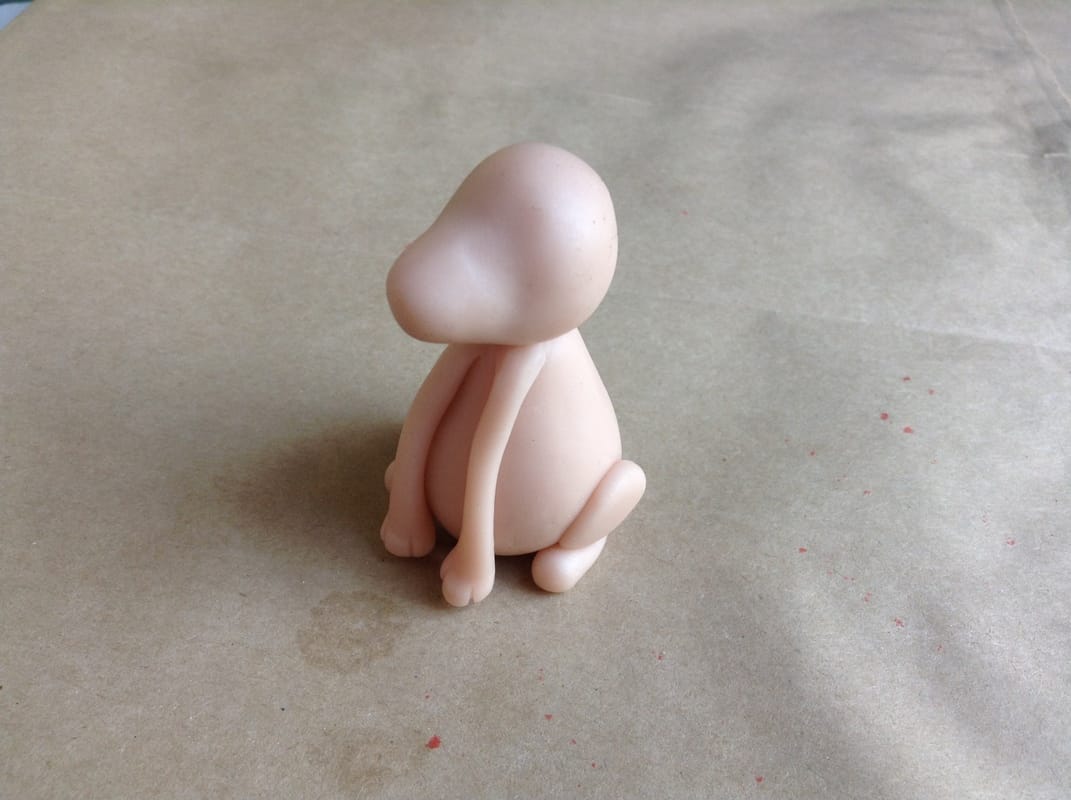
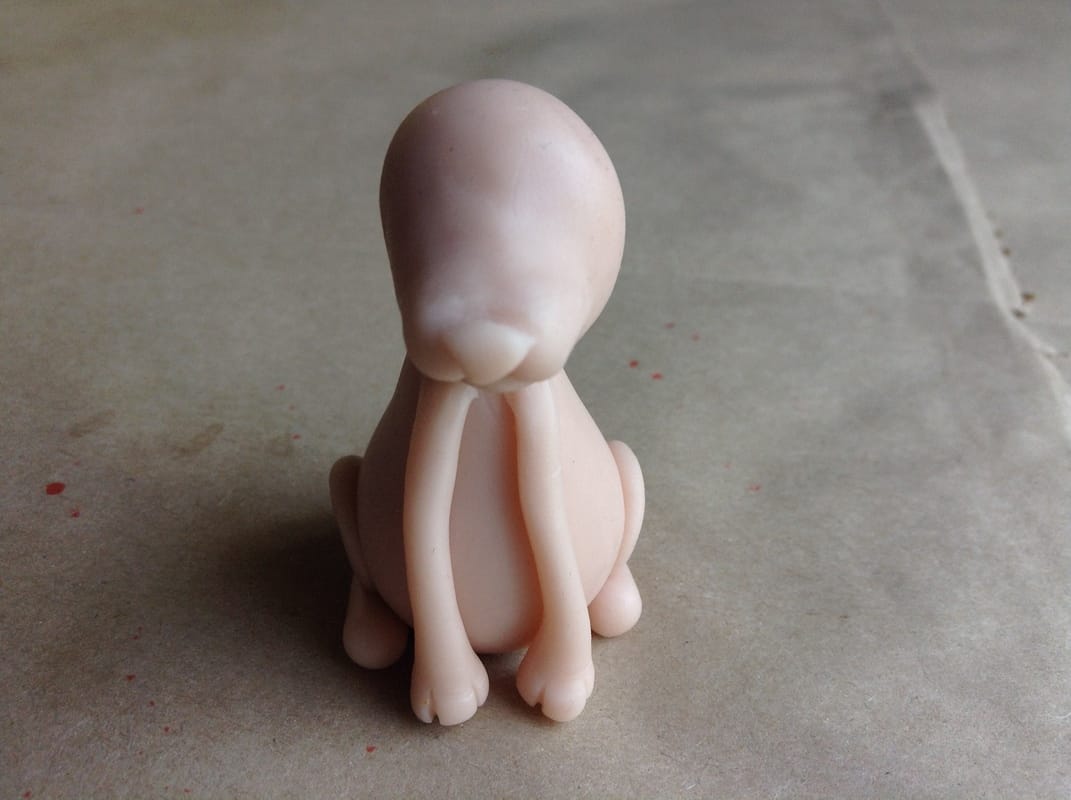
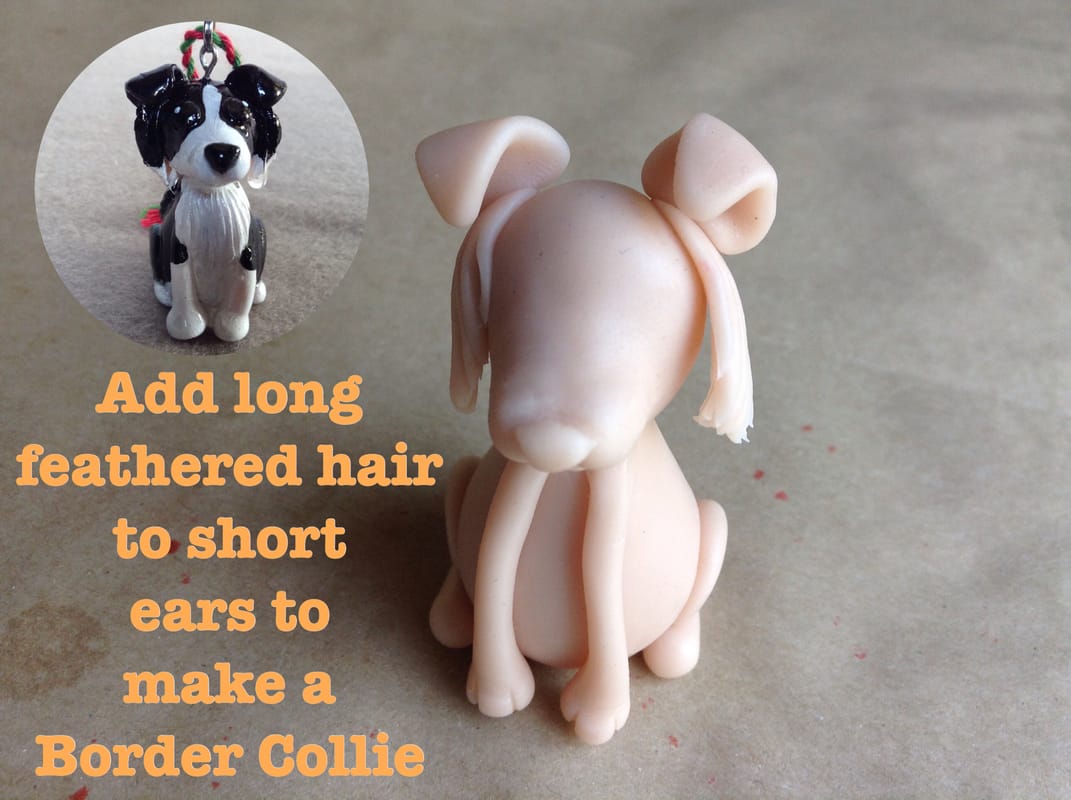
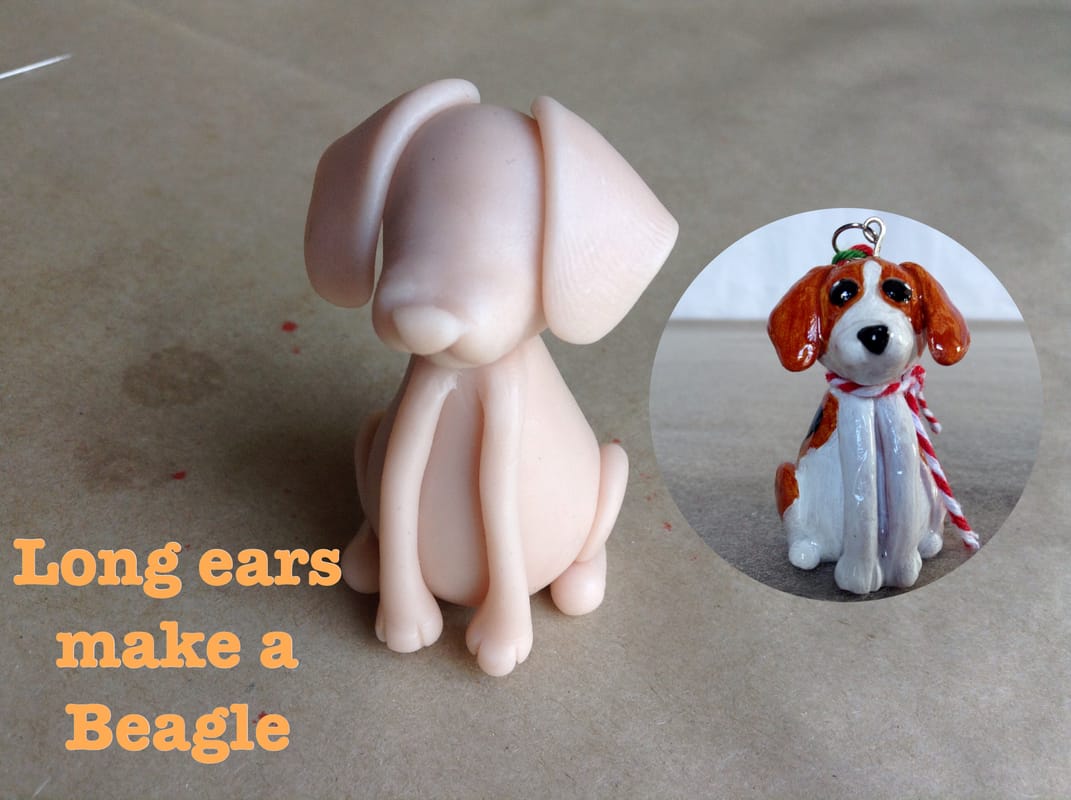
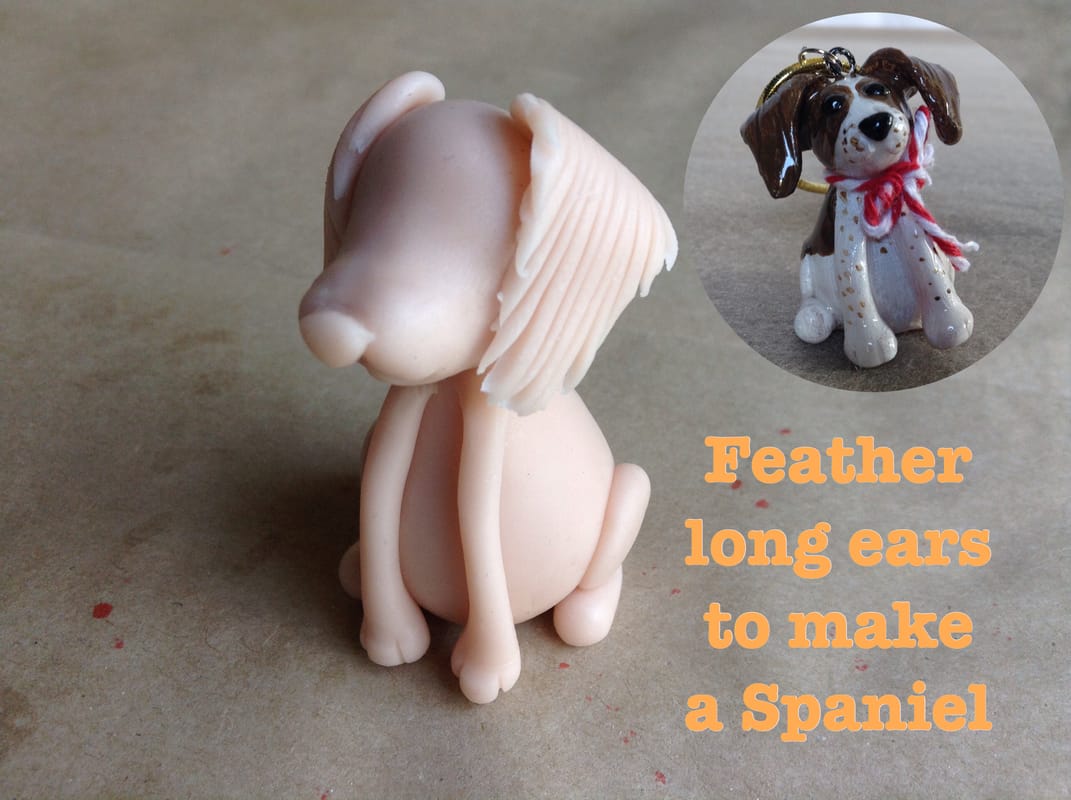
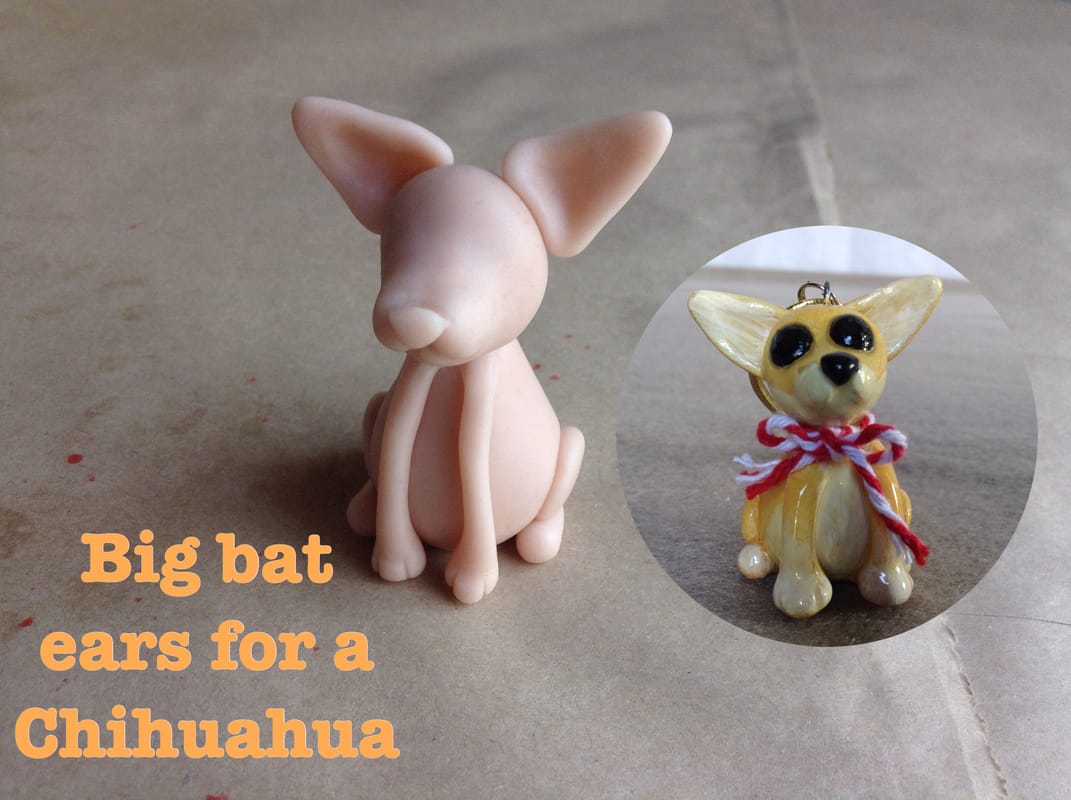
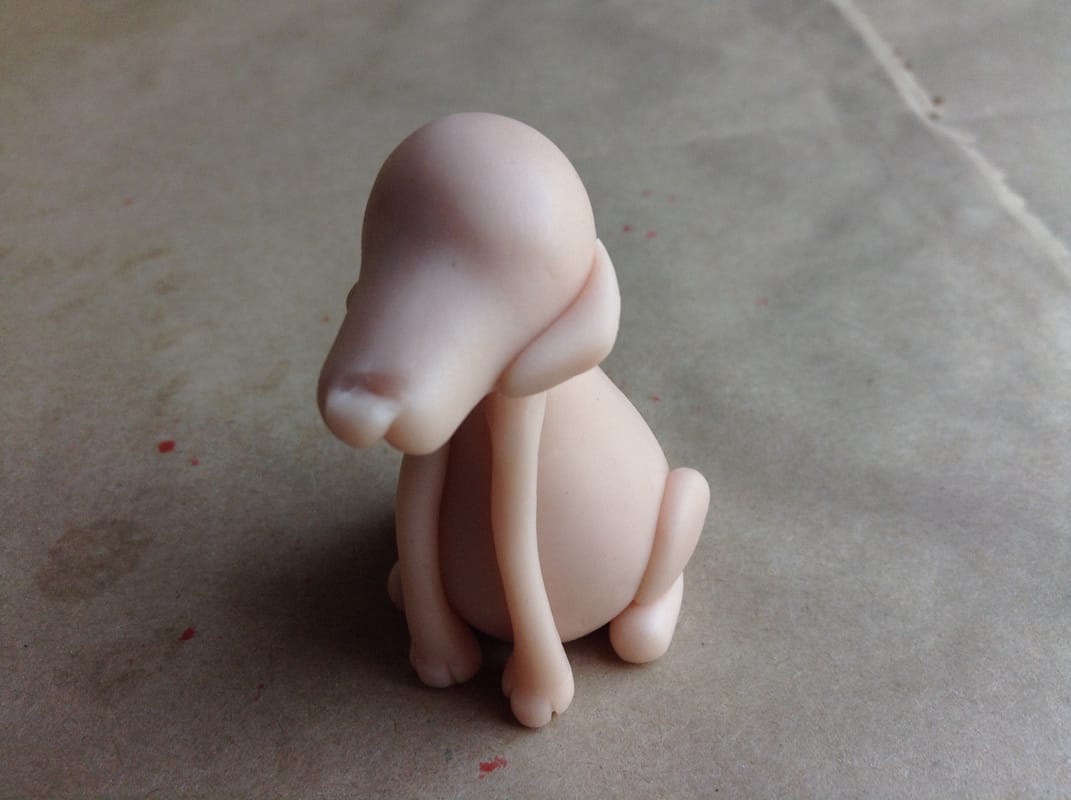
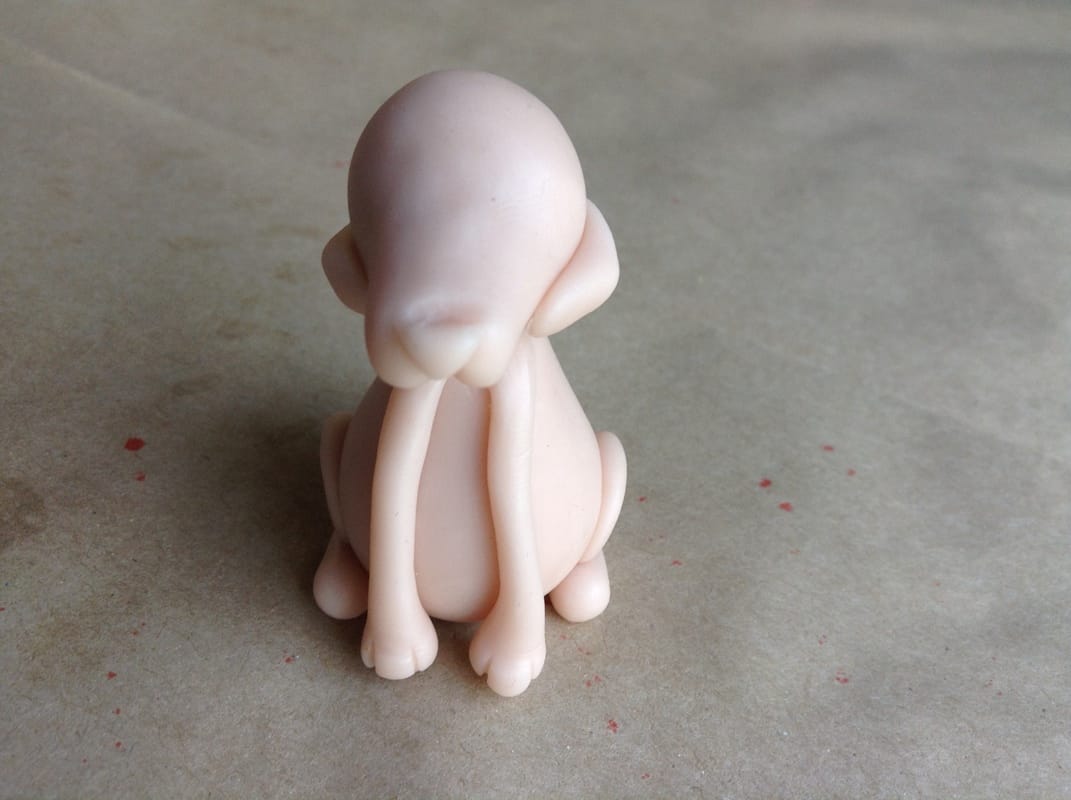
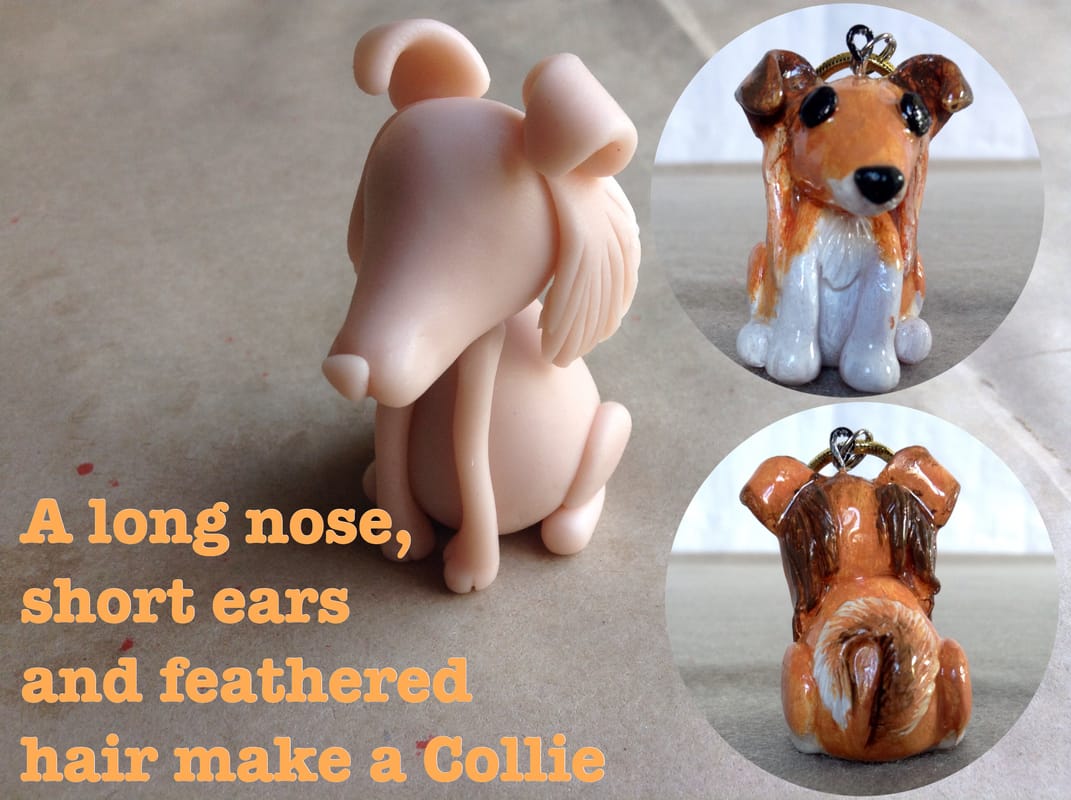
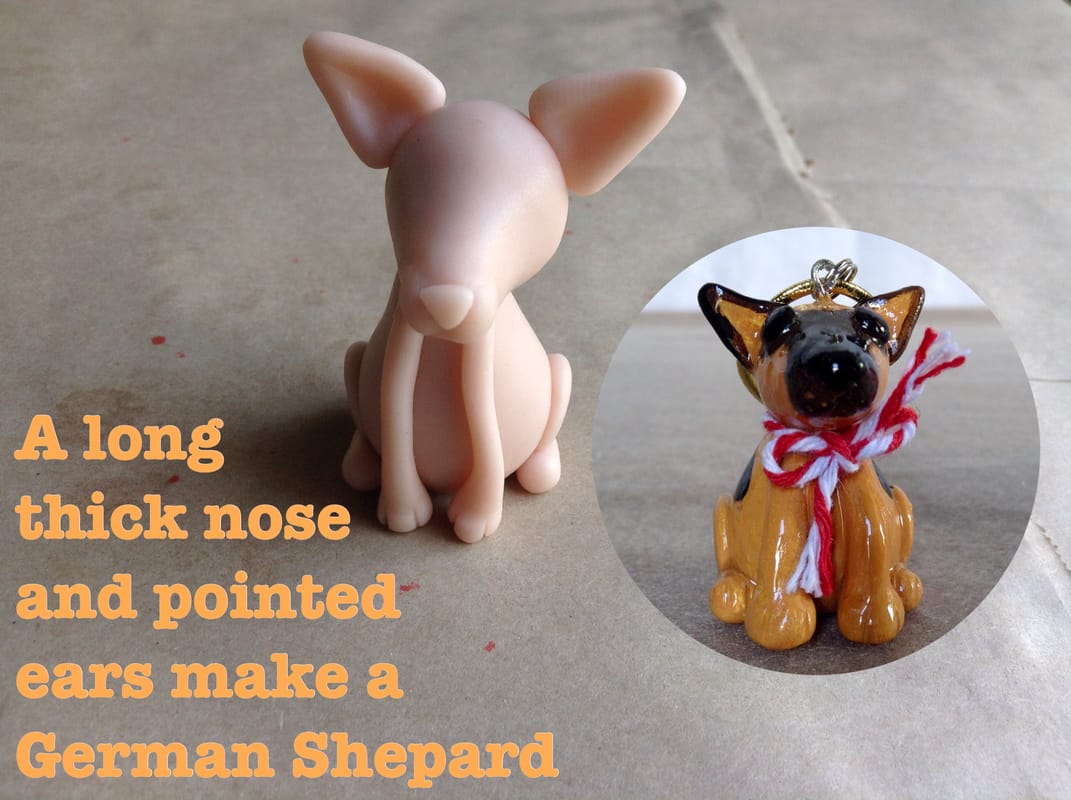
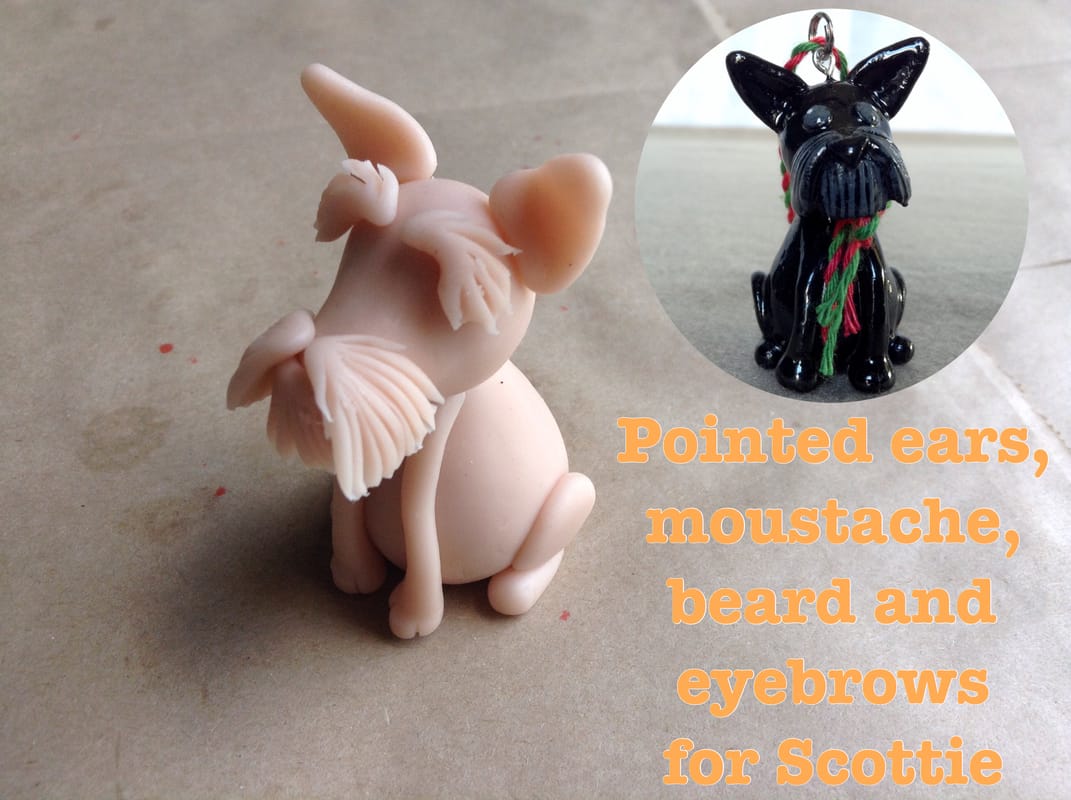
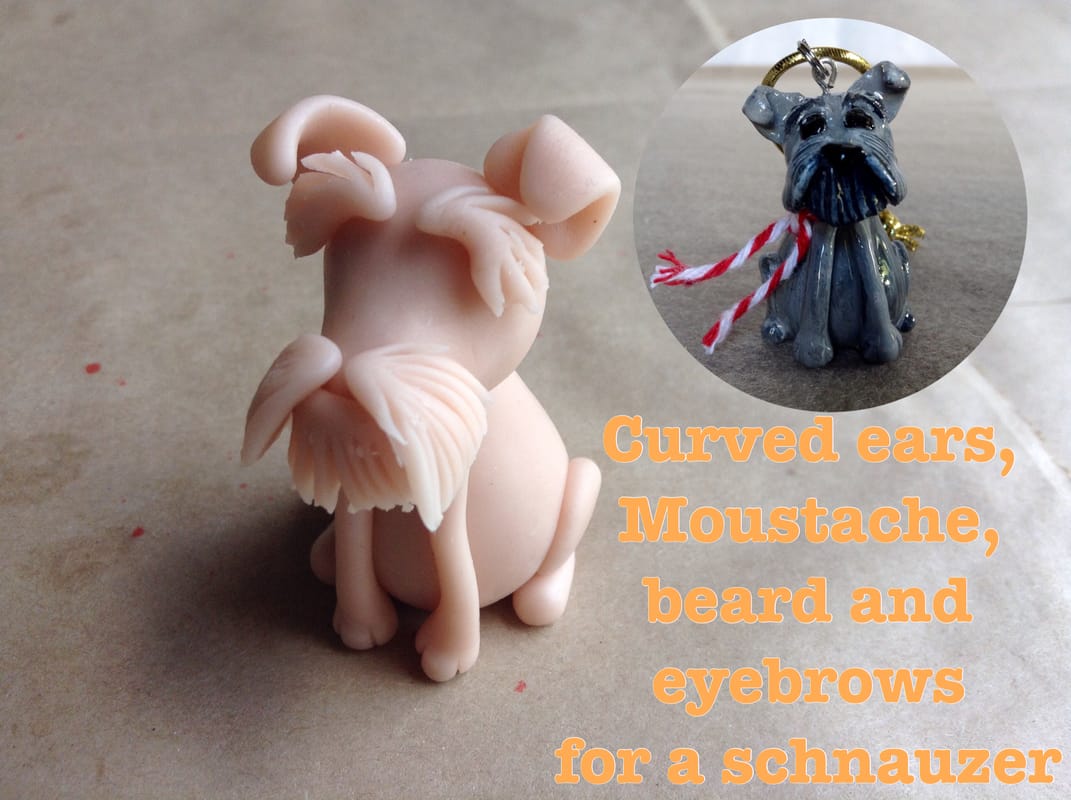
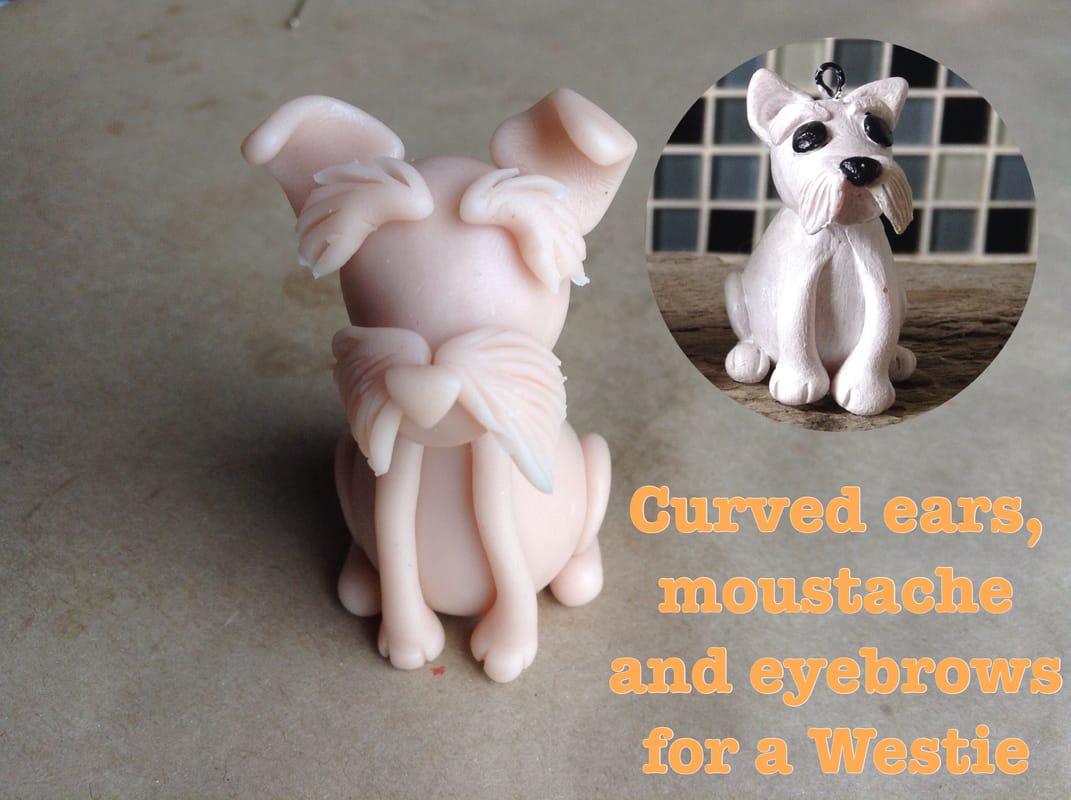
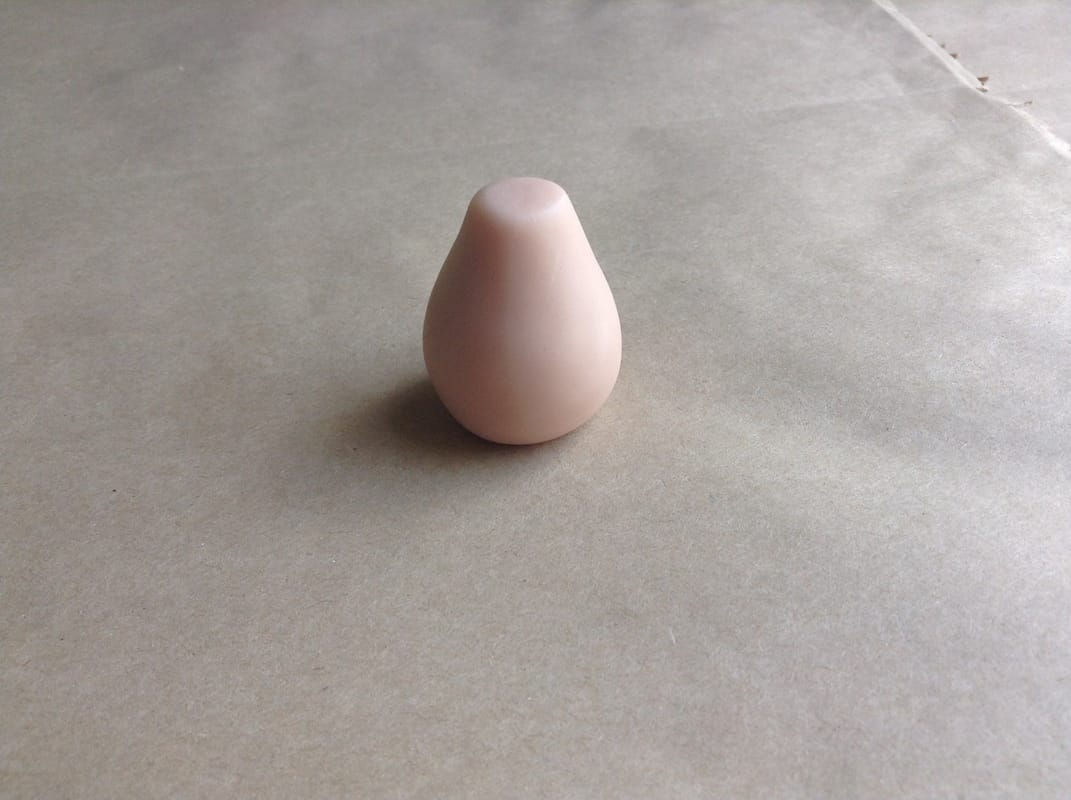
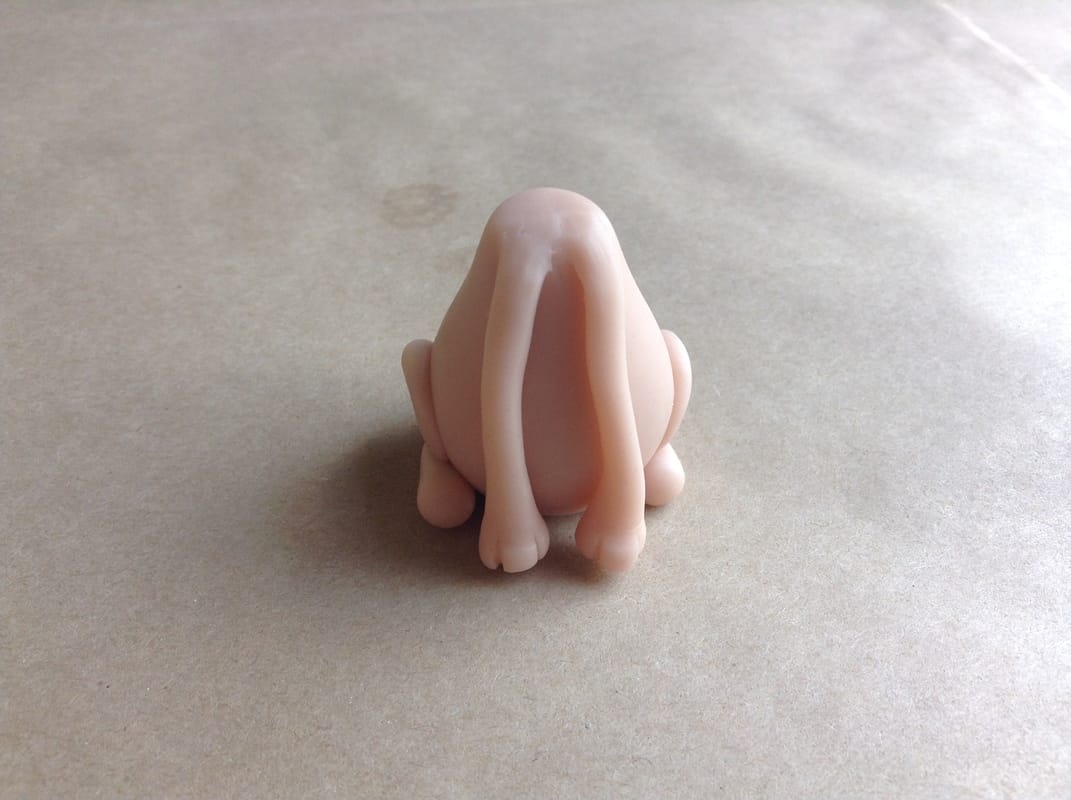
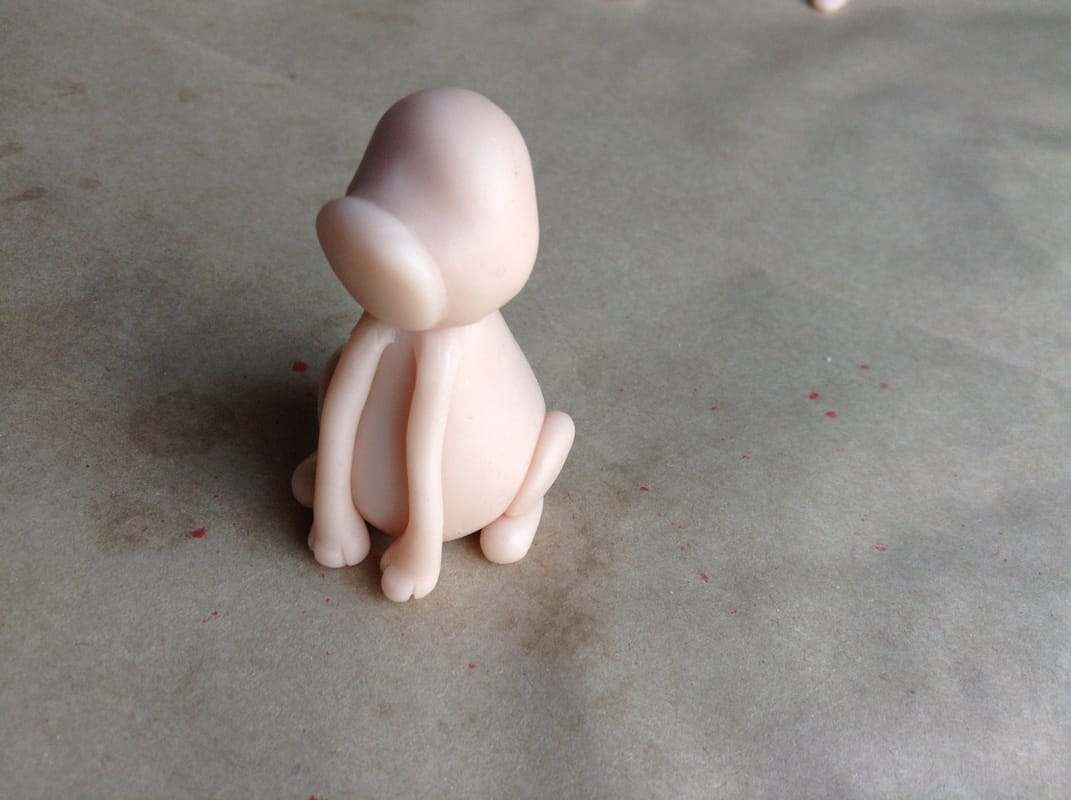
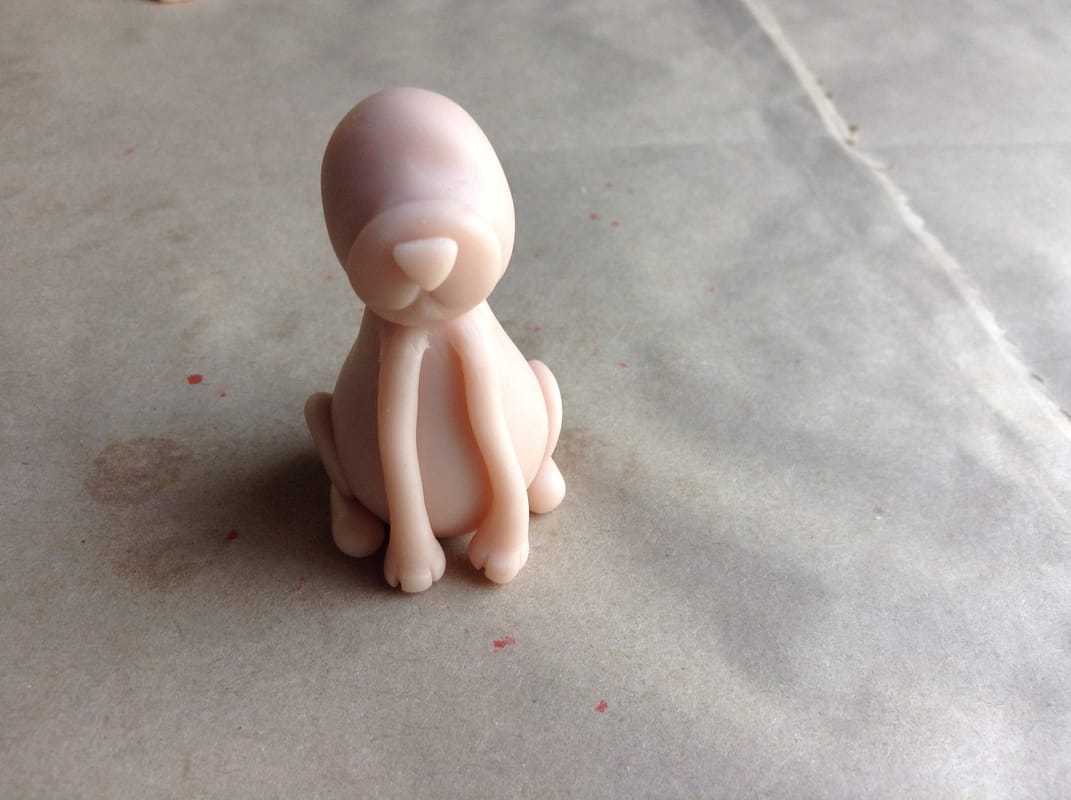
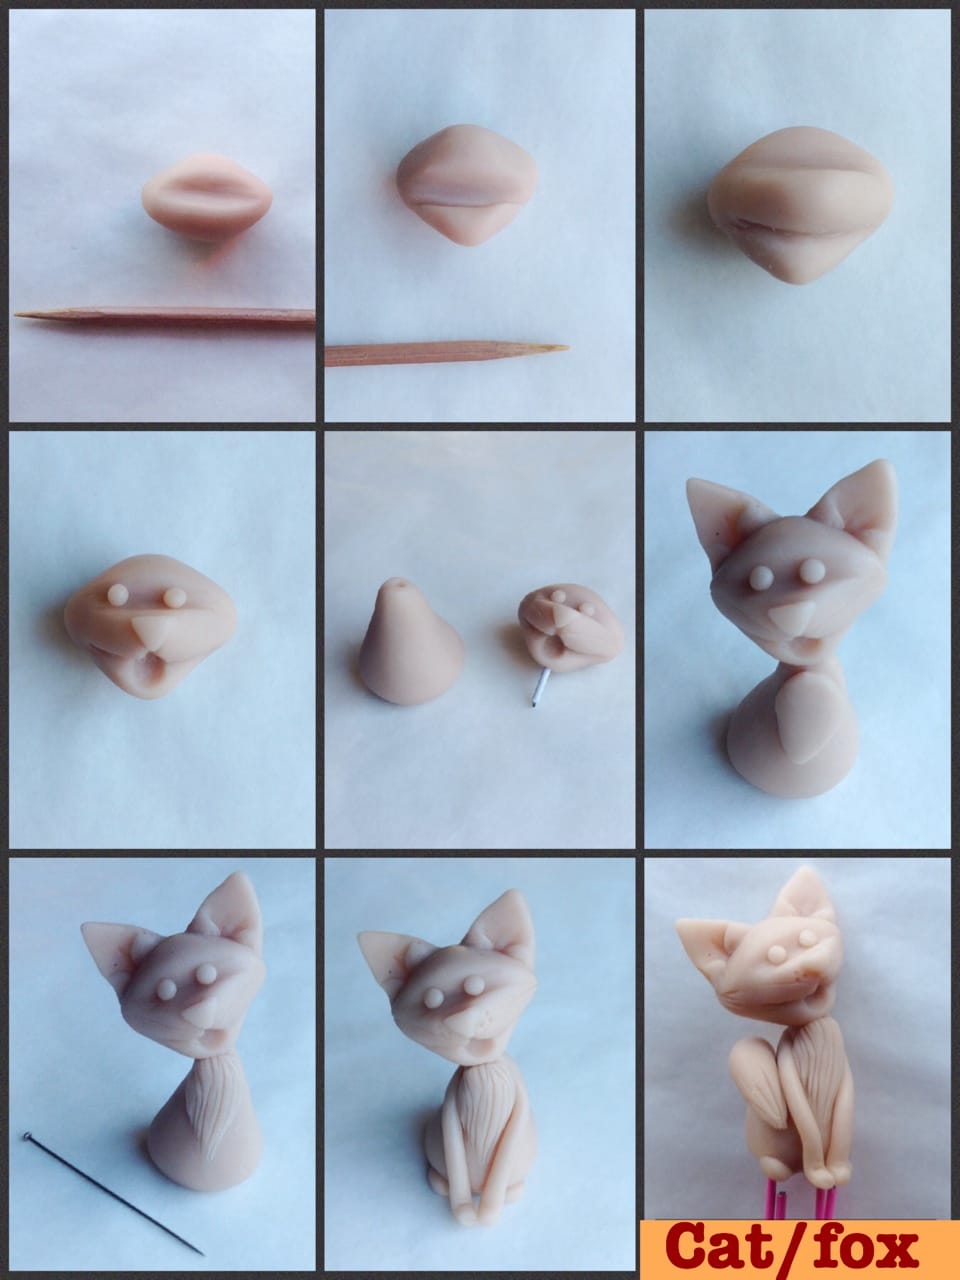
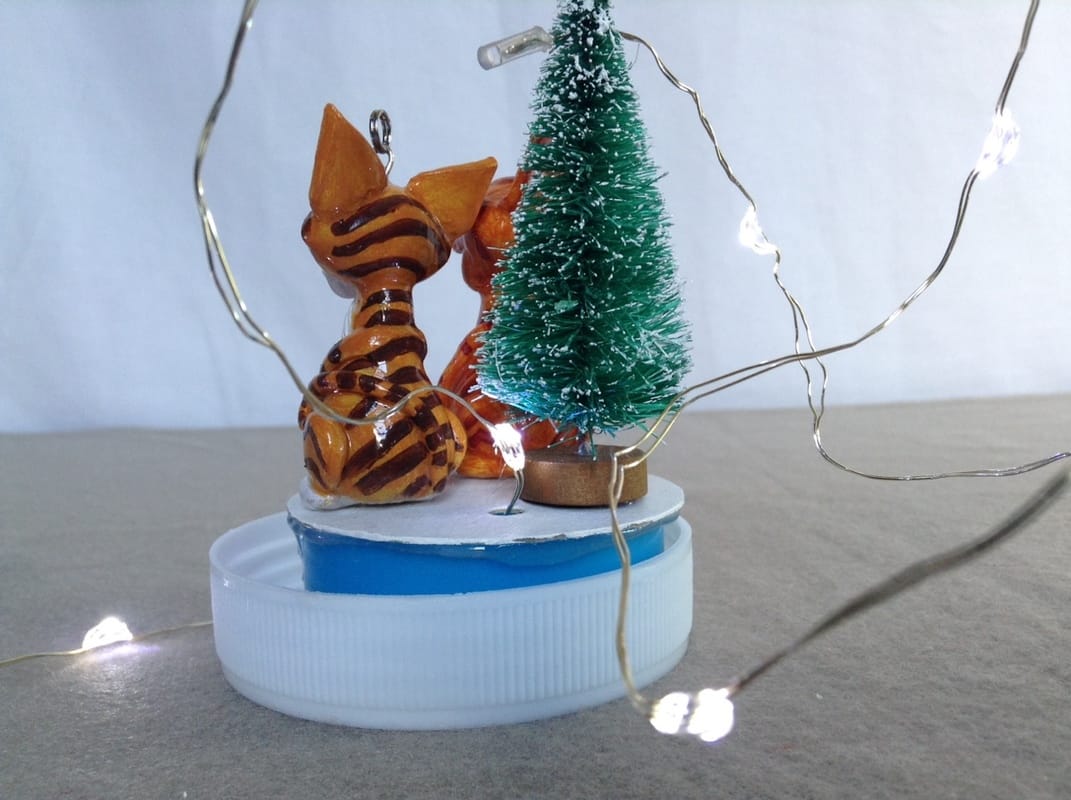
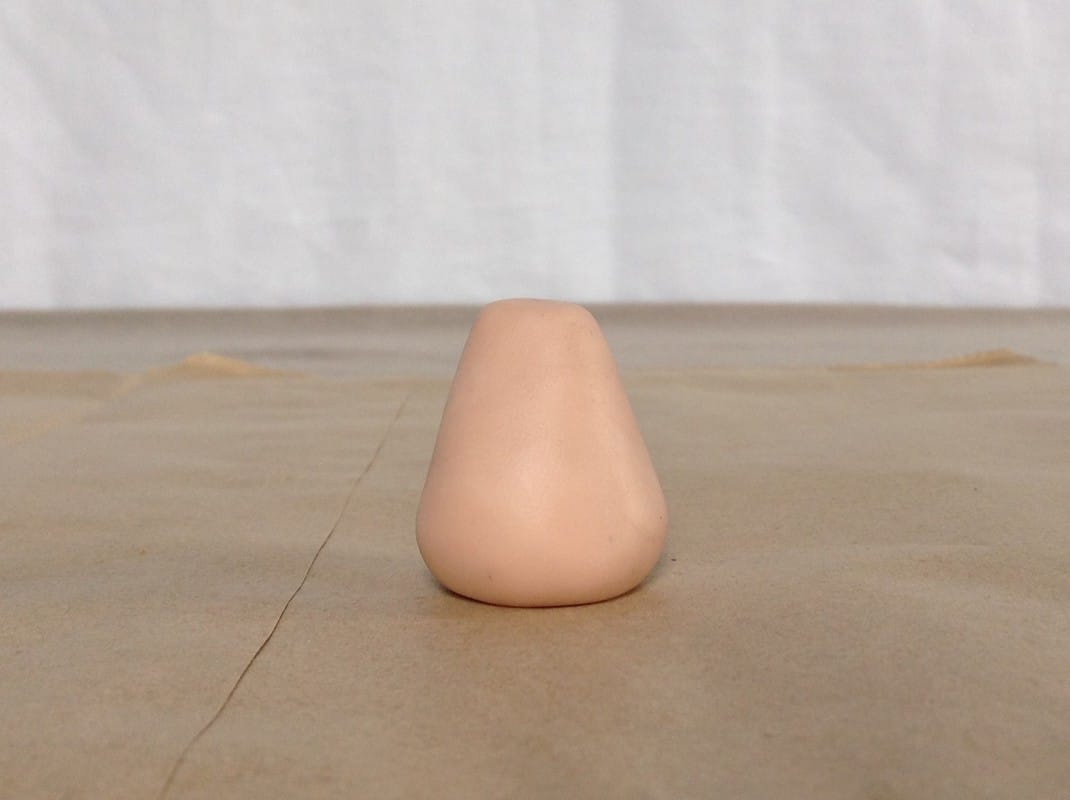
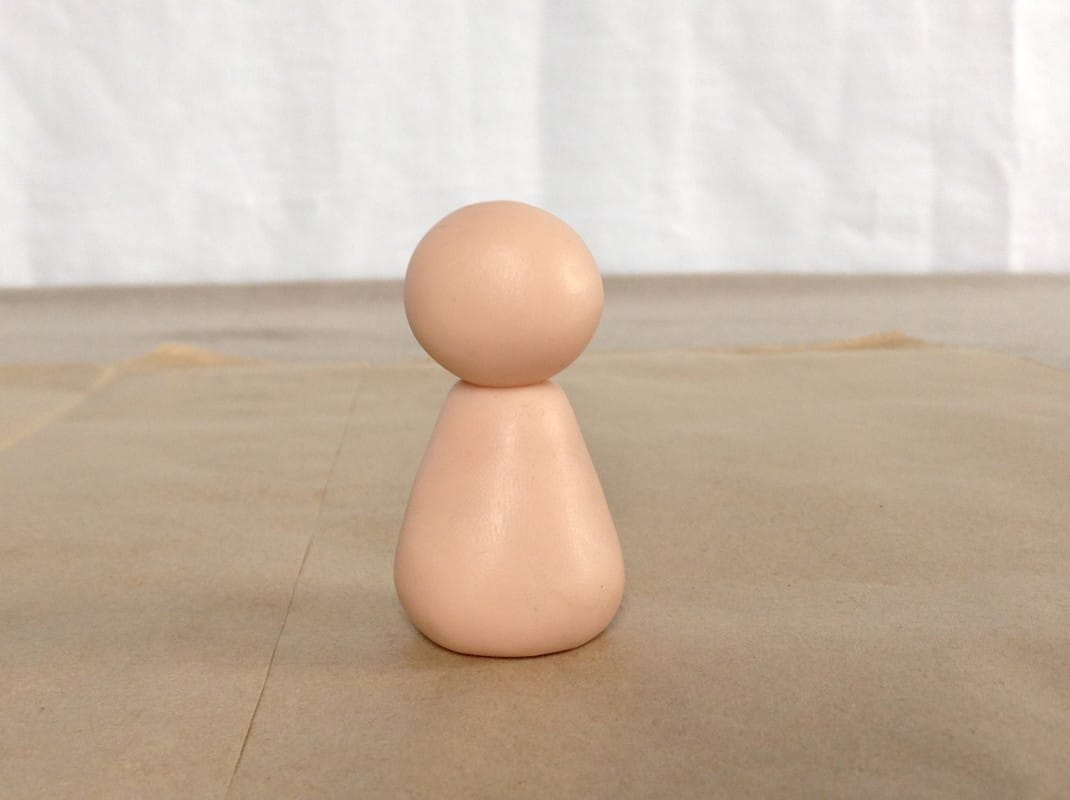
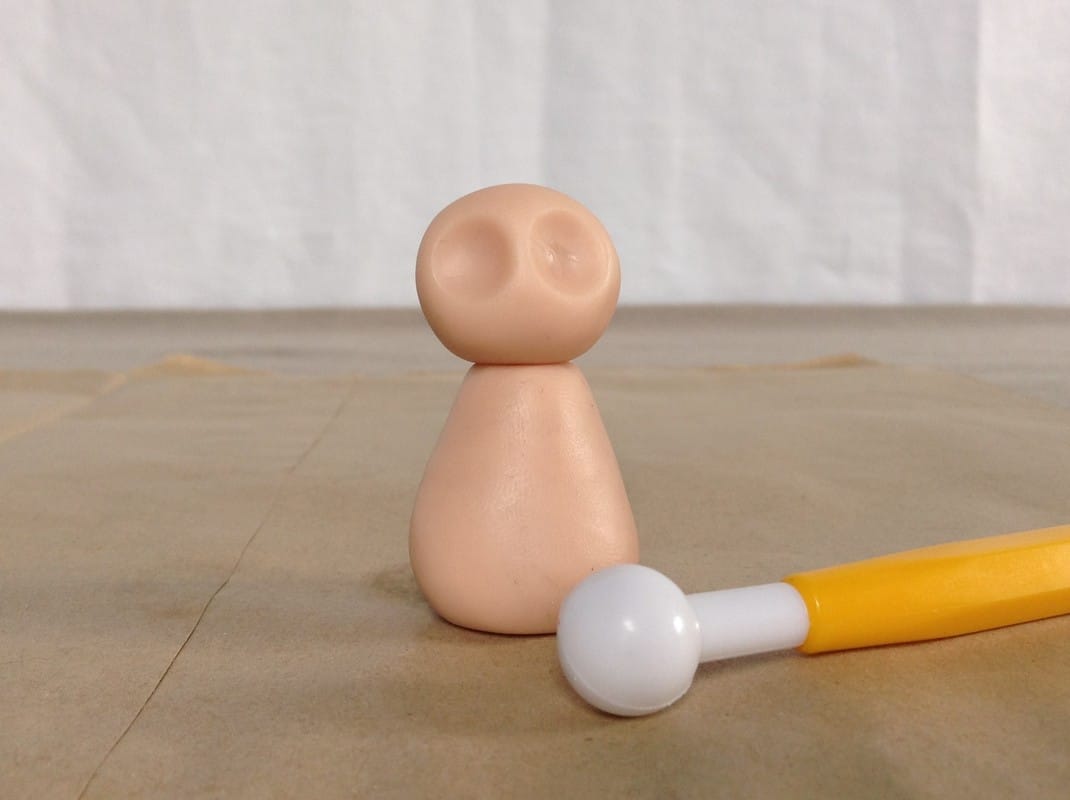
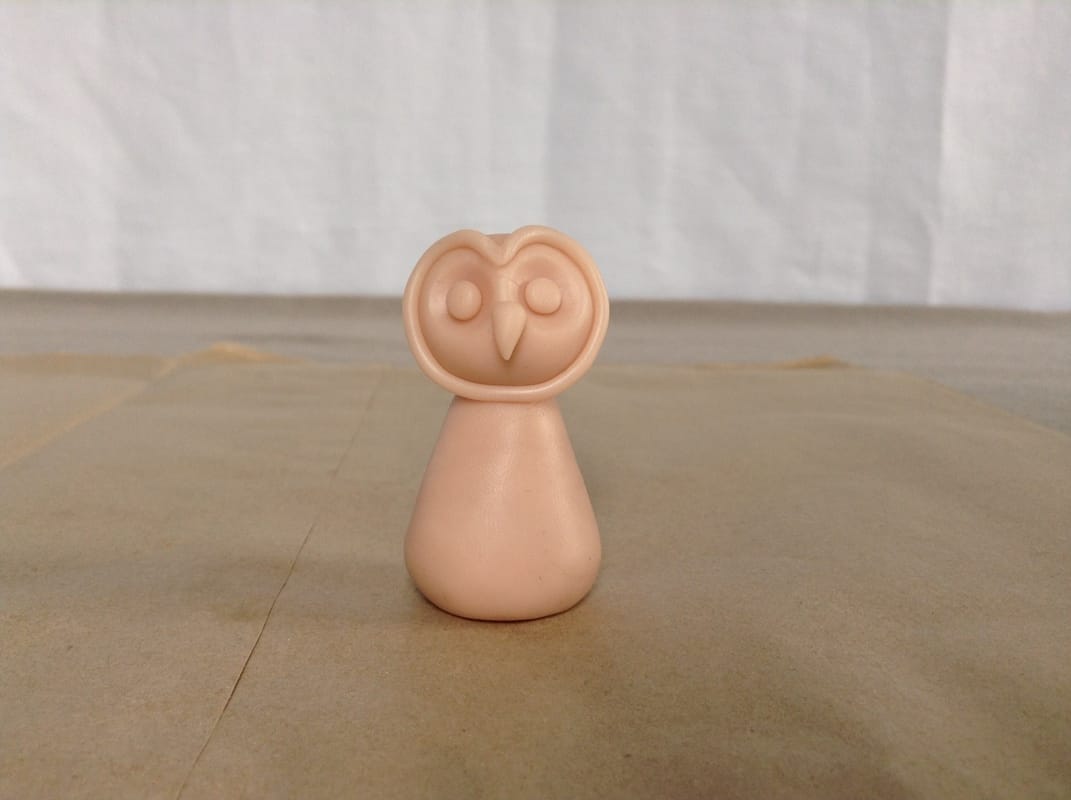
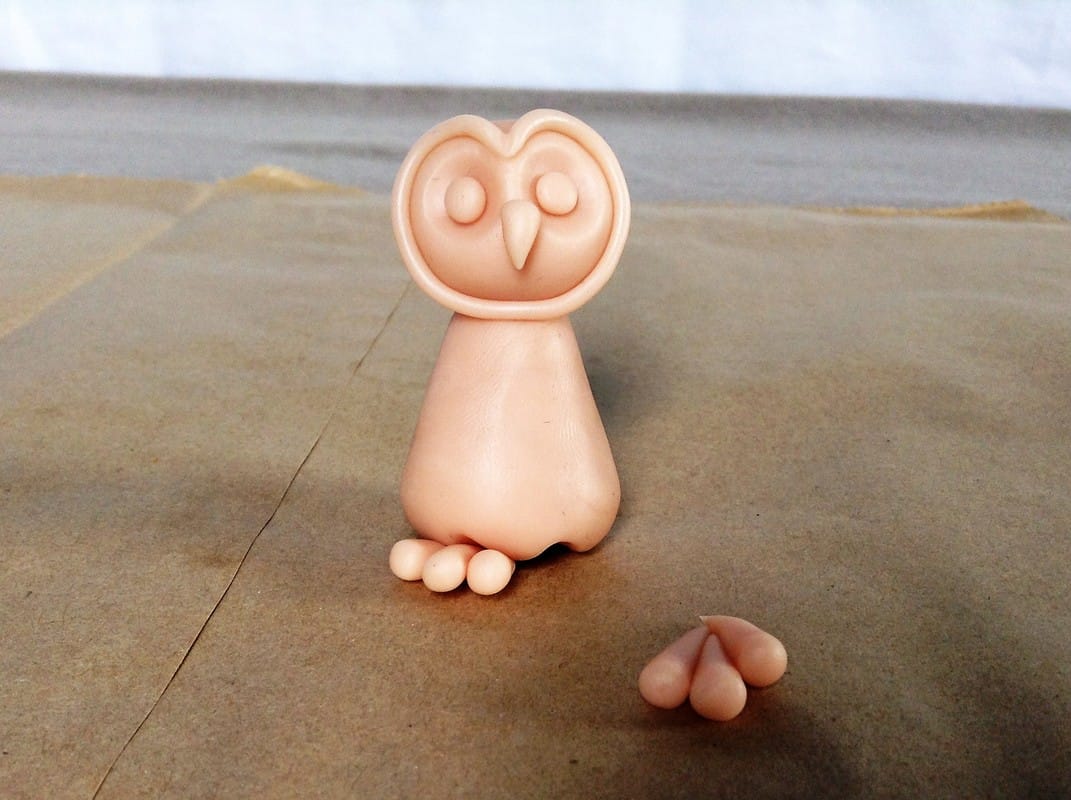
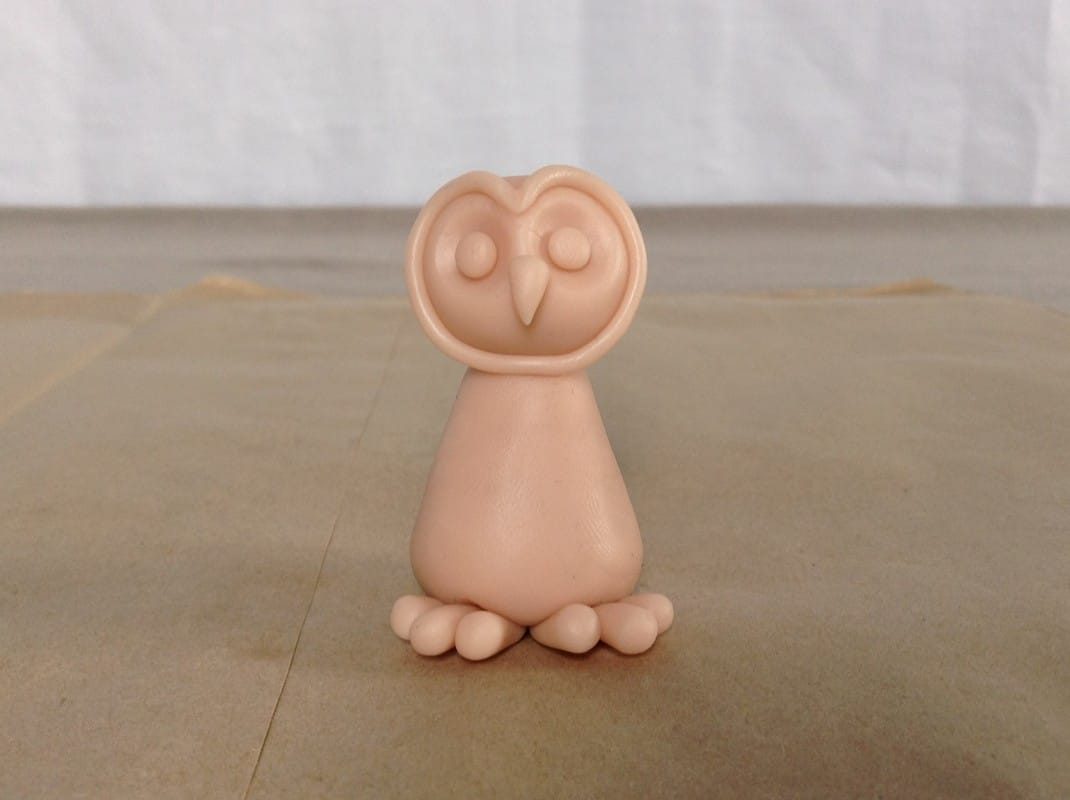
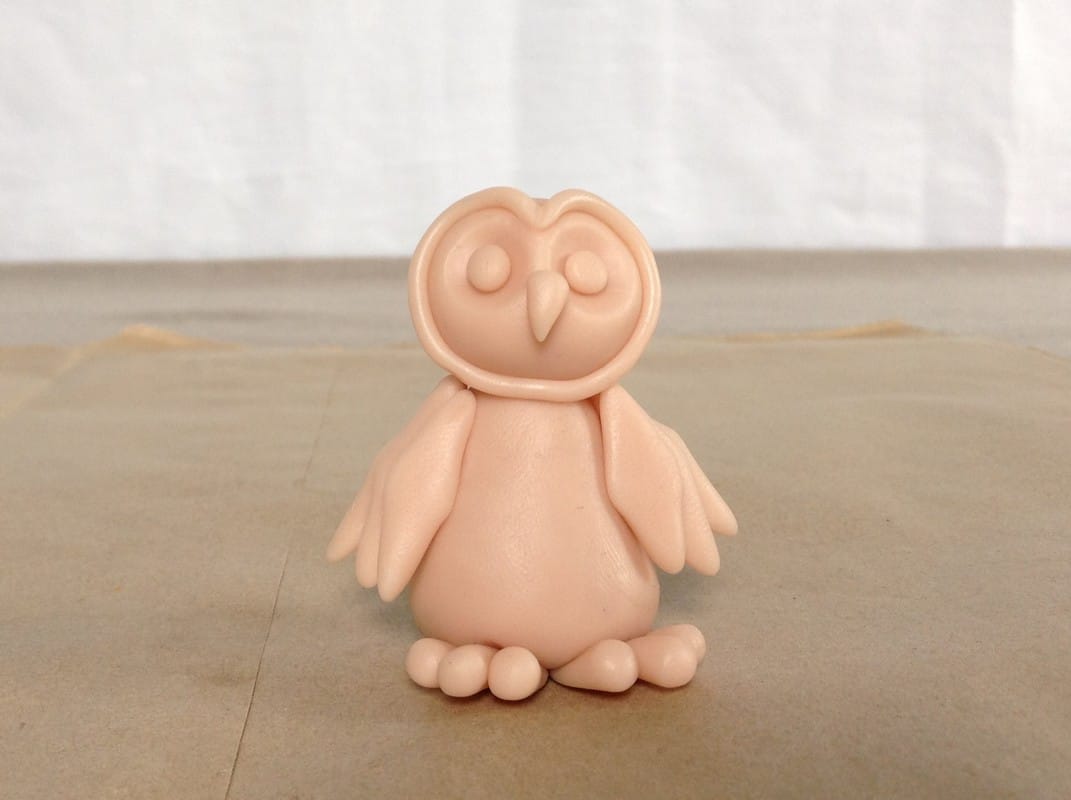
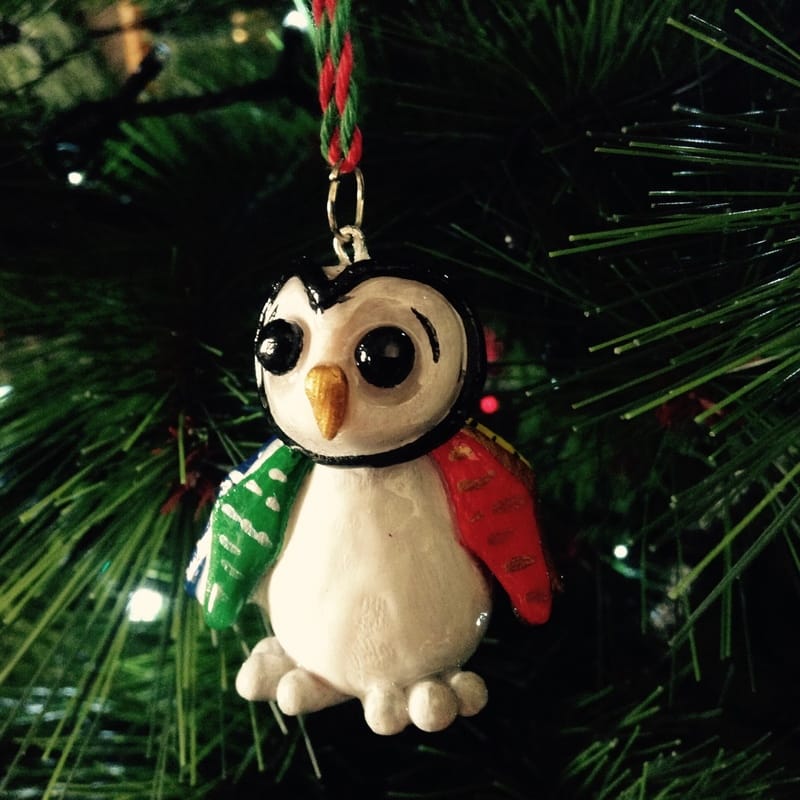
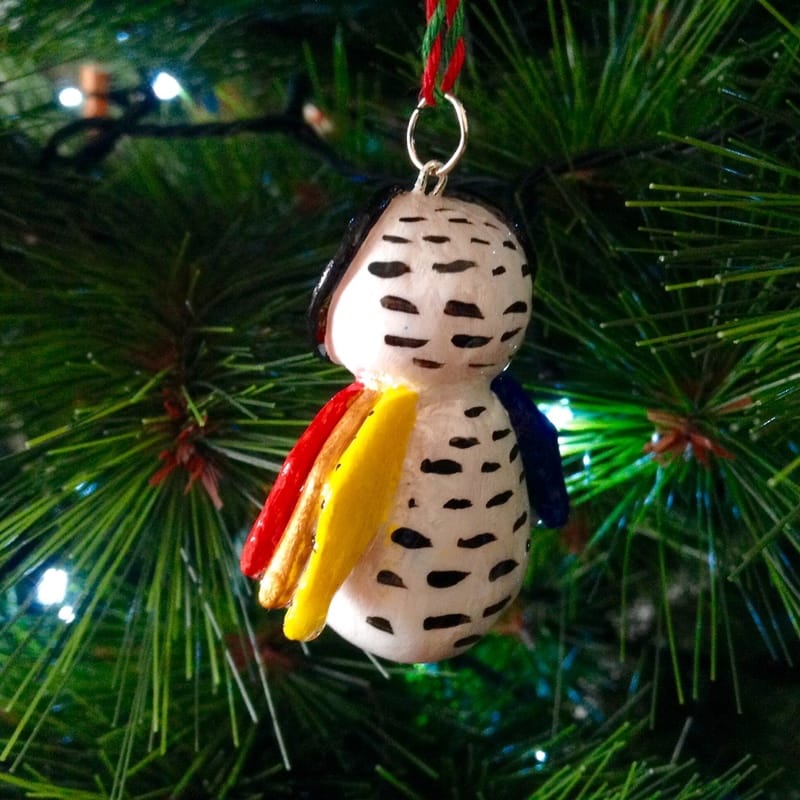
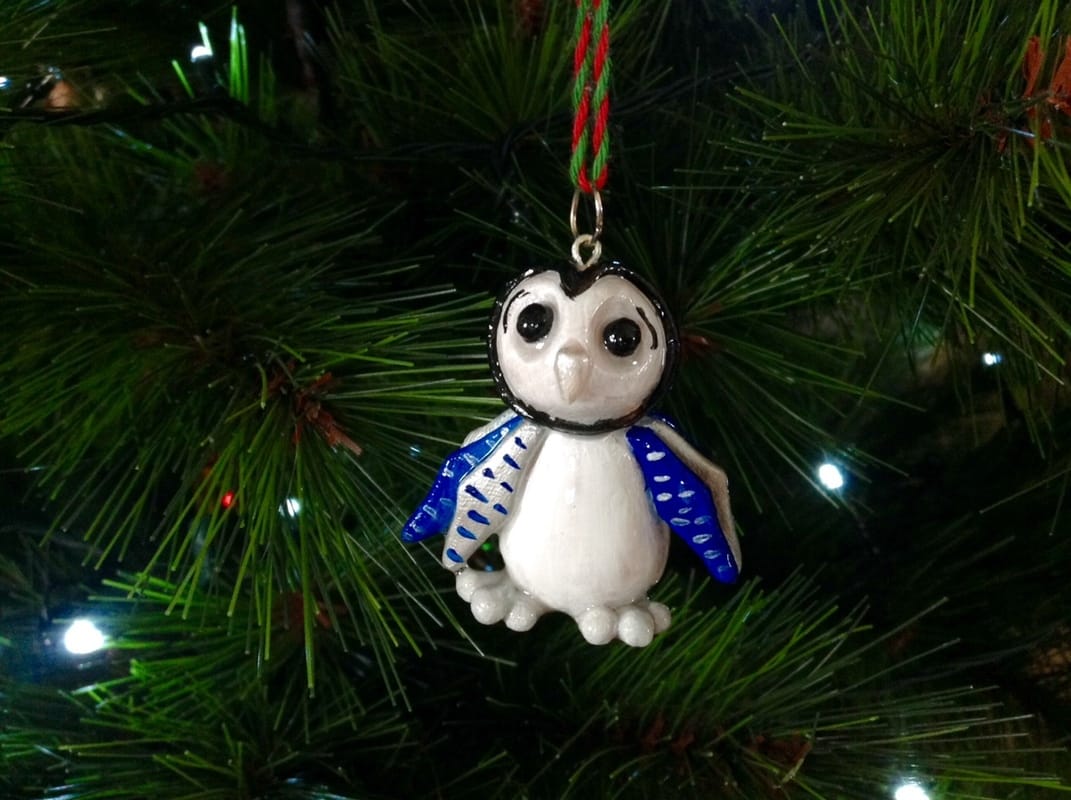
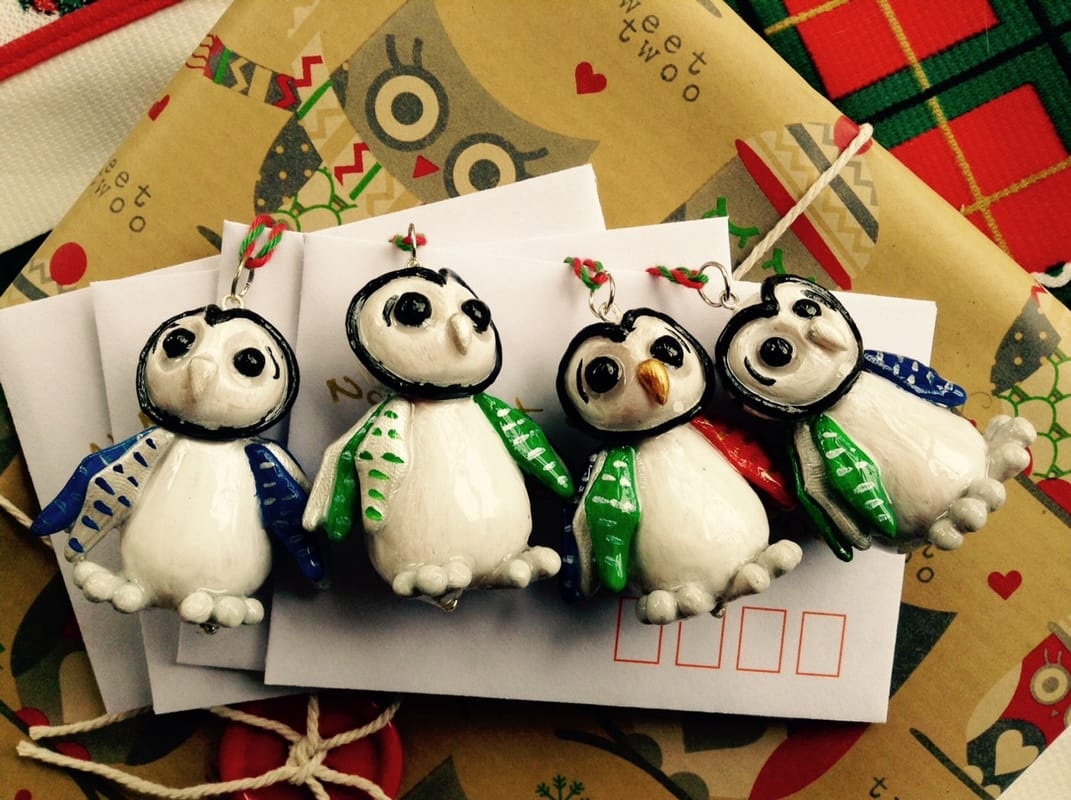
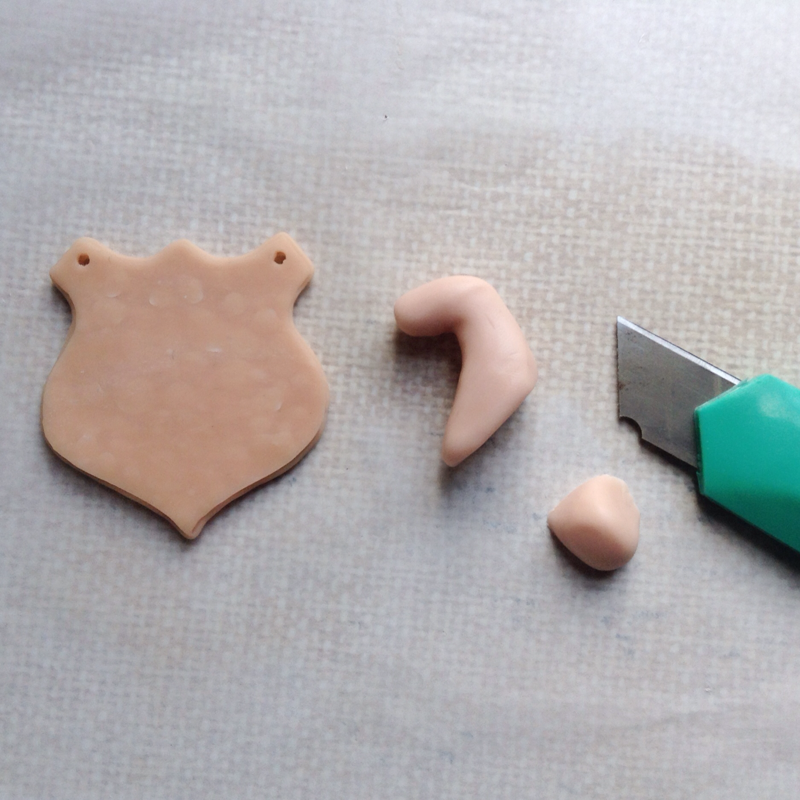
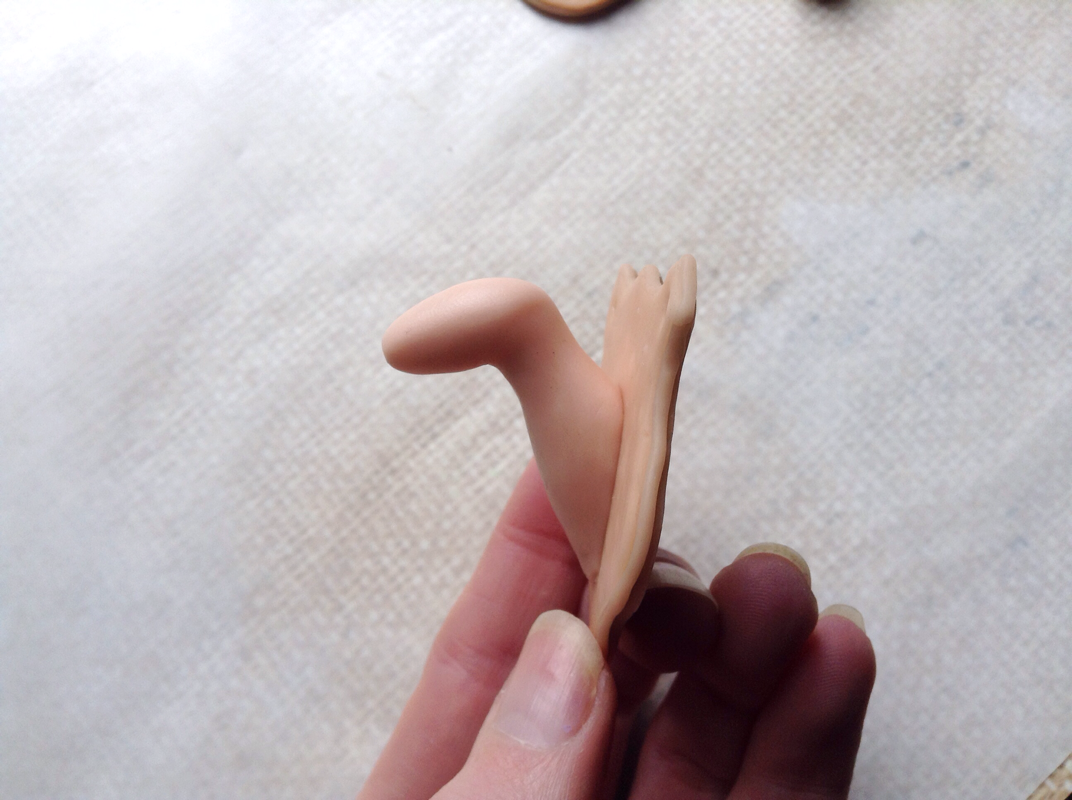
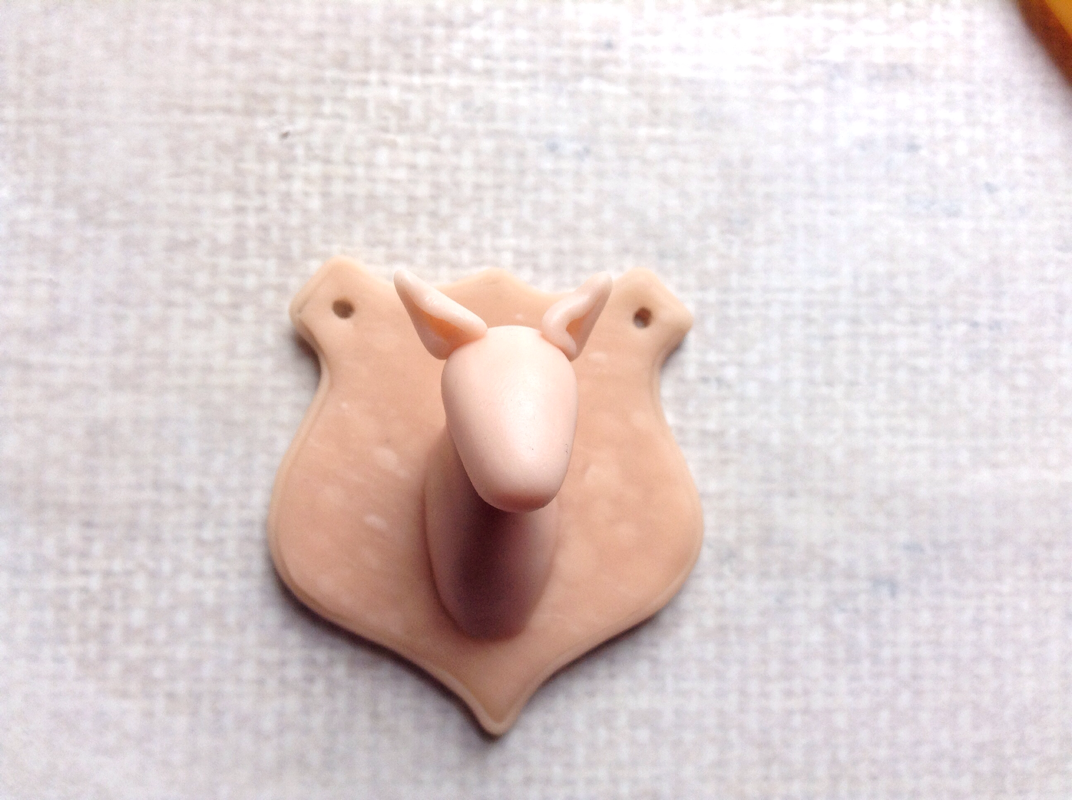
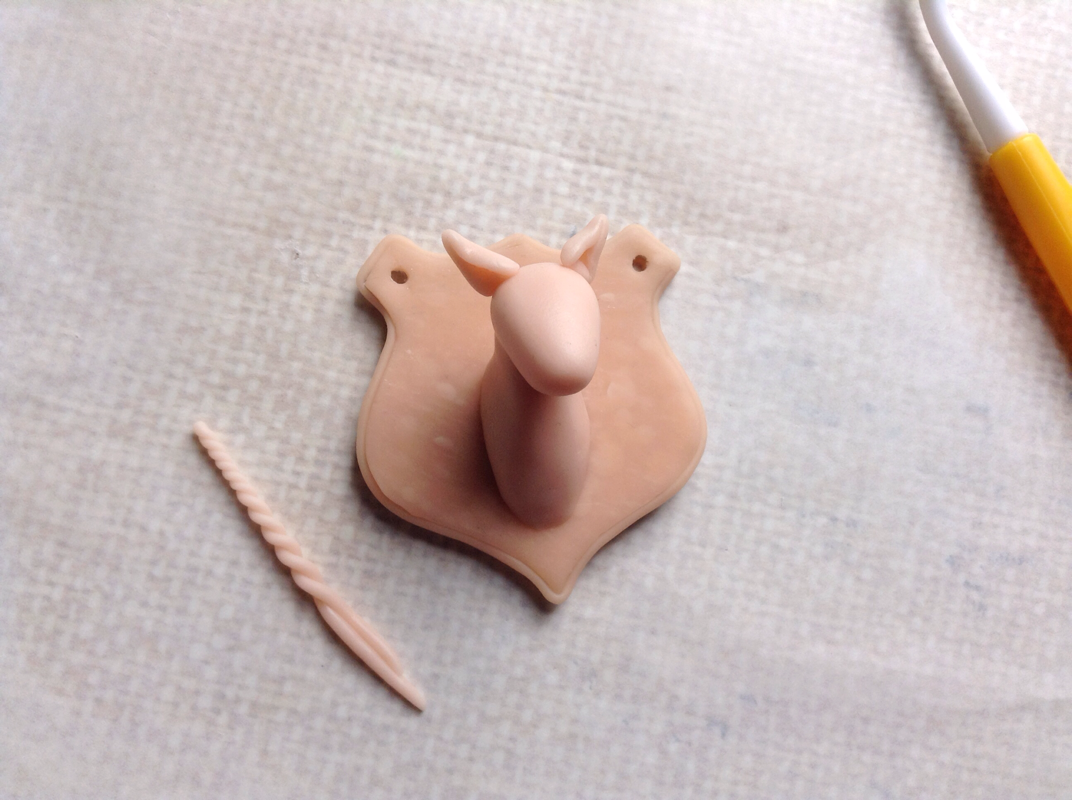
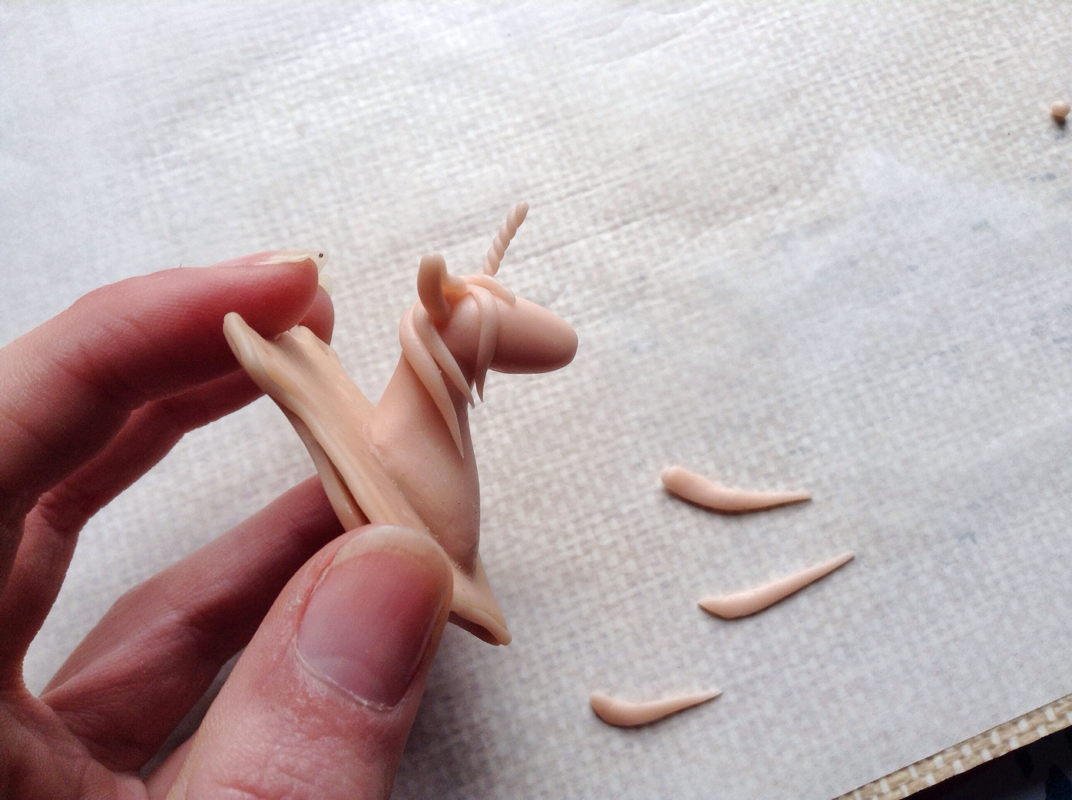
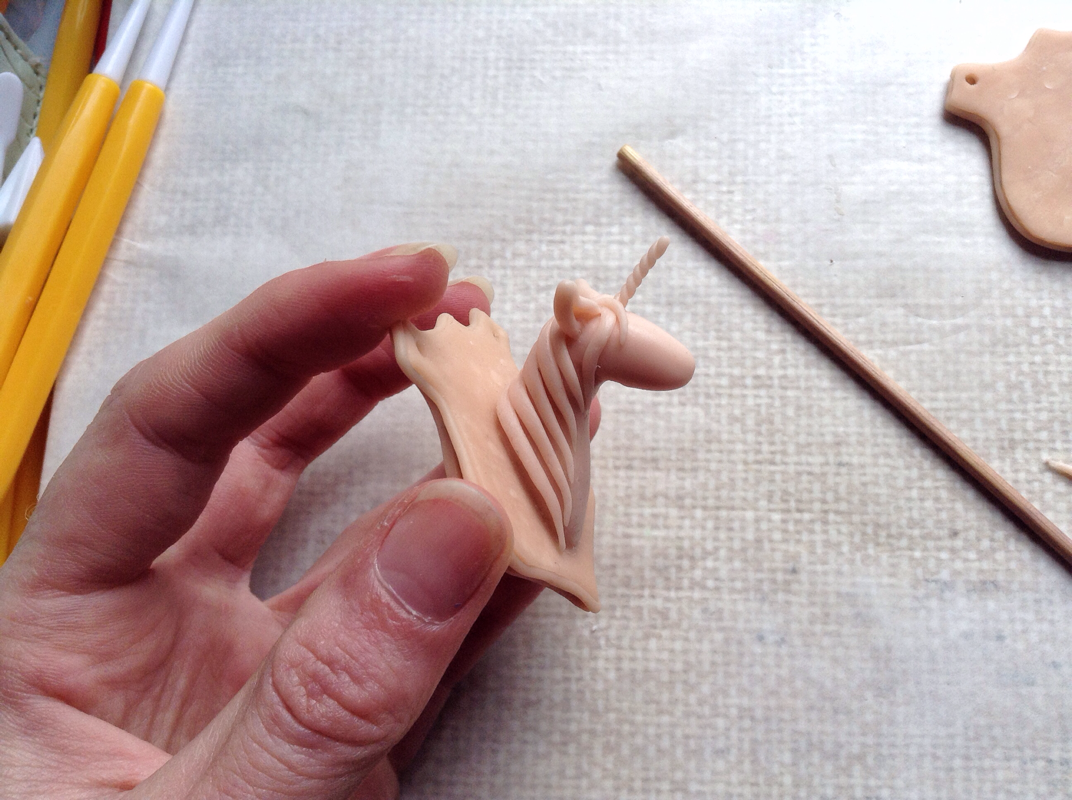
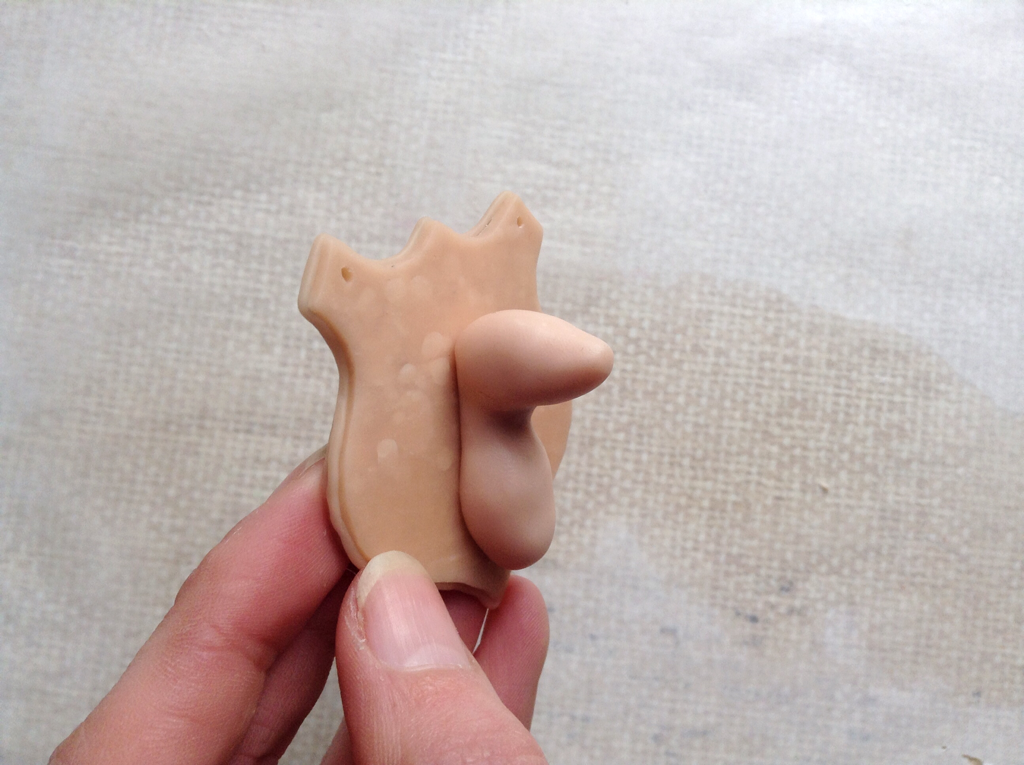
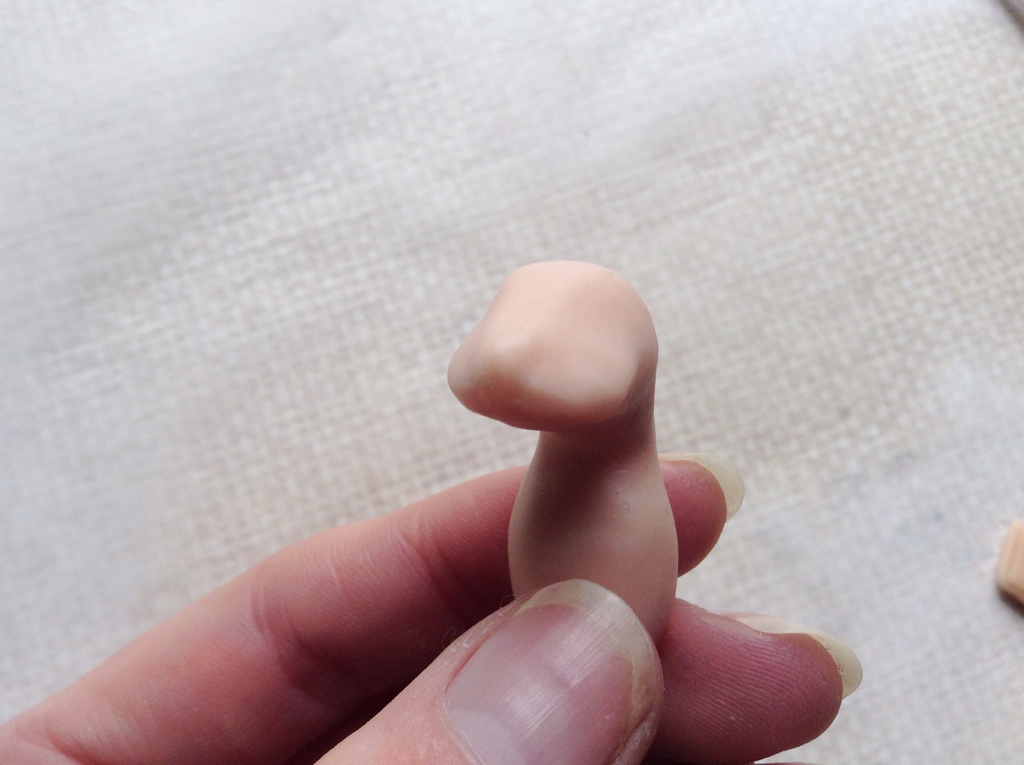
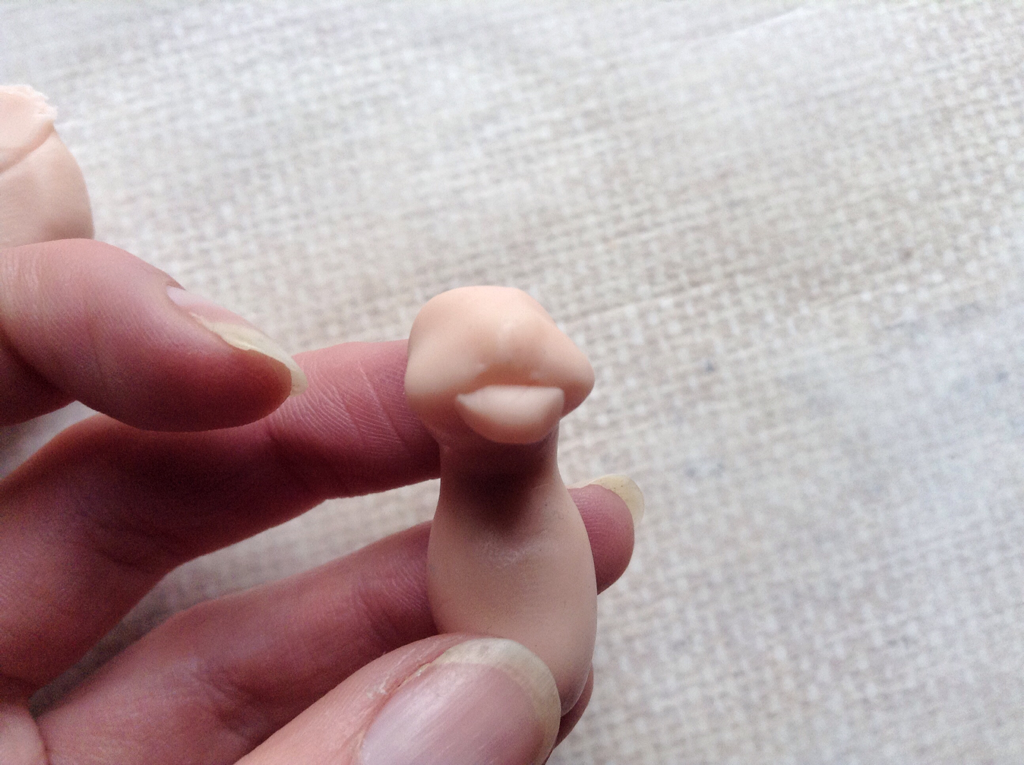
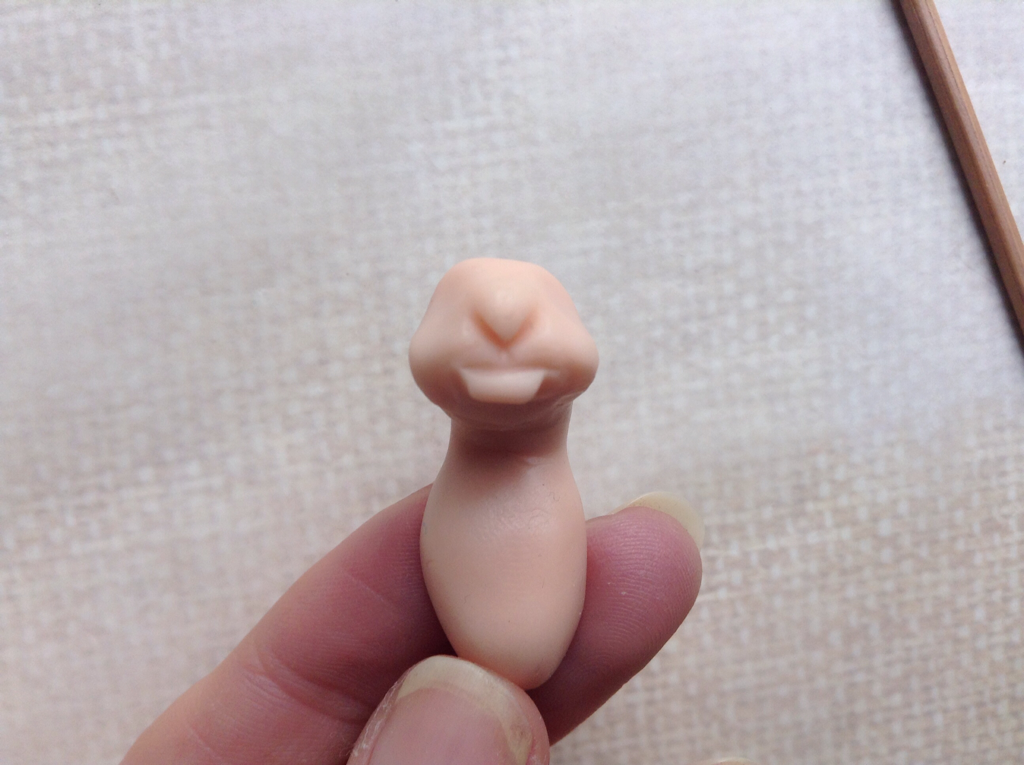
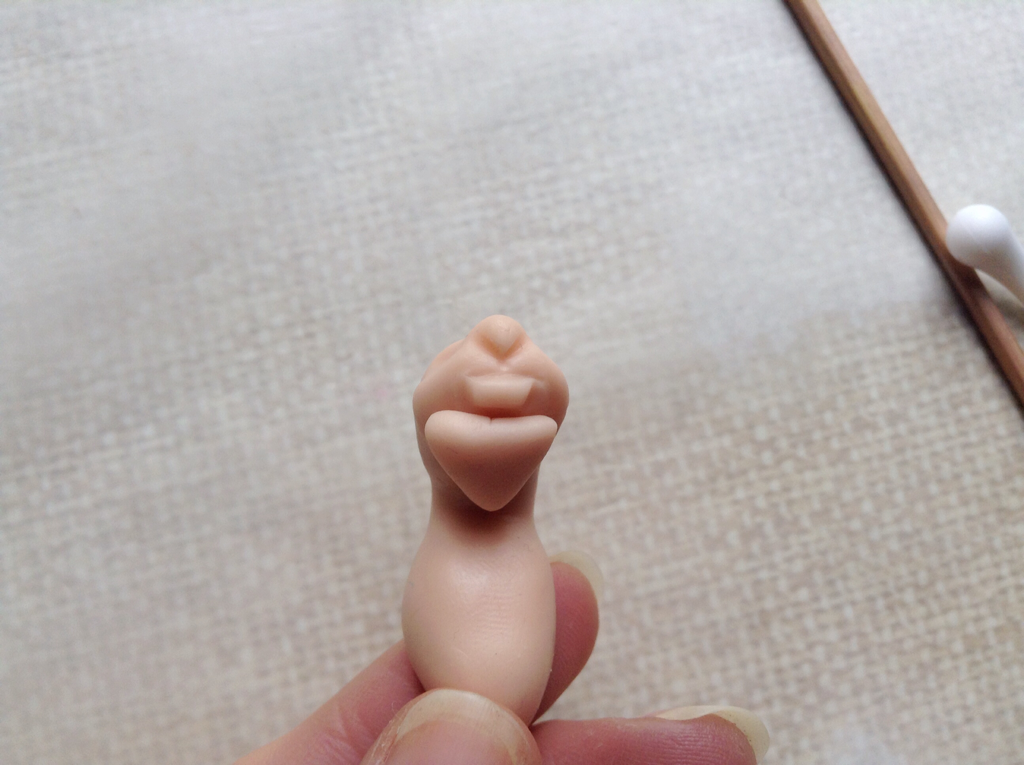
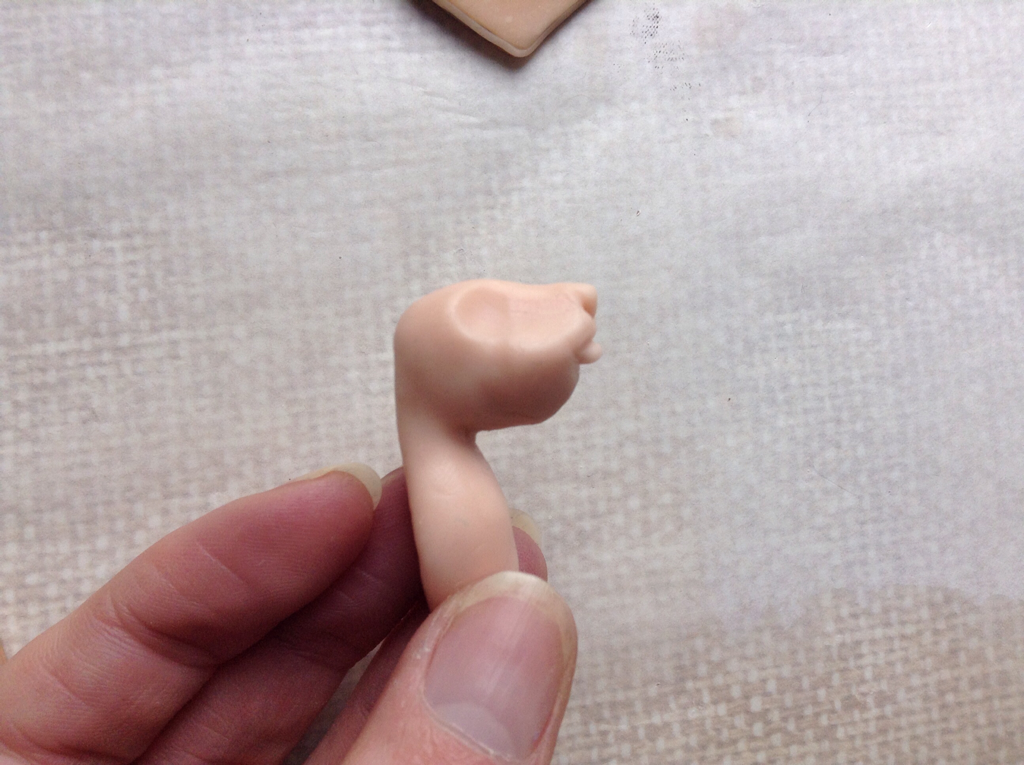
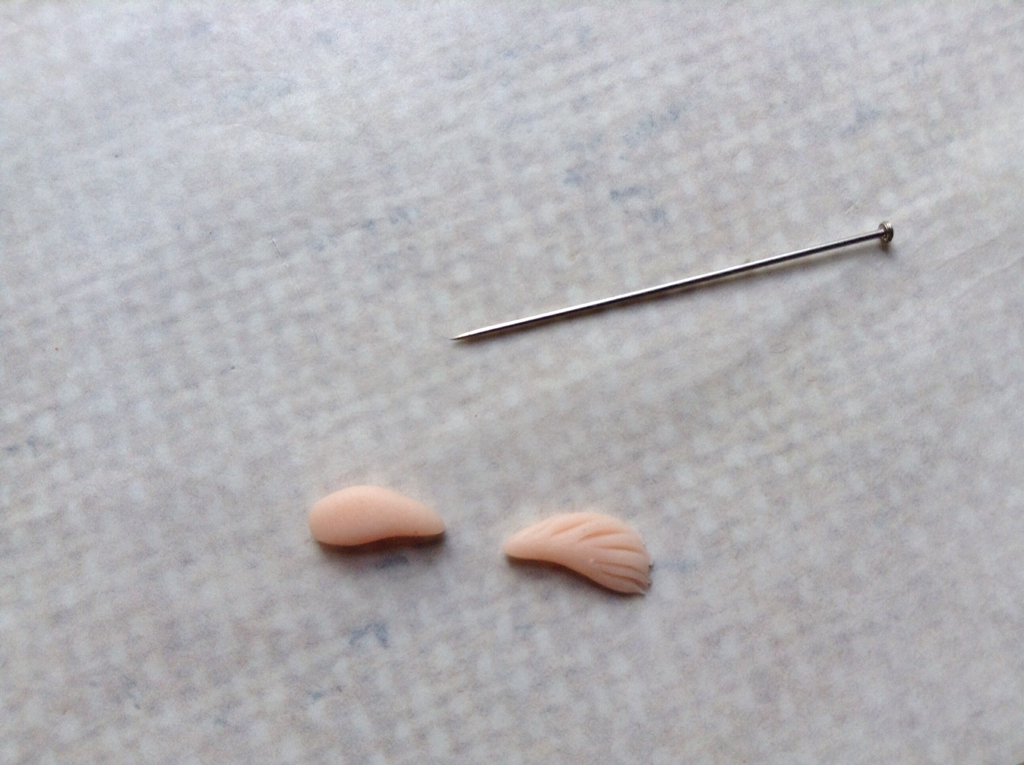
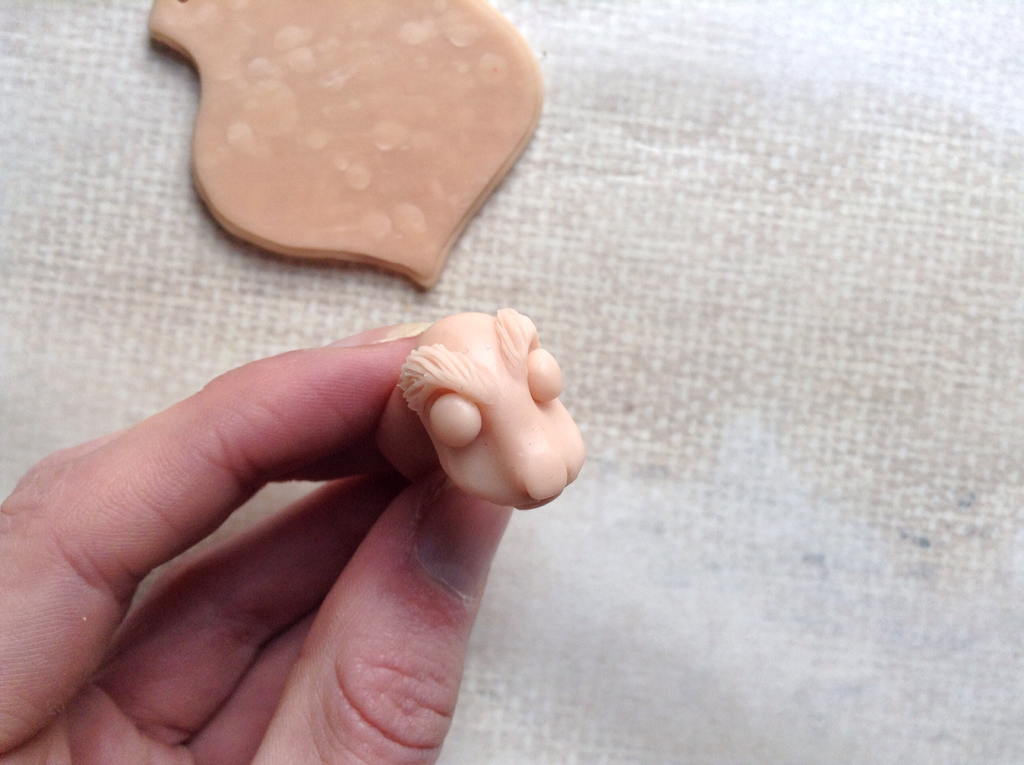
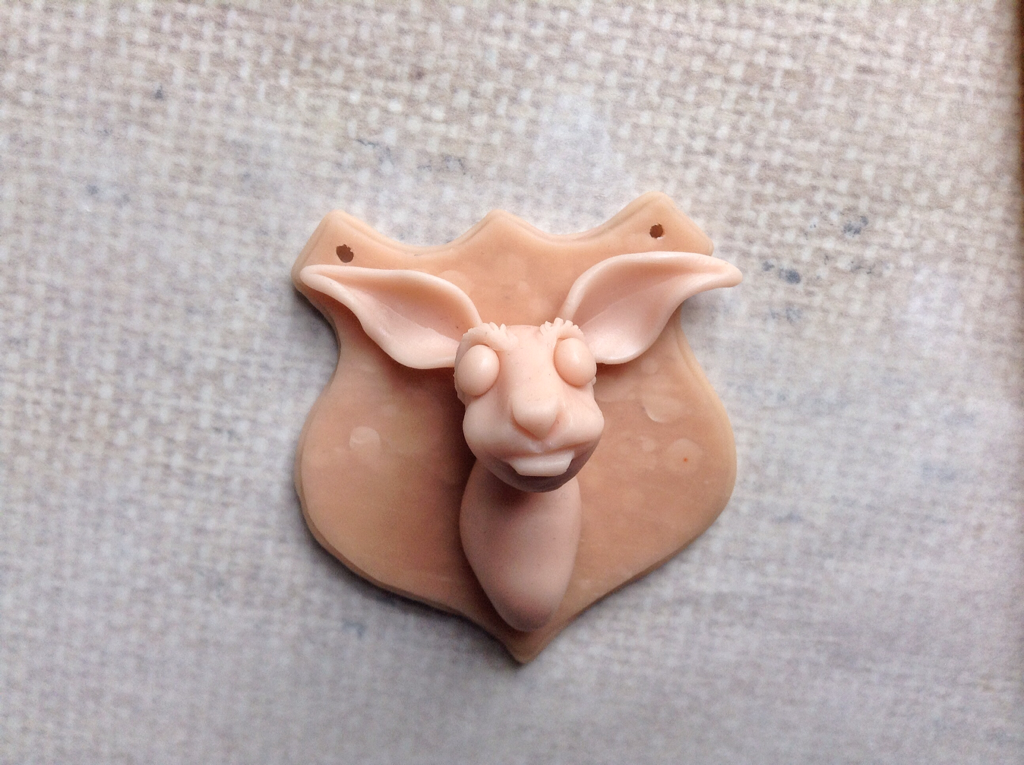
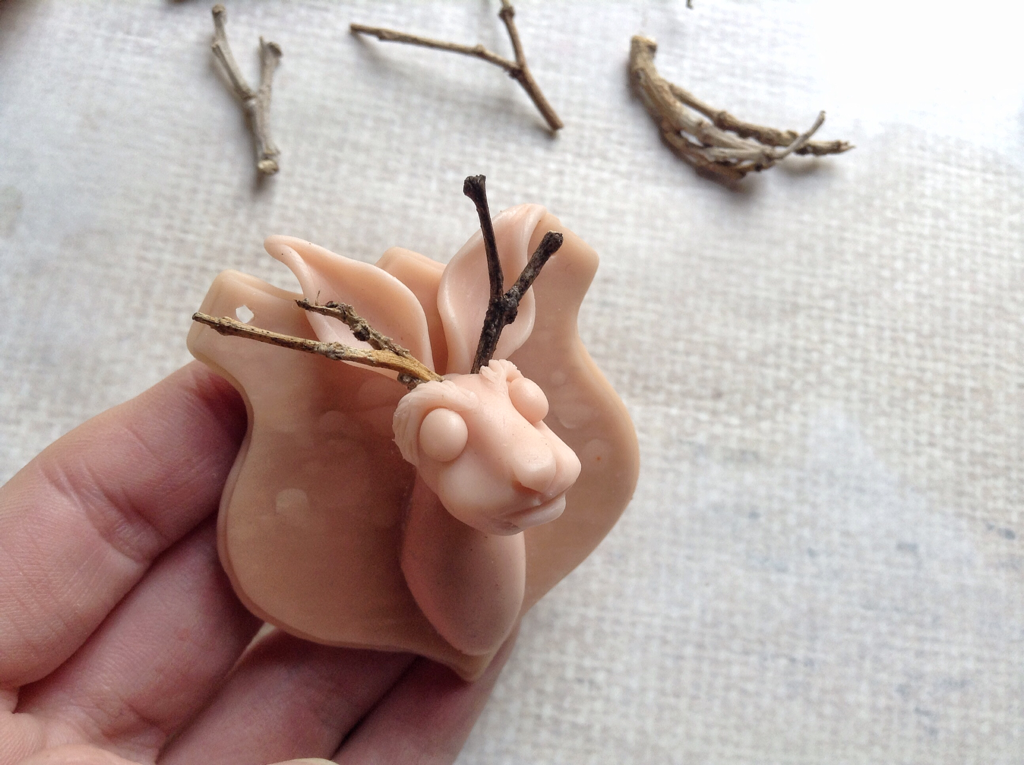
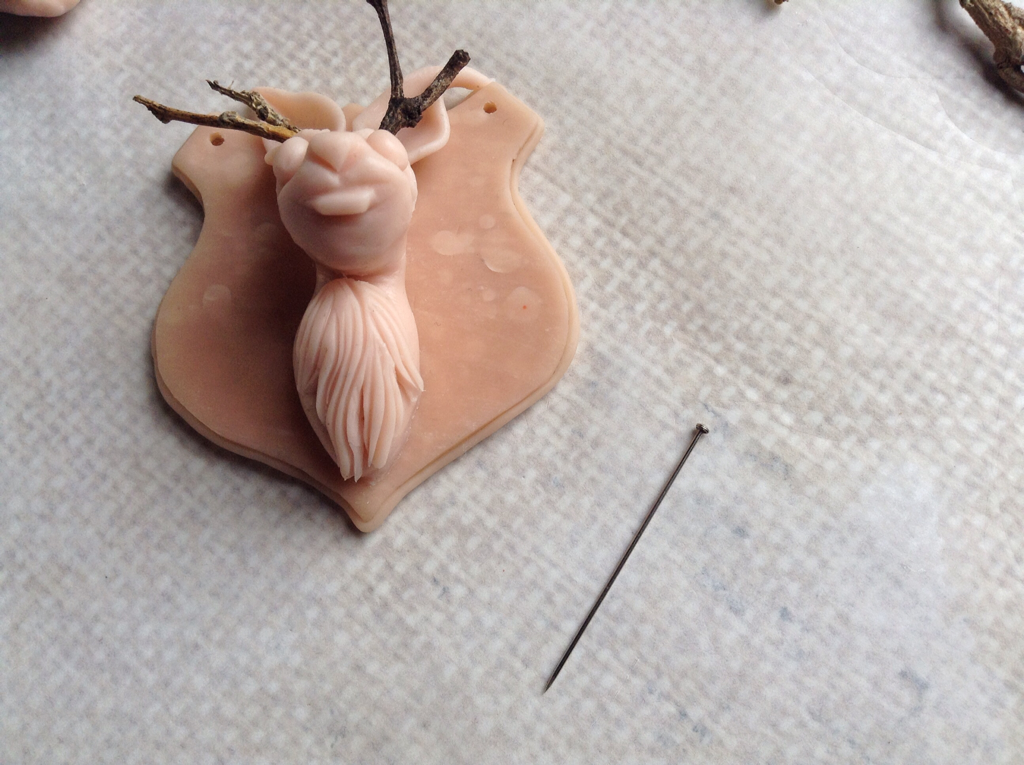
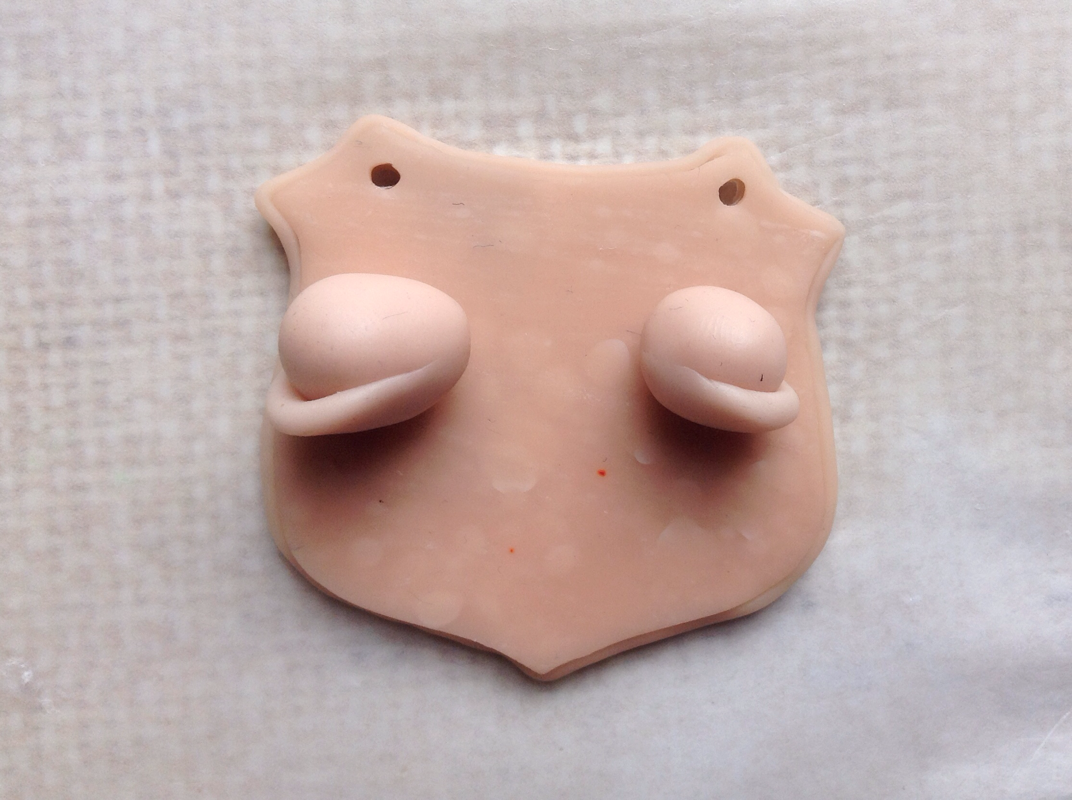
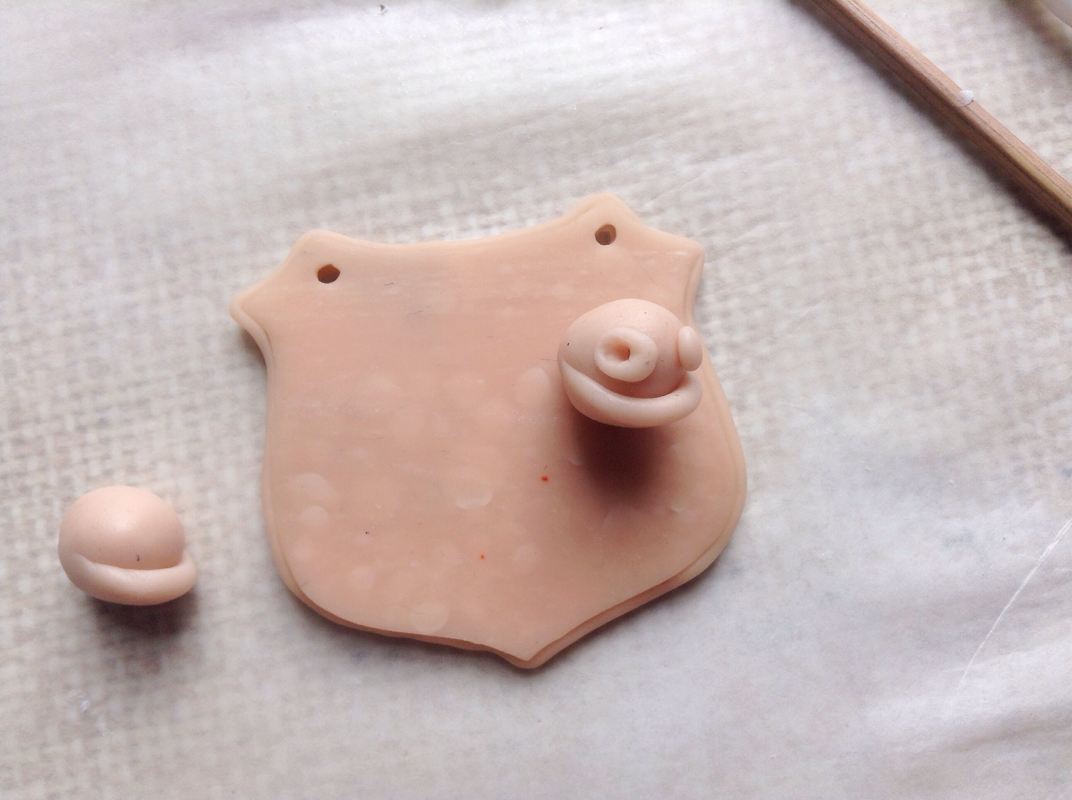
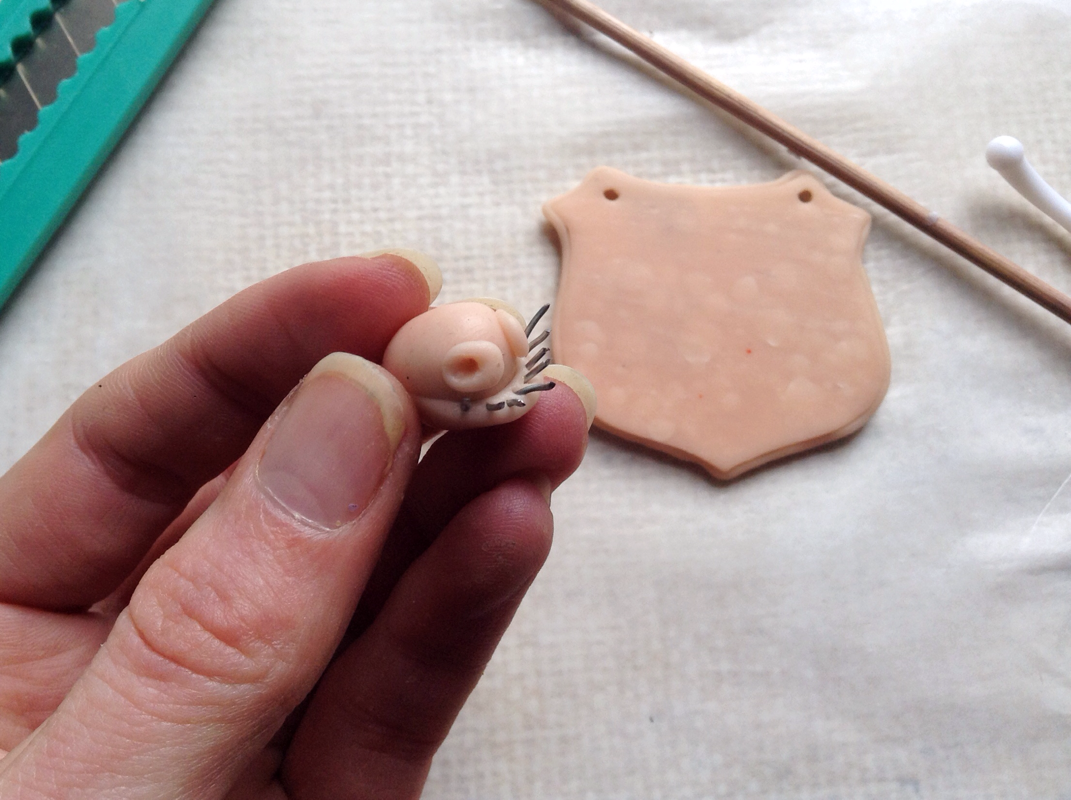
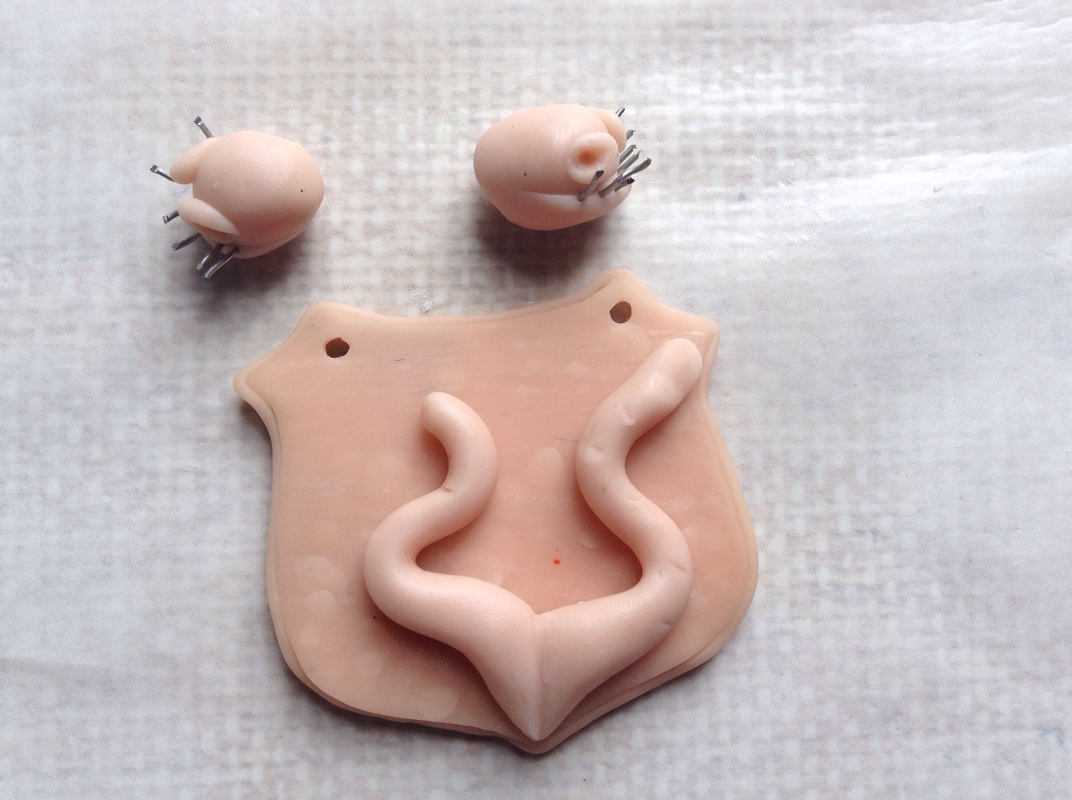
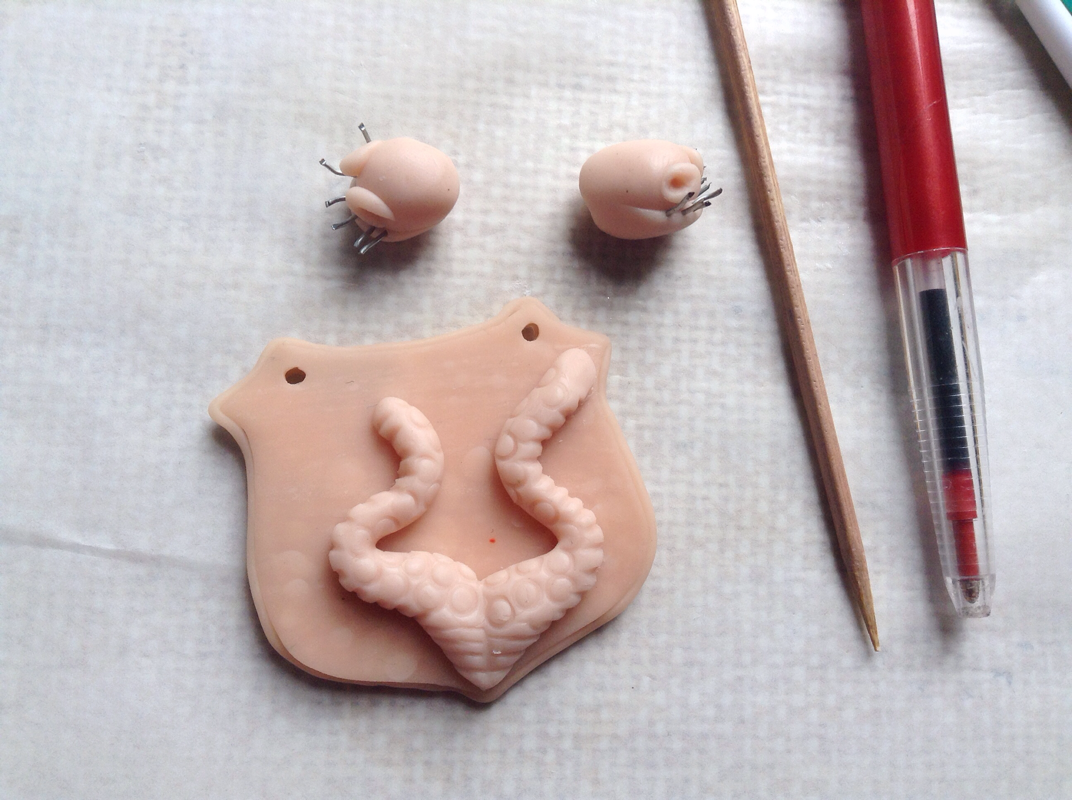
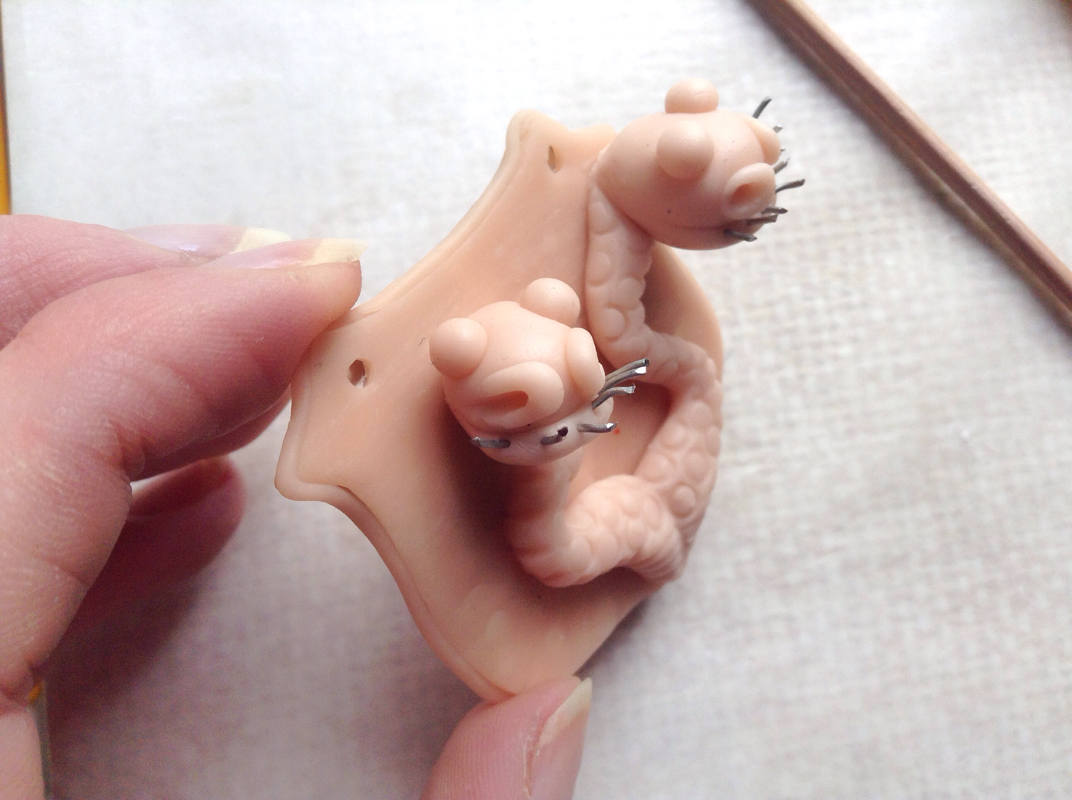
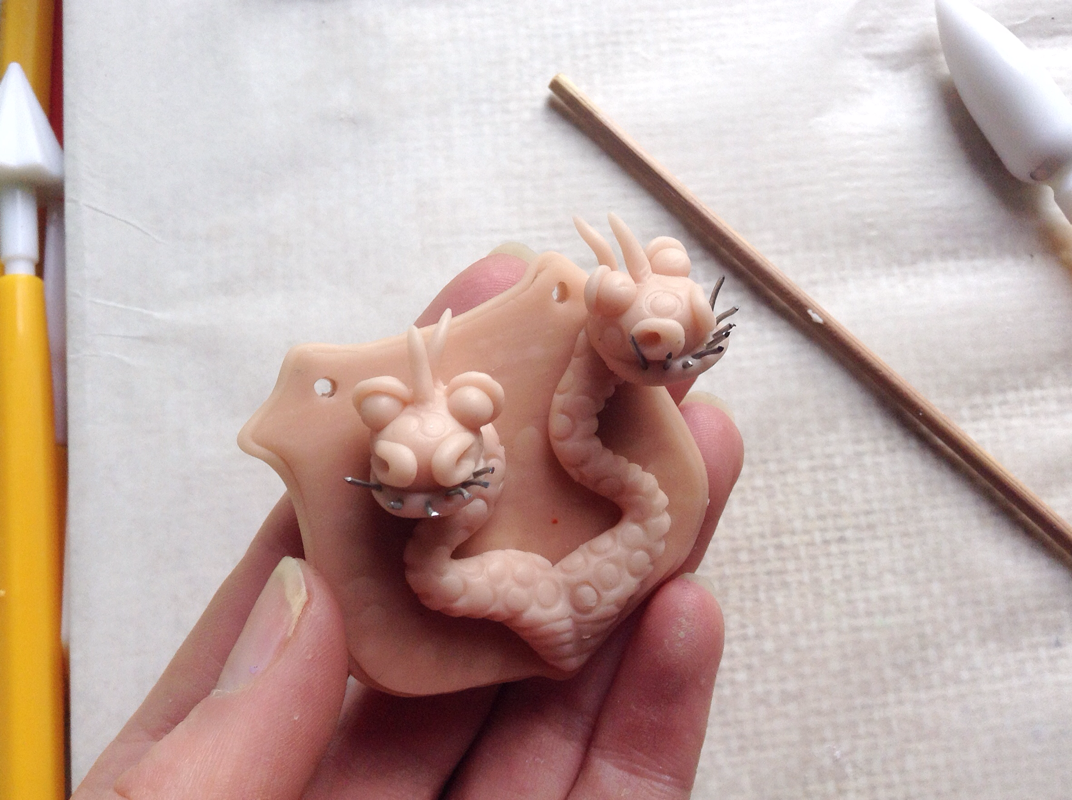
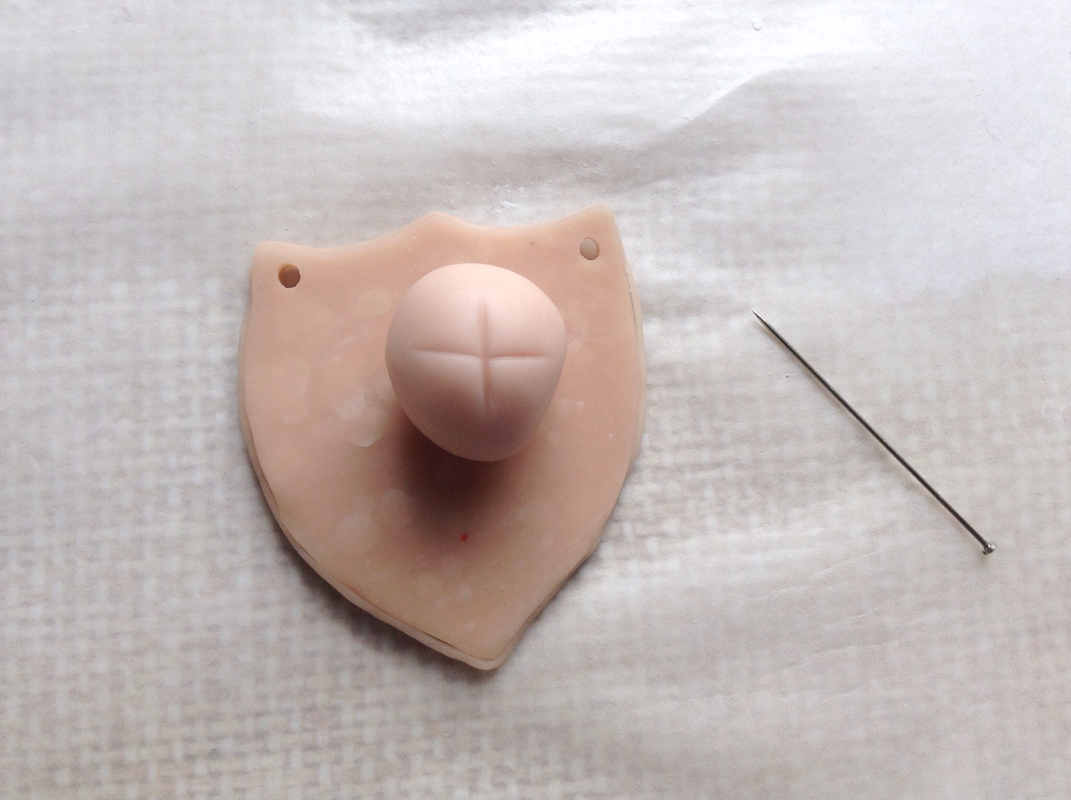
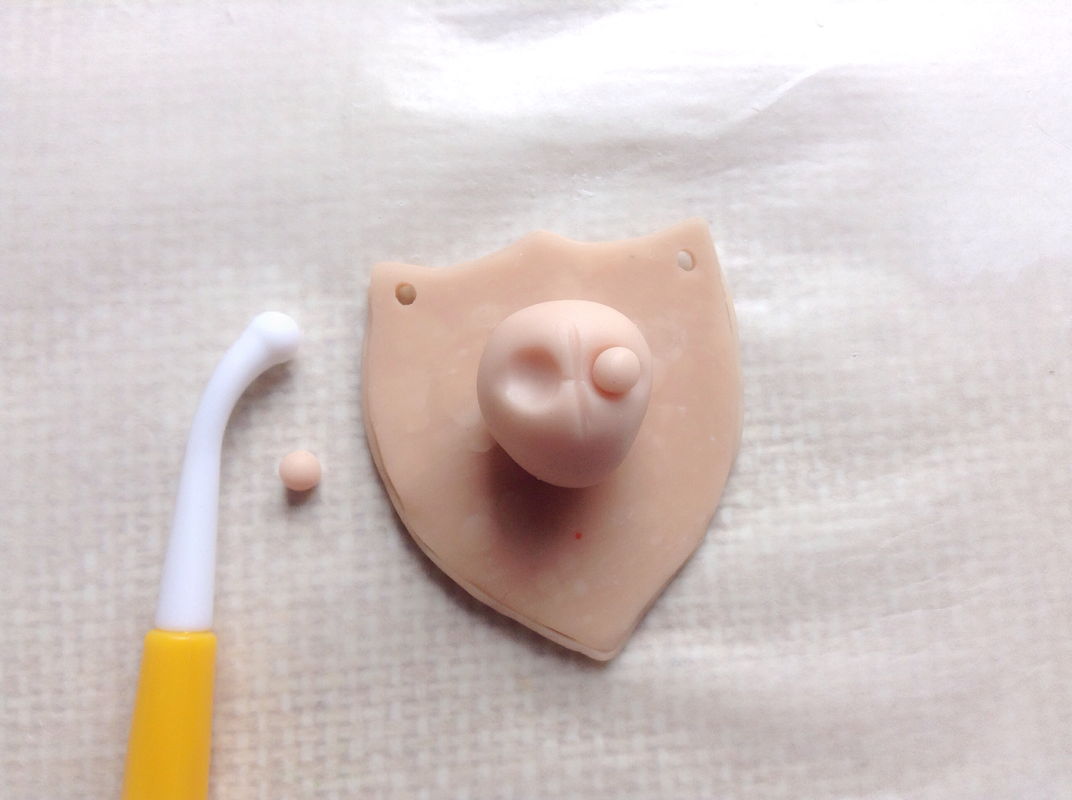
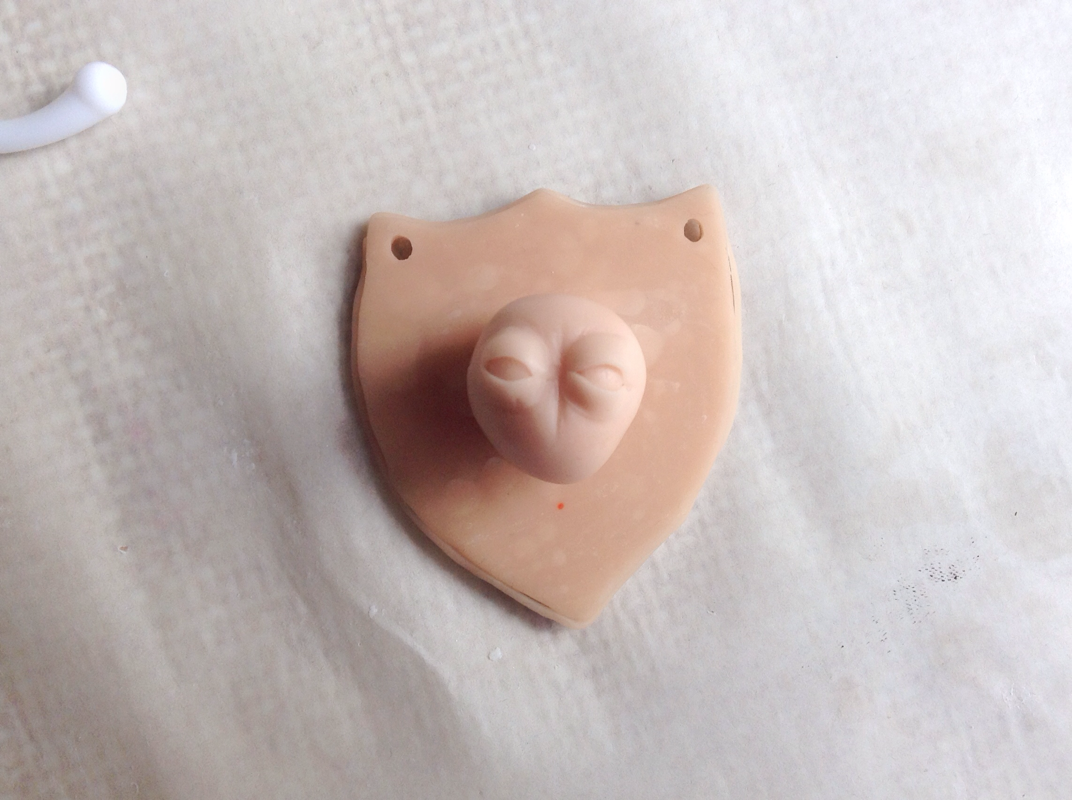
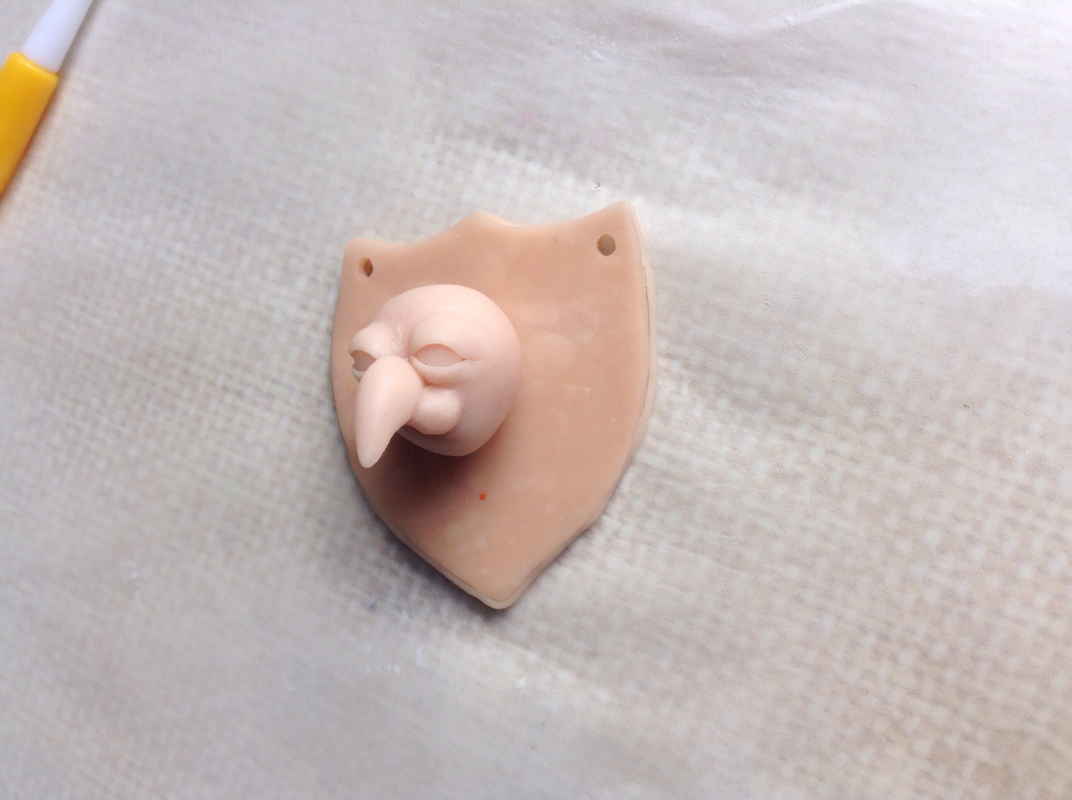
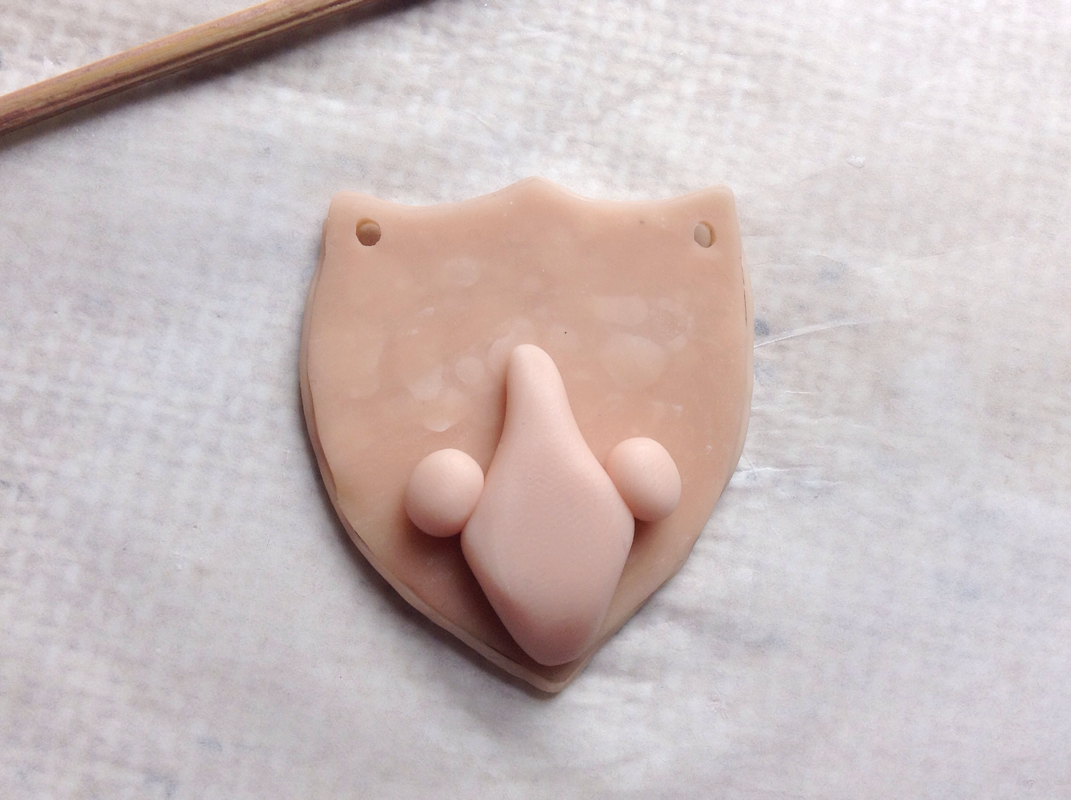
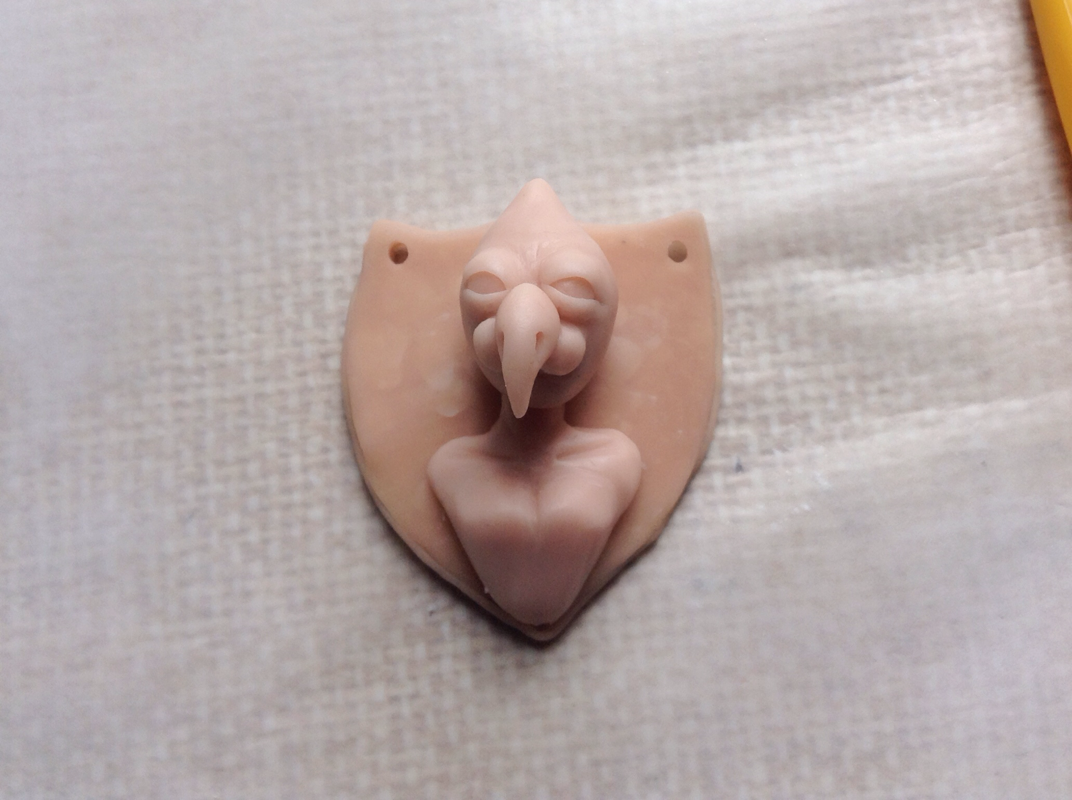
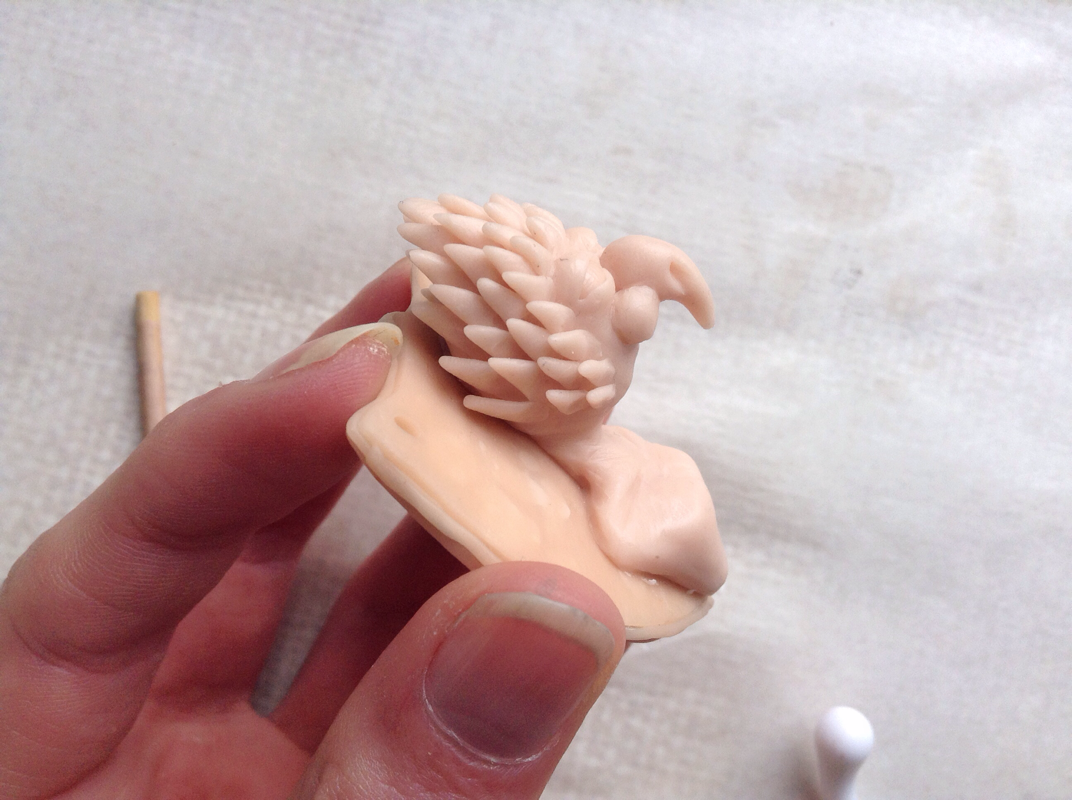
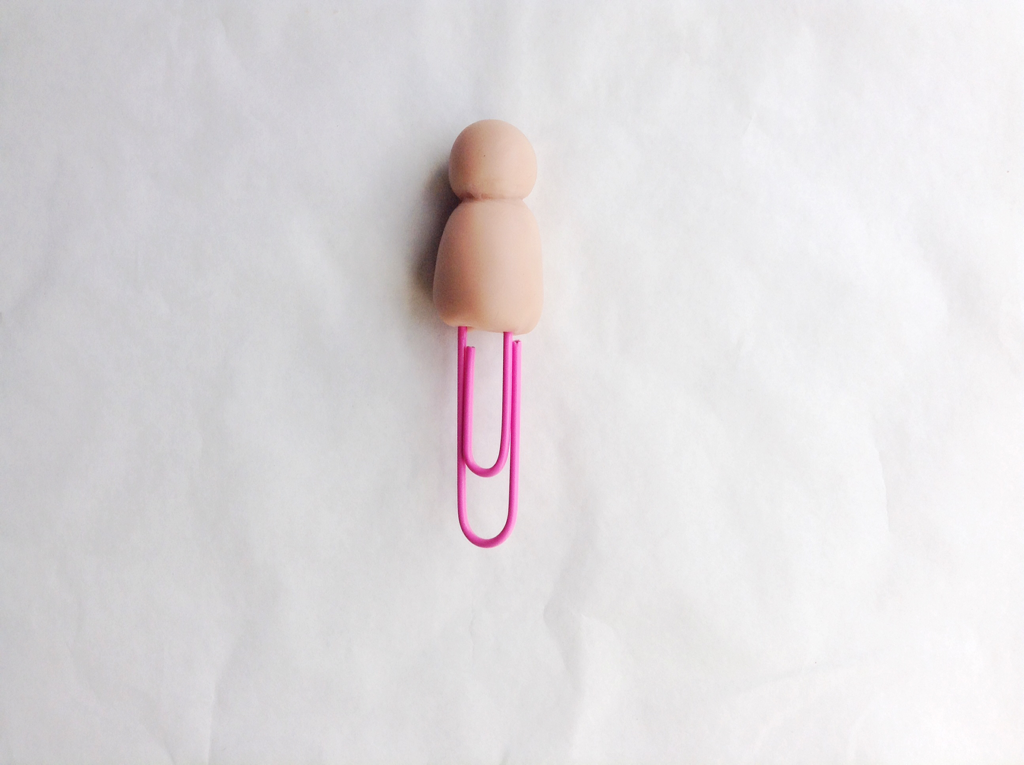
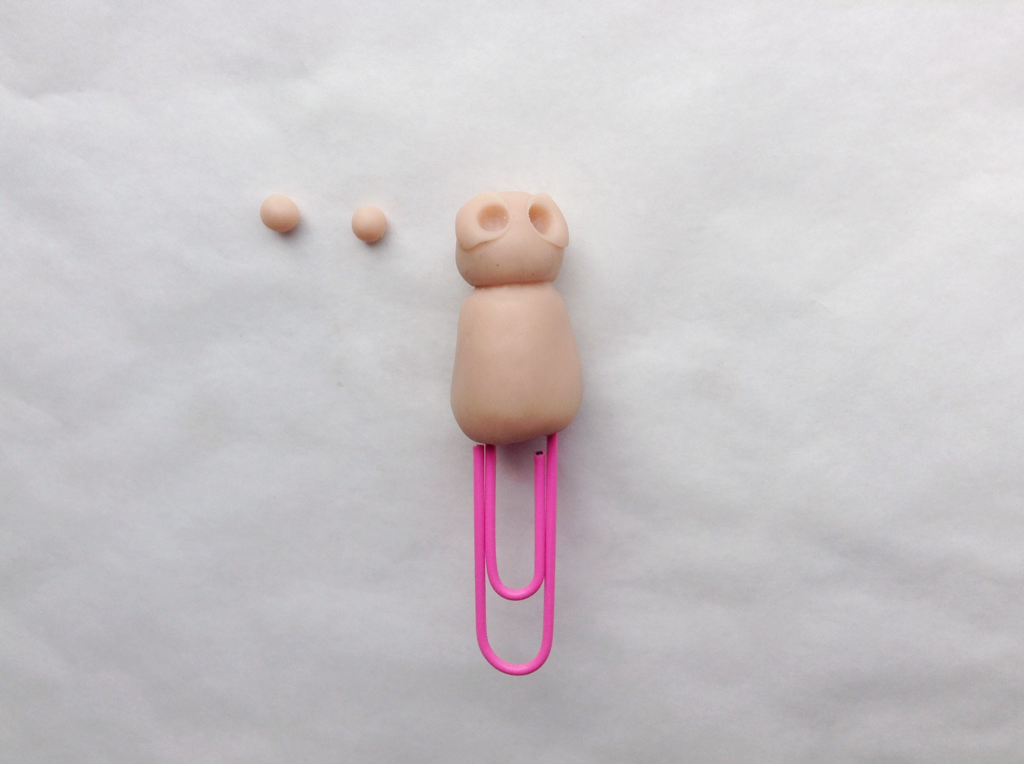
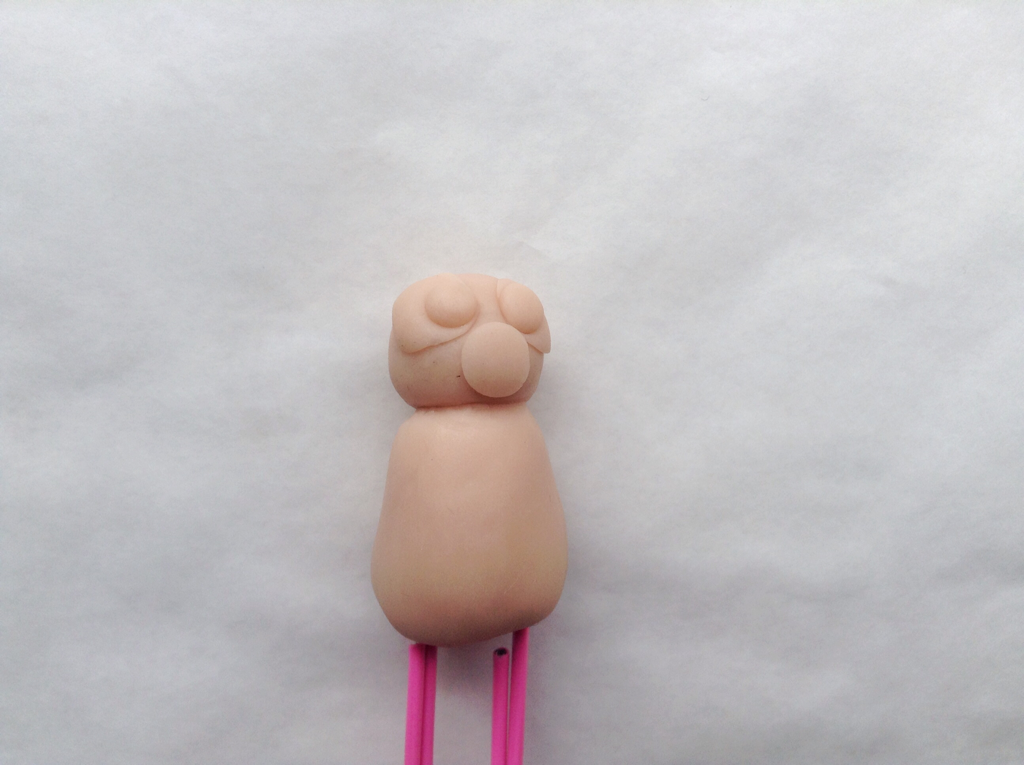
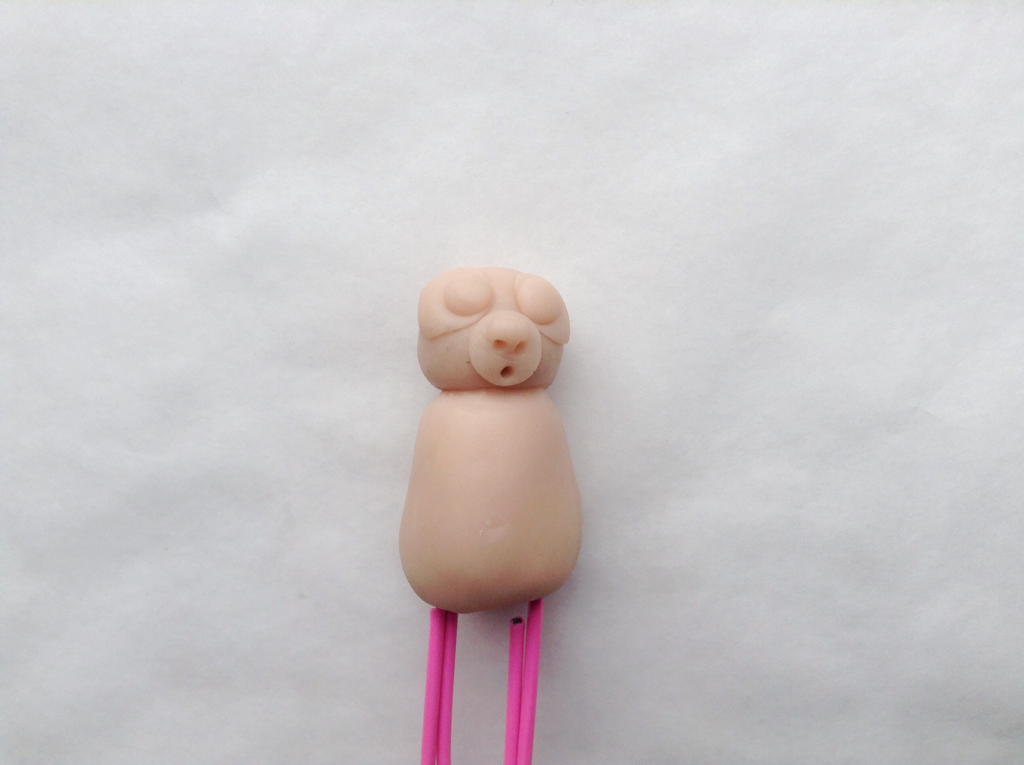
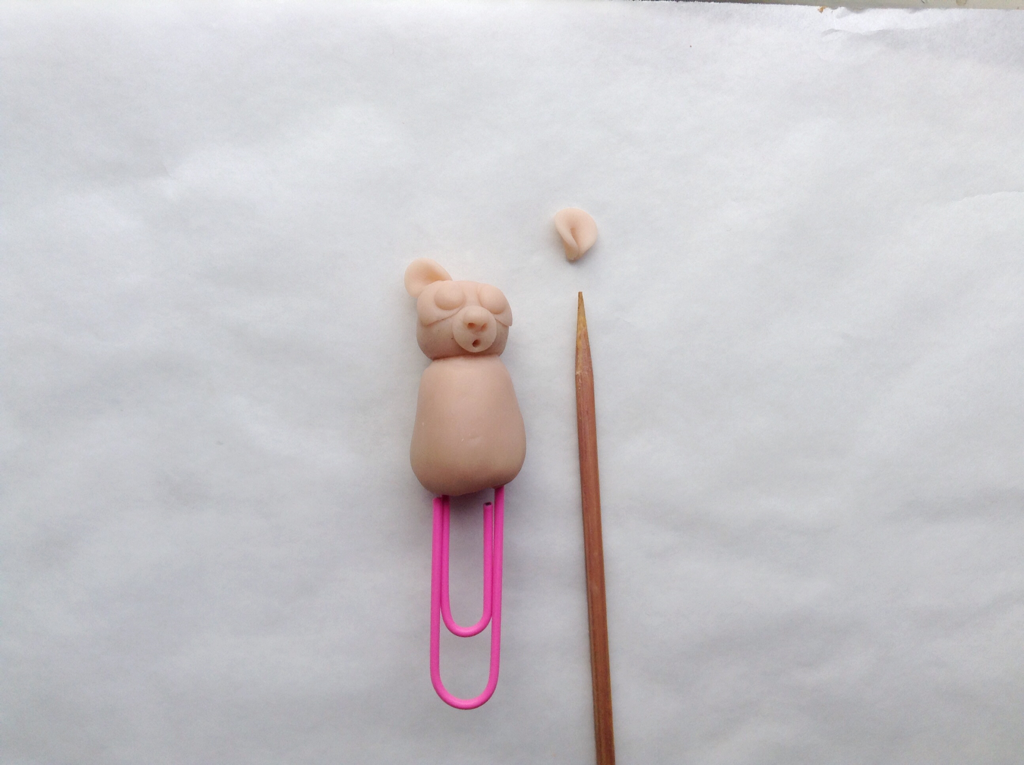
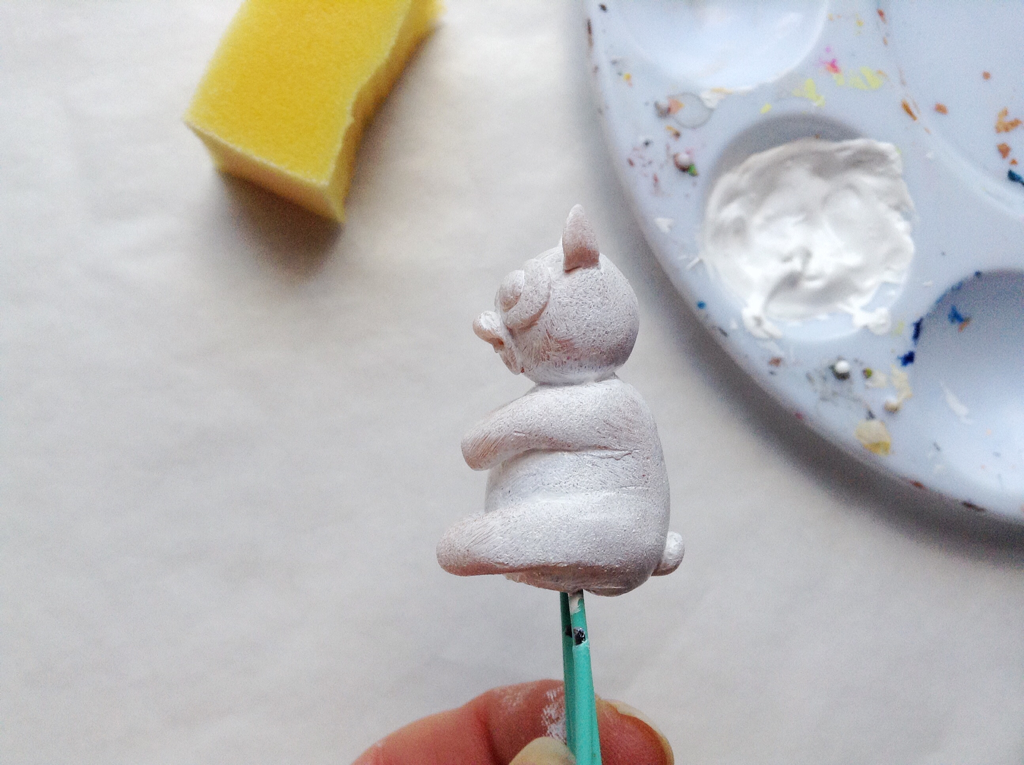
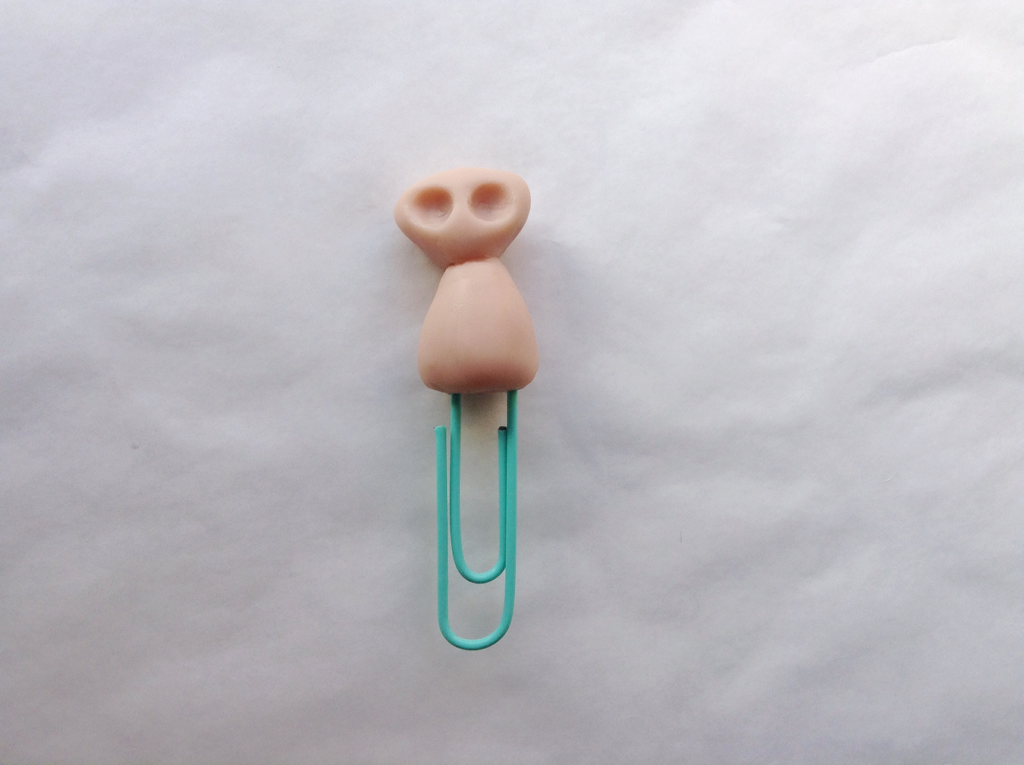
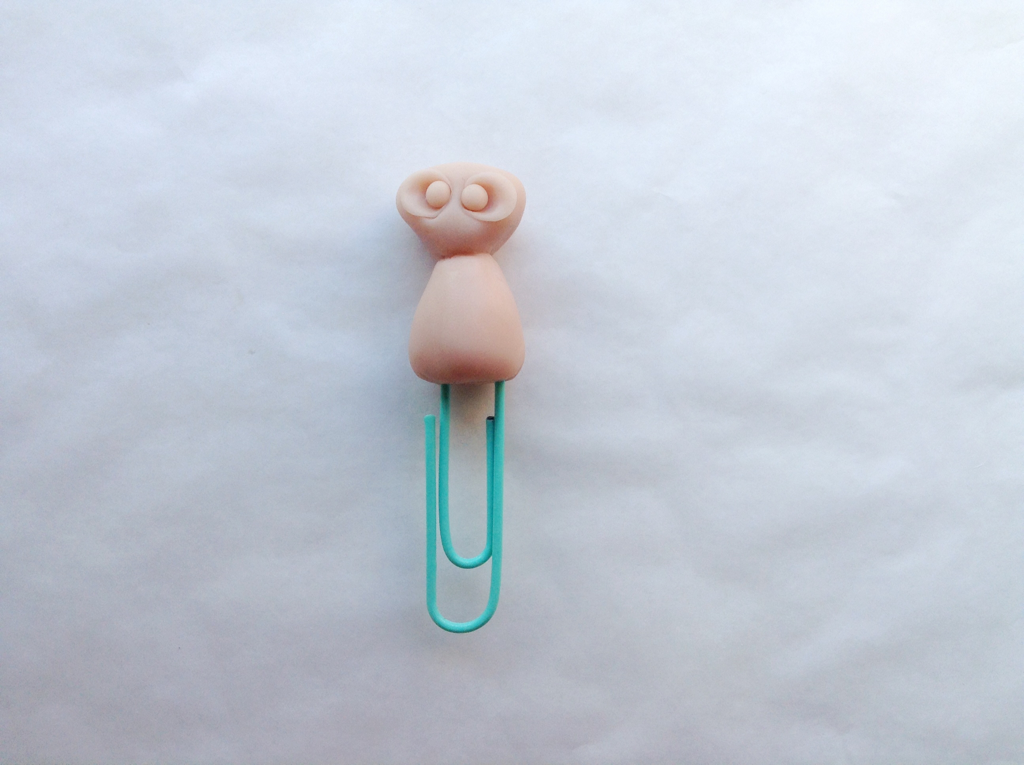
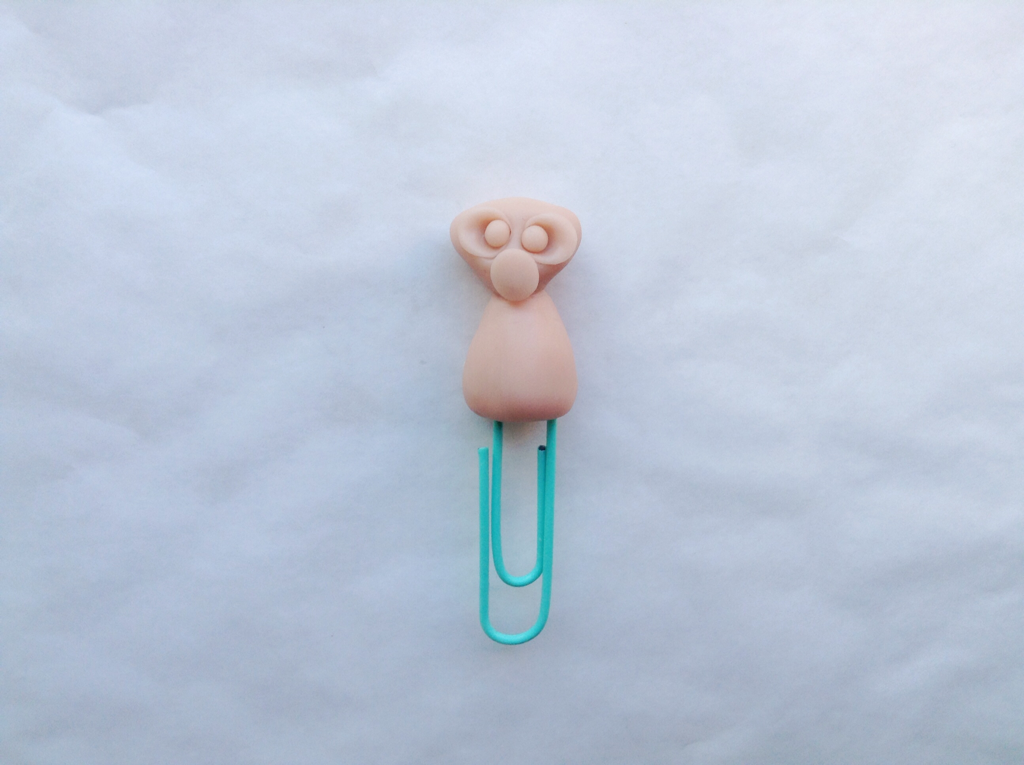
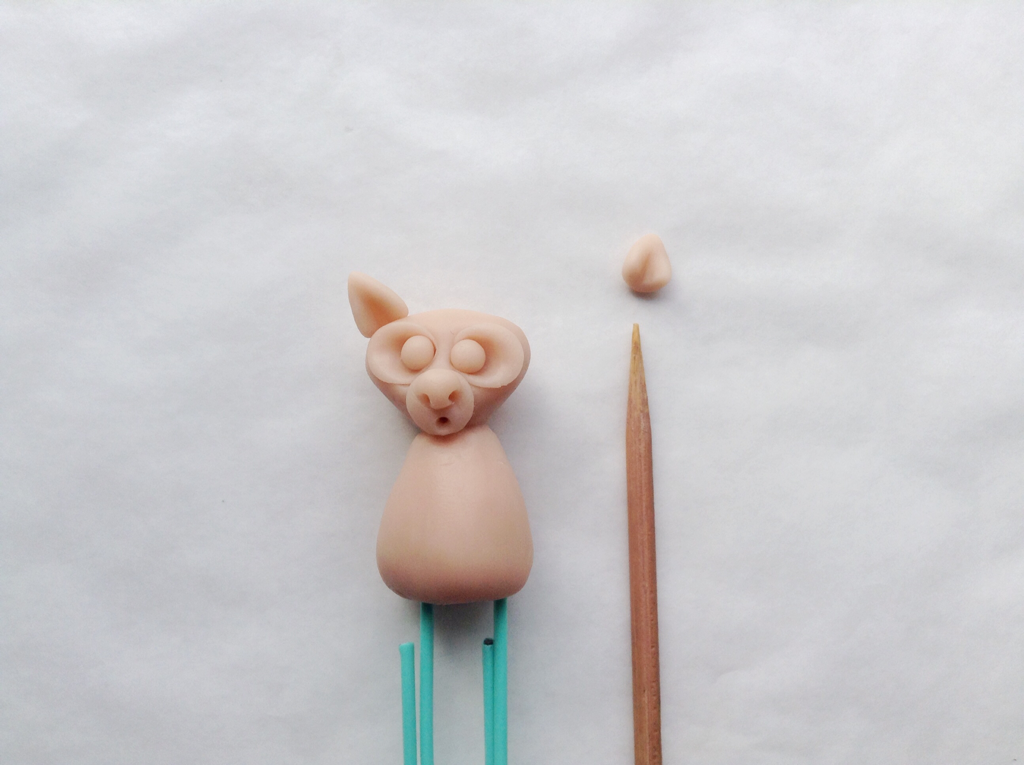
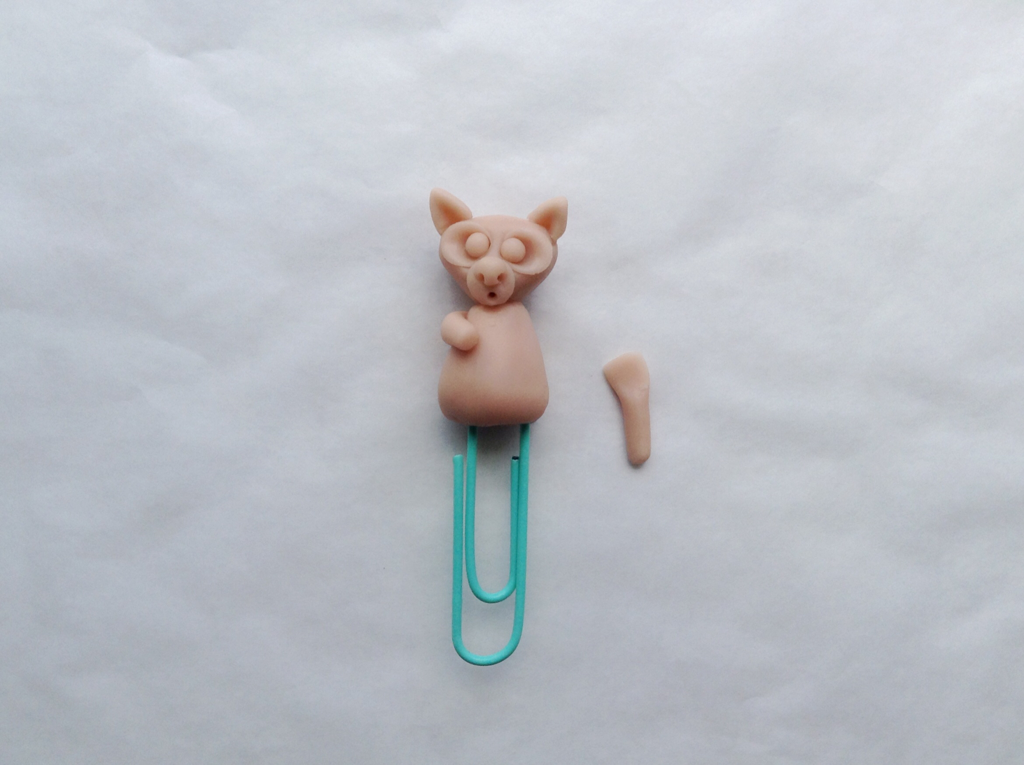
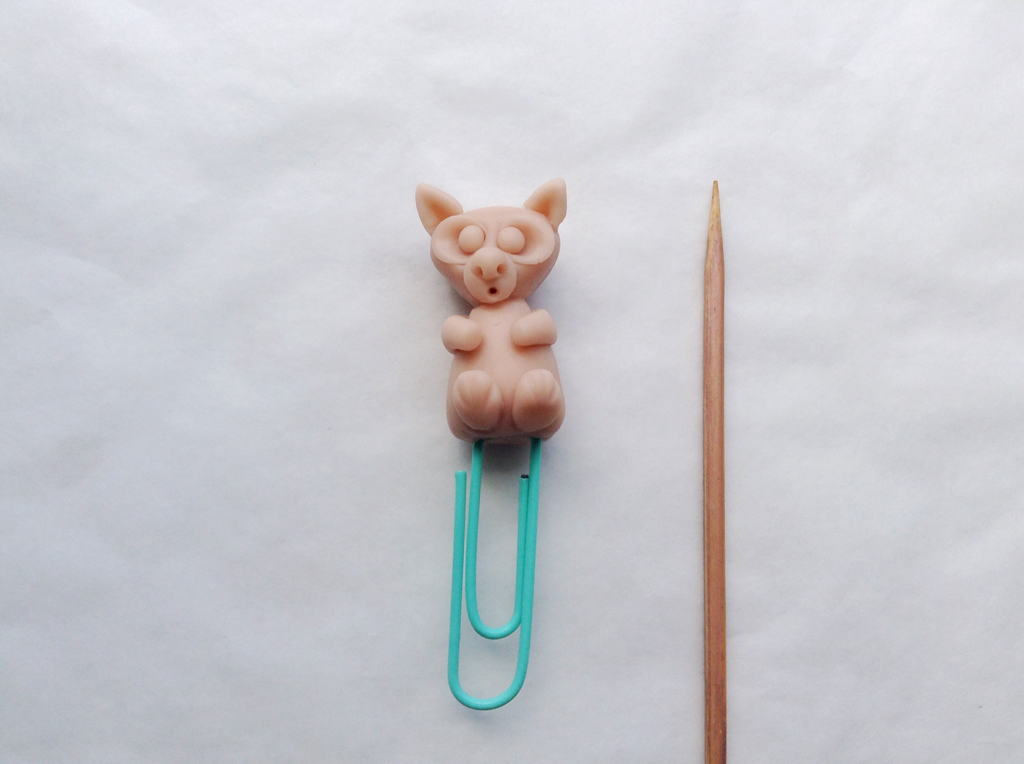
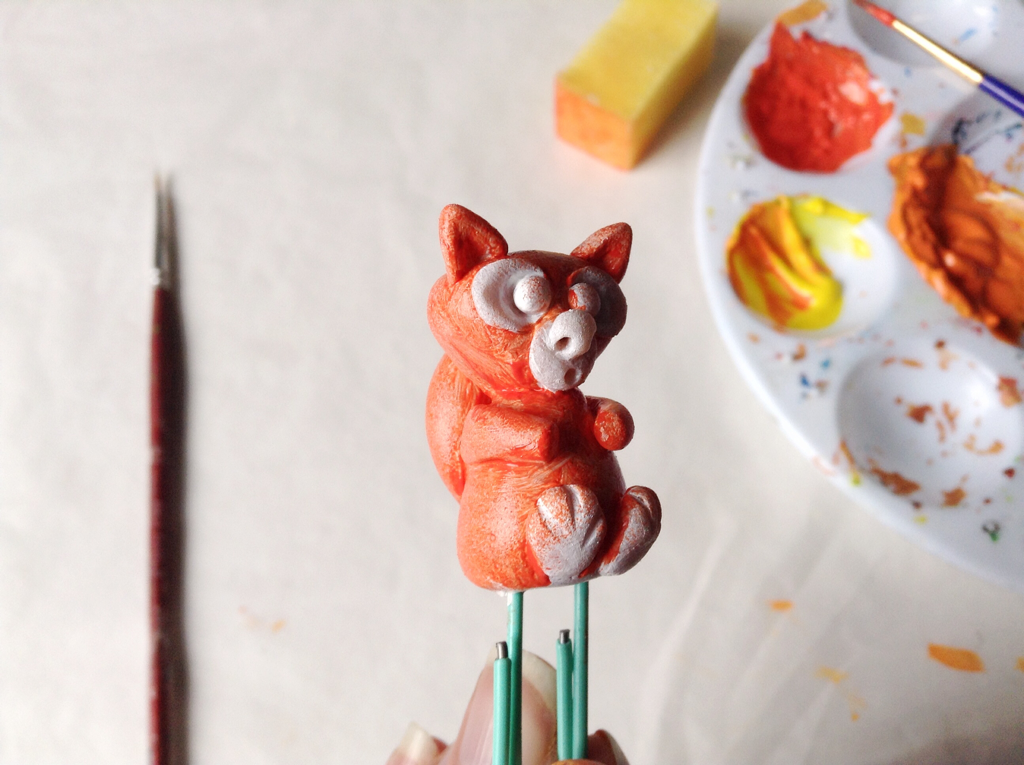
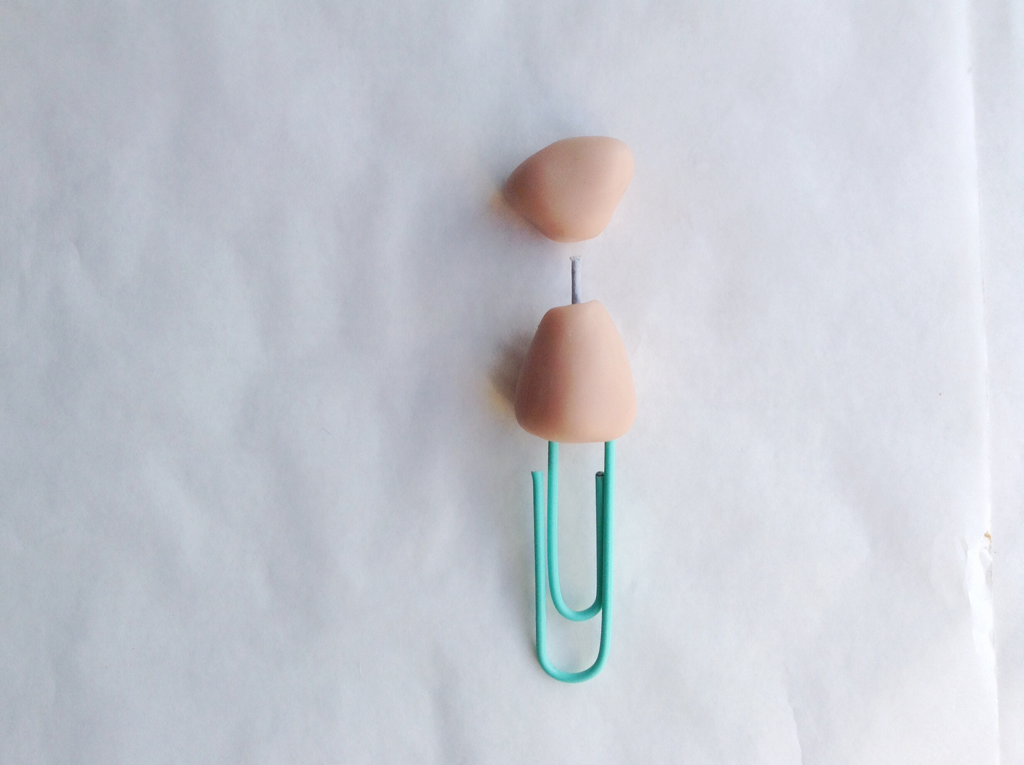
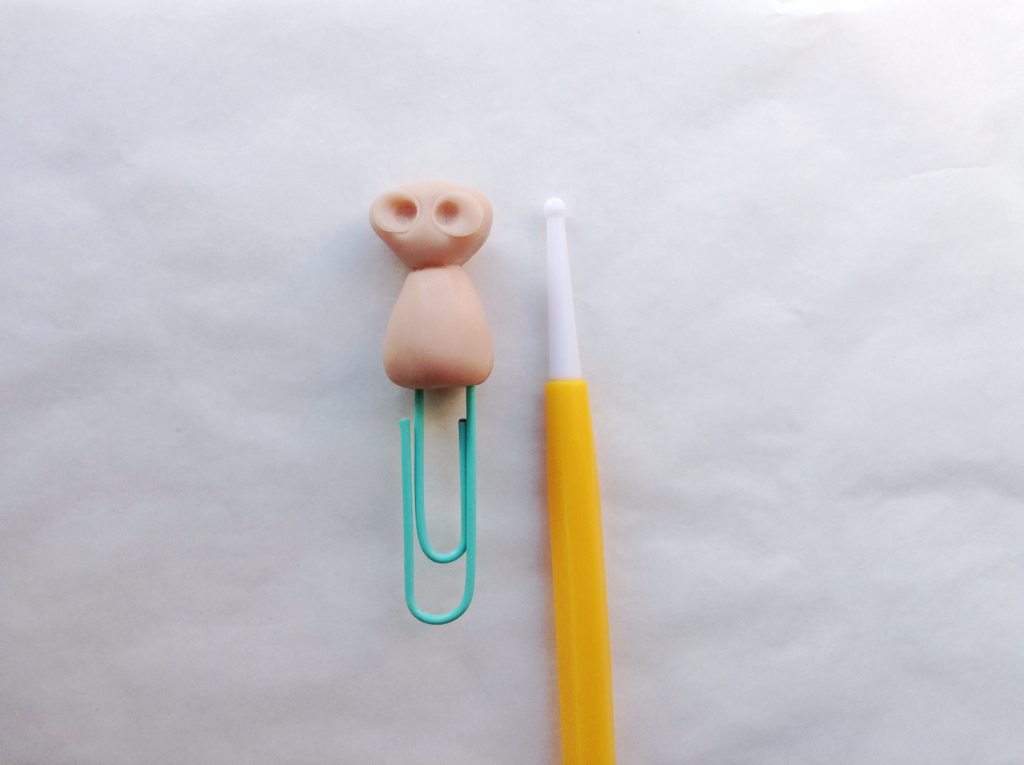
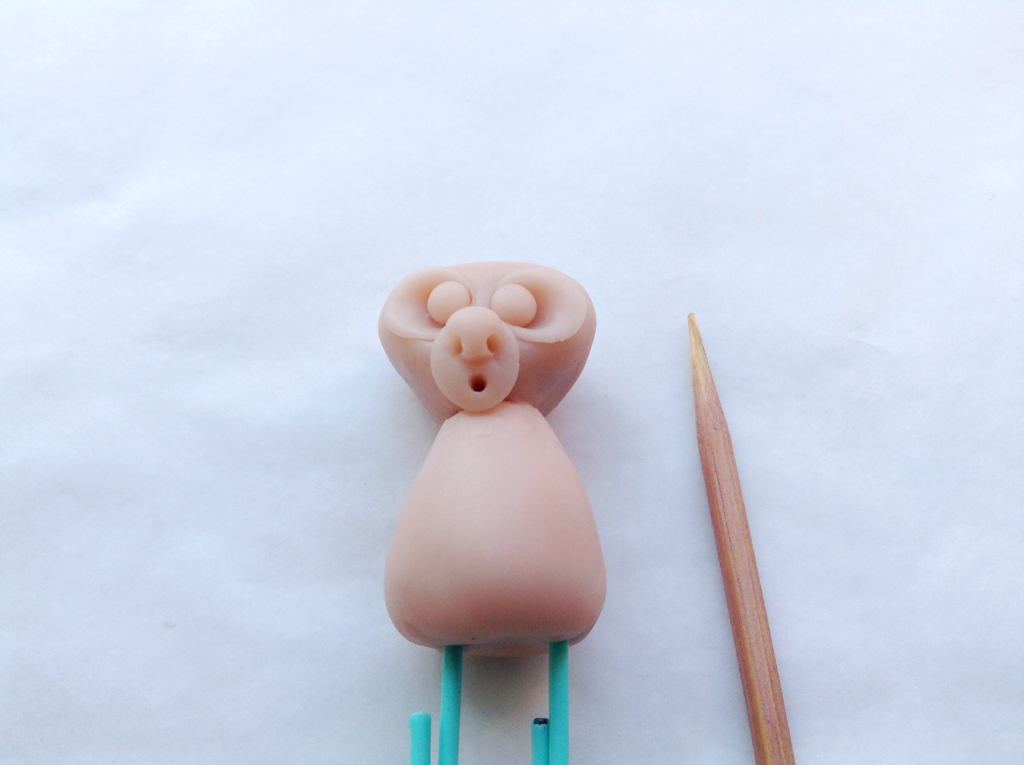
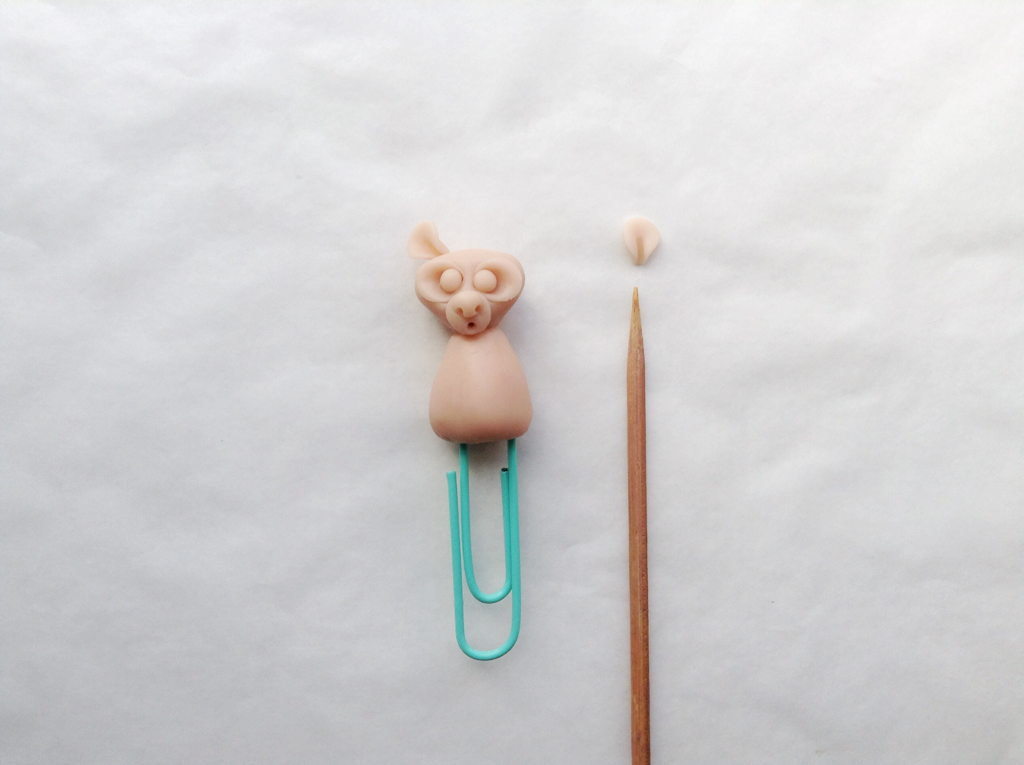
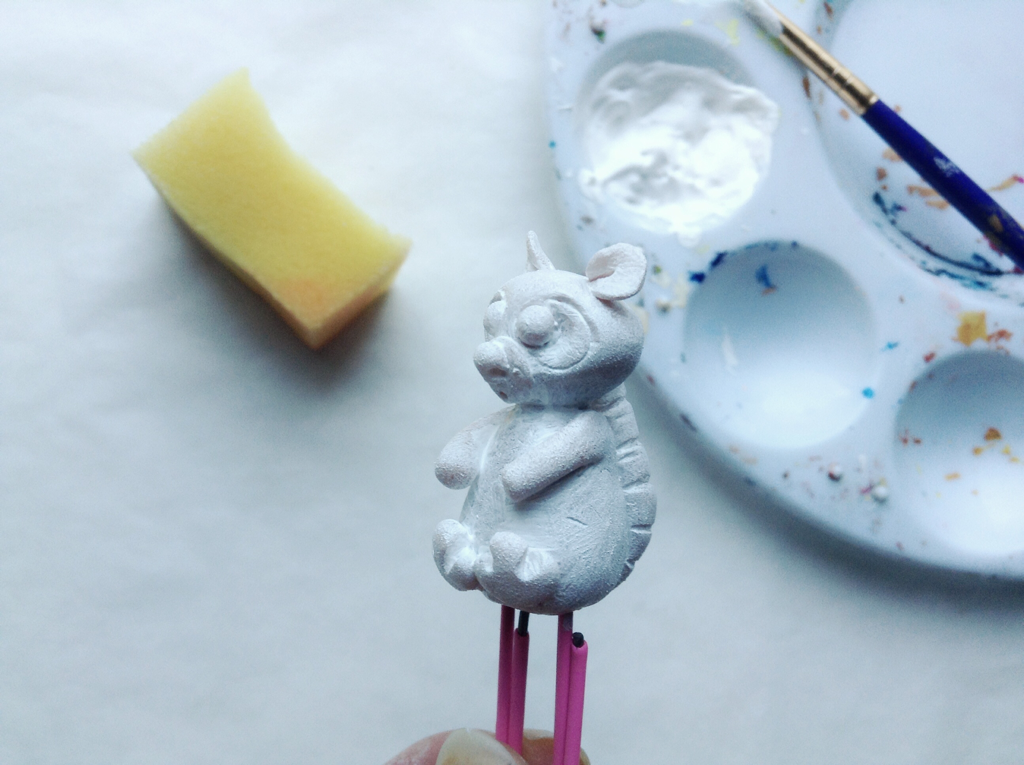
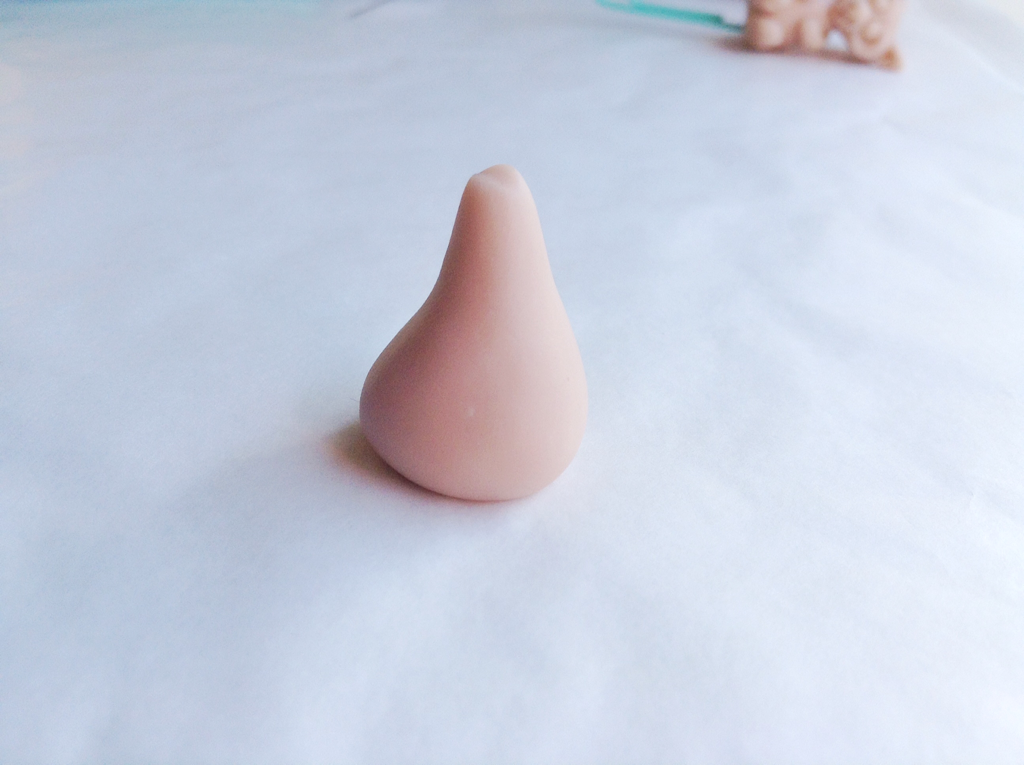
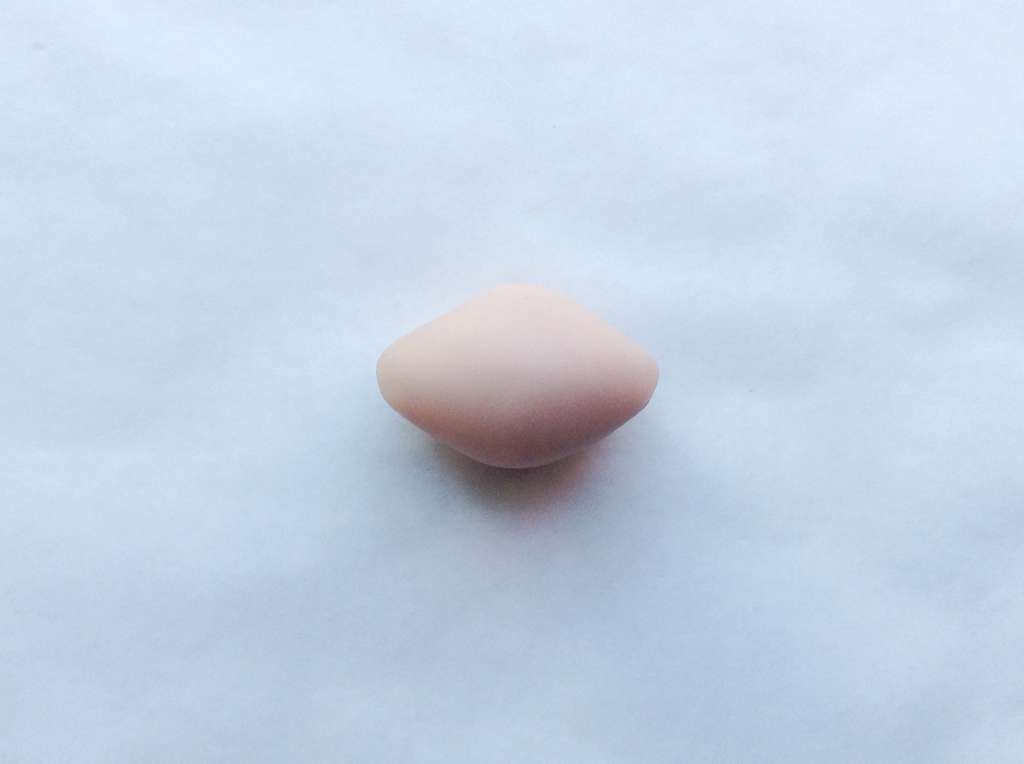
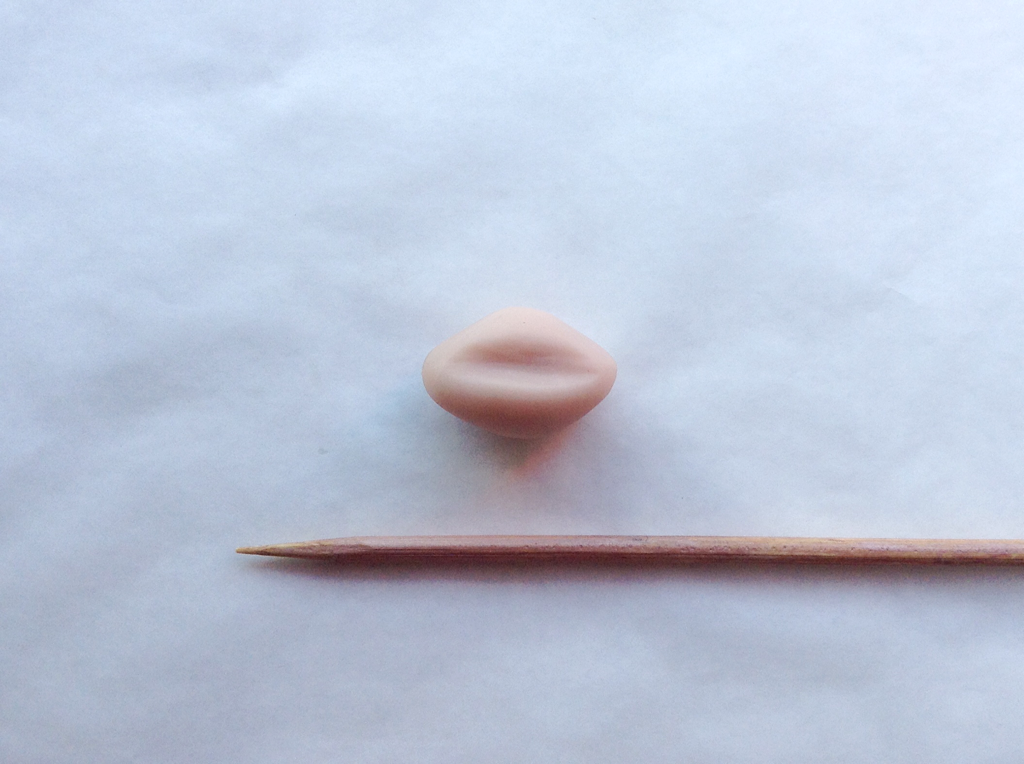
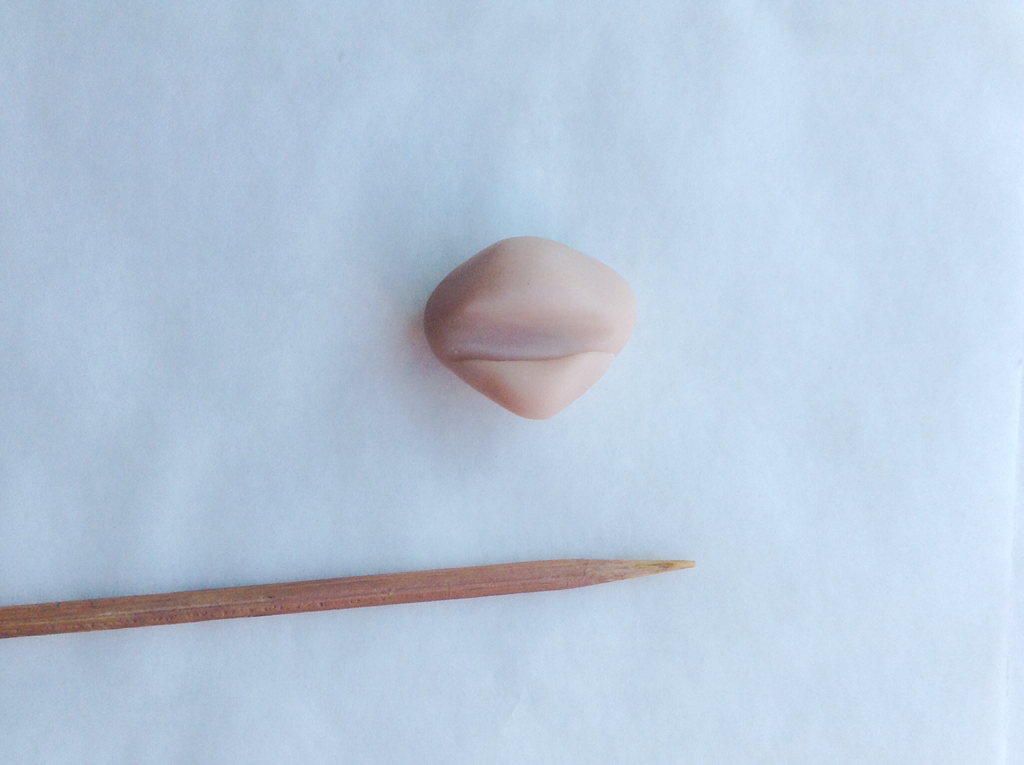
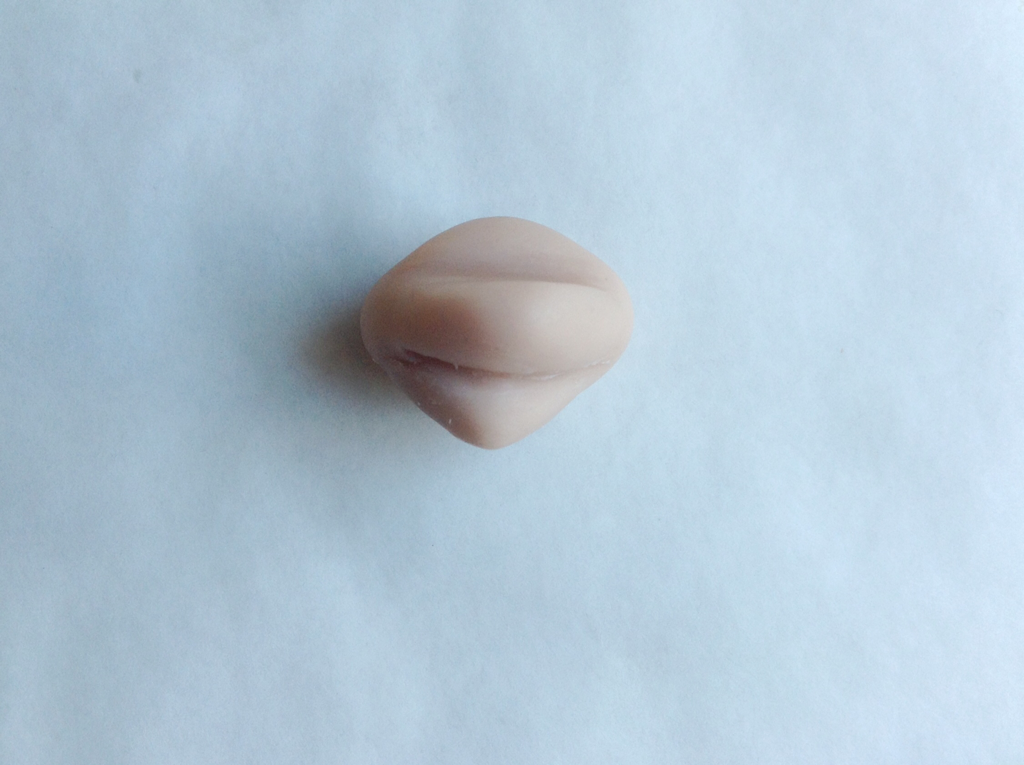
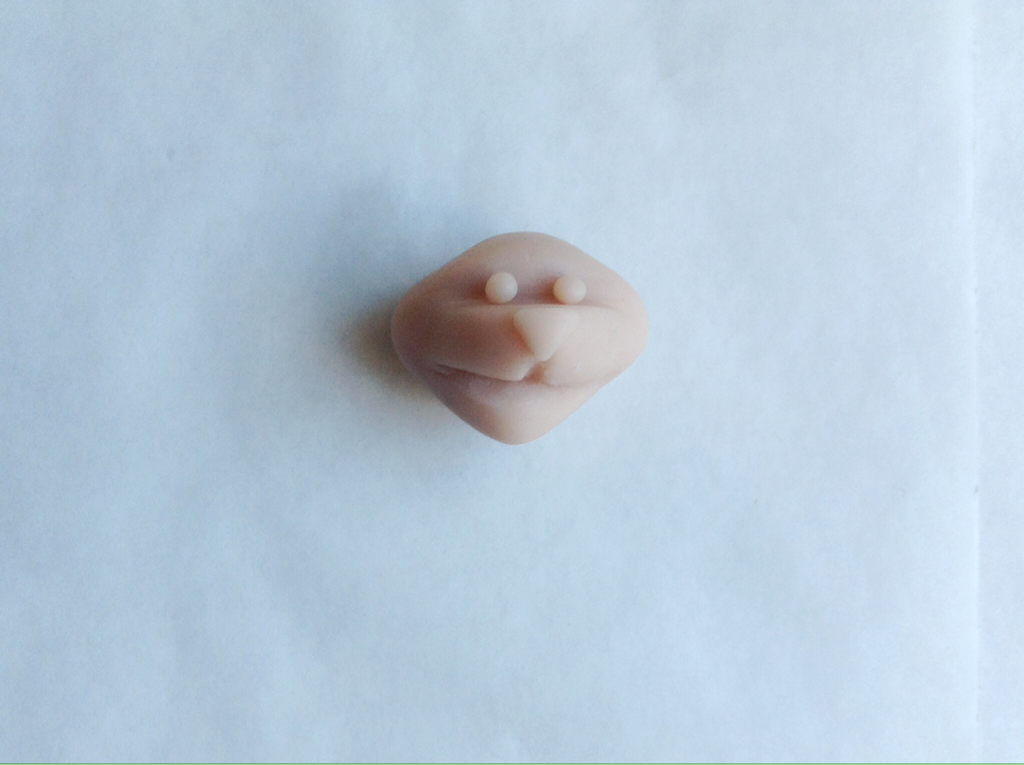
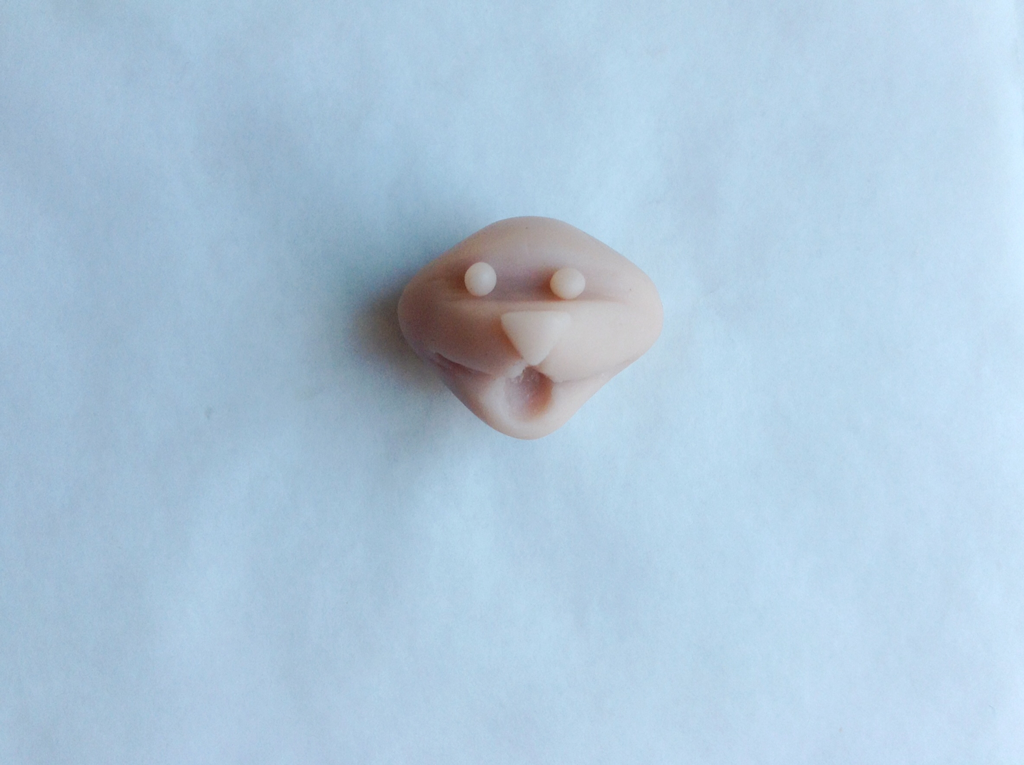
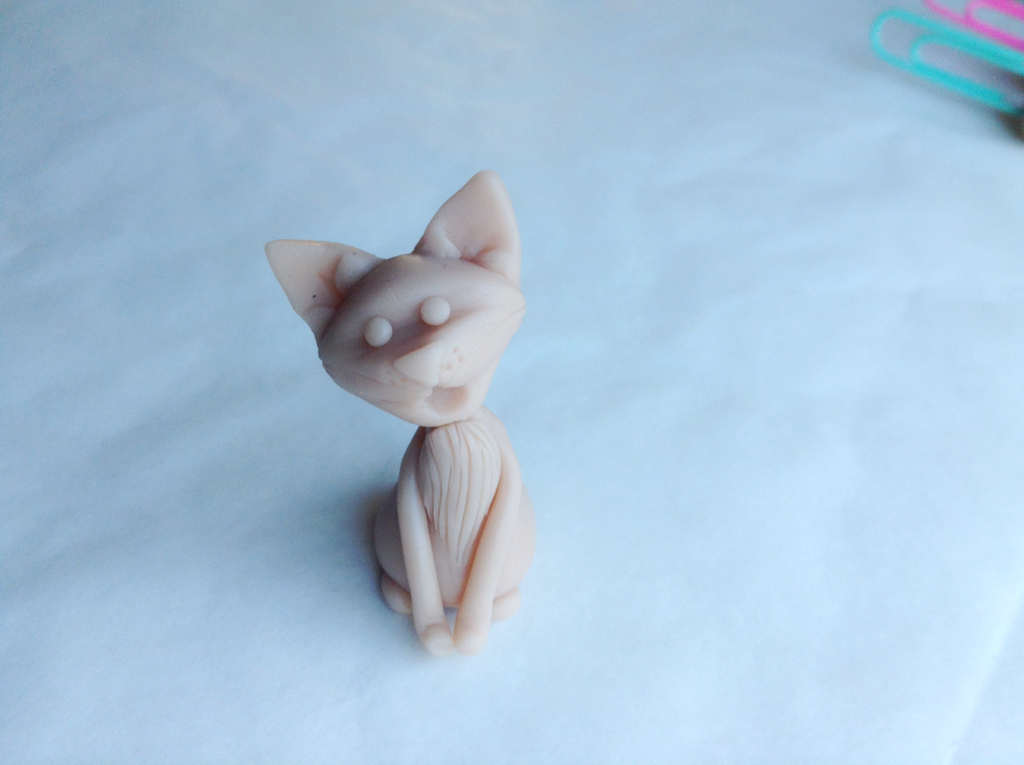
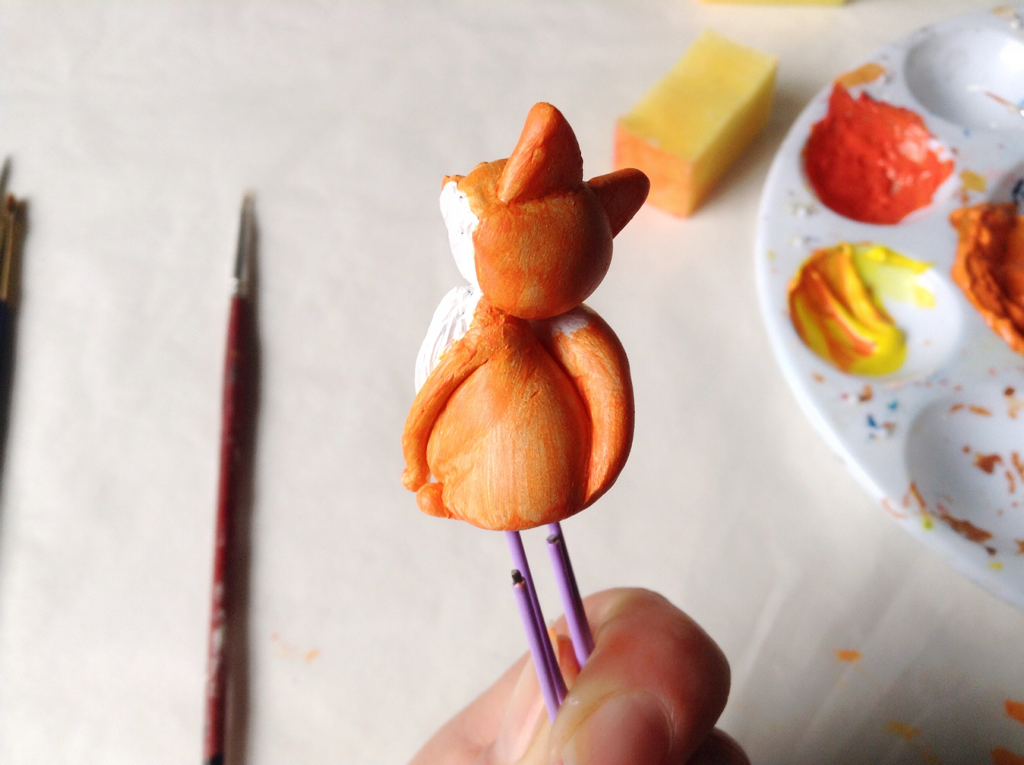
Sculpt clay into little animal figures.
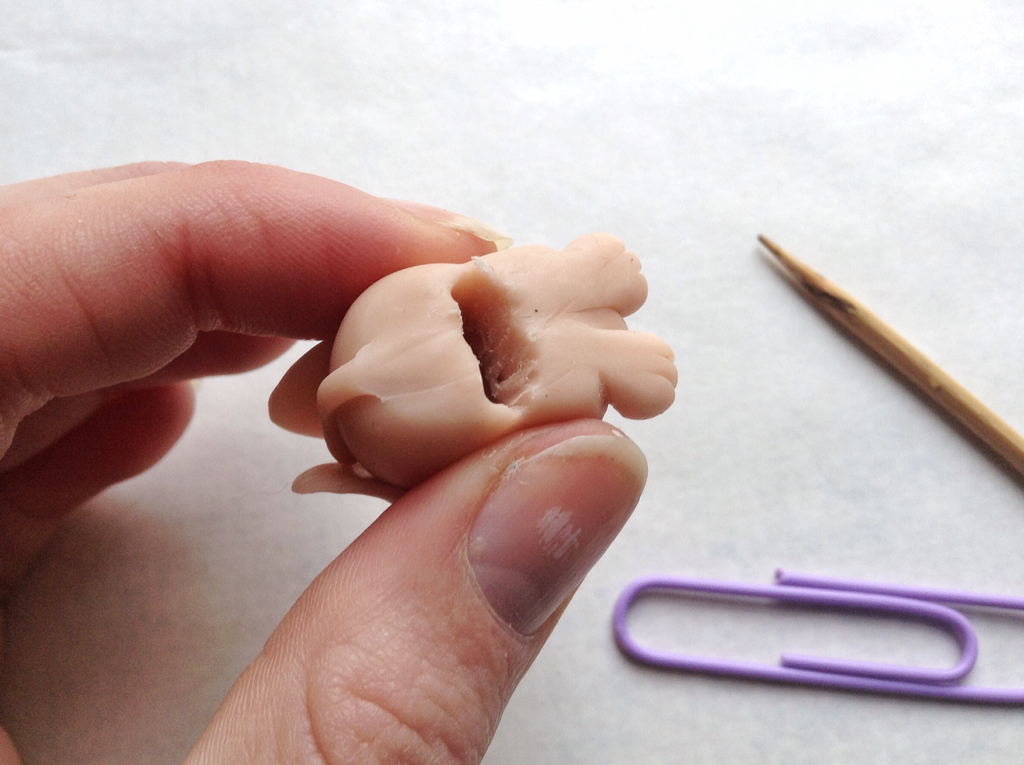
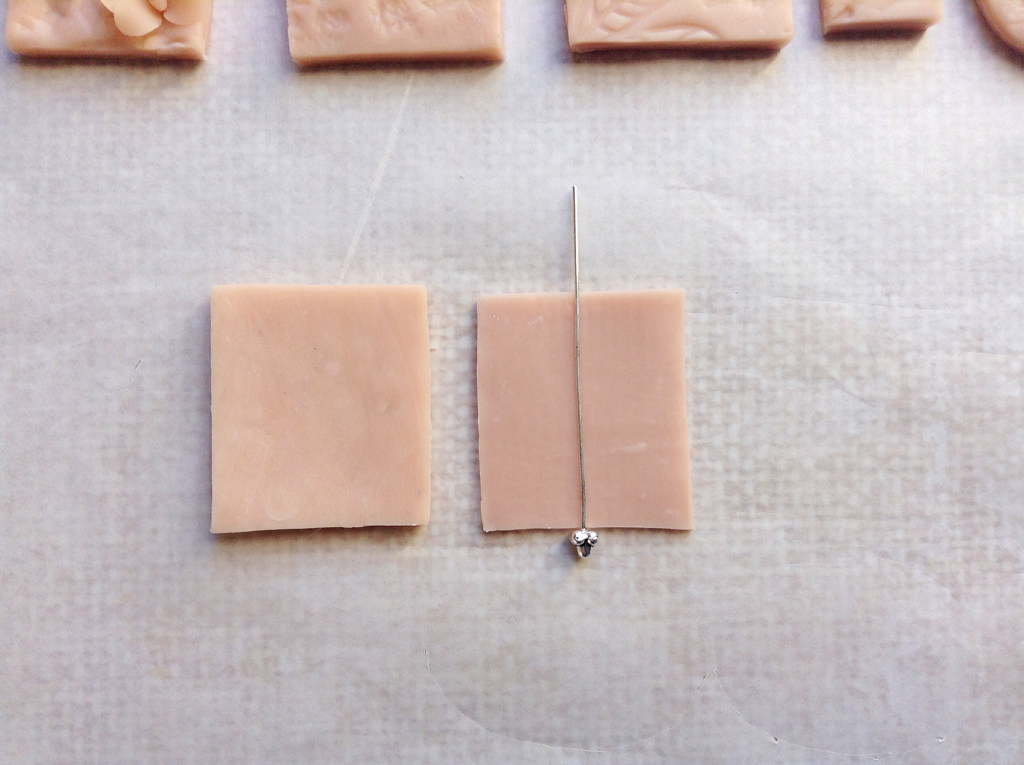
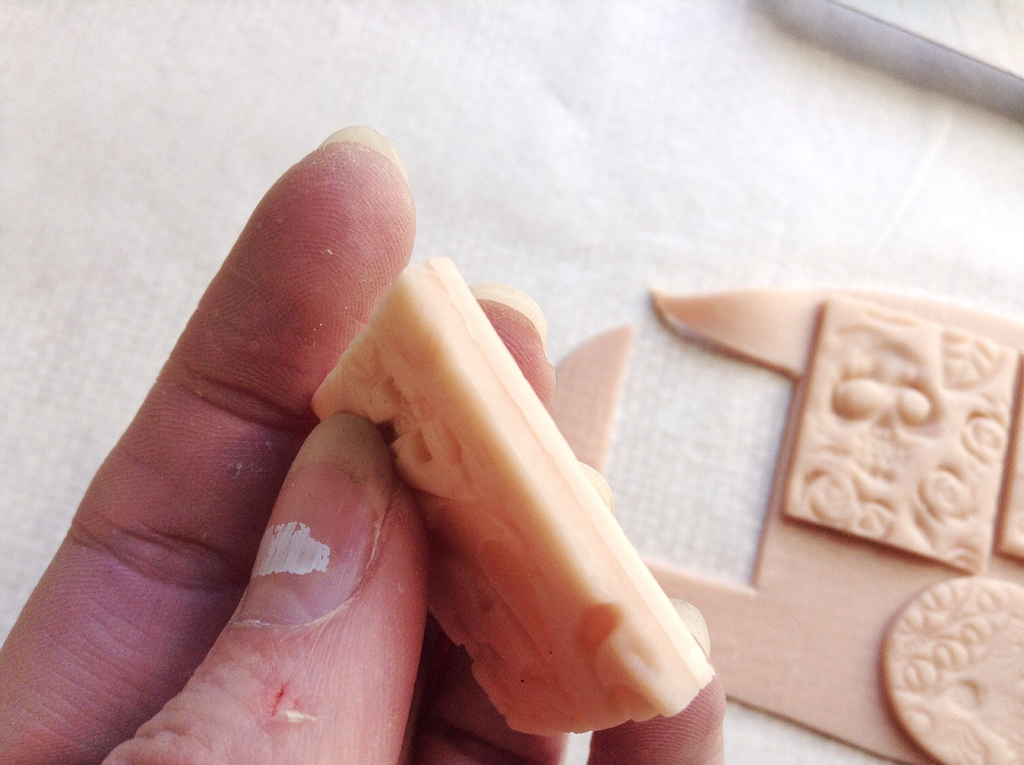
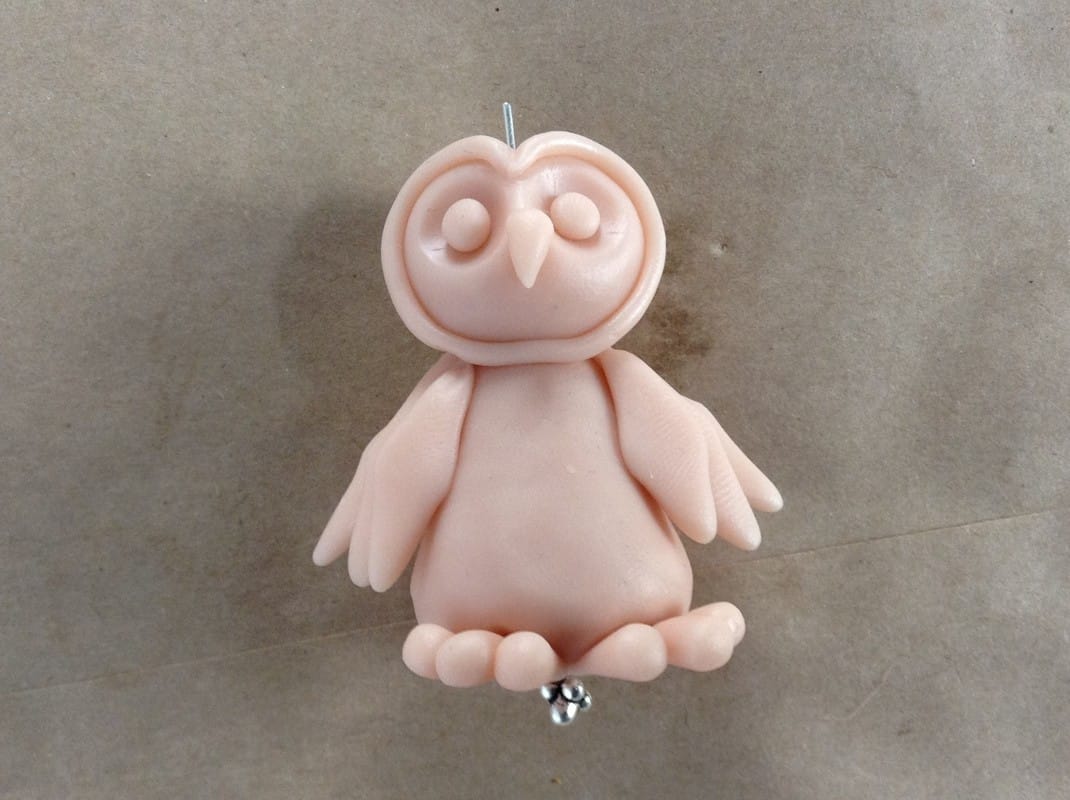
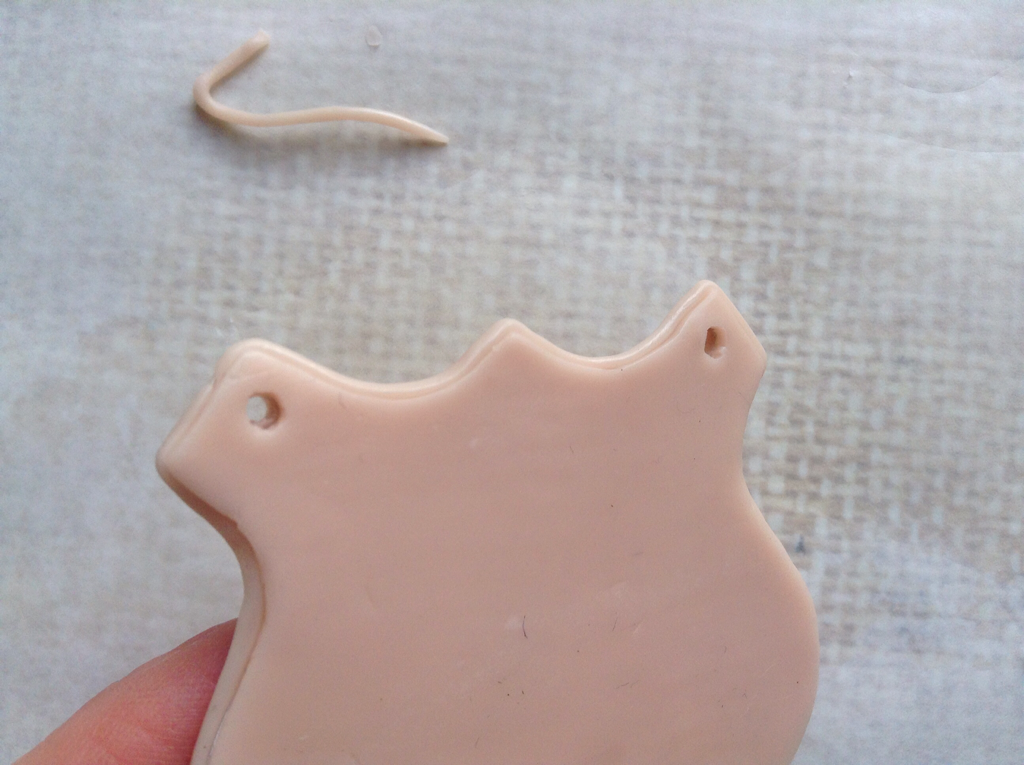
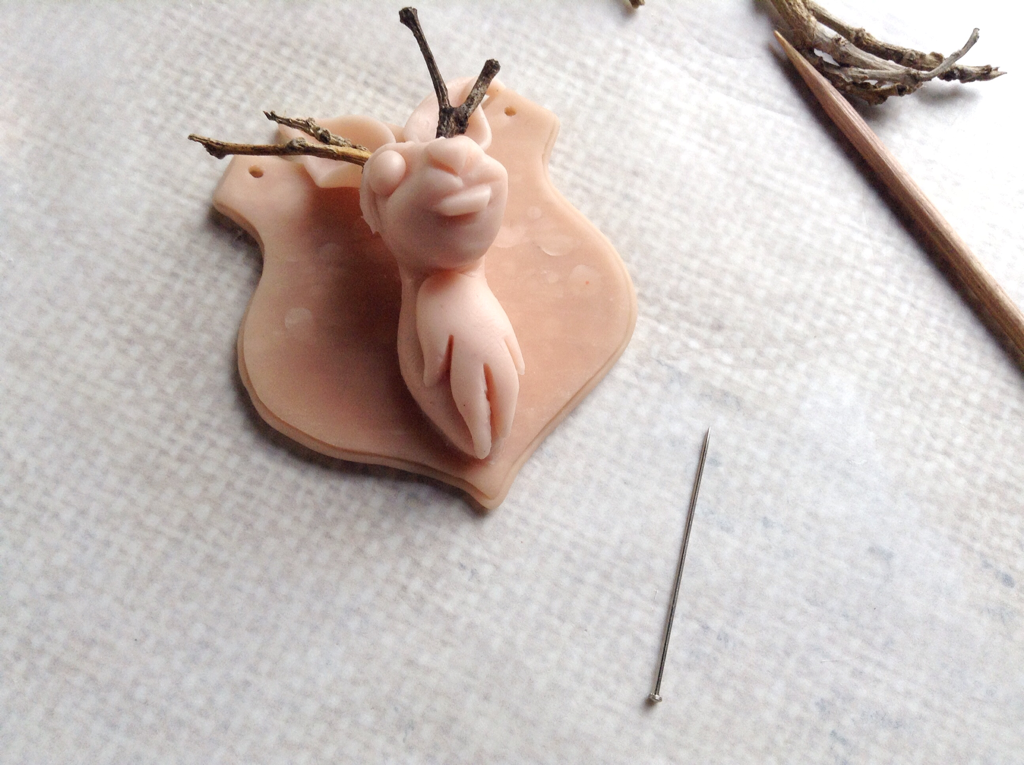
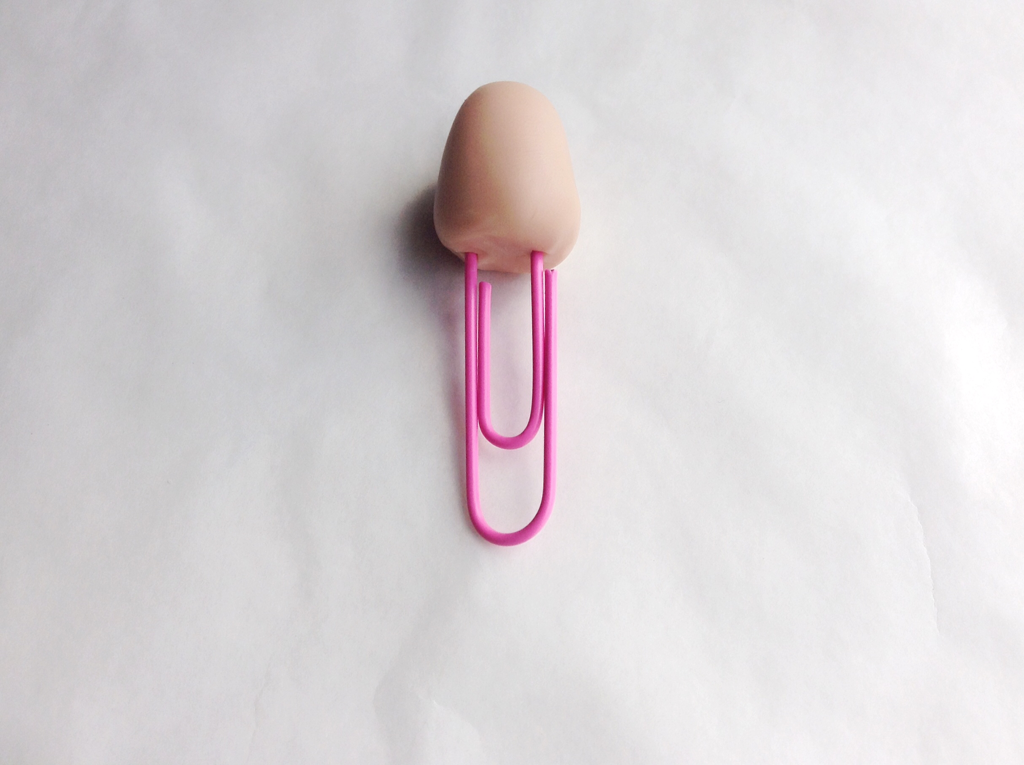
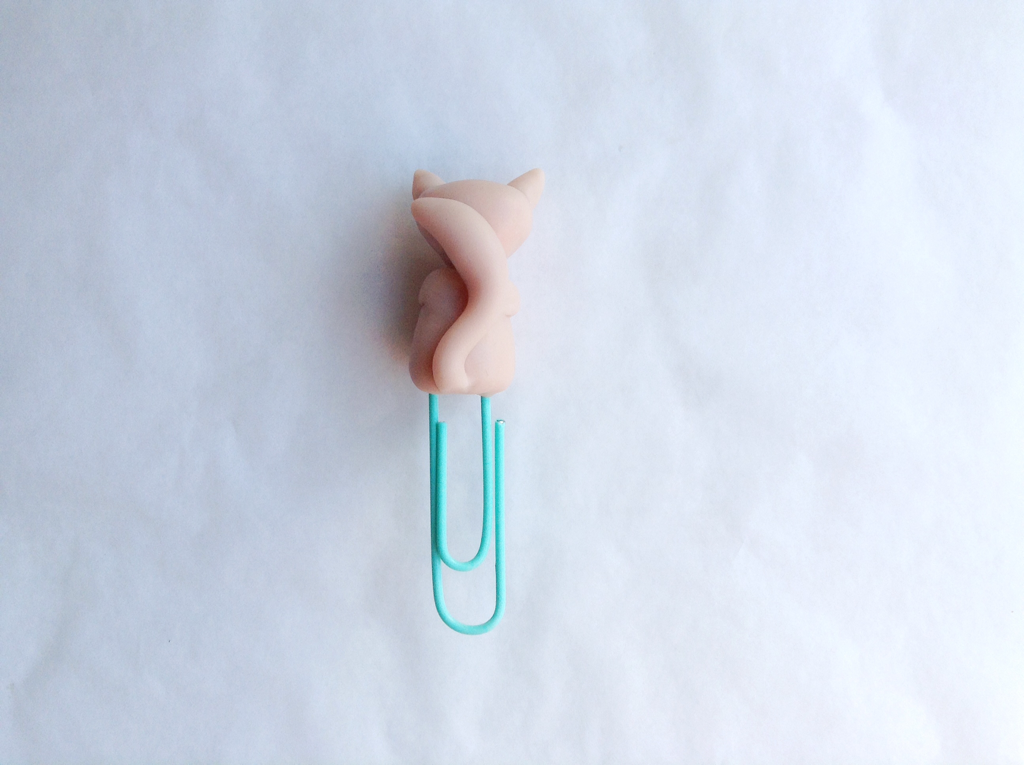
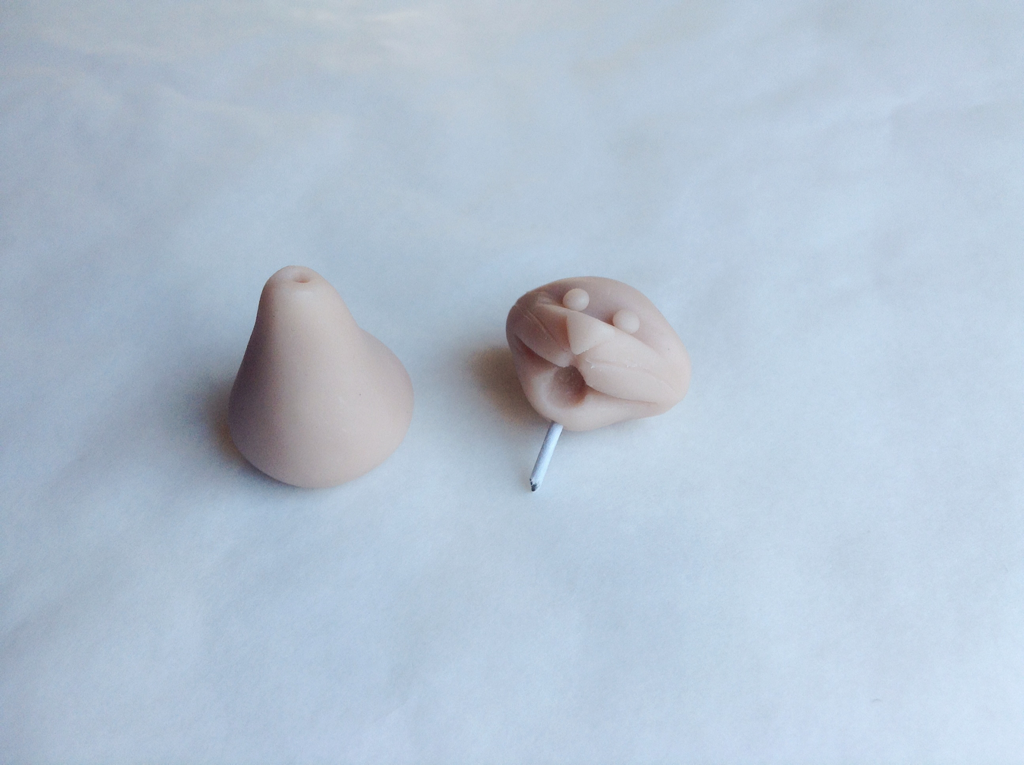
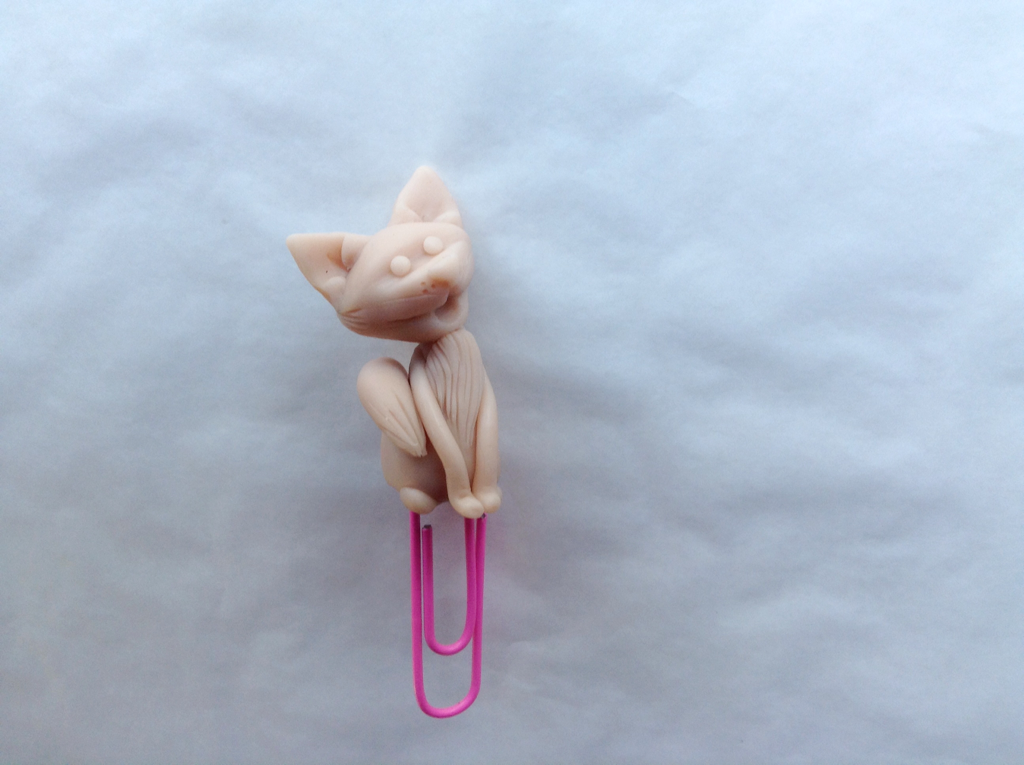
Cut into the base of each figure and add a paperclip.

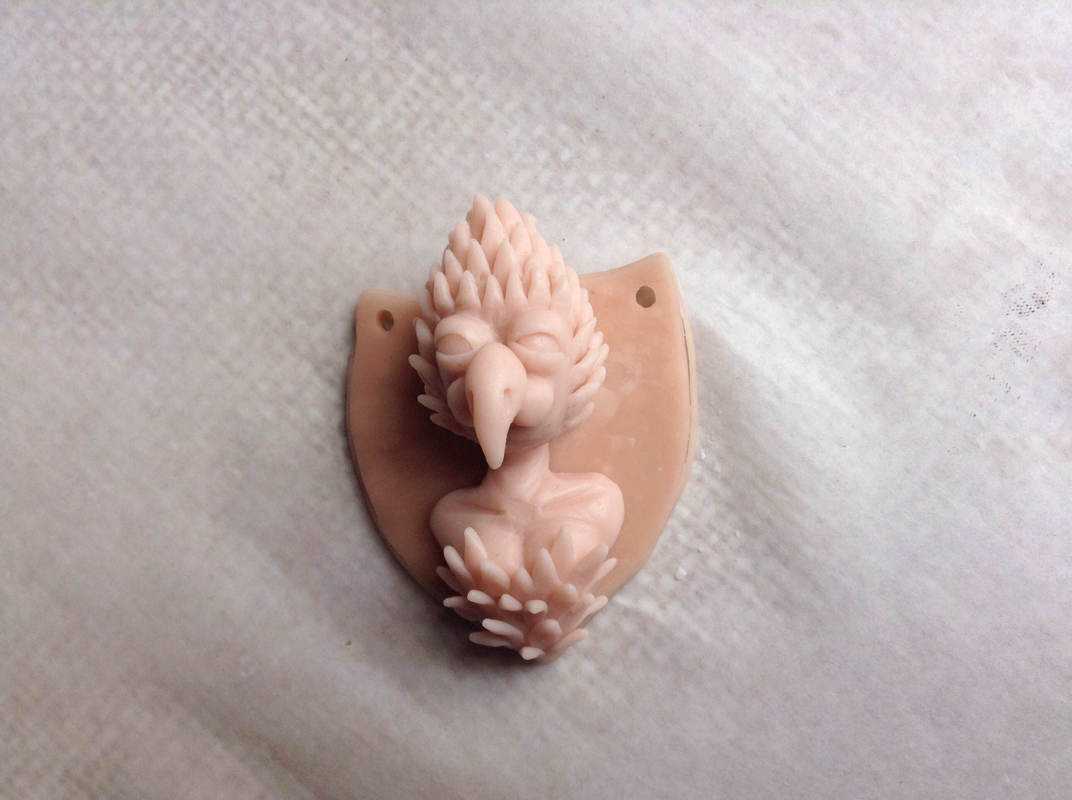
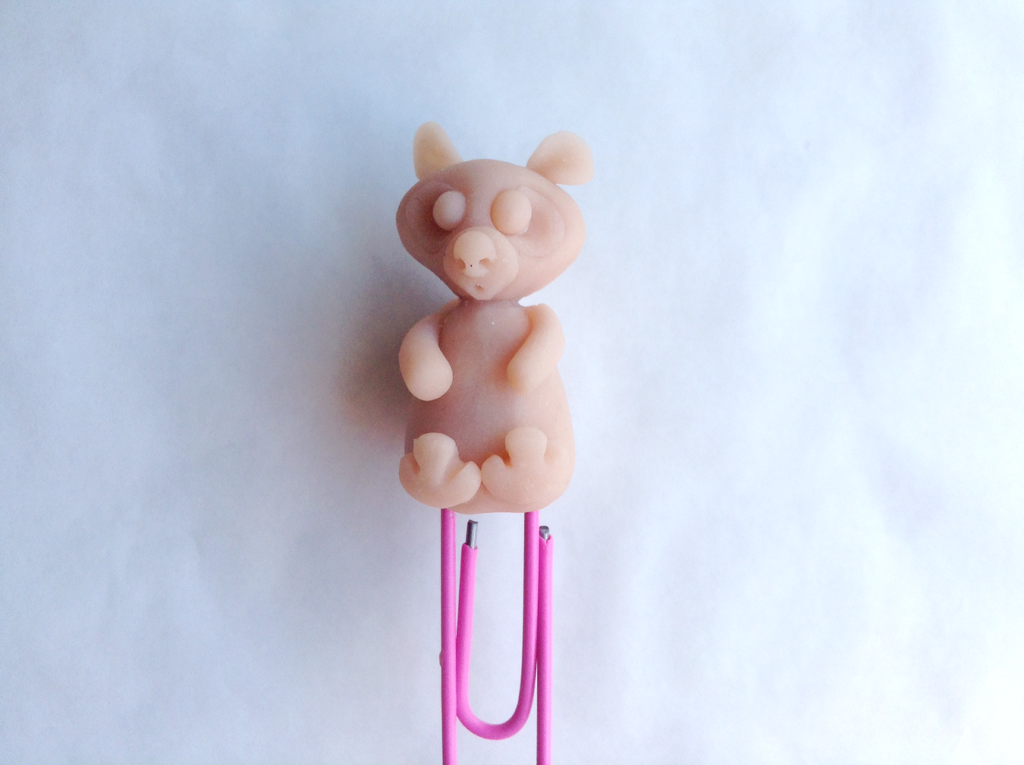
Bake clay following the guidelines.
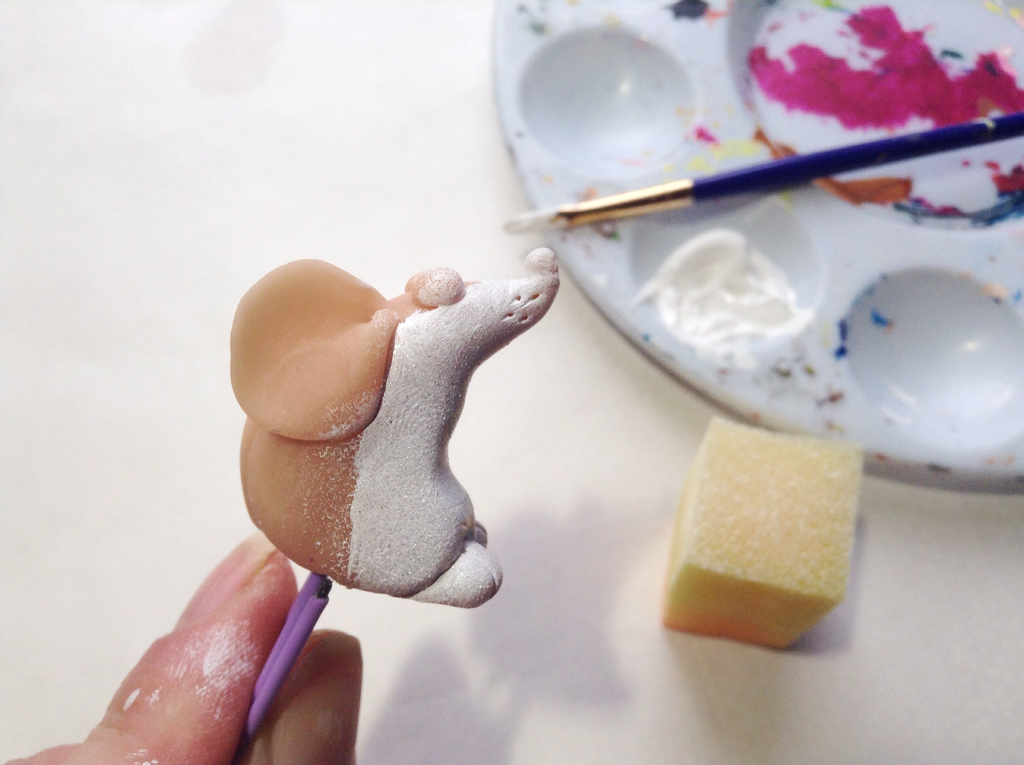 |  |
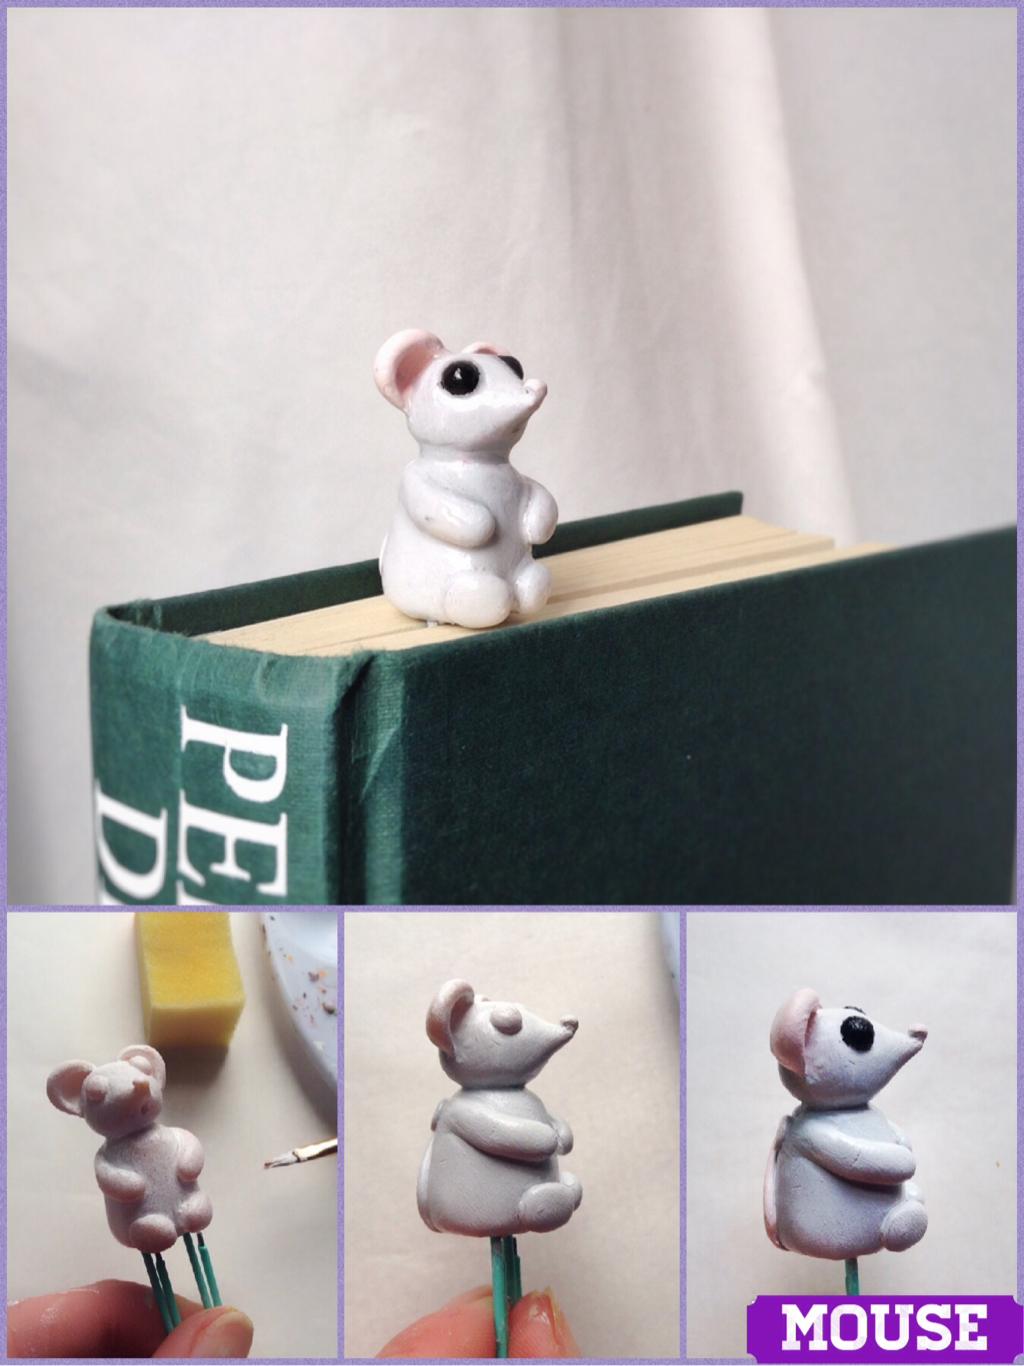
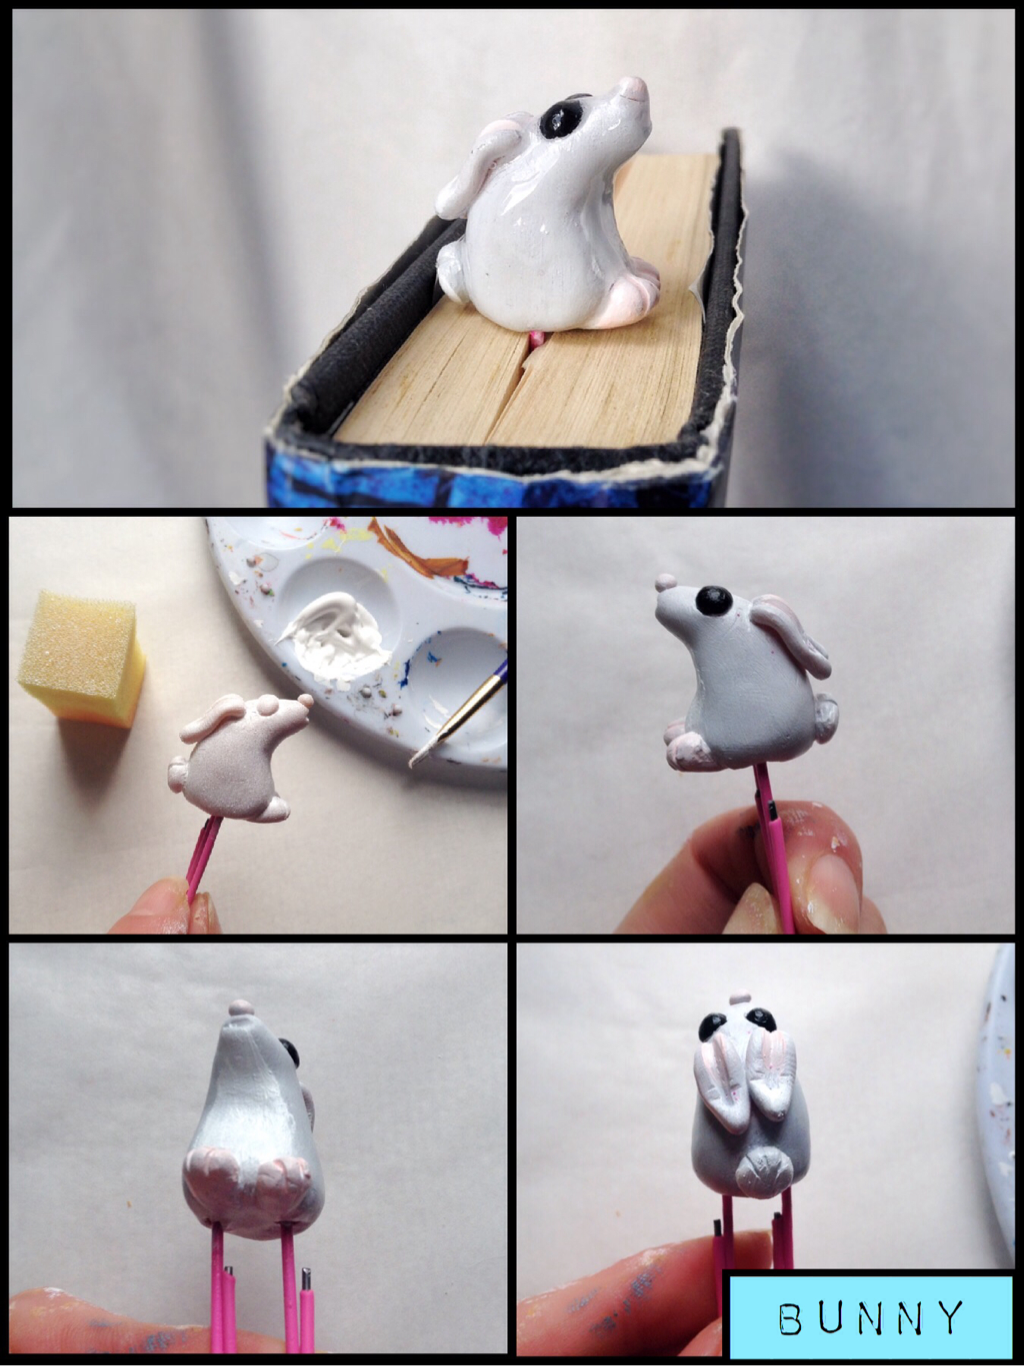
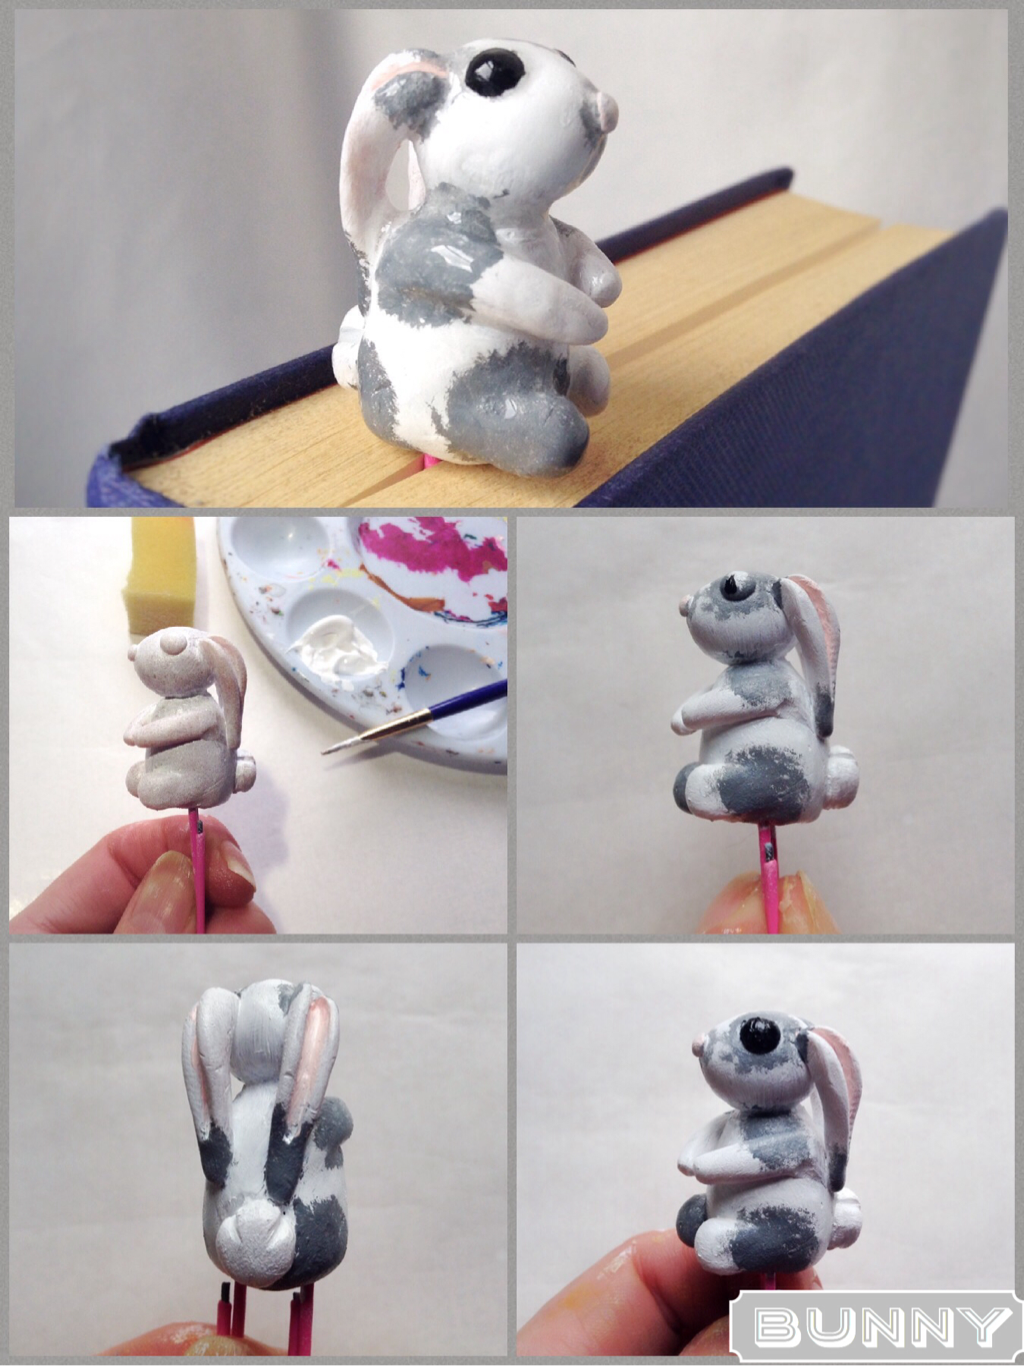
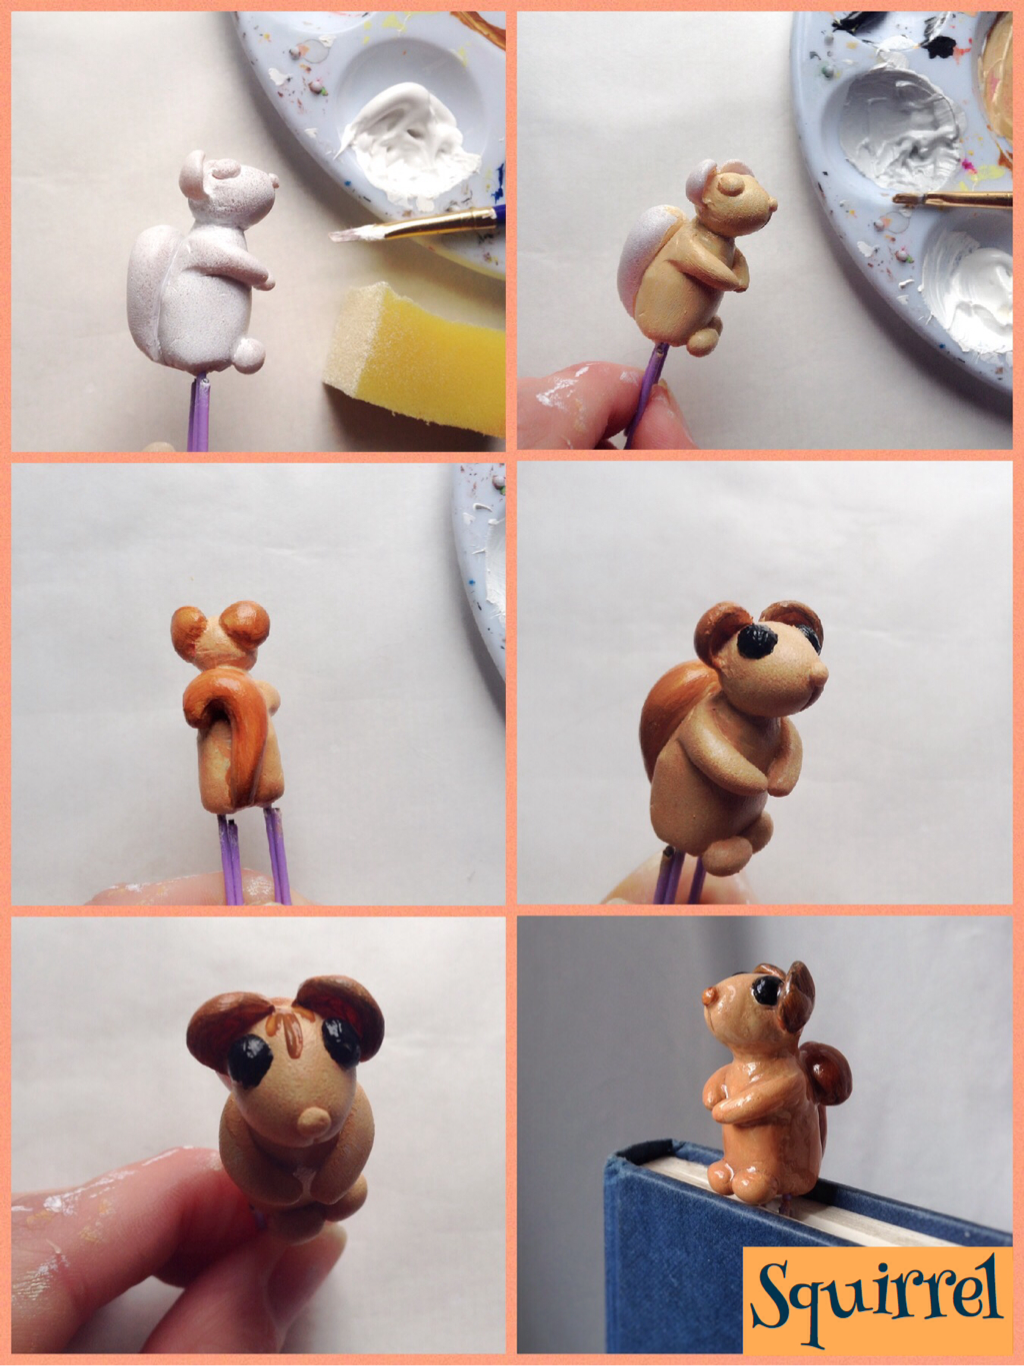
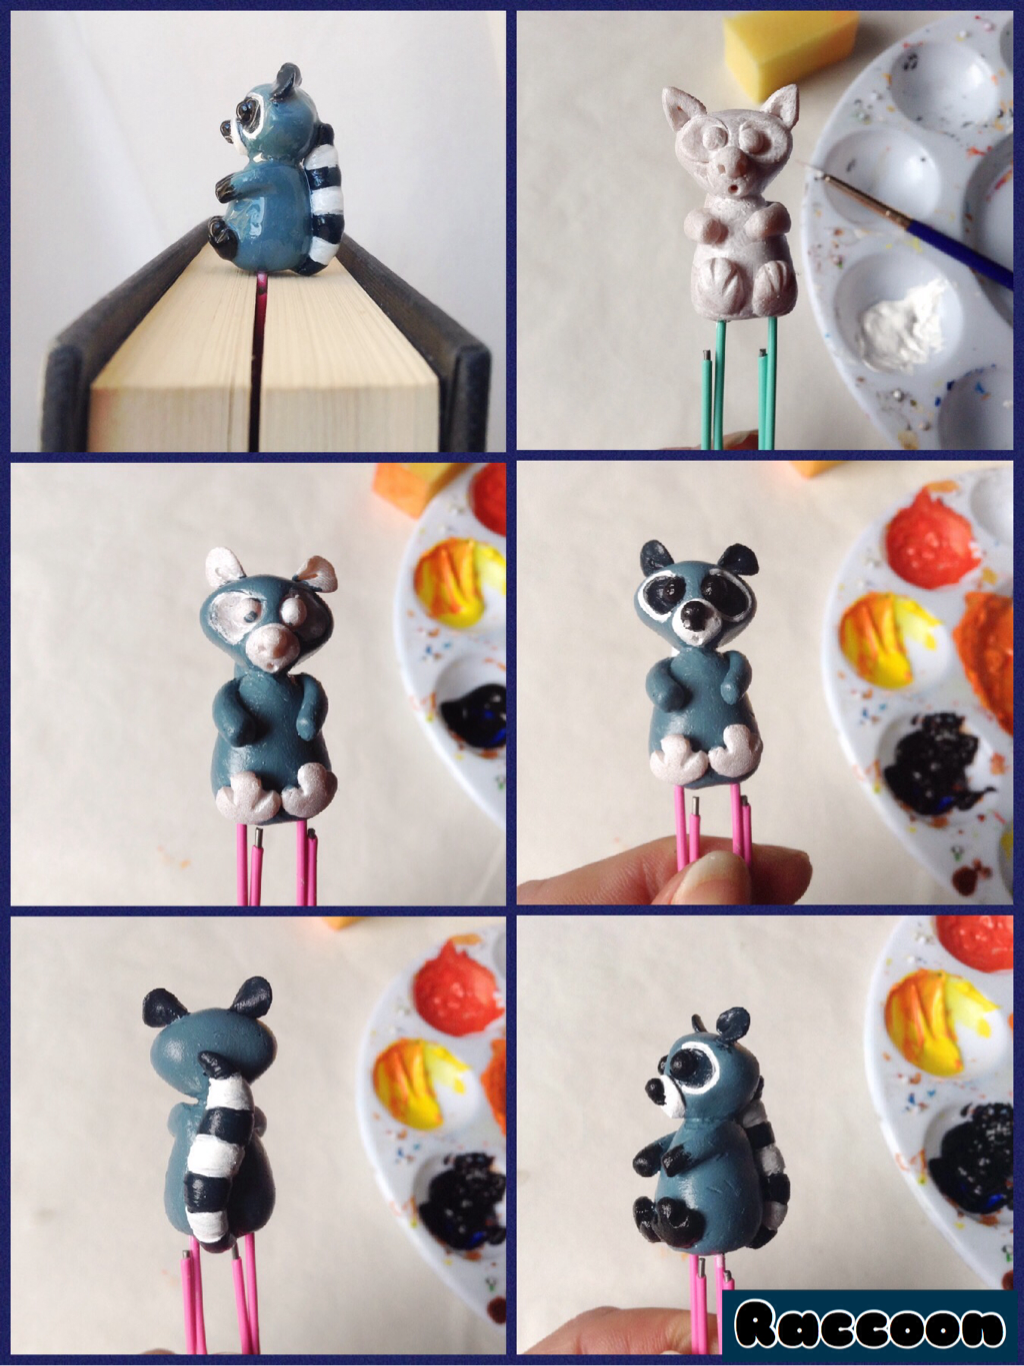
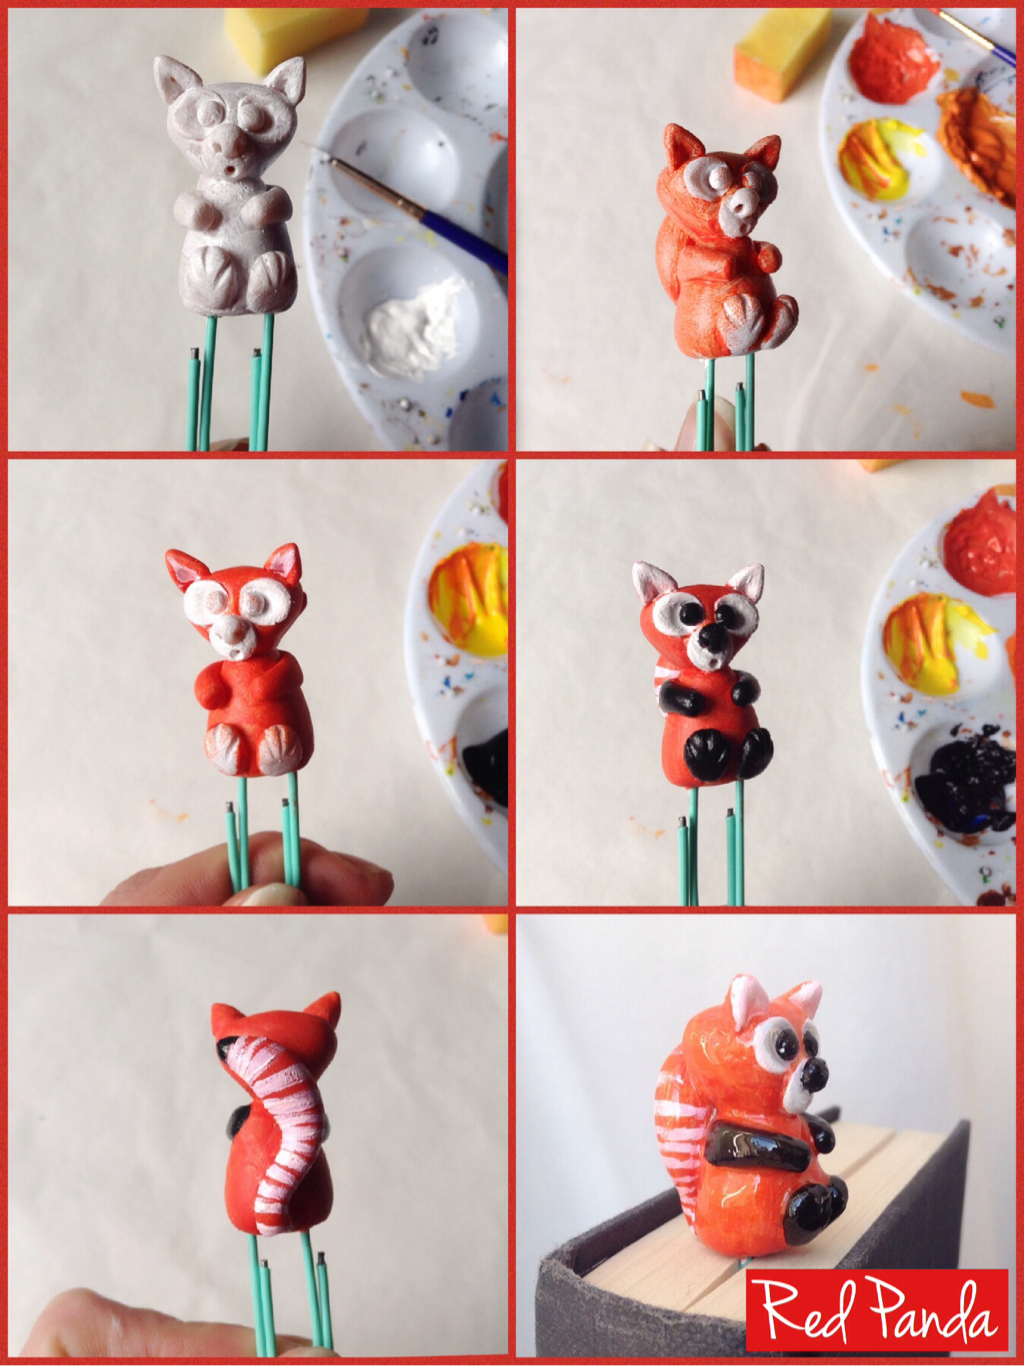
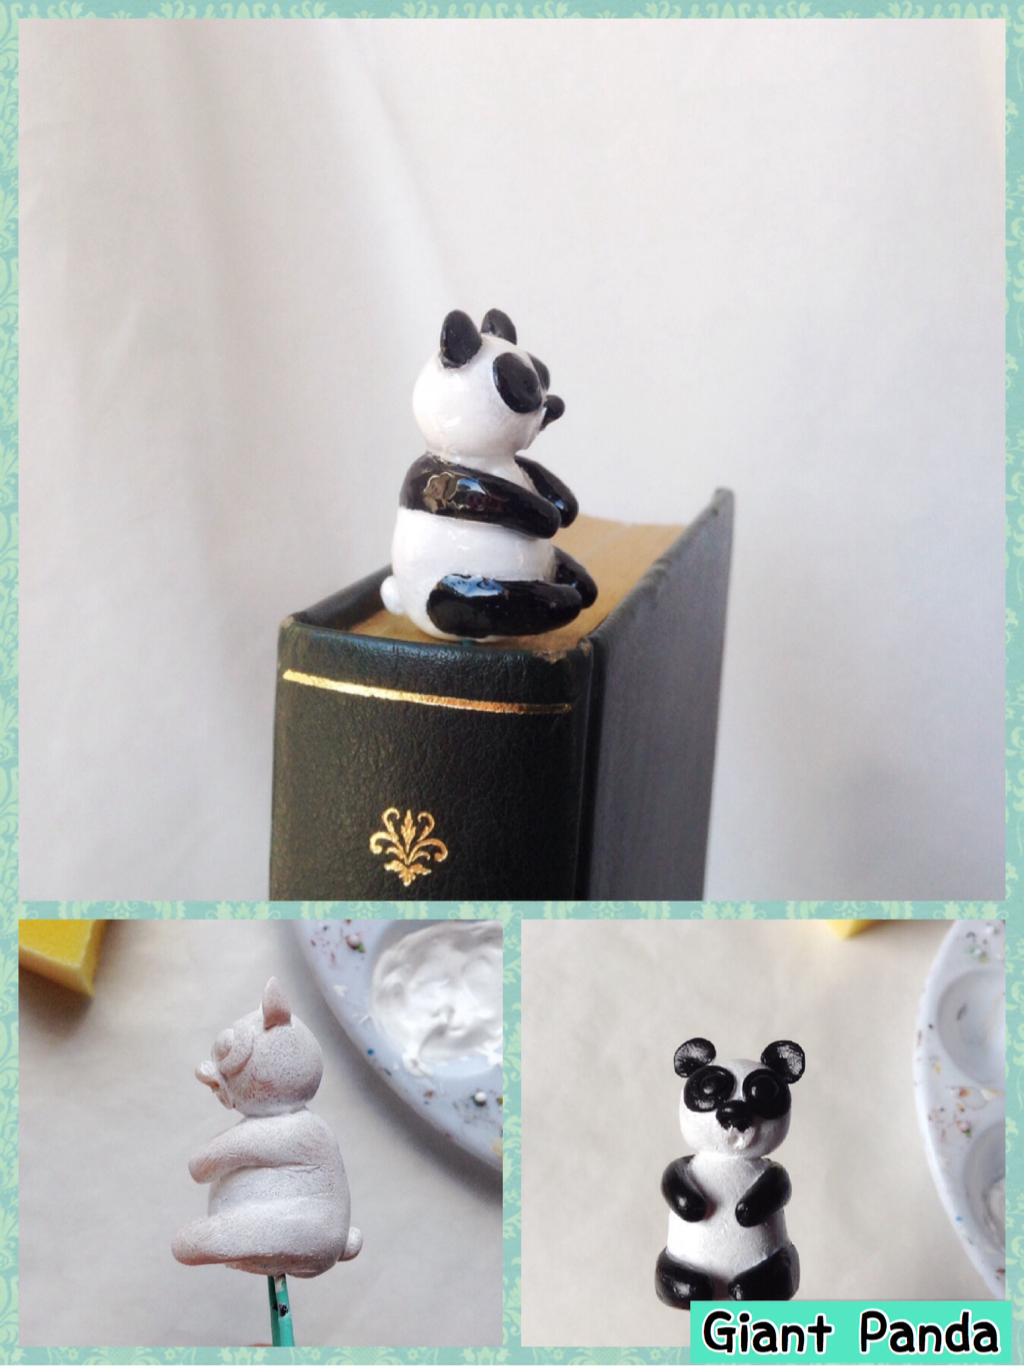
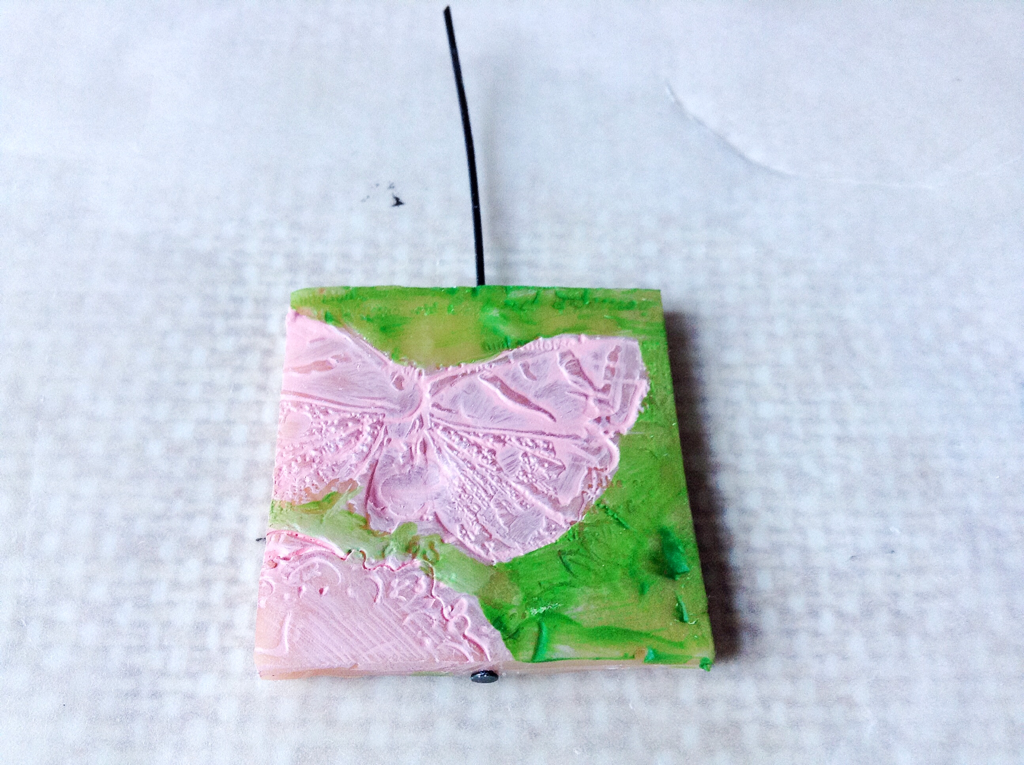
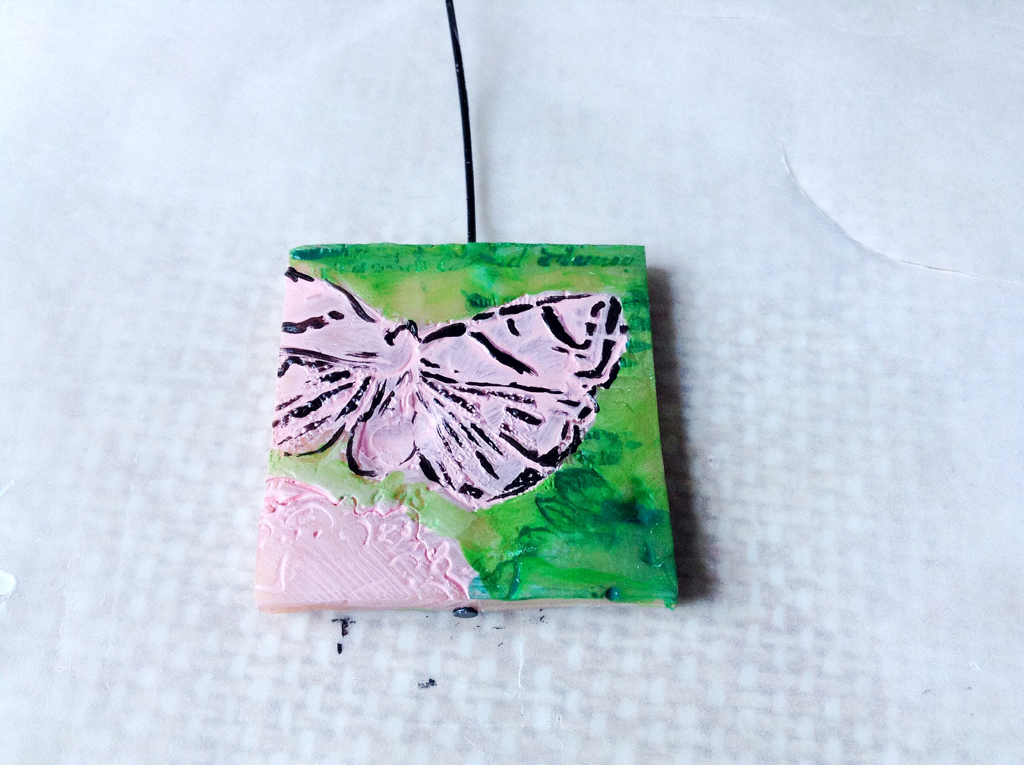
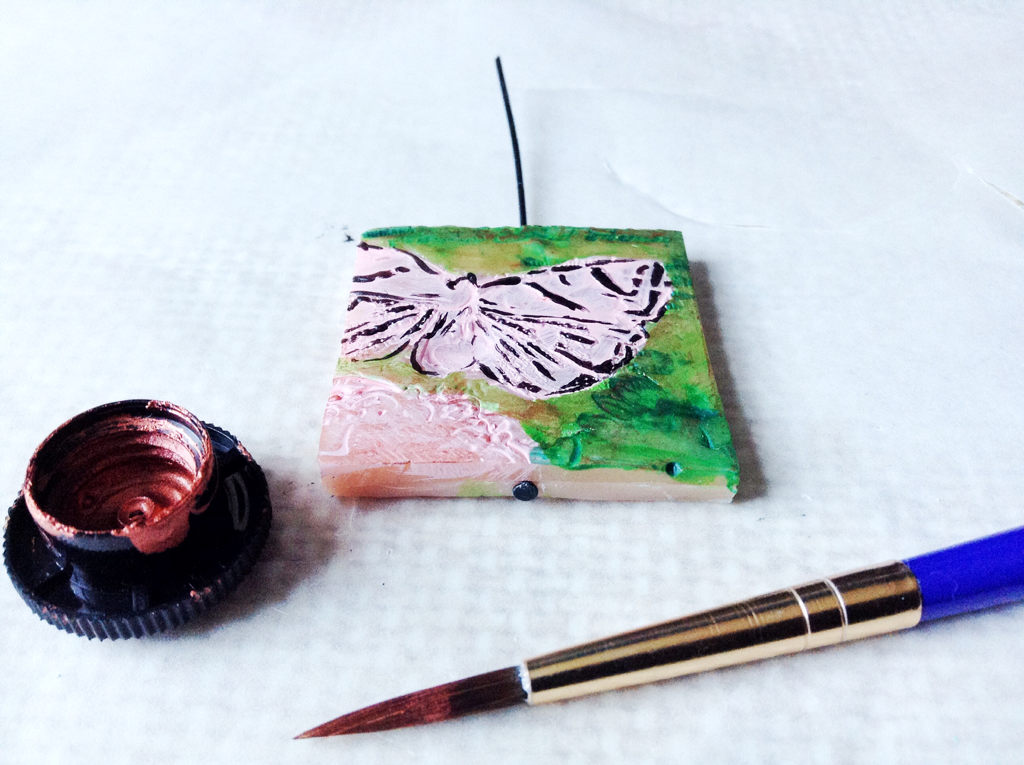
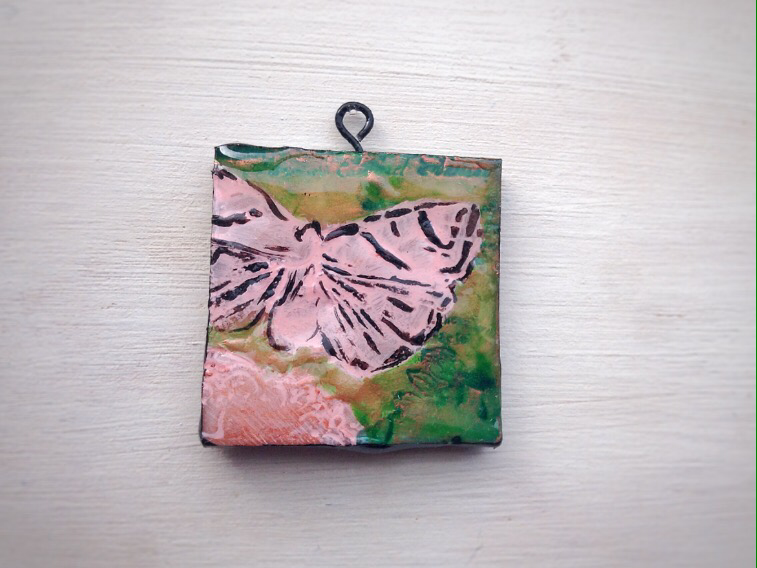
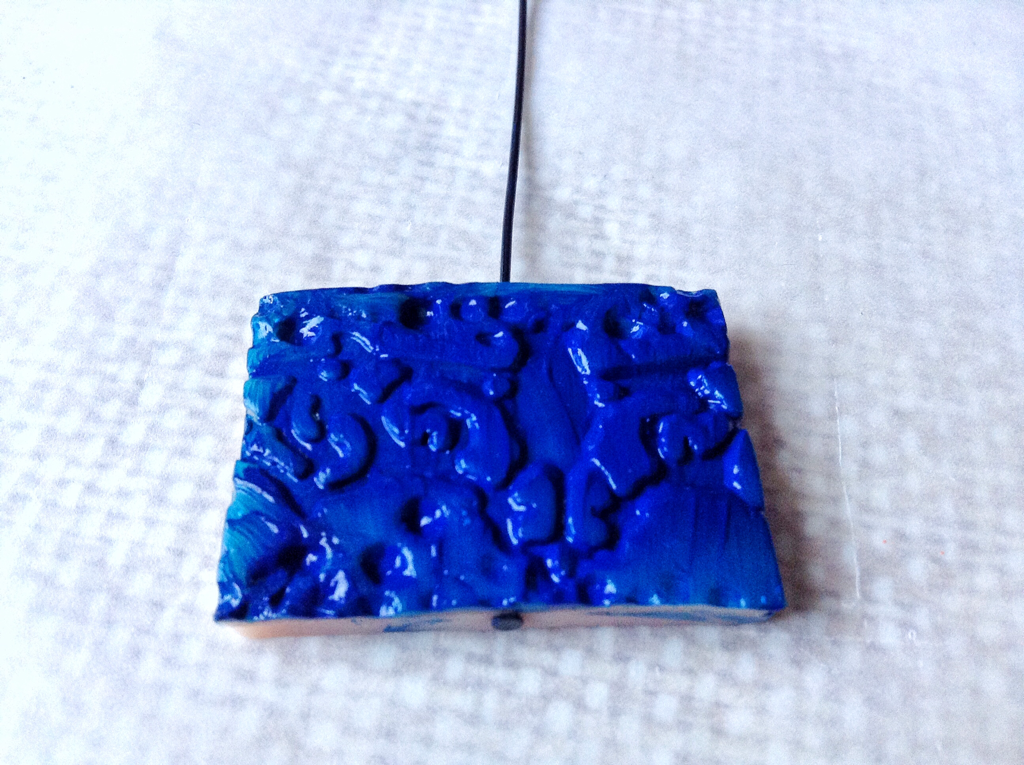
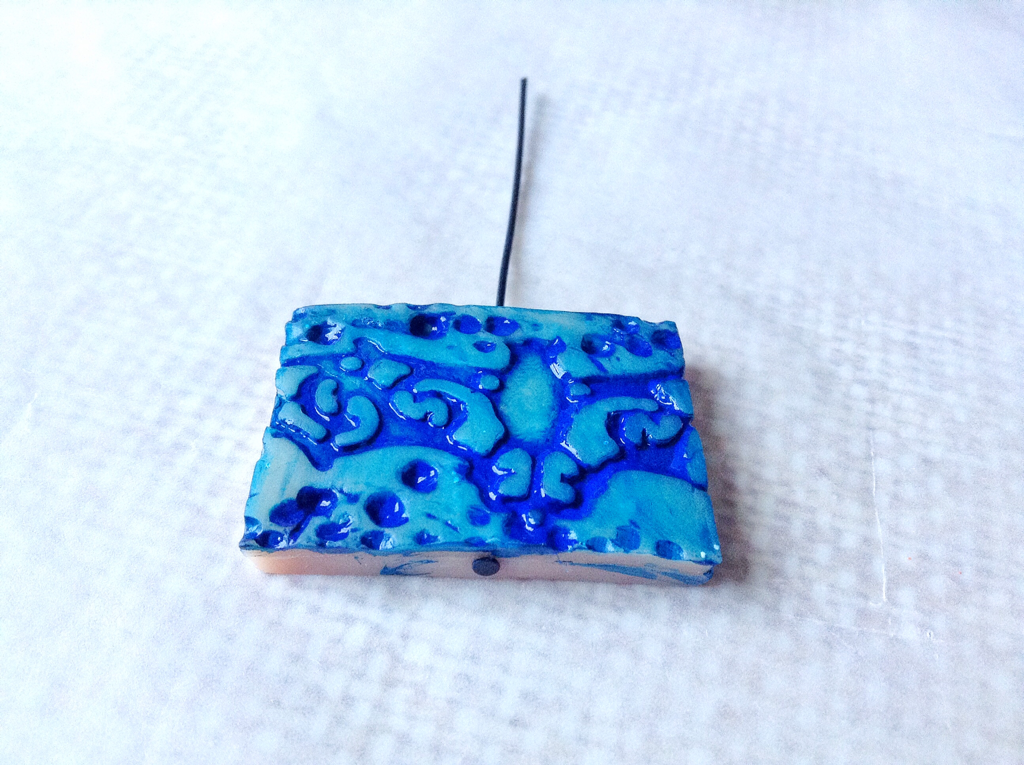
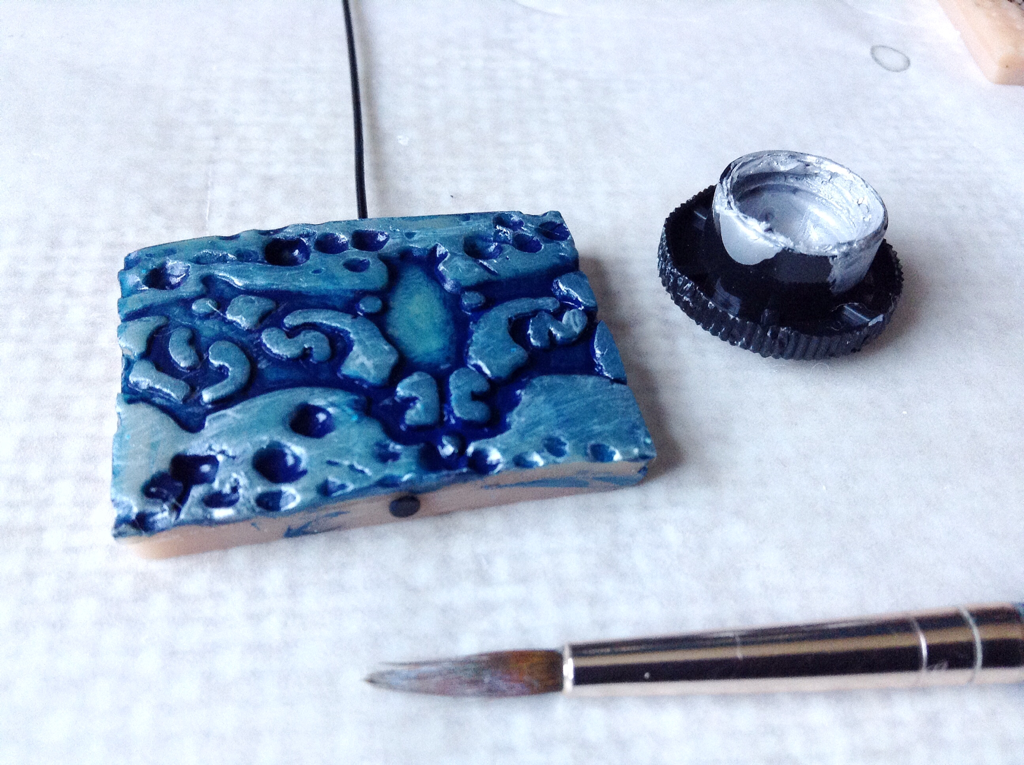
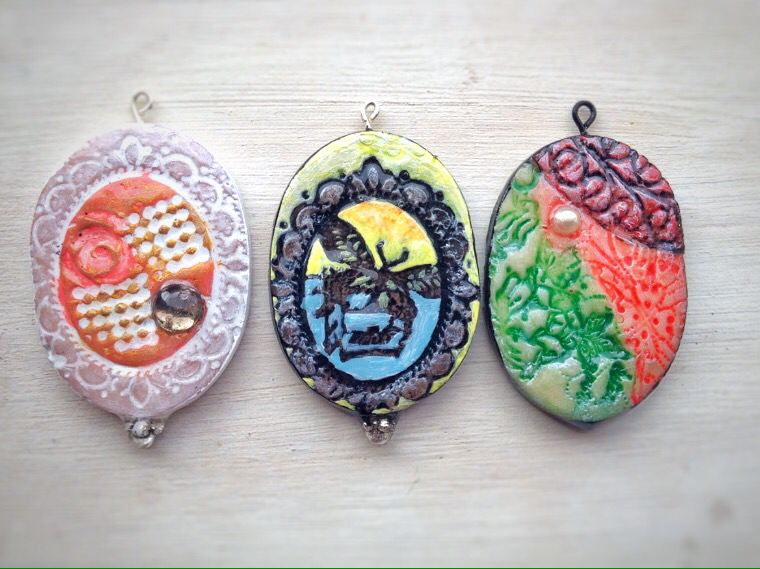
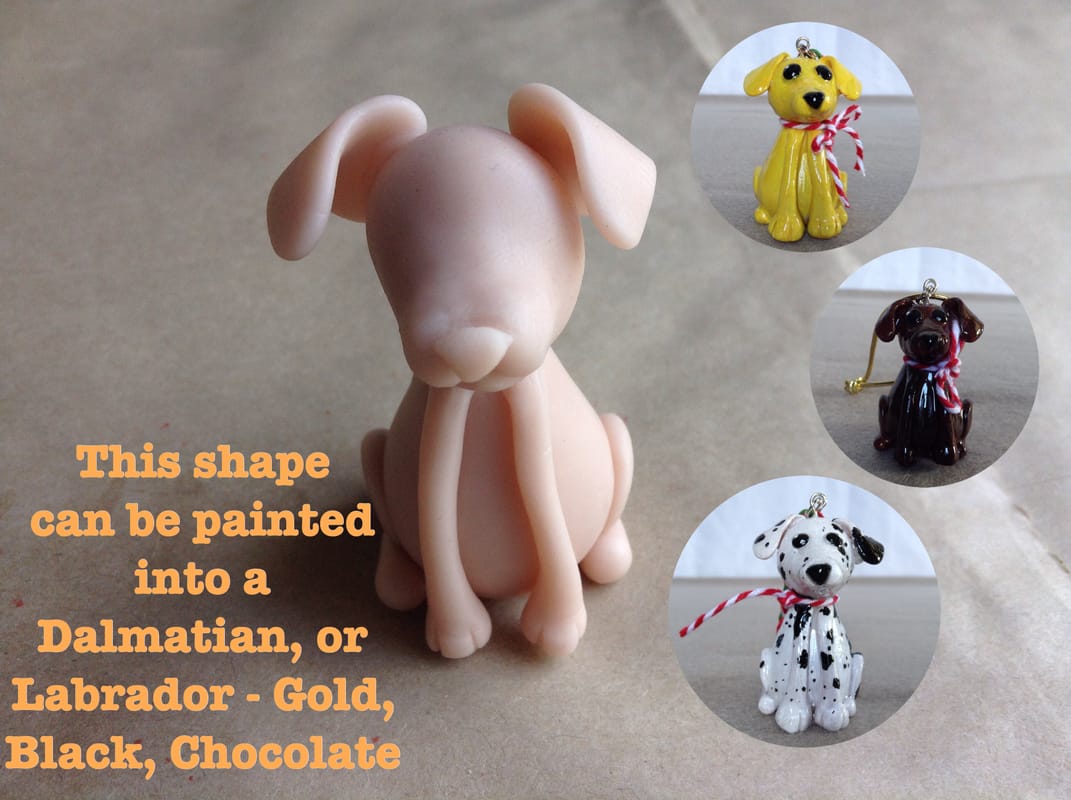
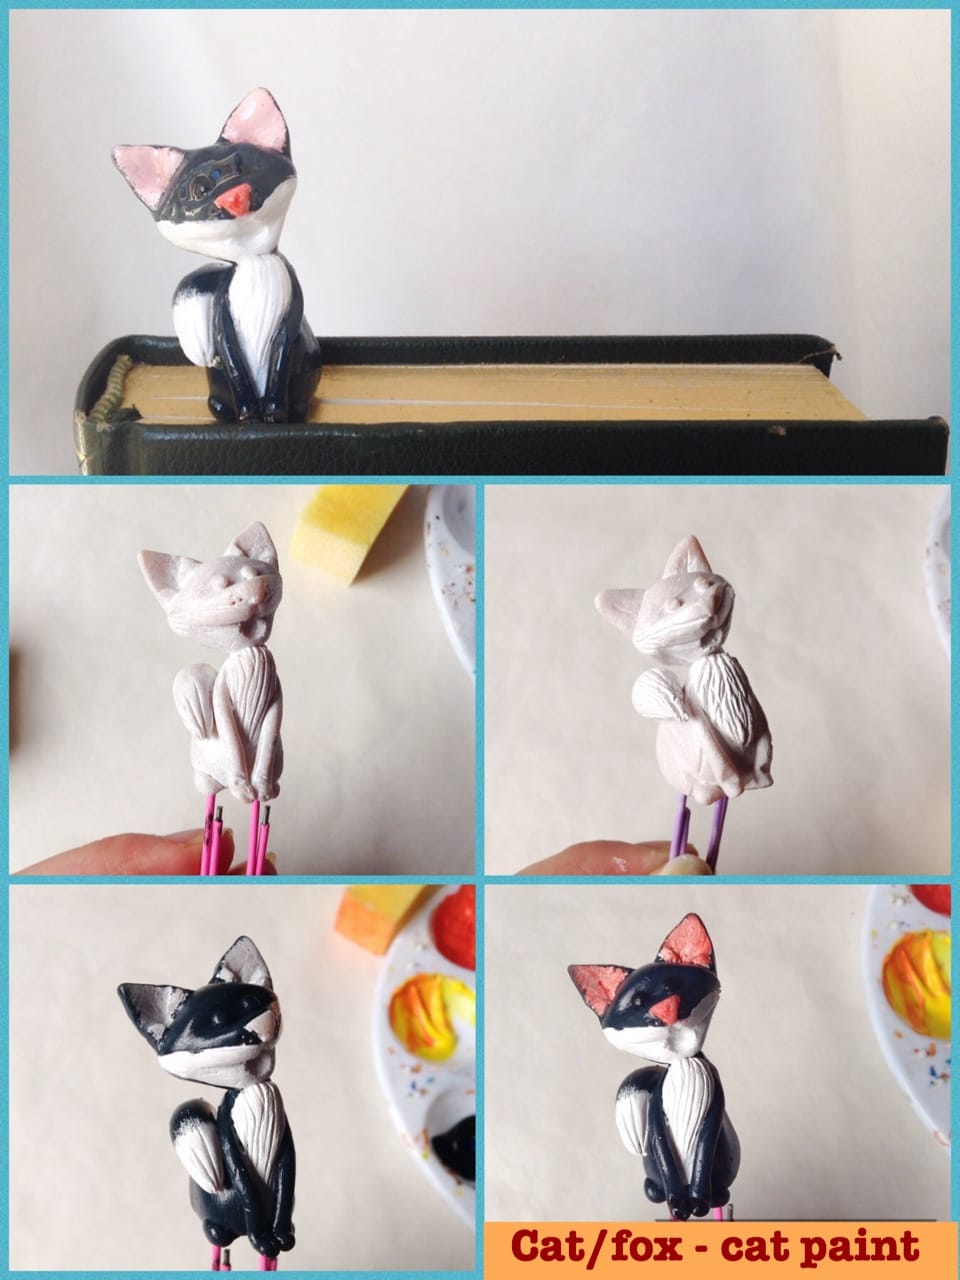
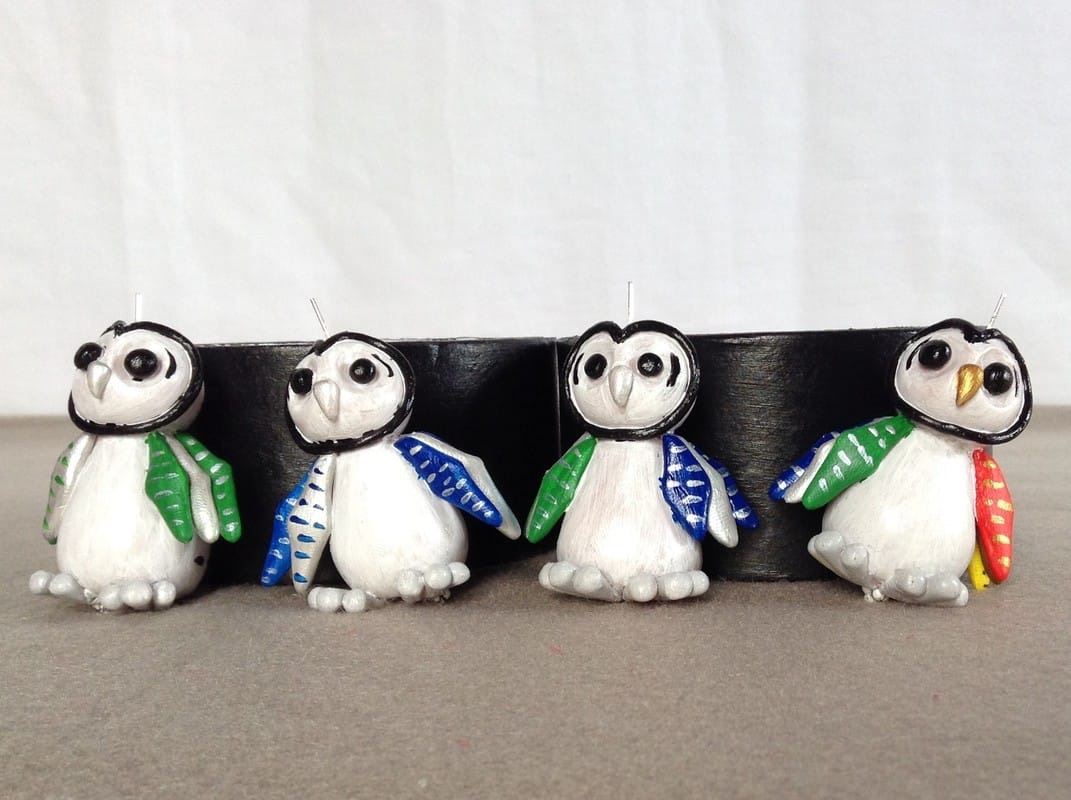
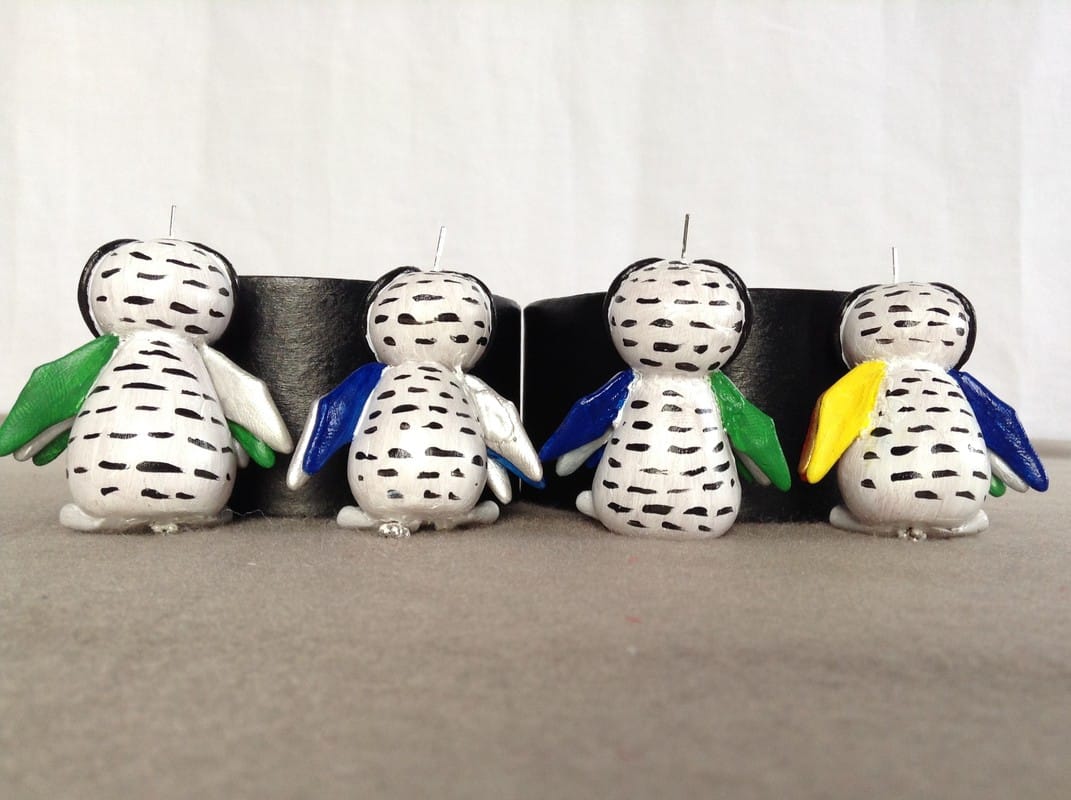
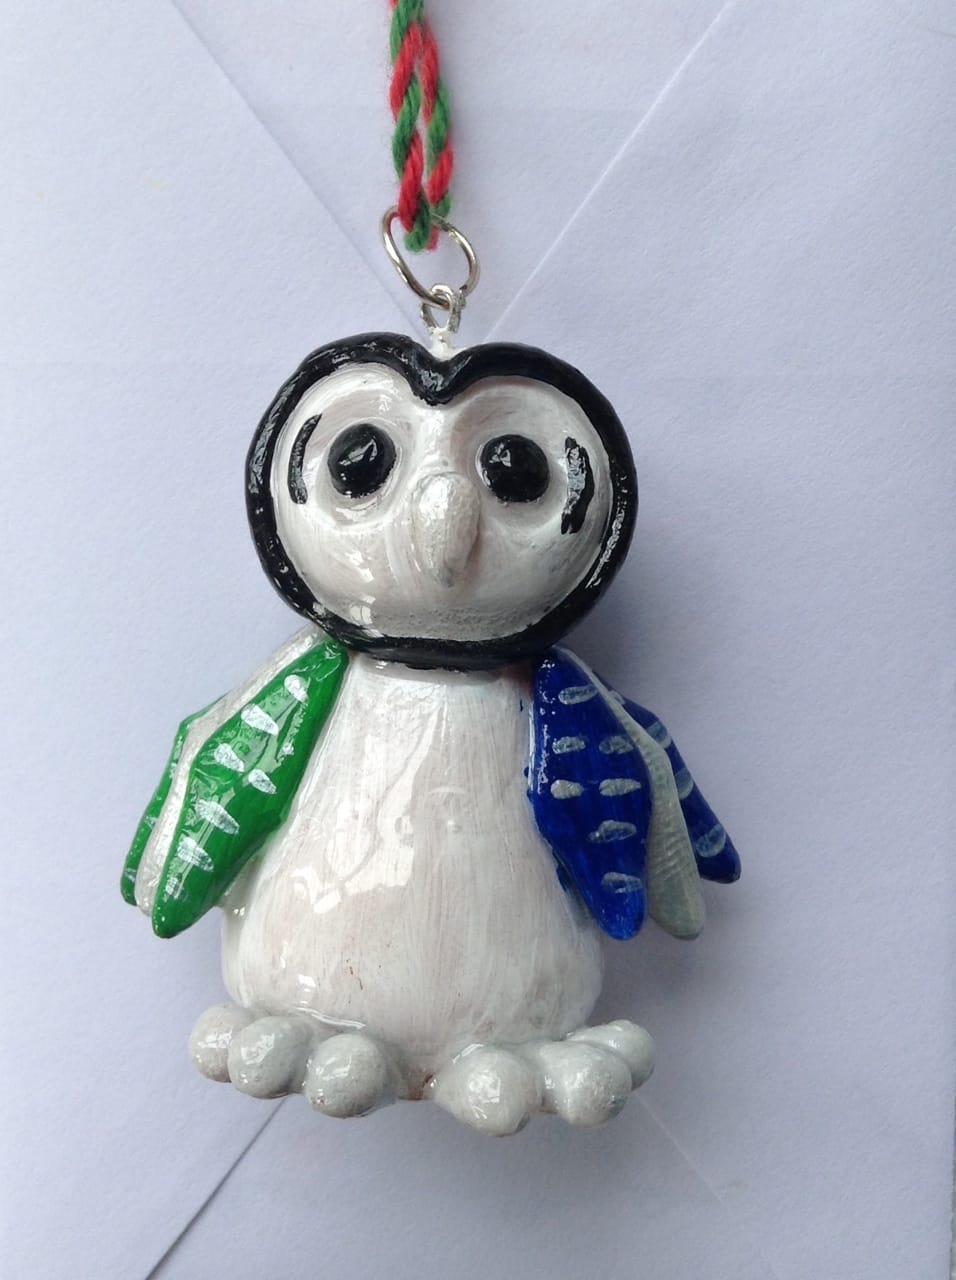
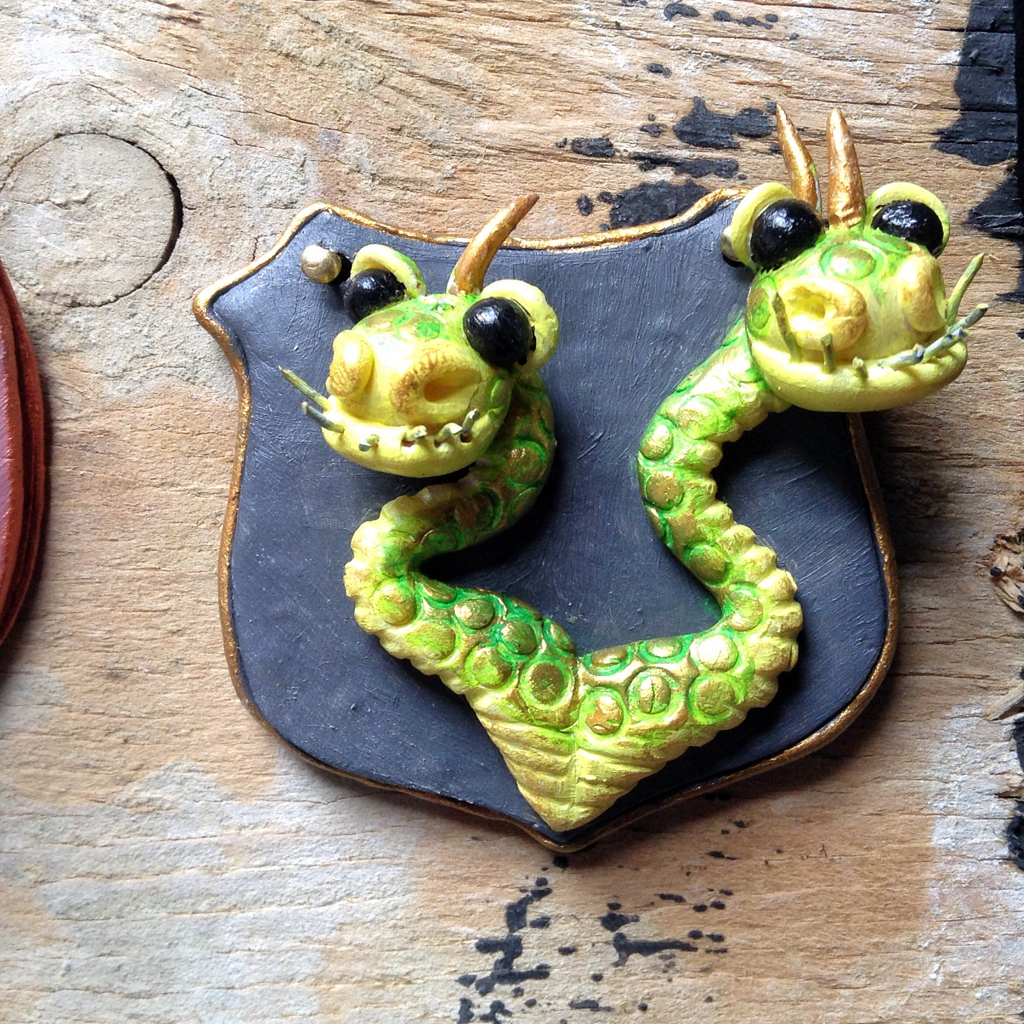
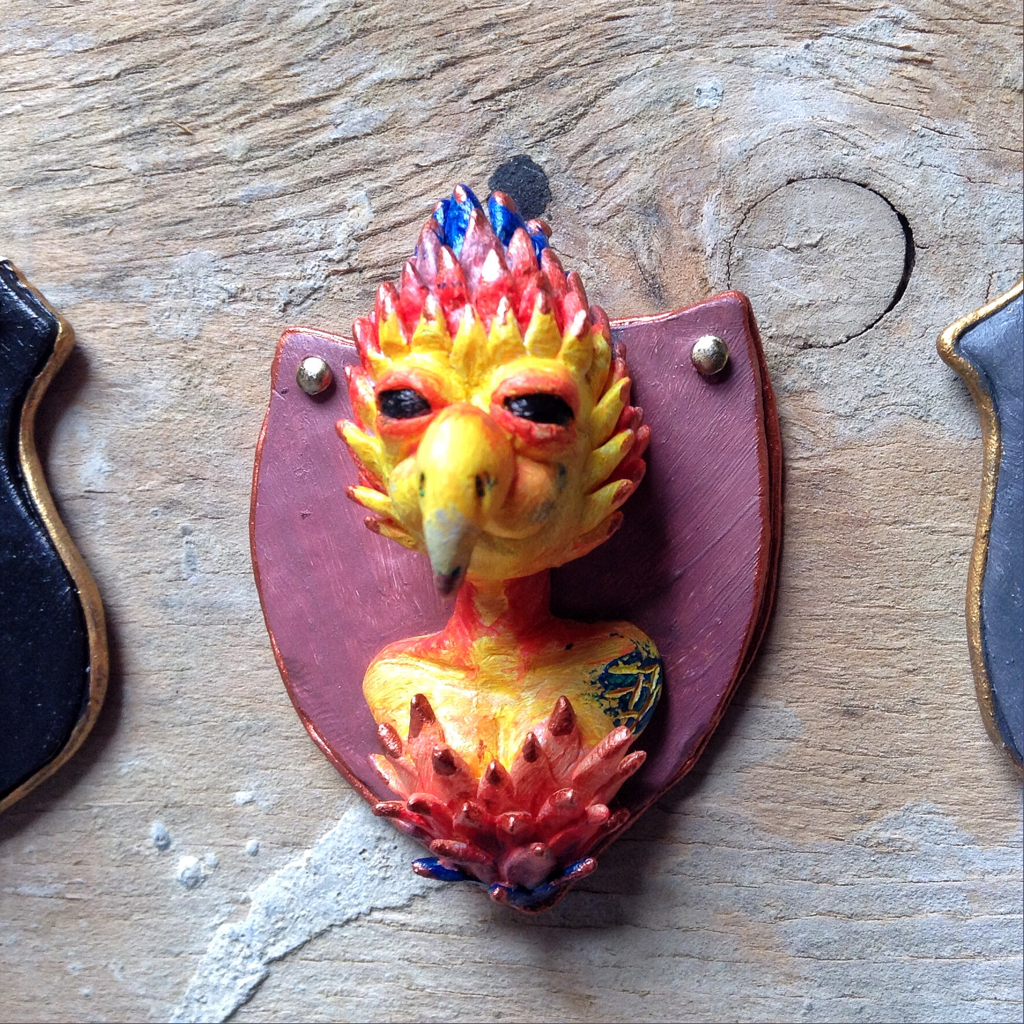
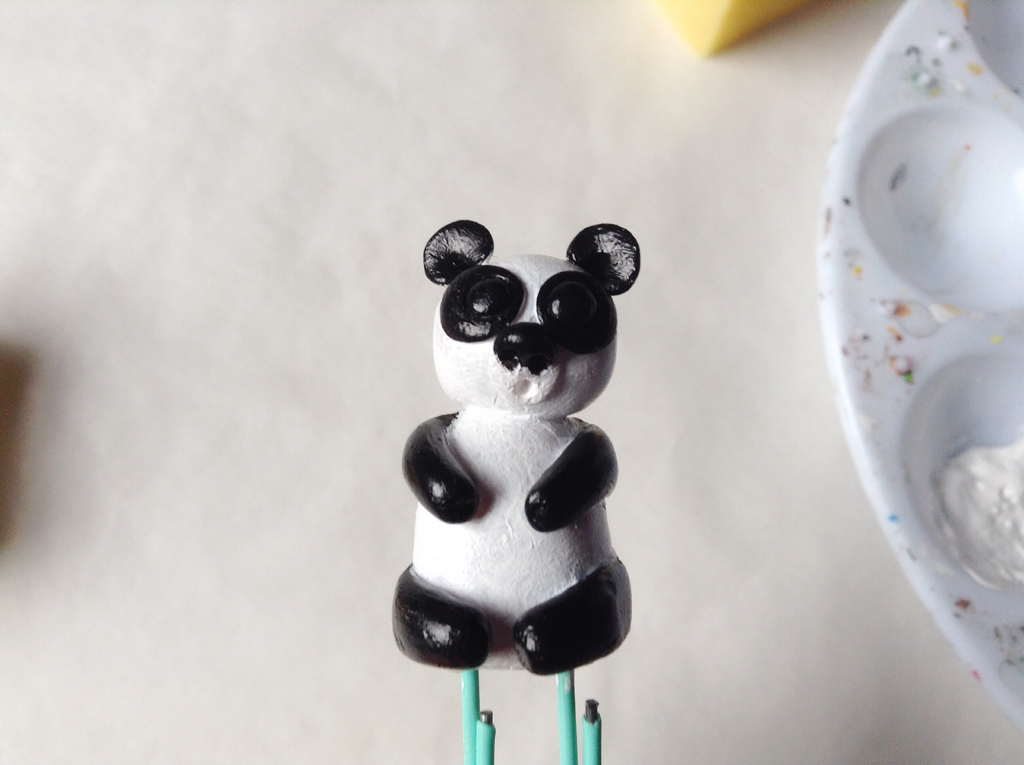
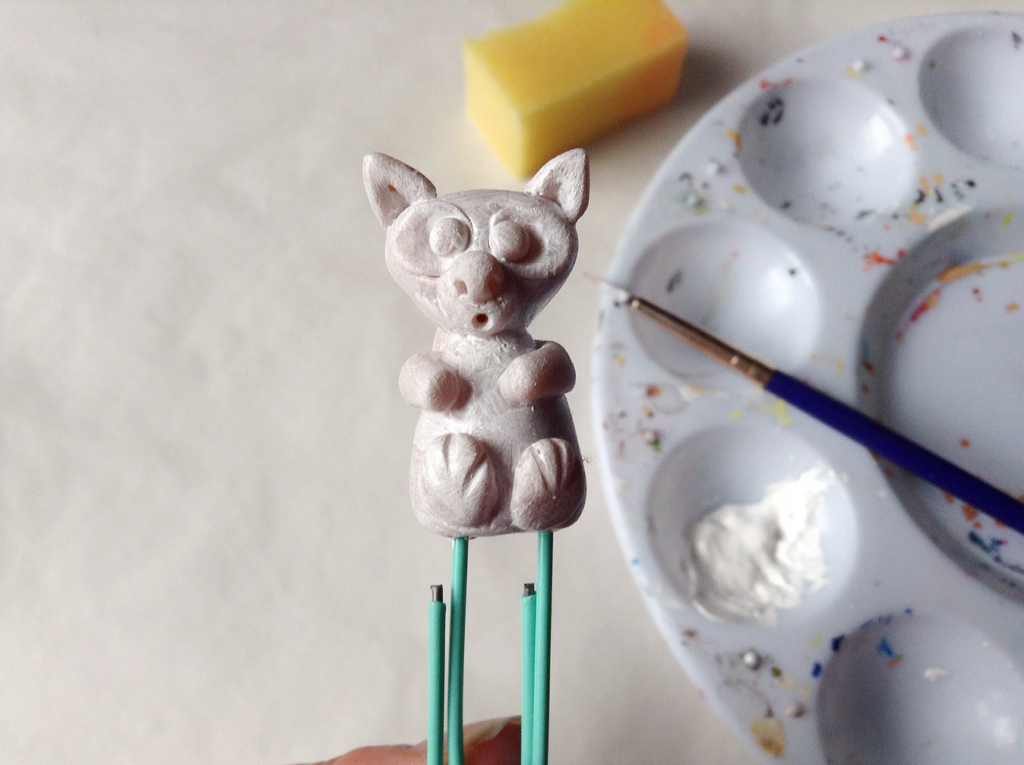
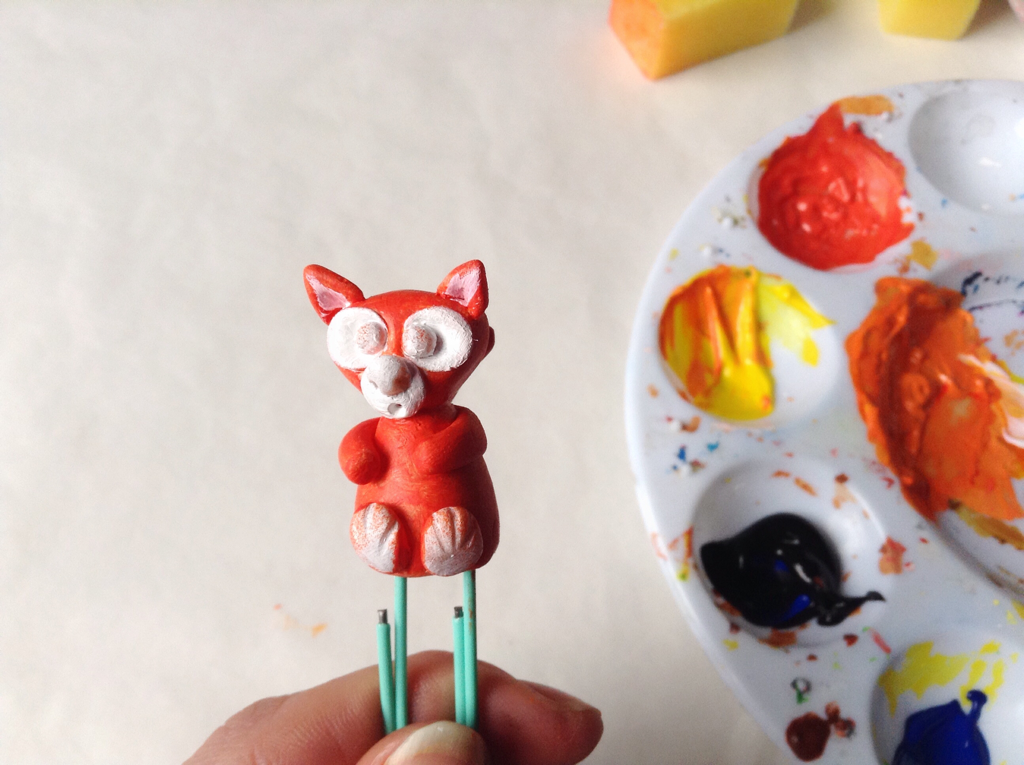
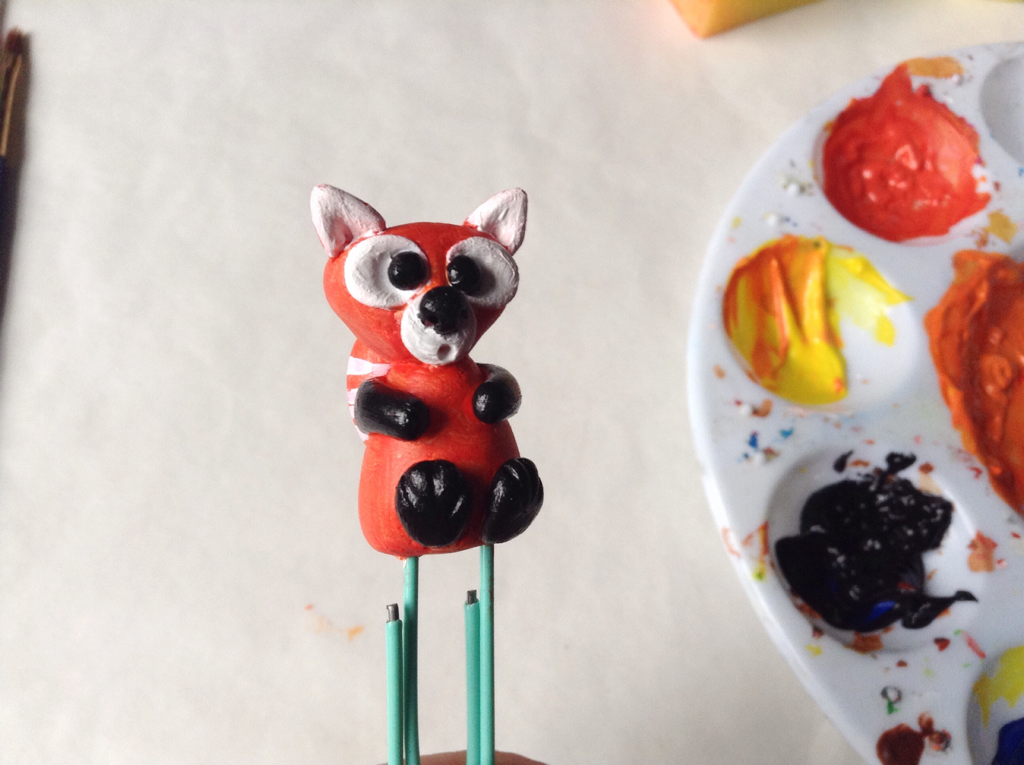
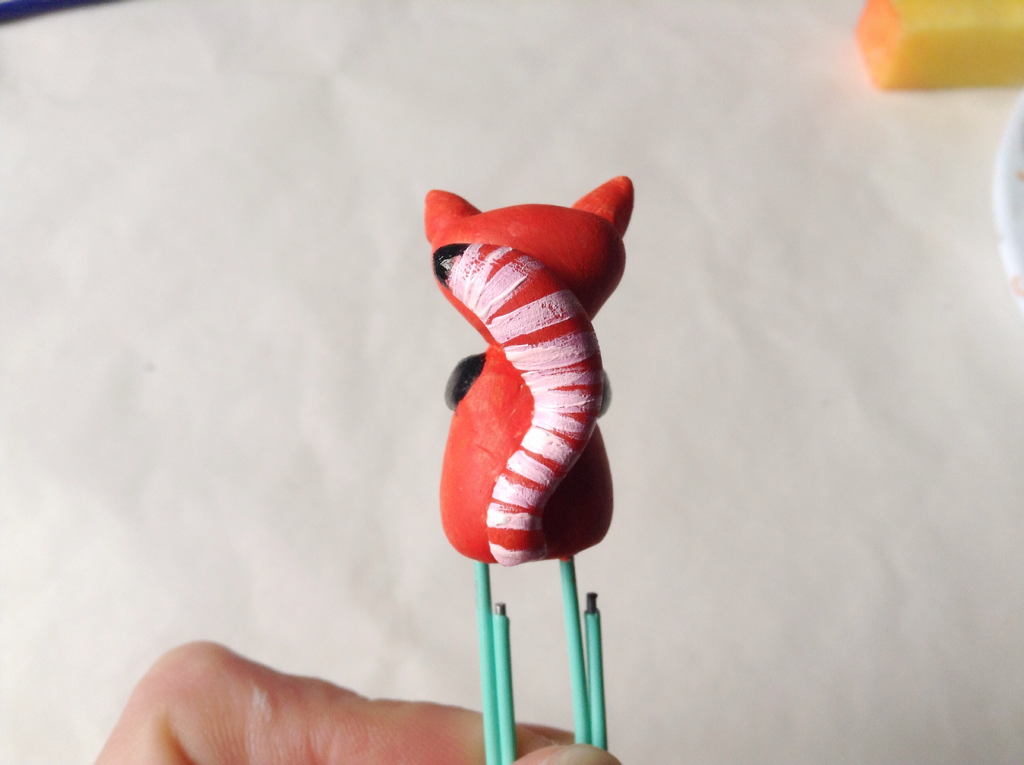
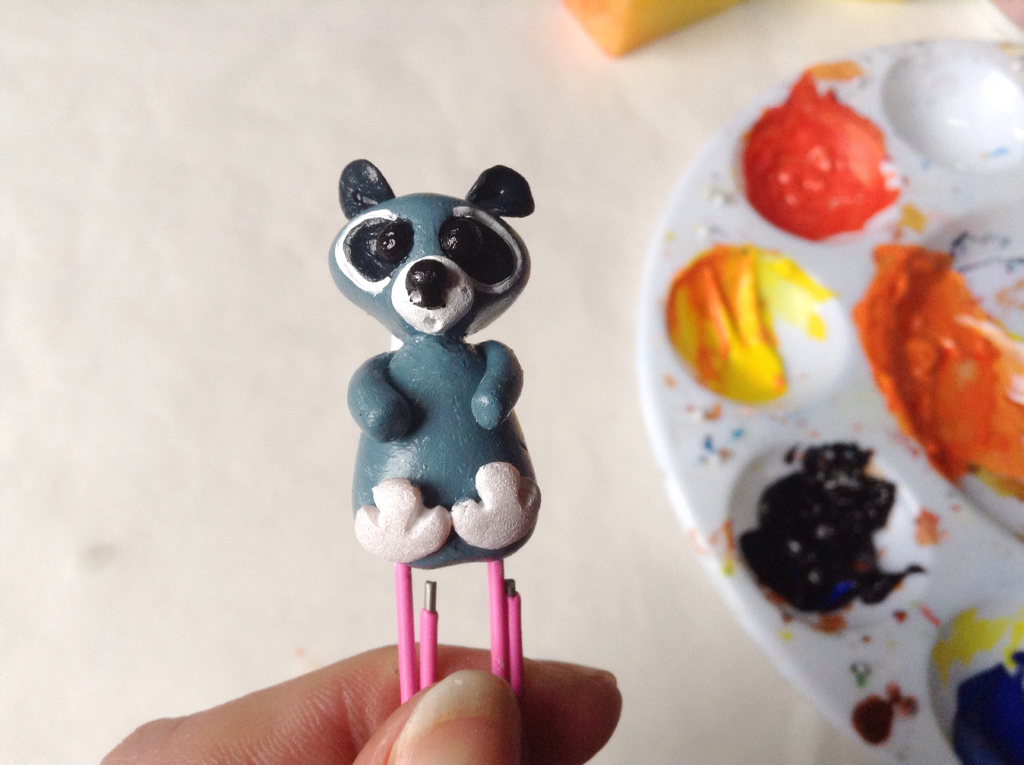
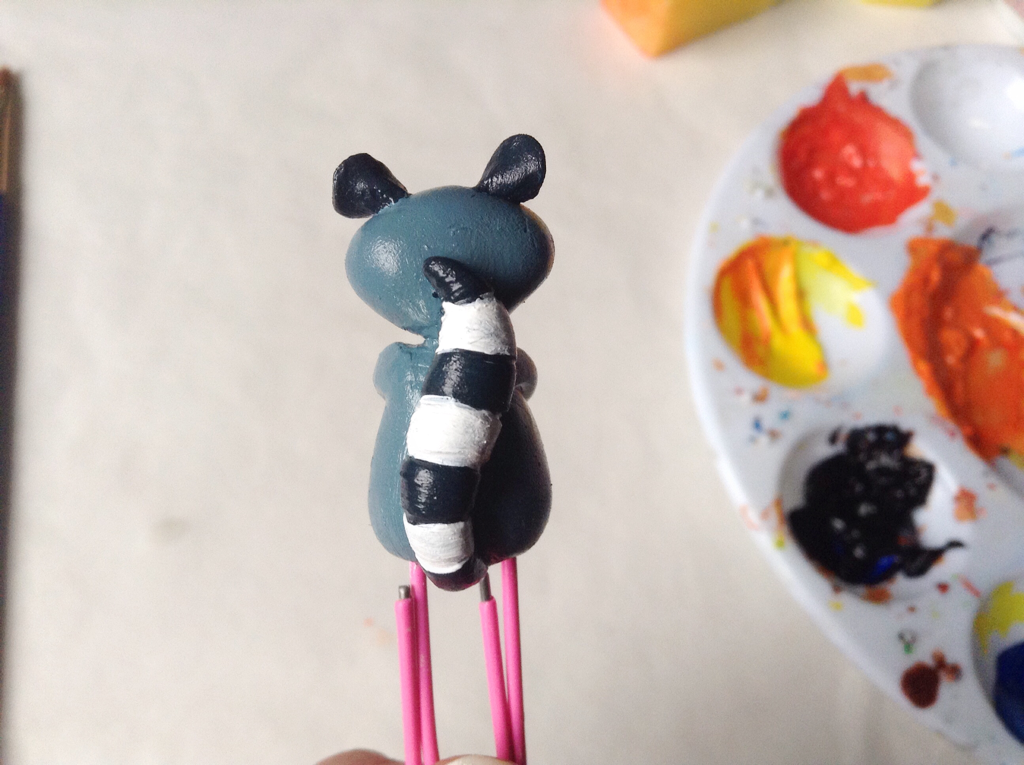
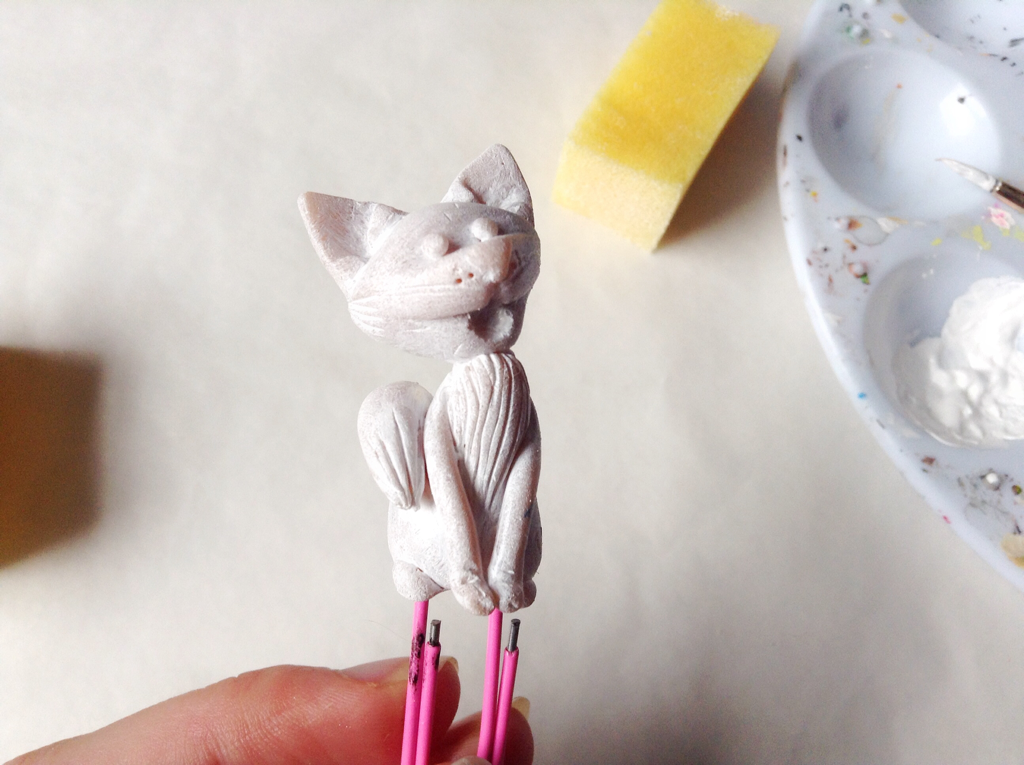
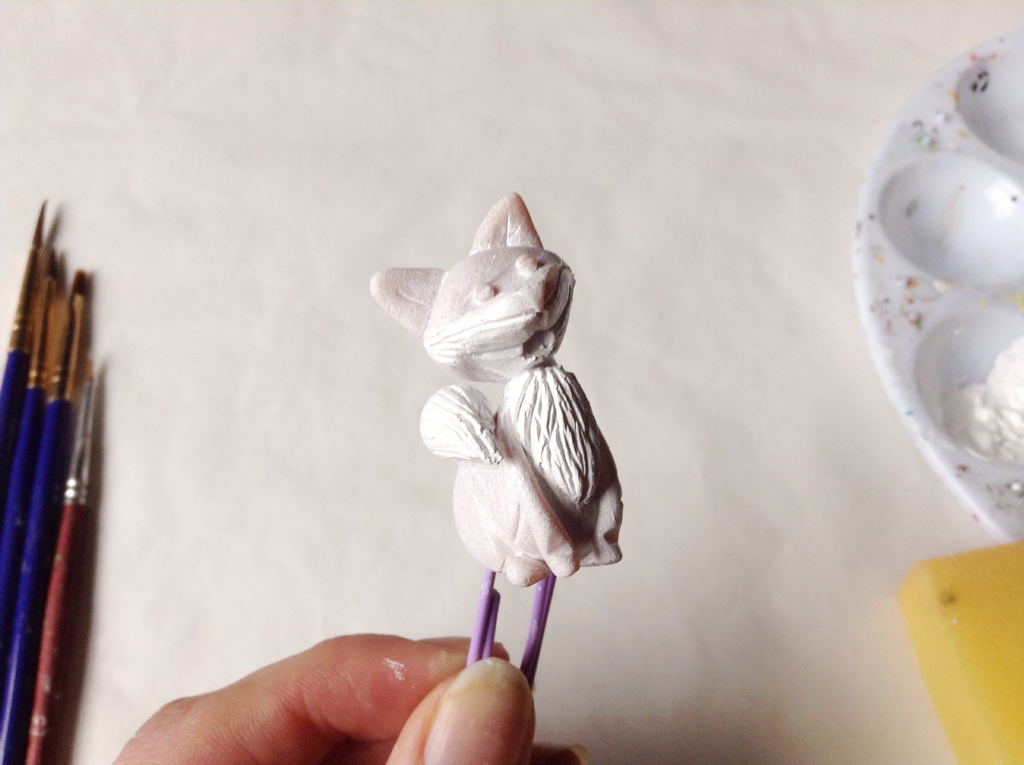
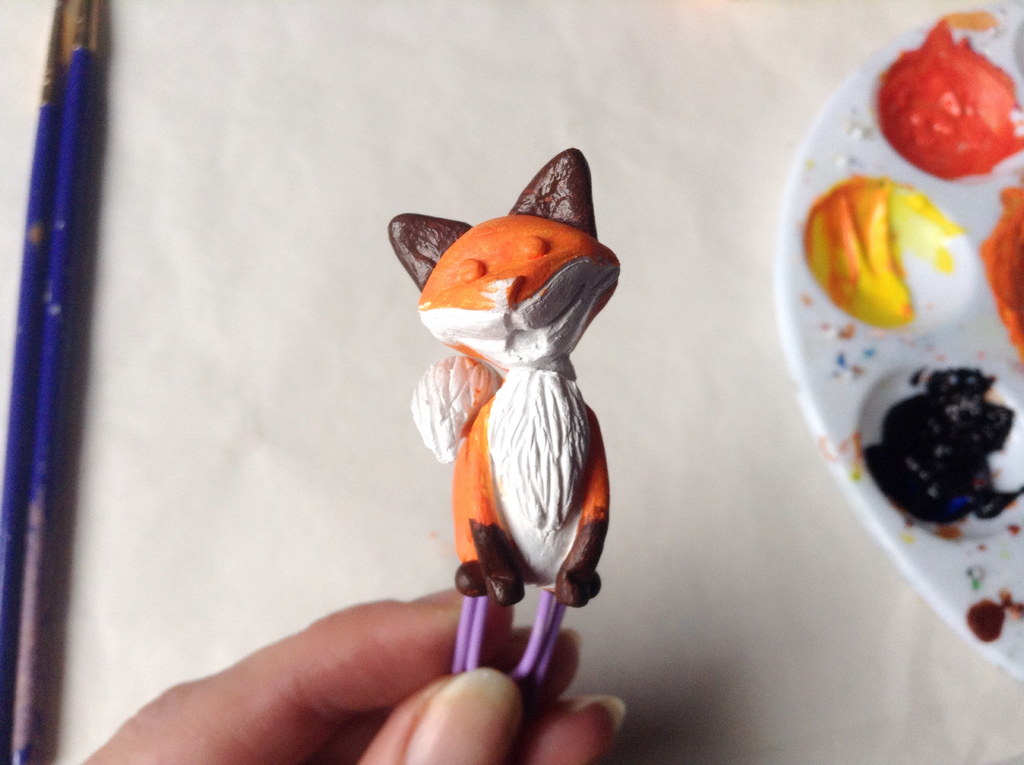
Paint clay figures and leave to dry.
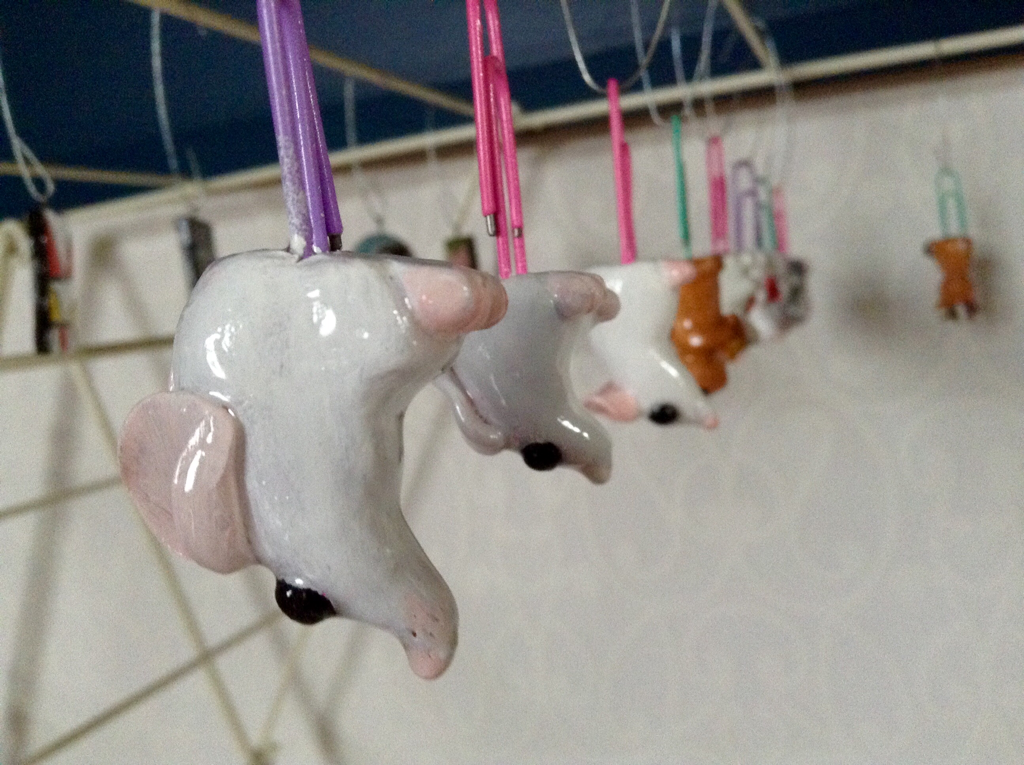
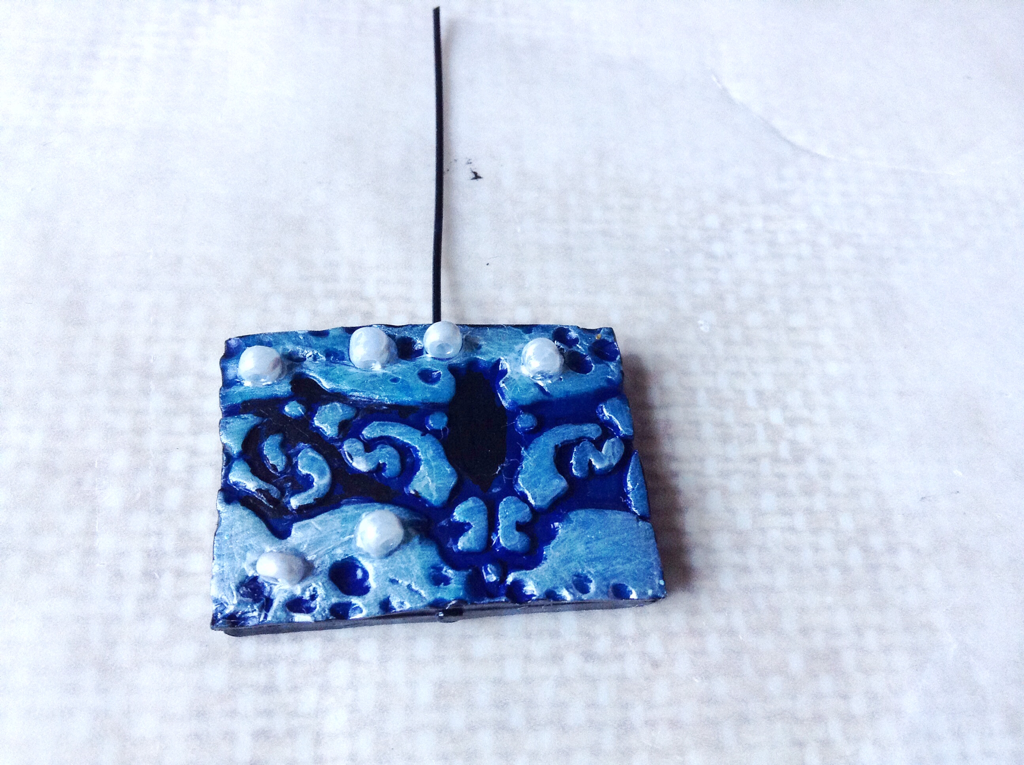
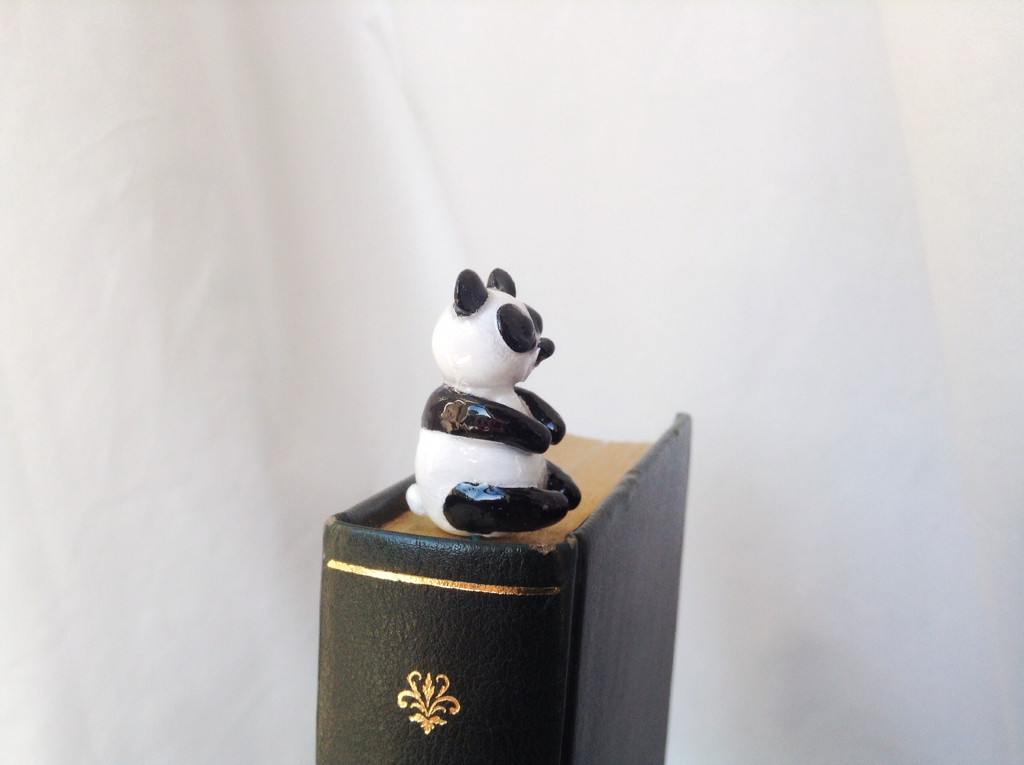
Varnish the clay figures.
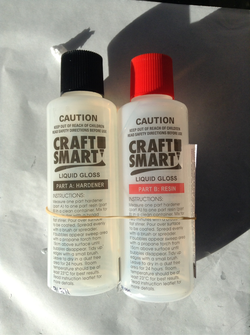
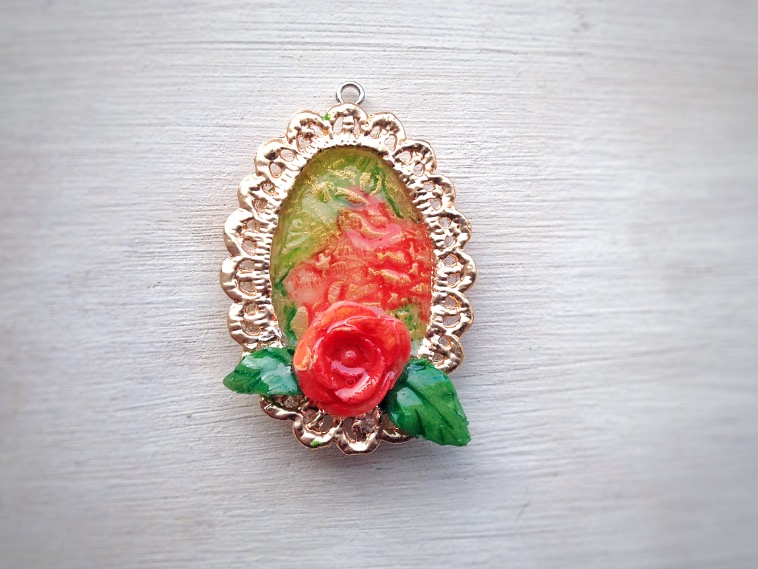
I use Craft Smart Liquid Gloss. Its a two part hardener and resin. Its very forgiving, closing over brush stokes leaving a smooth surface. And it does dry hard. But it doesn't work on raw polymer clay. The oils in the clay cause it to dry in patches, so if you prefer to use coloured clay over painting clay you'll need to be careful with what you use to seal the clay with.
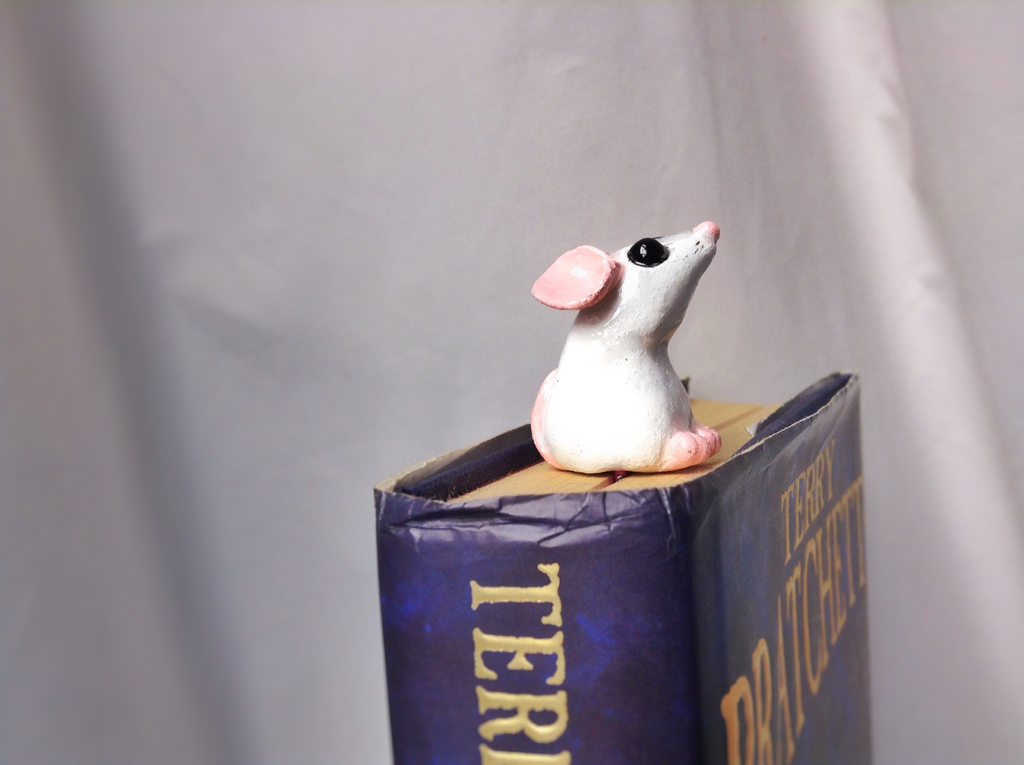
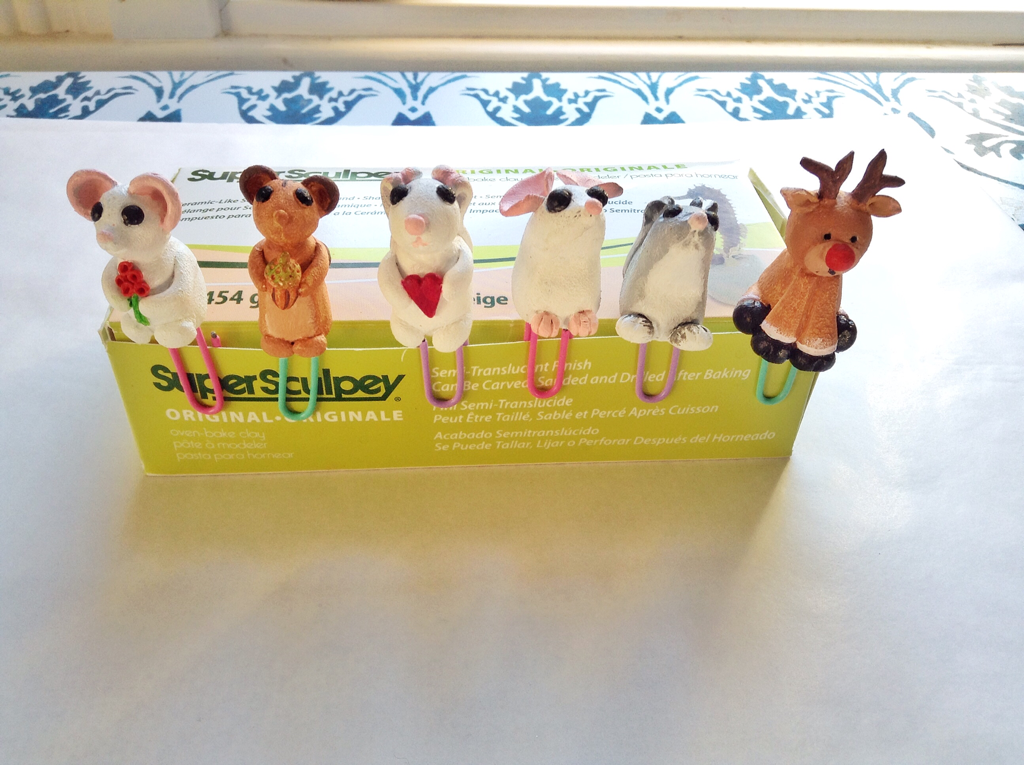
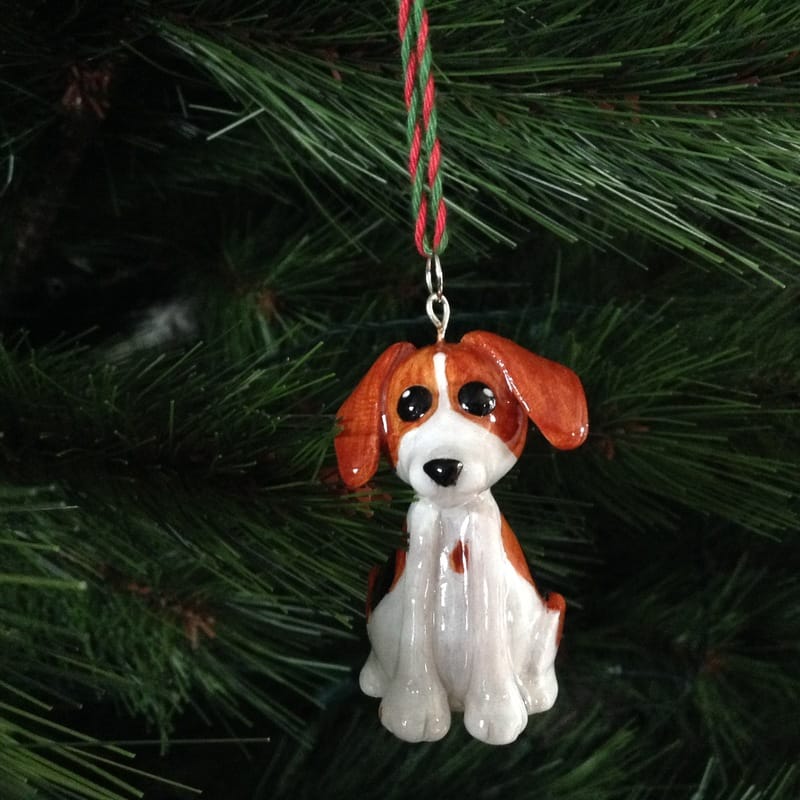
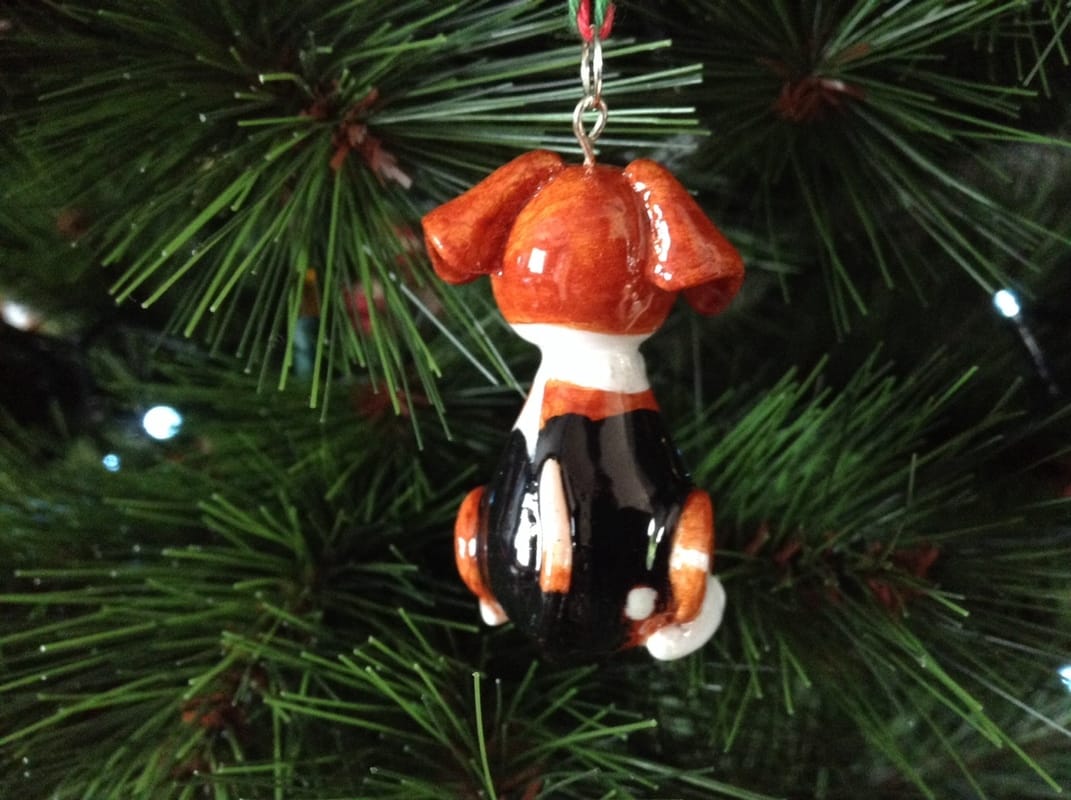
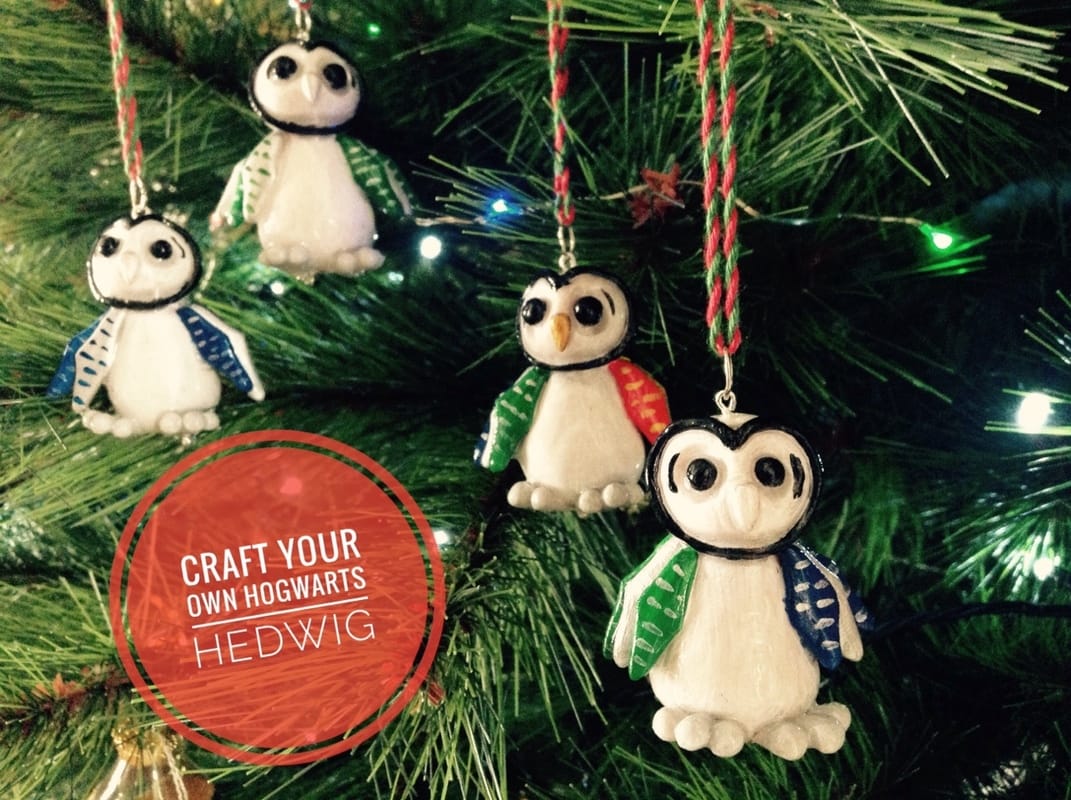
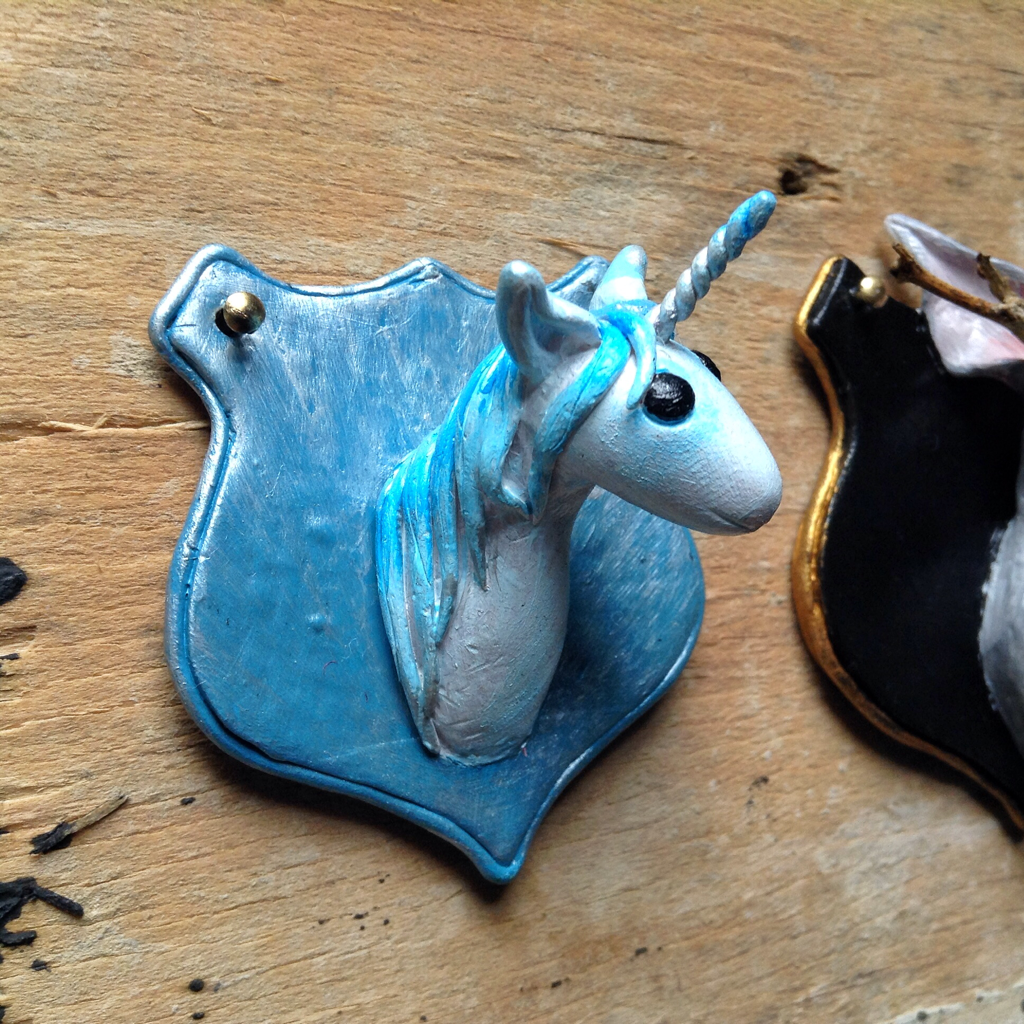
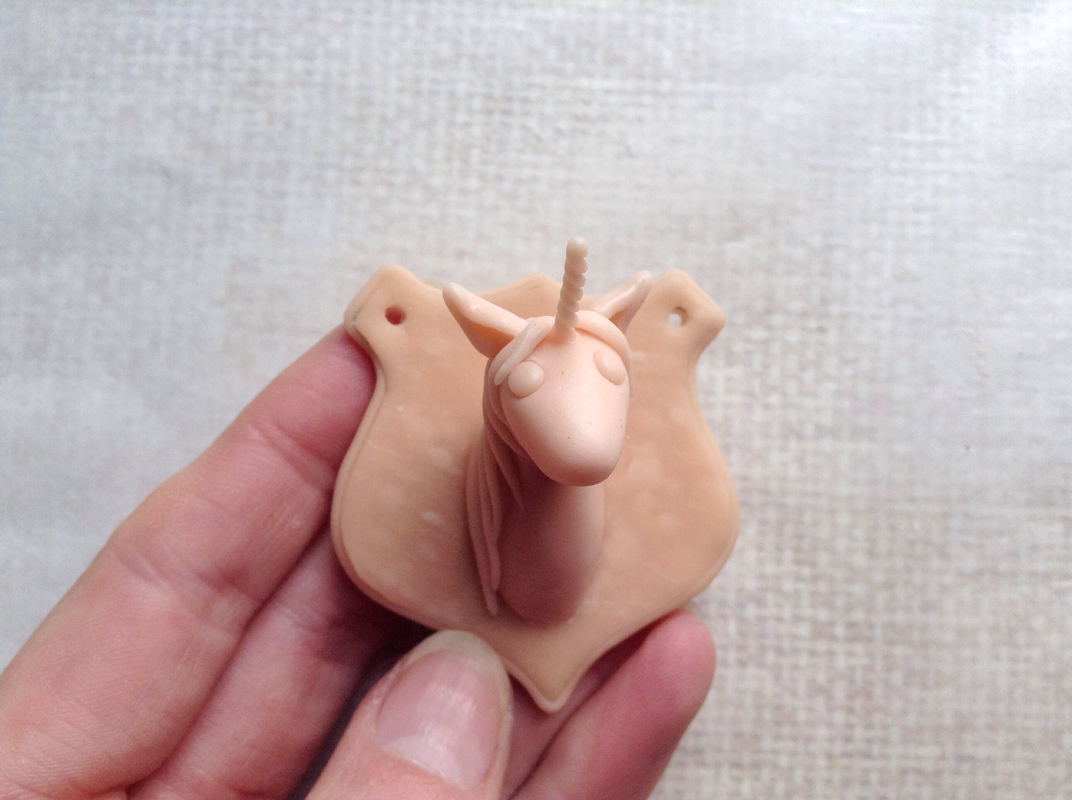
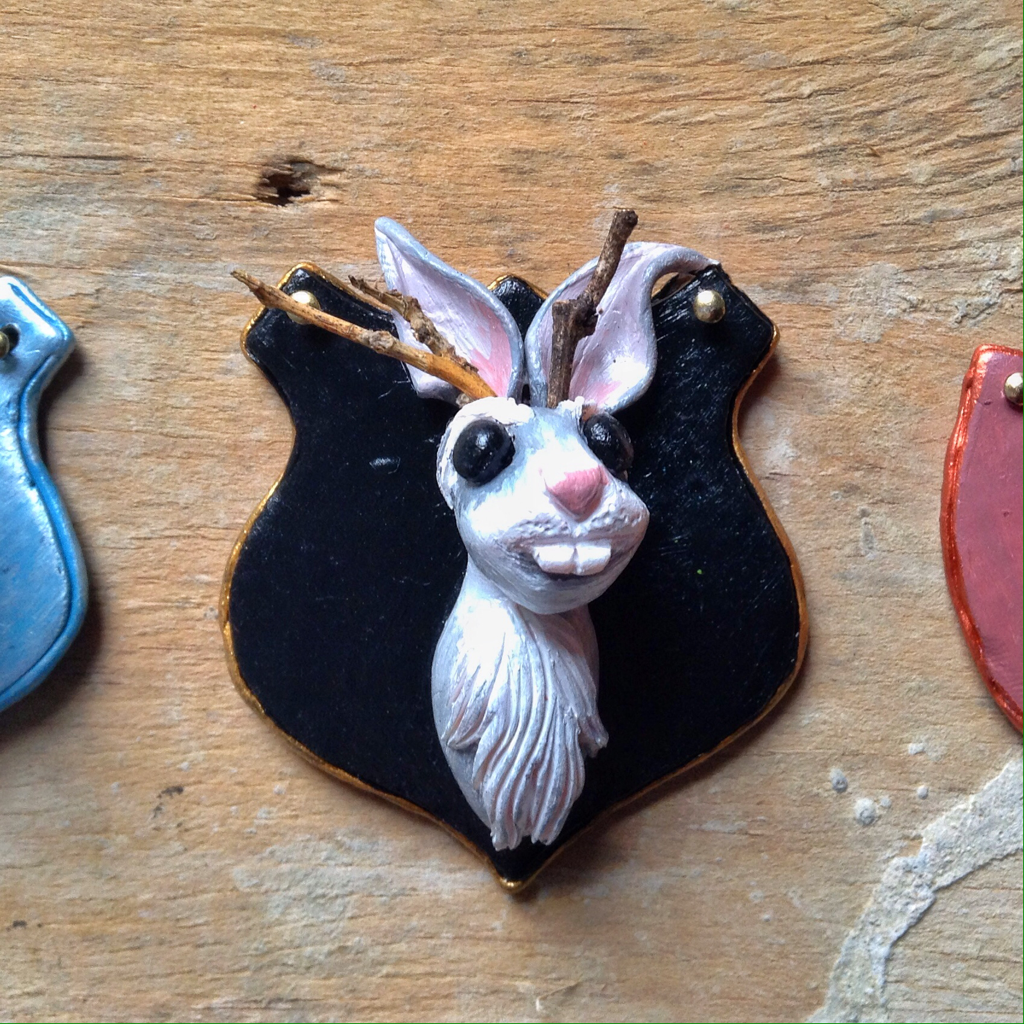
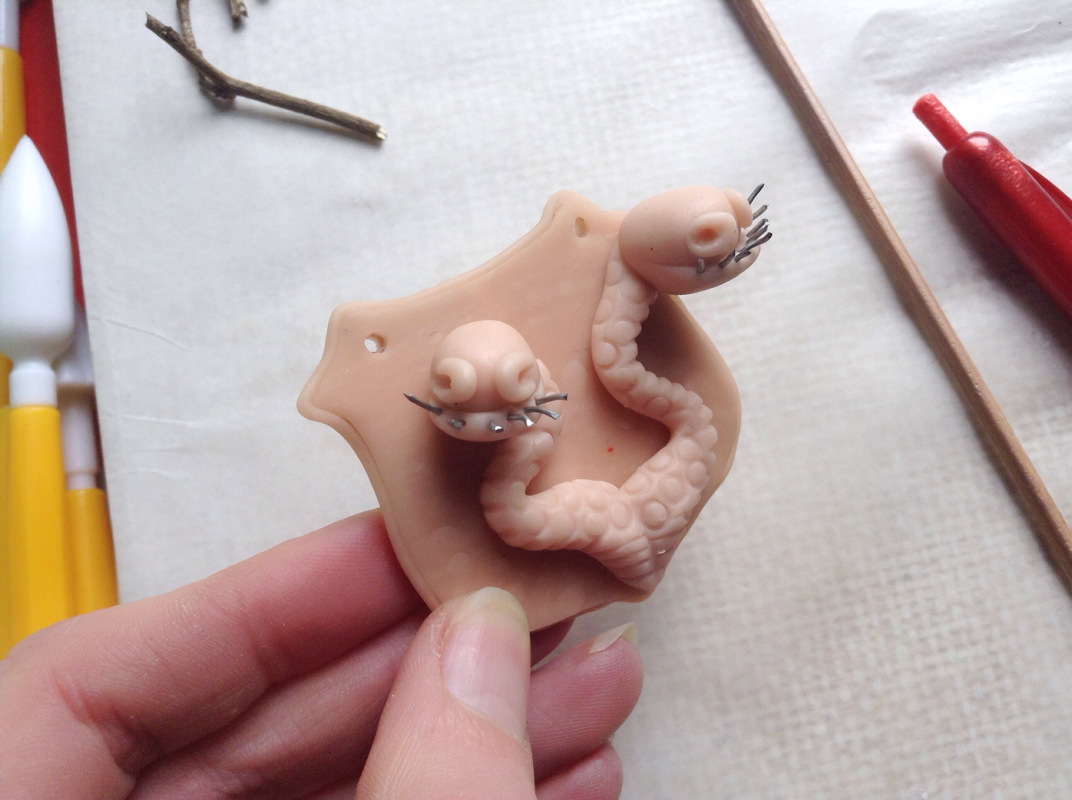
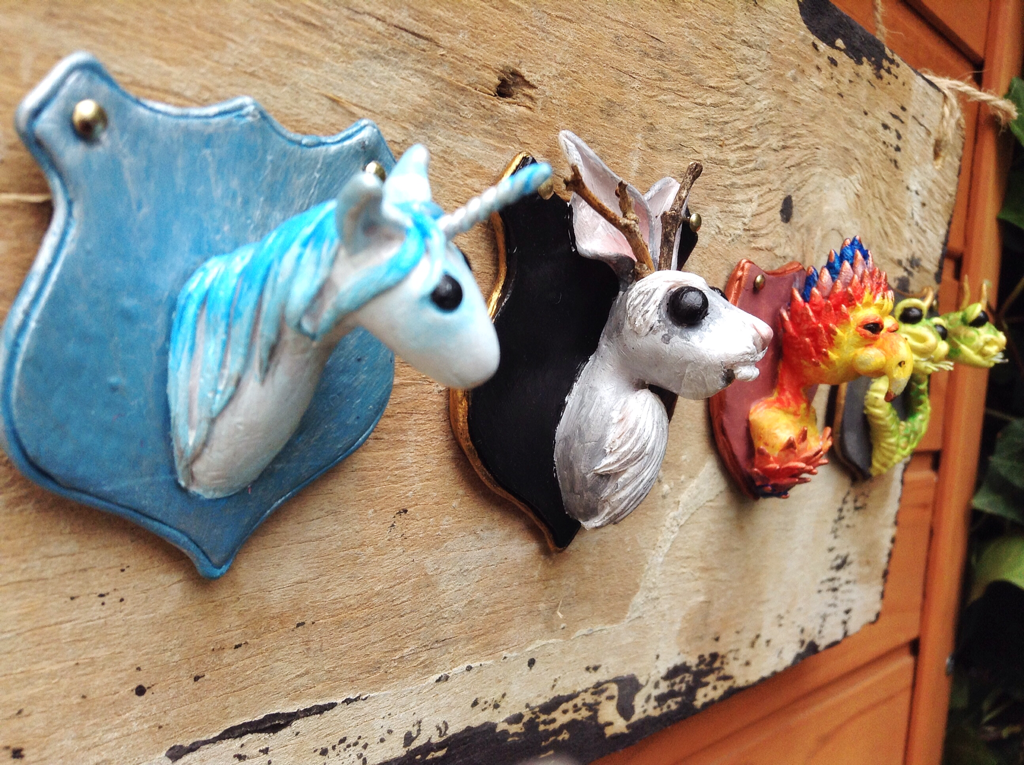
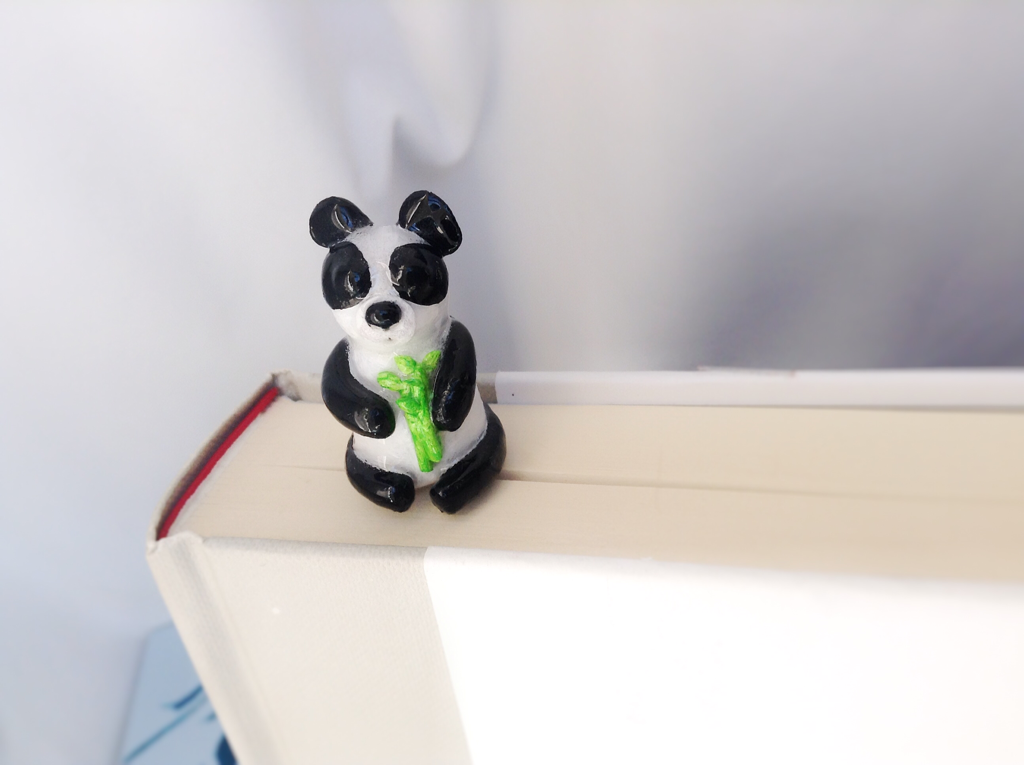
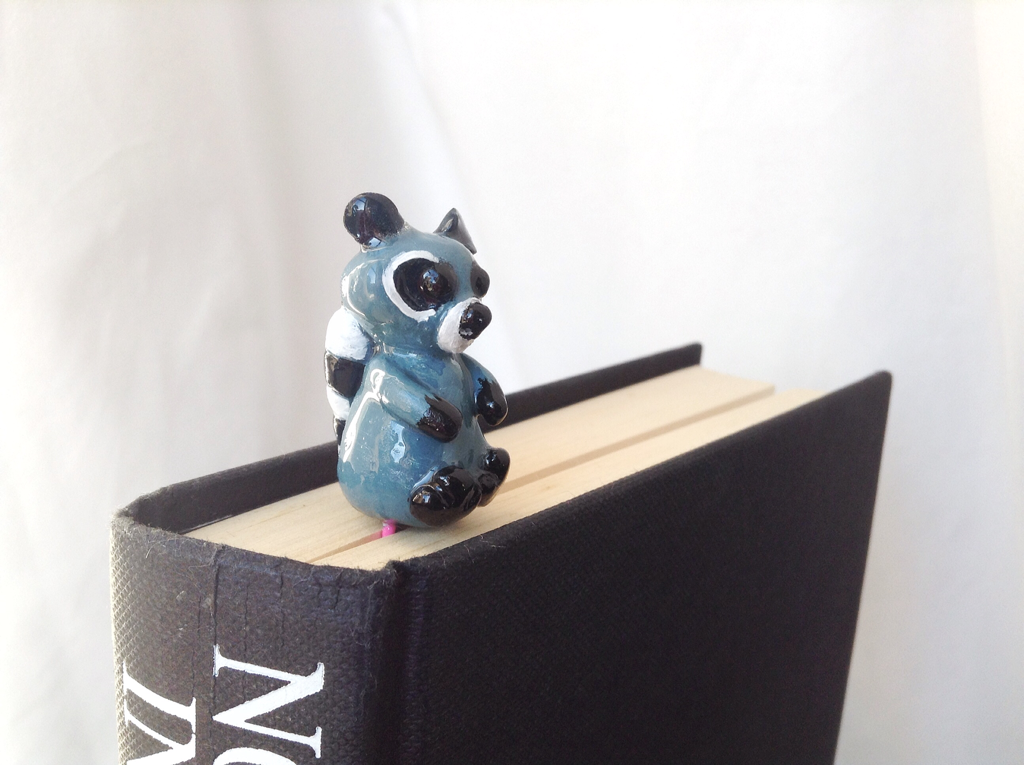
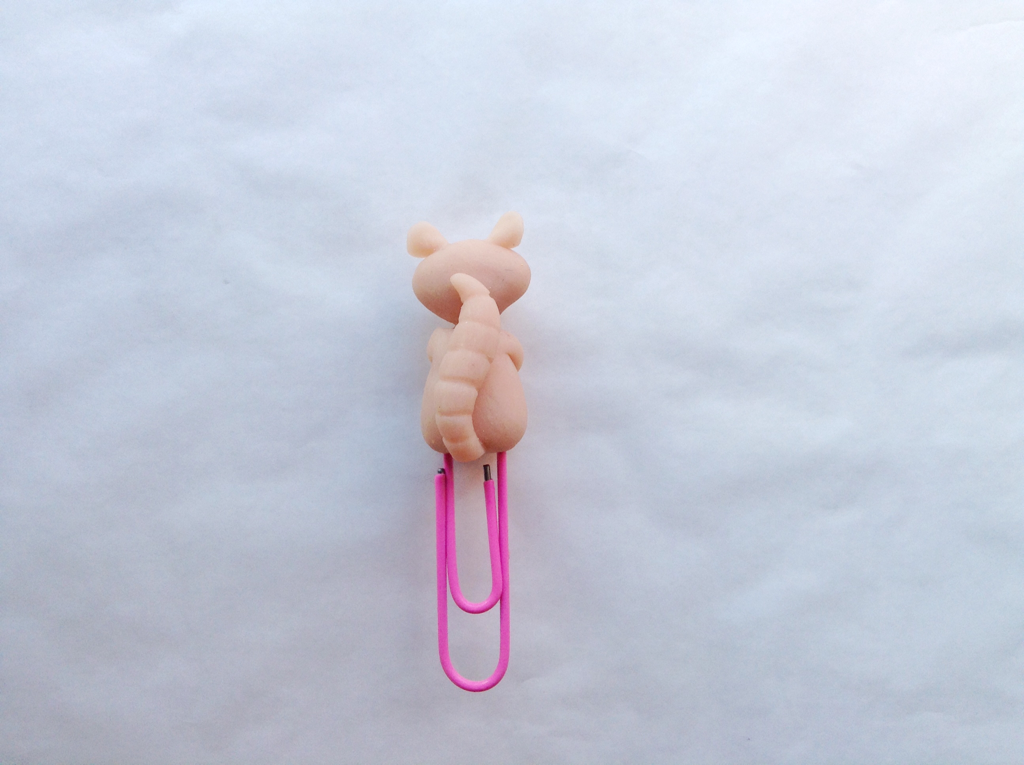
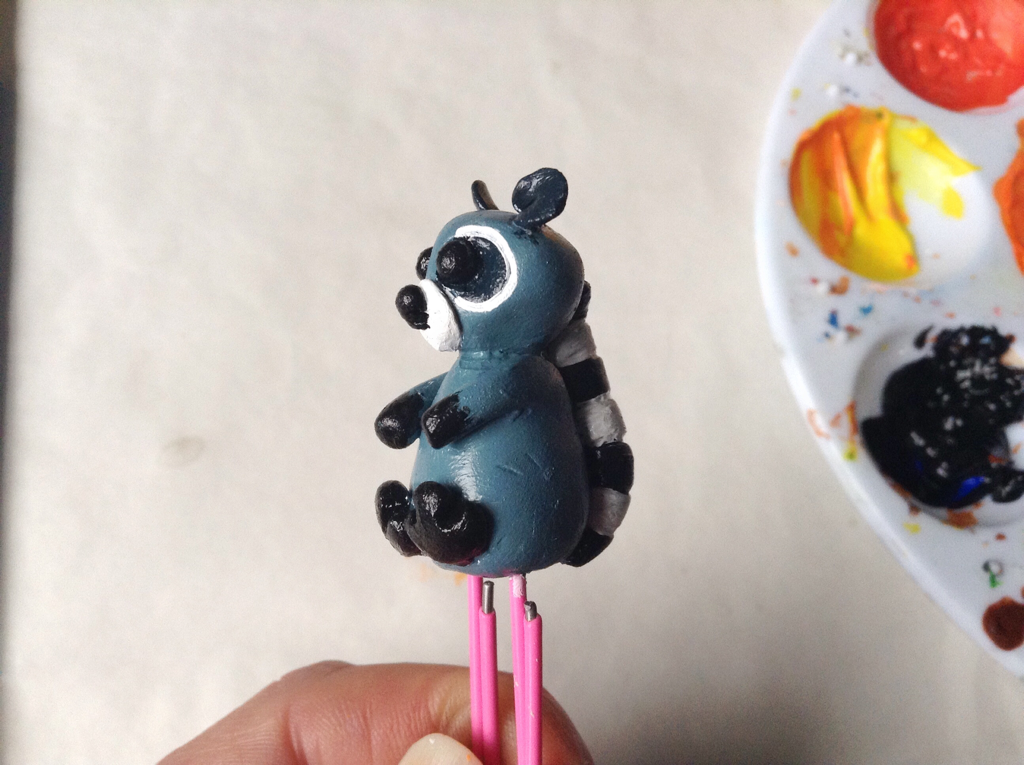
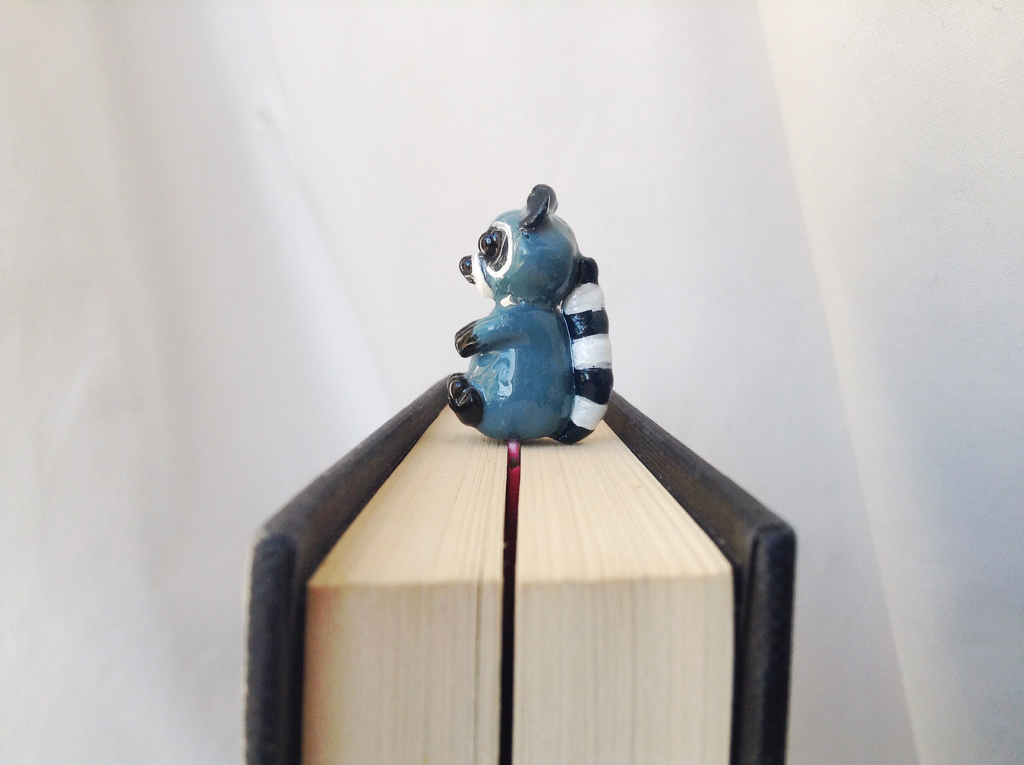
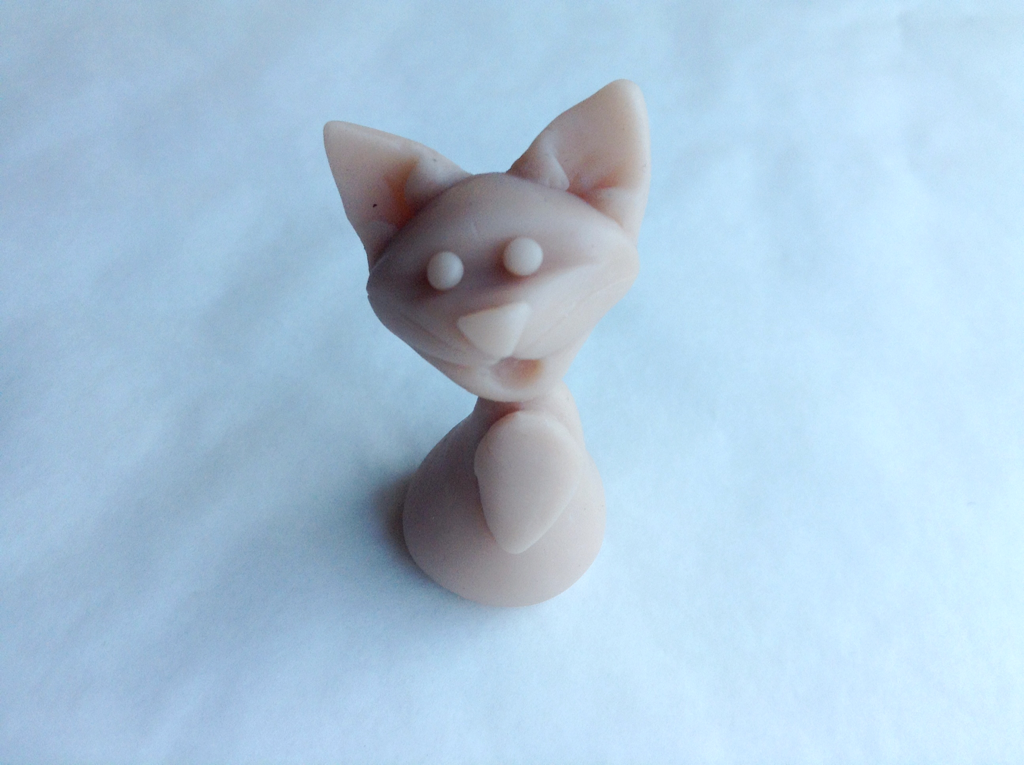
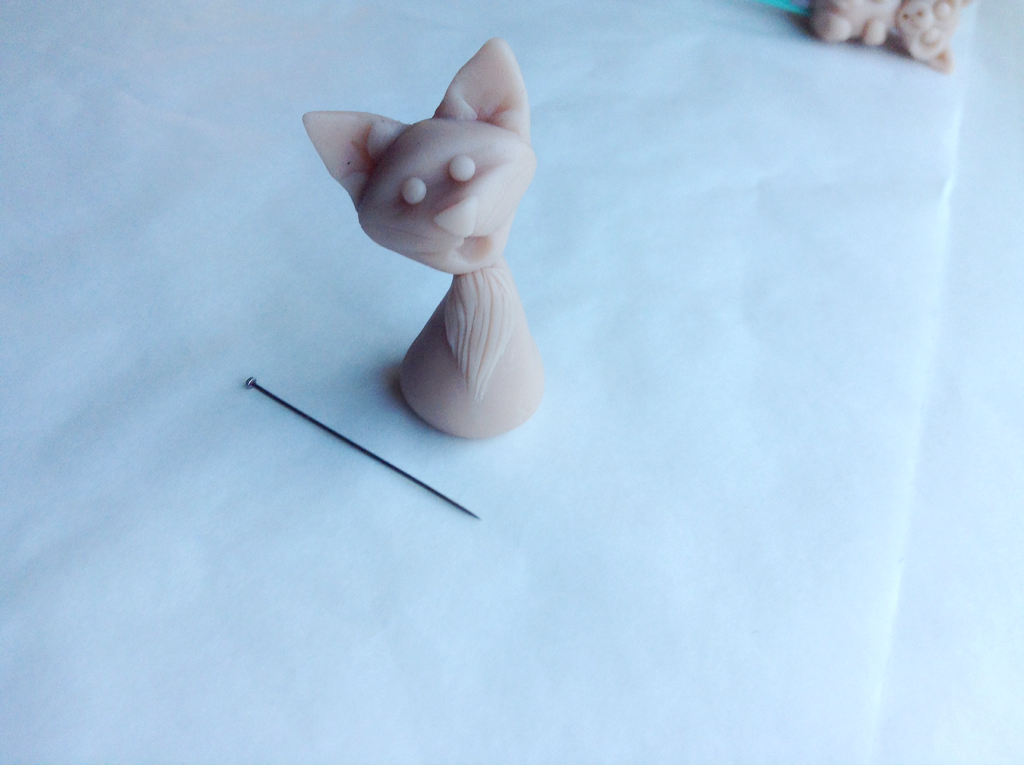
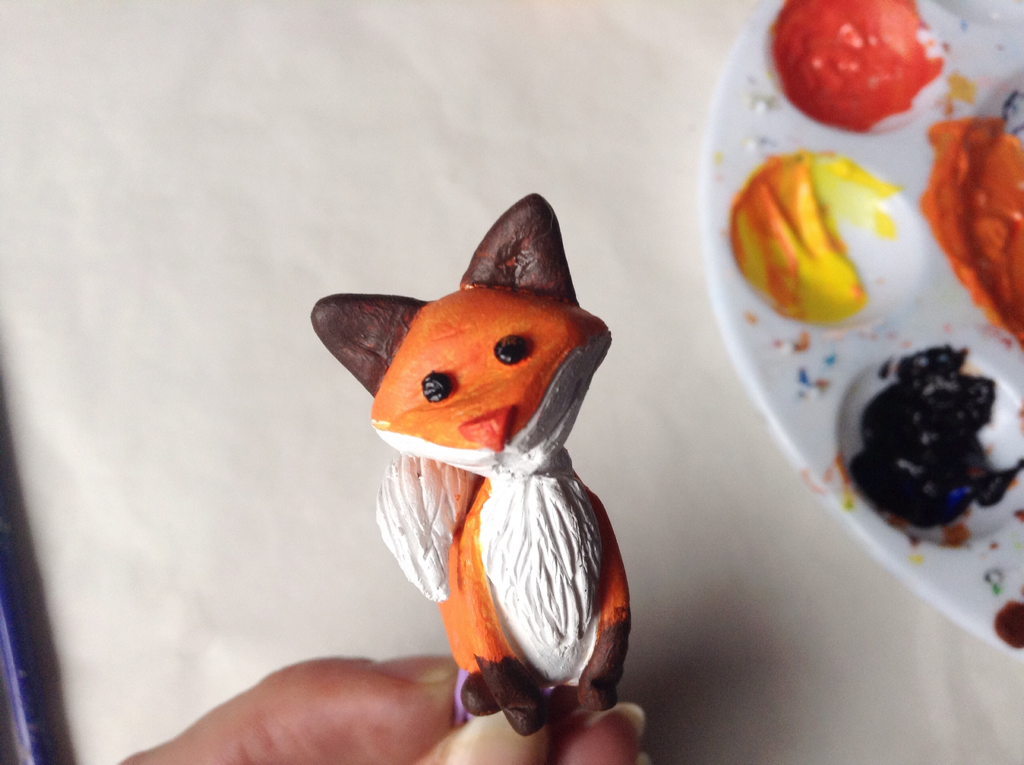
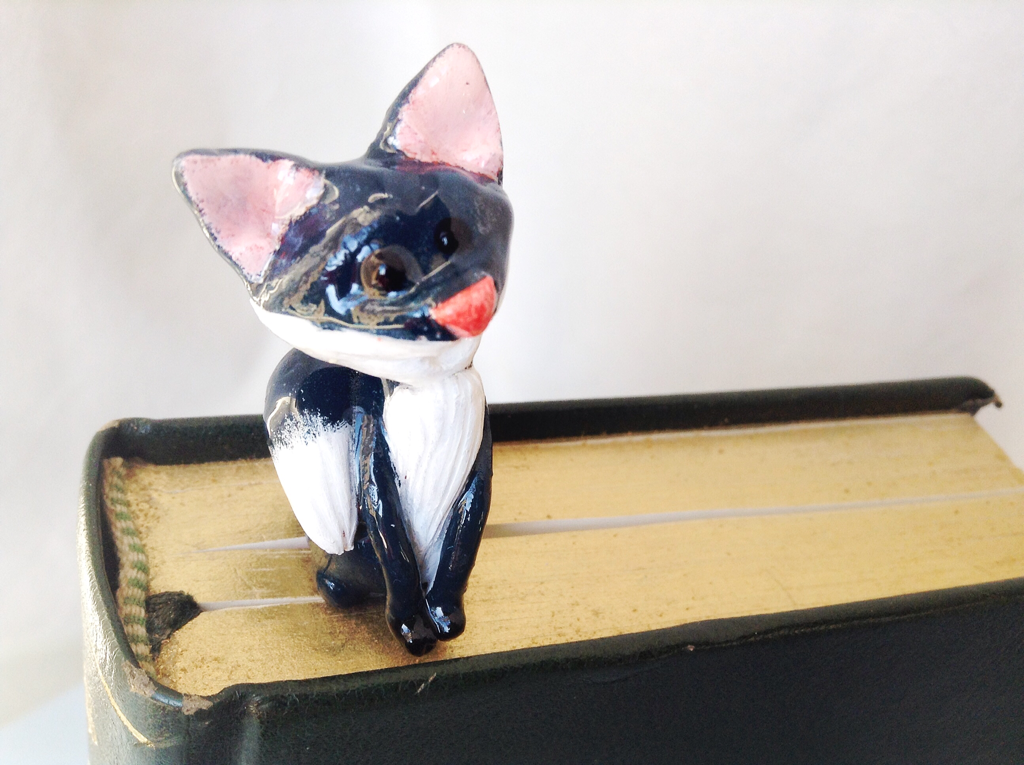
And there we have a little book guardian.
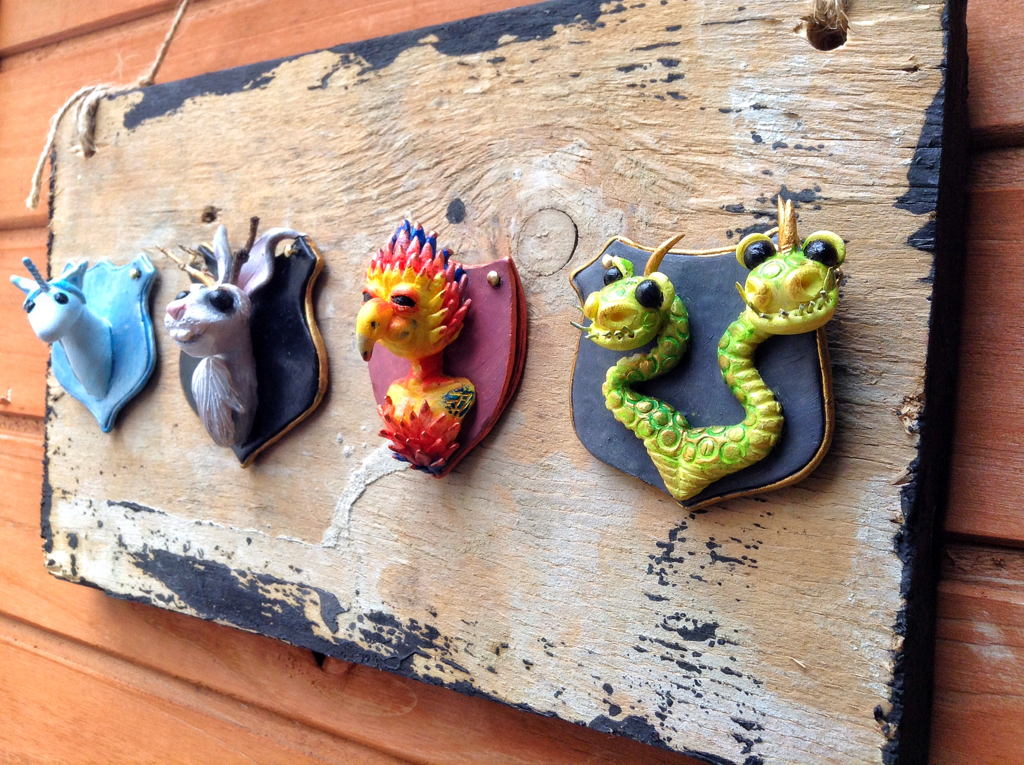
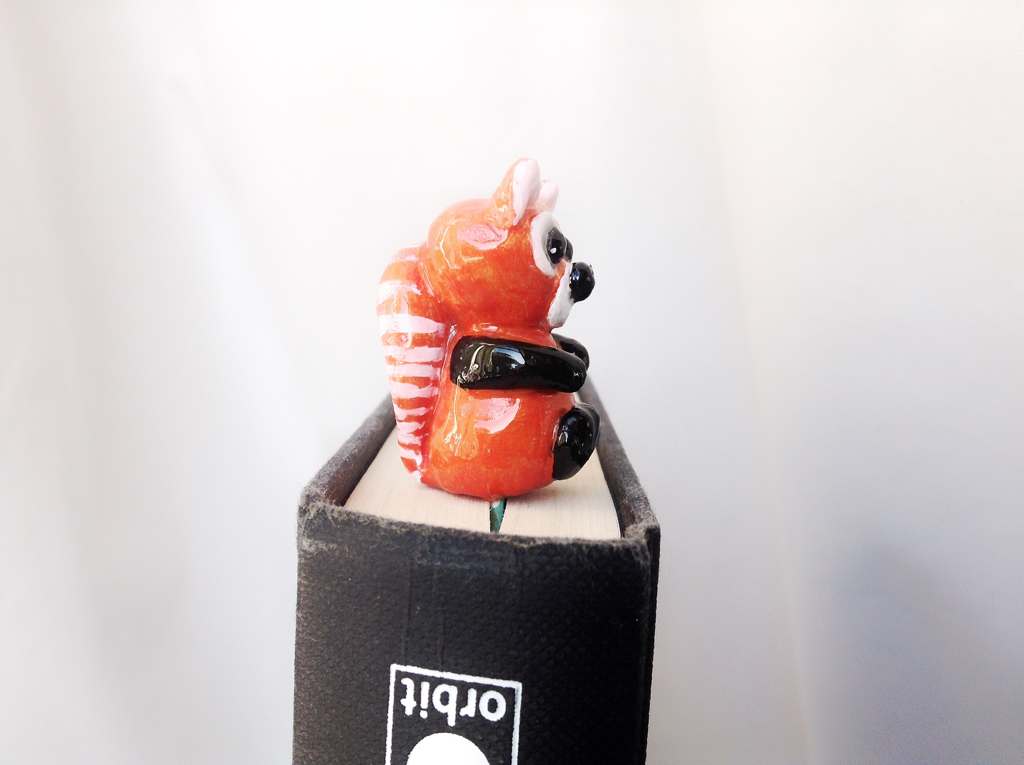
clay animals
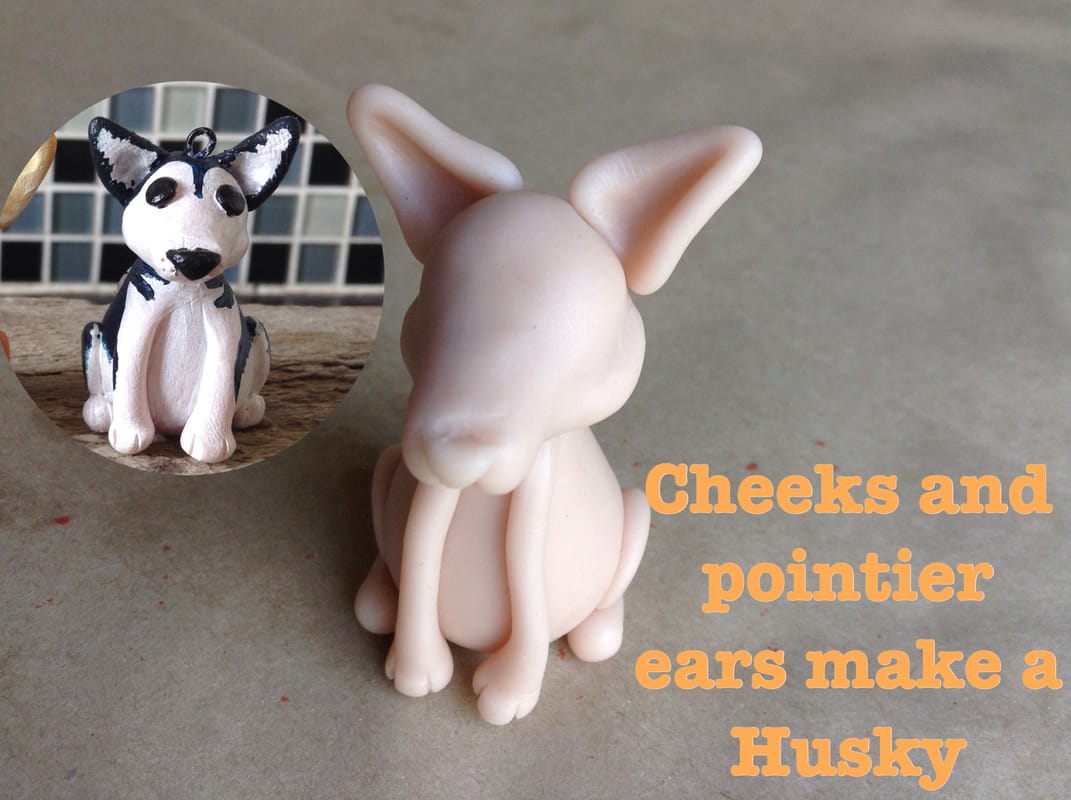
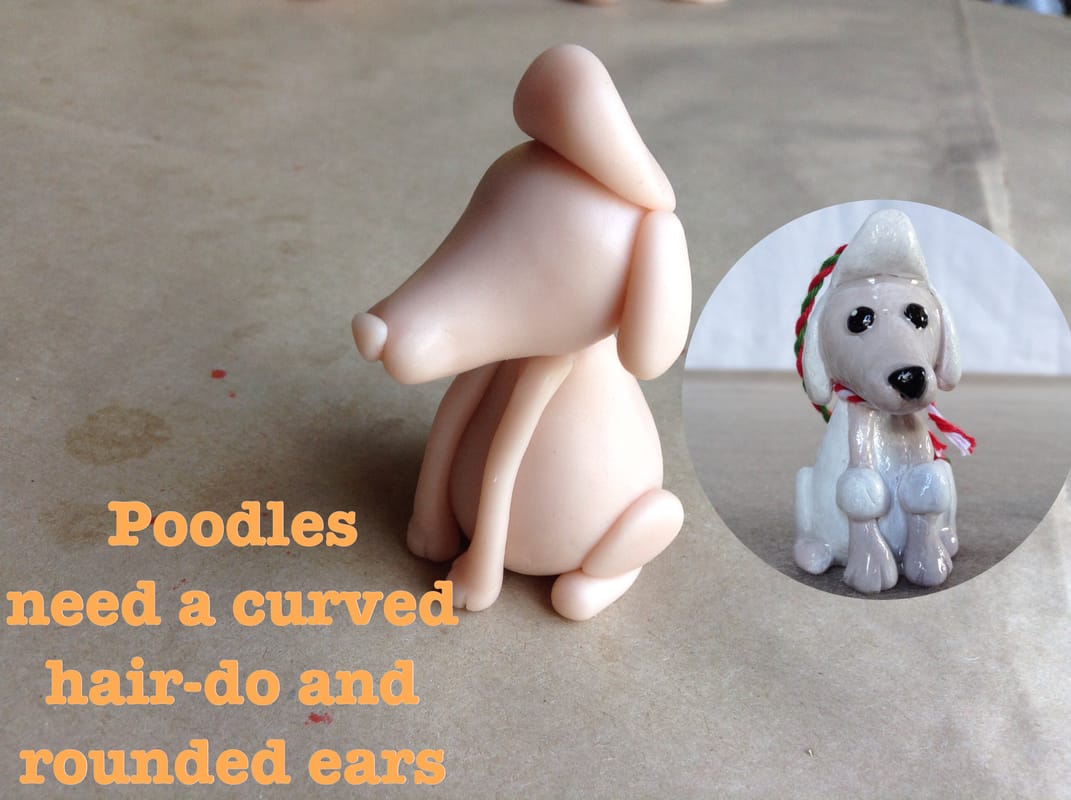
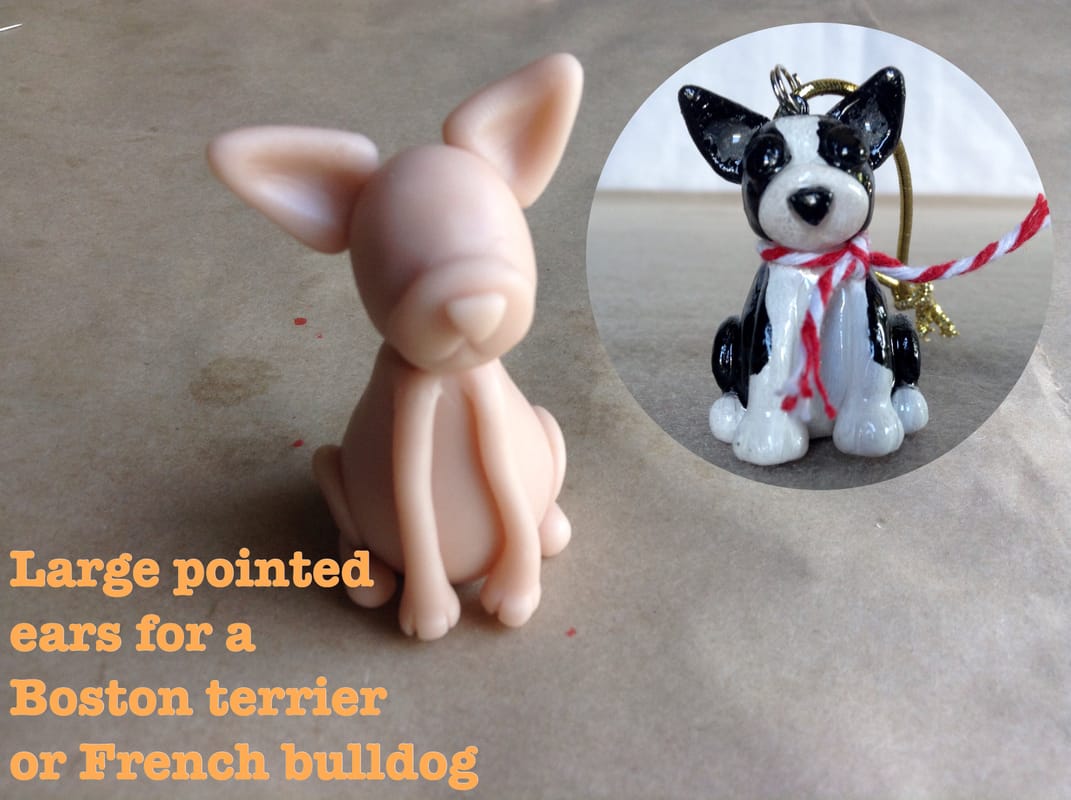
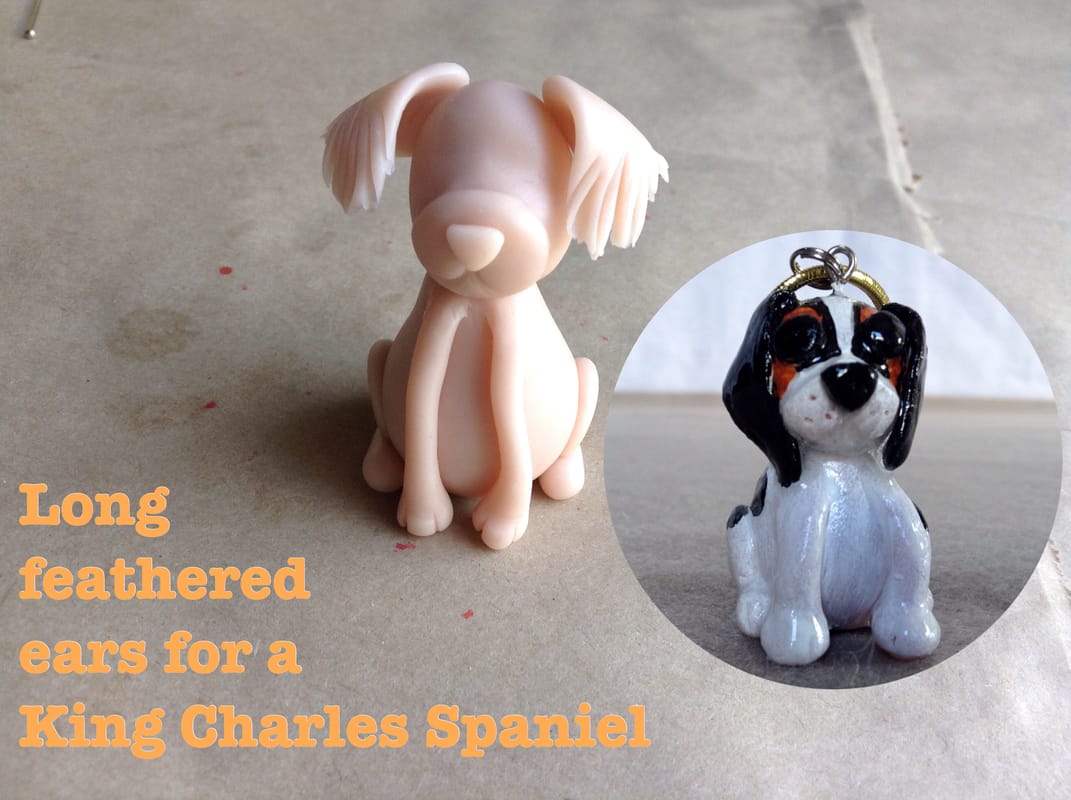
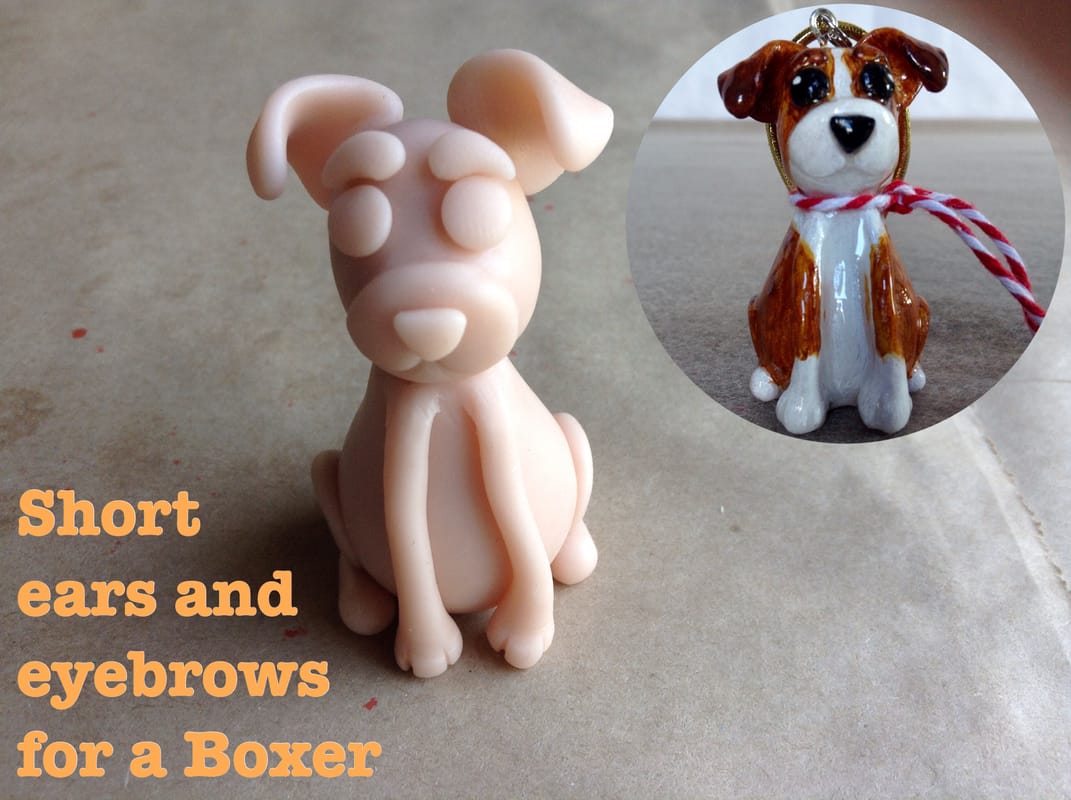
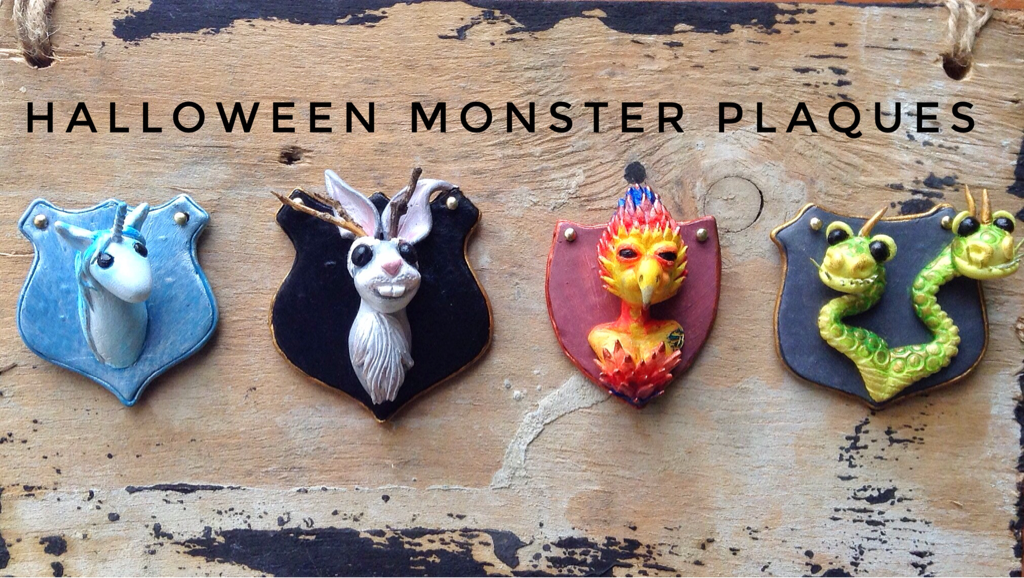
A collection of various animal sculpts and painting DIYs. Below each set is a link to a longer blog post about each creature.
 |  |
 |  |
 |  |
 |  |
 |  |
 |  |
 |  |
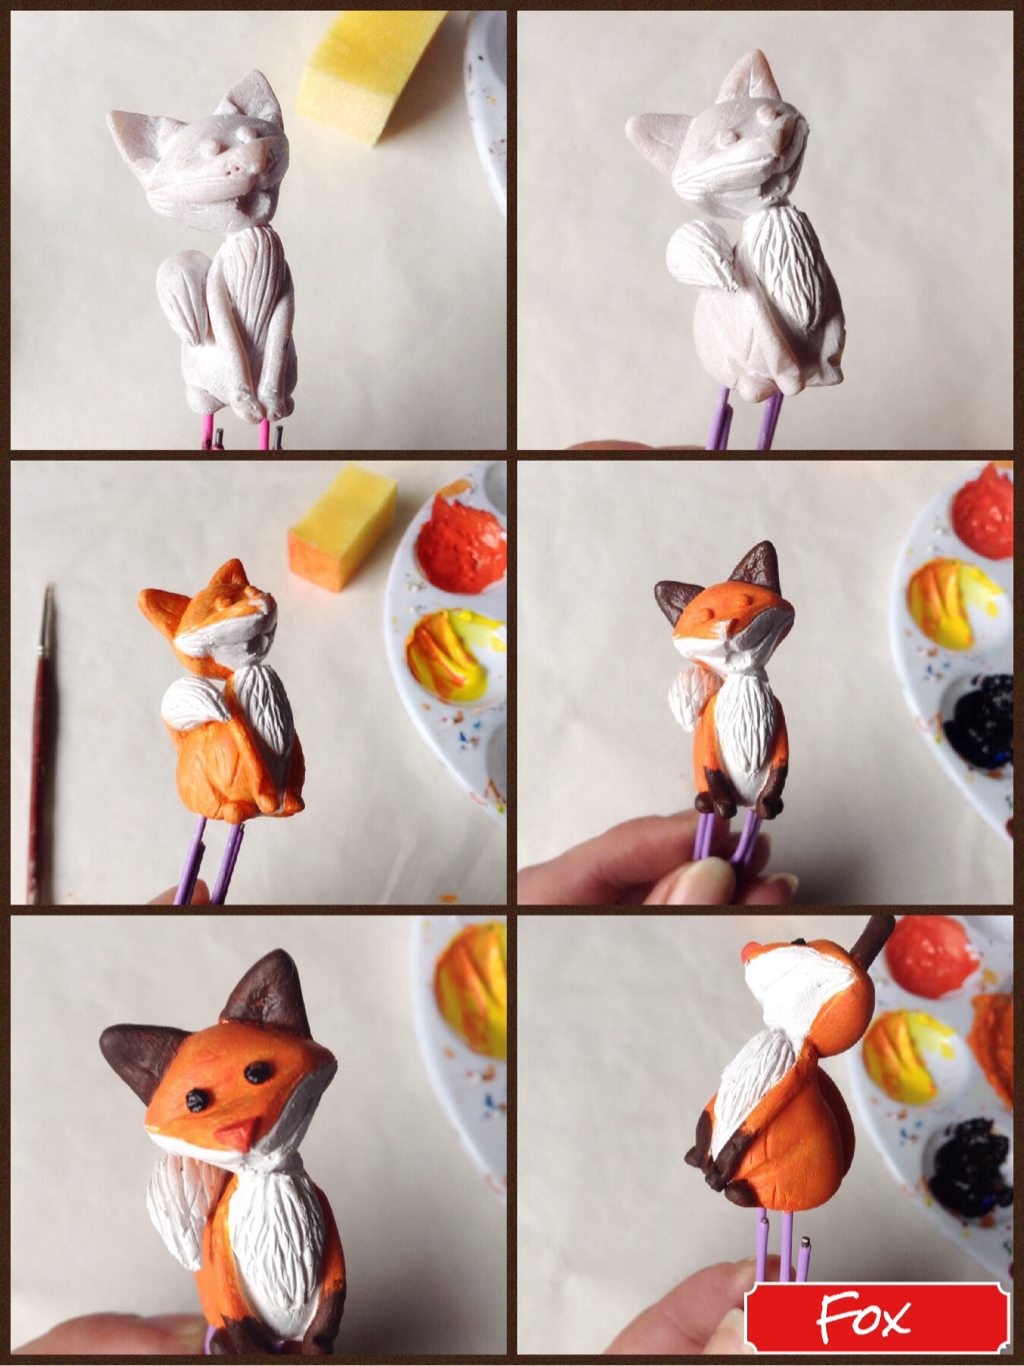 | 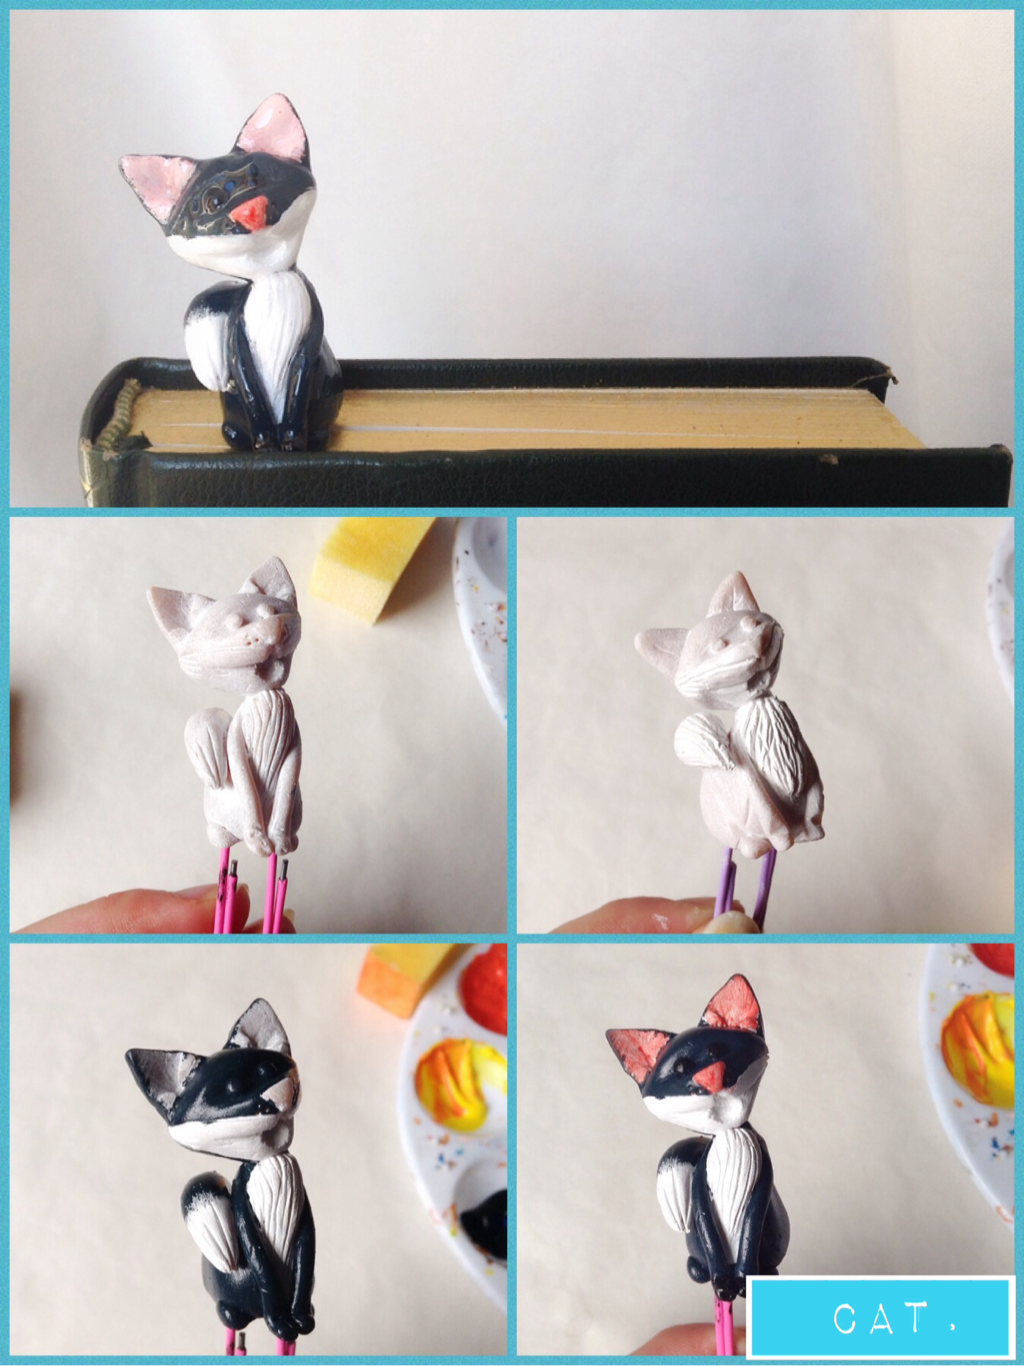 |
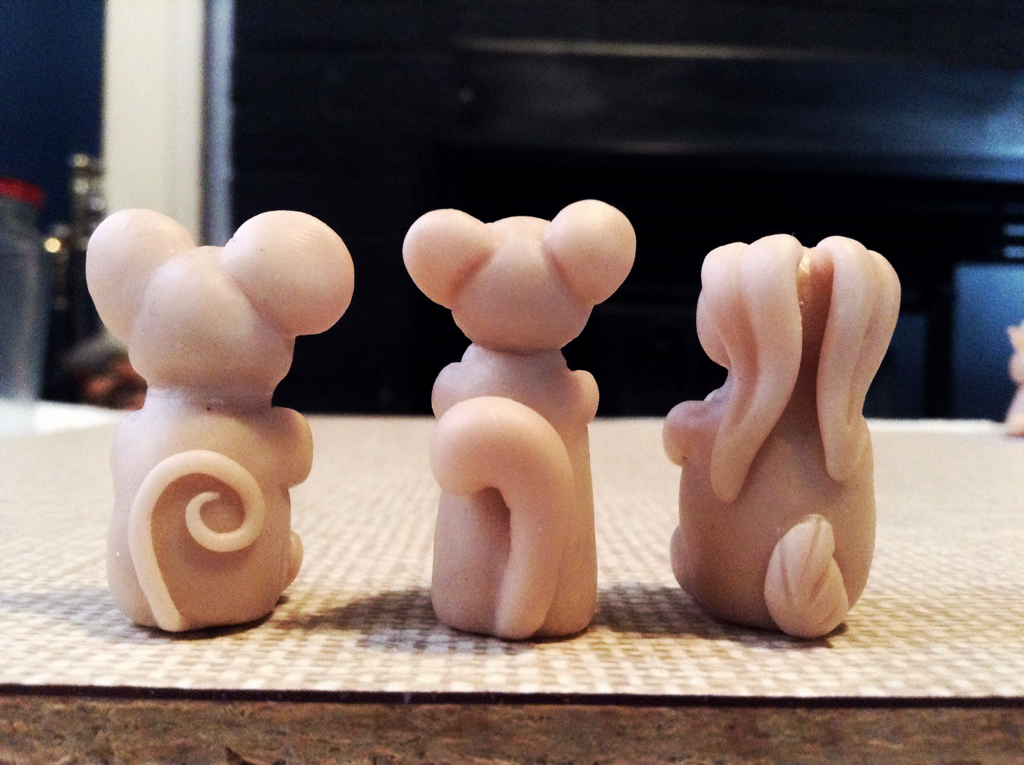
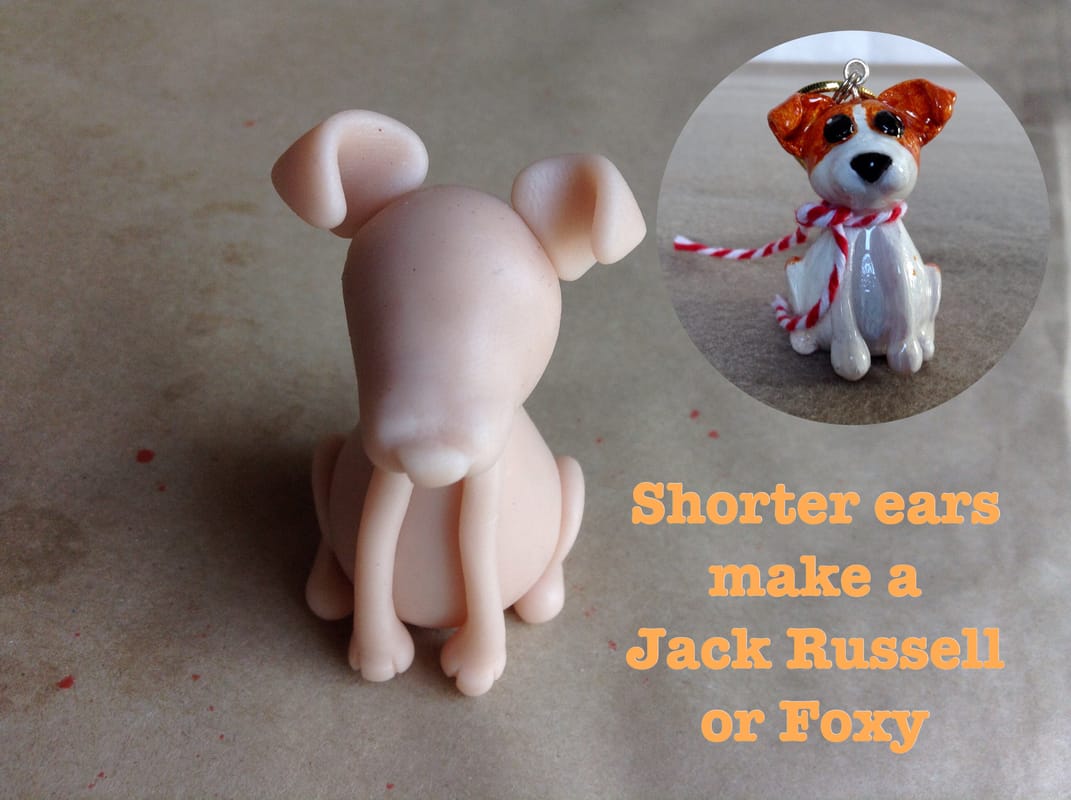
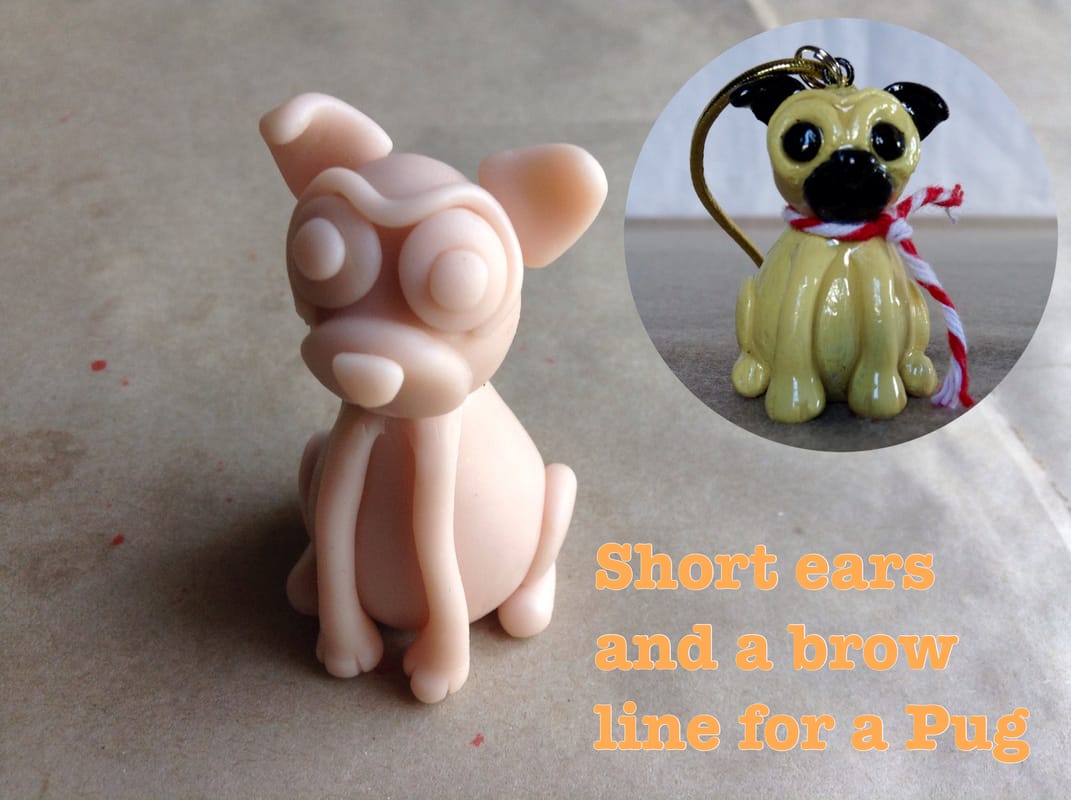
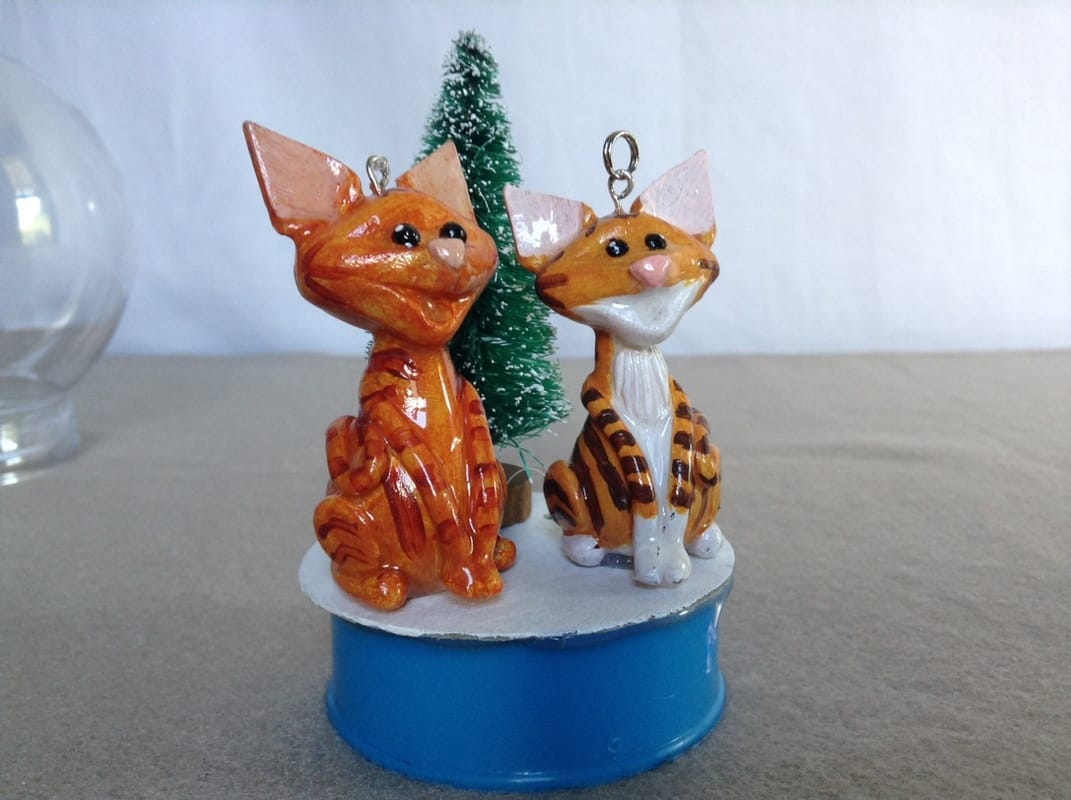
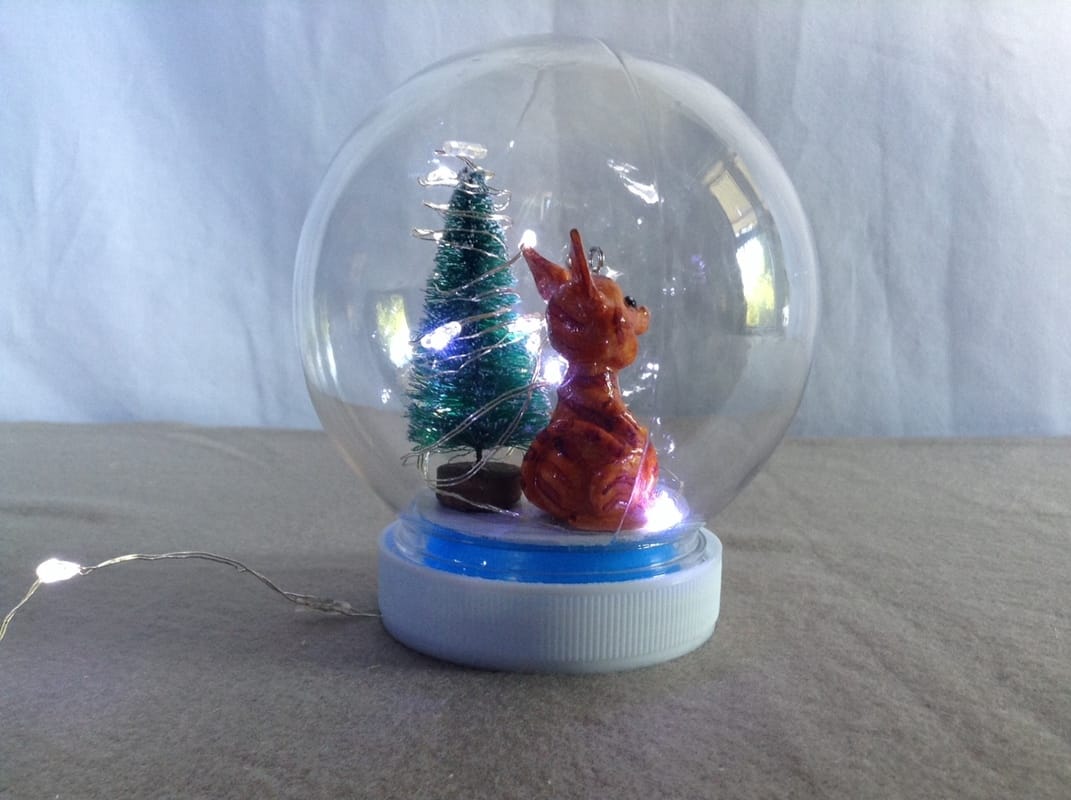
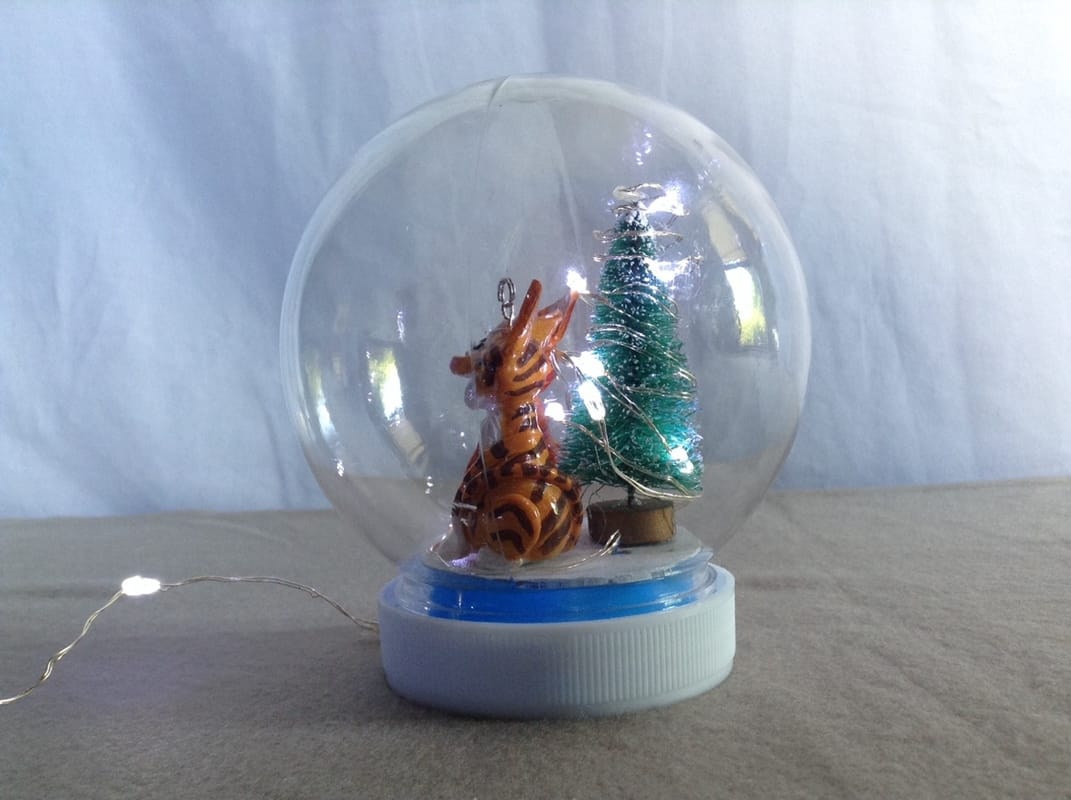
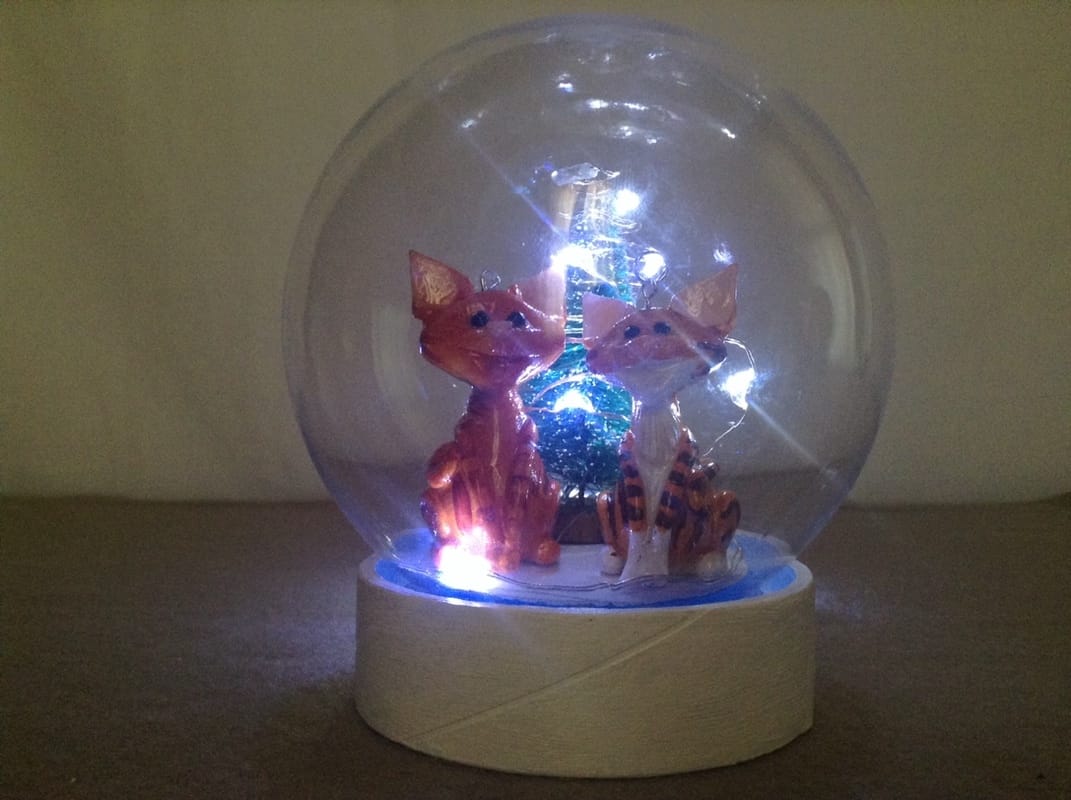
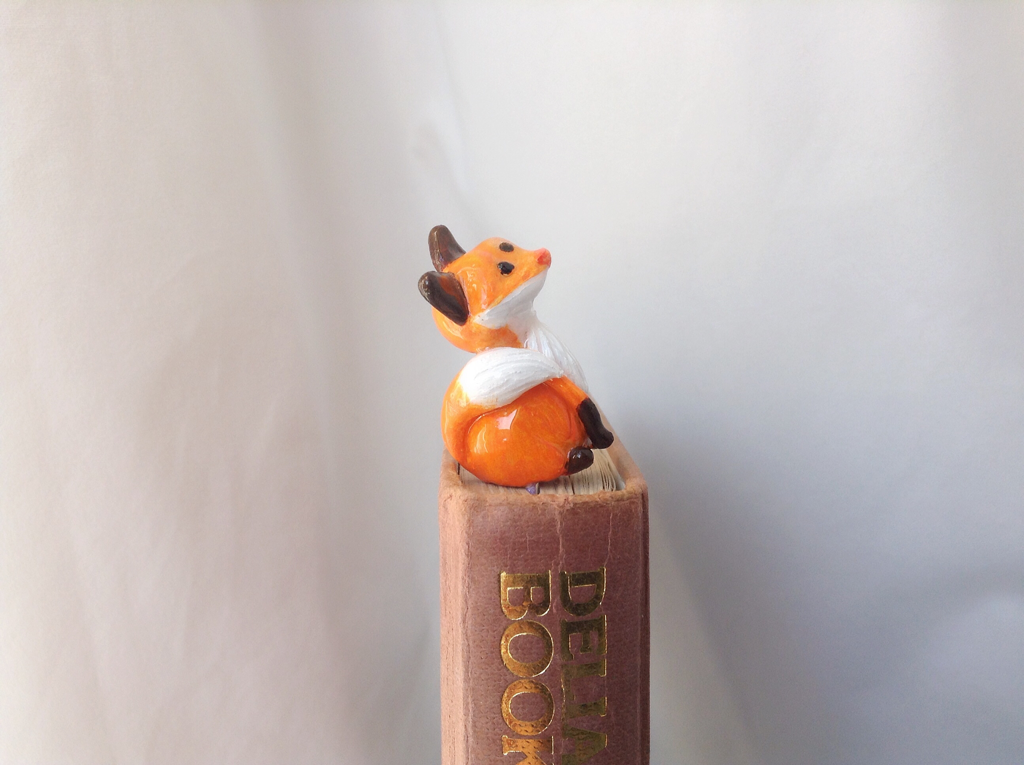
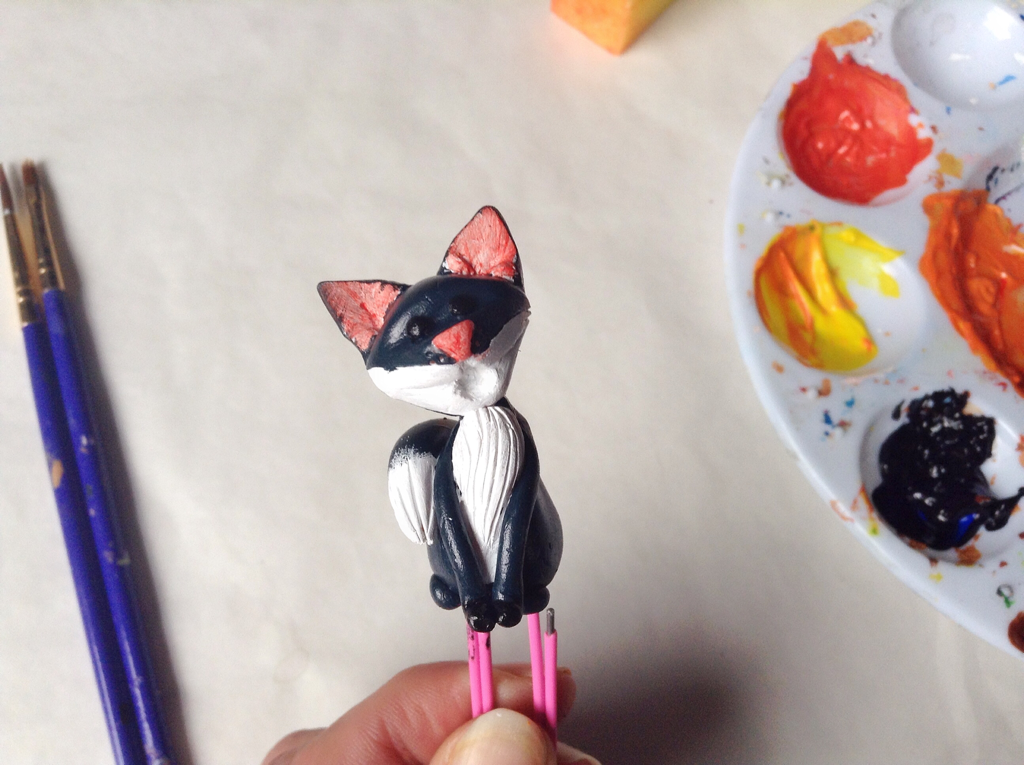
Fox /Cat - Animal look-a-likes, a different paint job results in an entirely different species.


 RSS Feed
