DIY Pen Sleeve
You Will Need . . .
- Felt
- Elastic
- Craft knife
DIY Pen SleeveI got my 2017 diary. I like big and chunky hardcover day by day planners. Gives me all the room I need to plan but no room for a pen!. Pens don't stay clipped to the outside, the book won't stay closed if a pen is wedged between the pages. It's the book of ever disappearing pens. So, I made a quick, inexpensive pen sleeve that can be slipped over the front cover, it's essentially a pen backpack for my diary to wear. You Will Need . . .
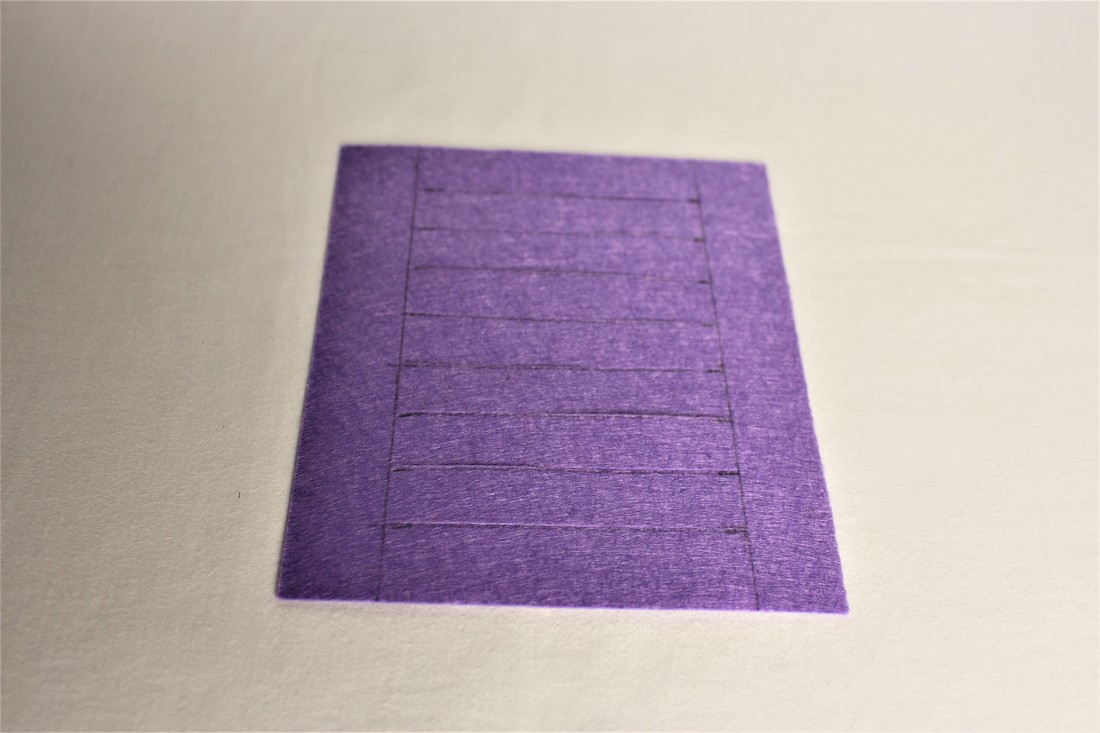
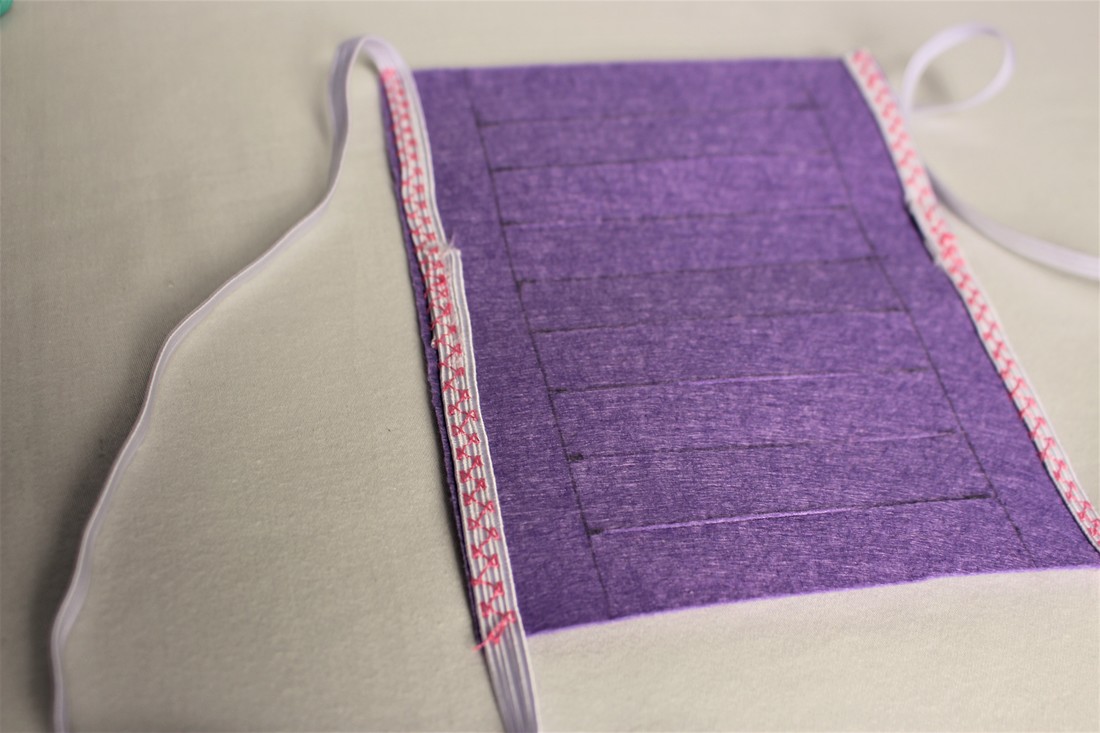
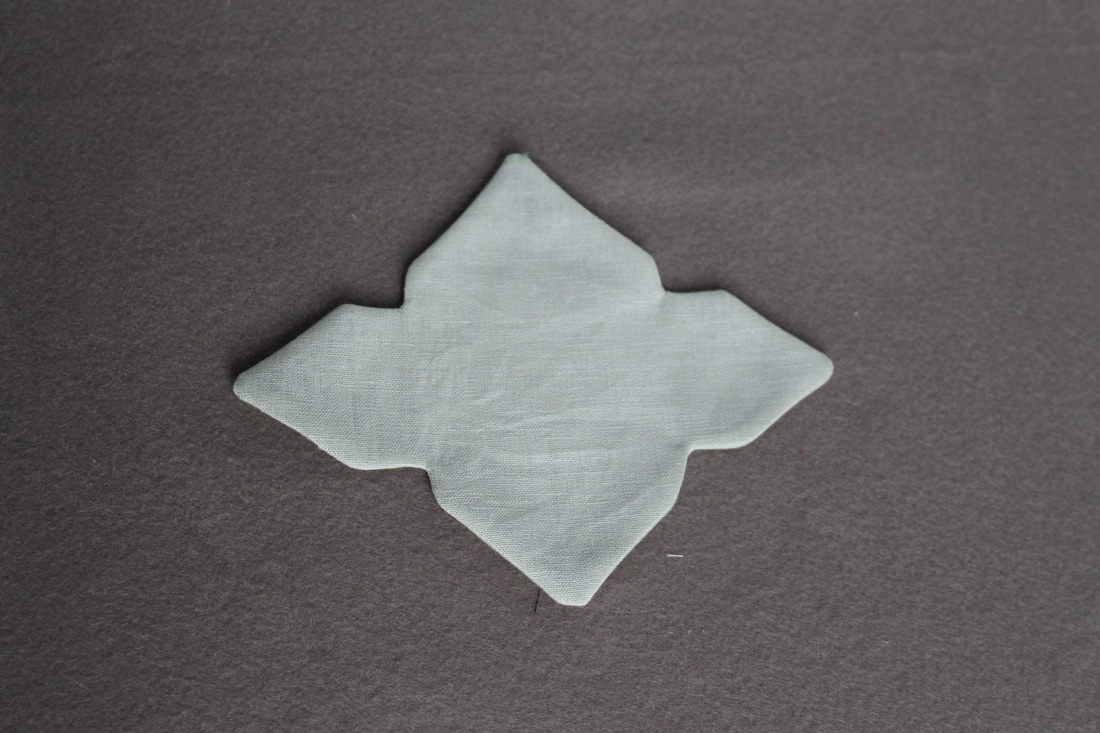
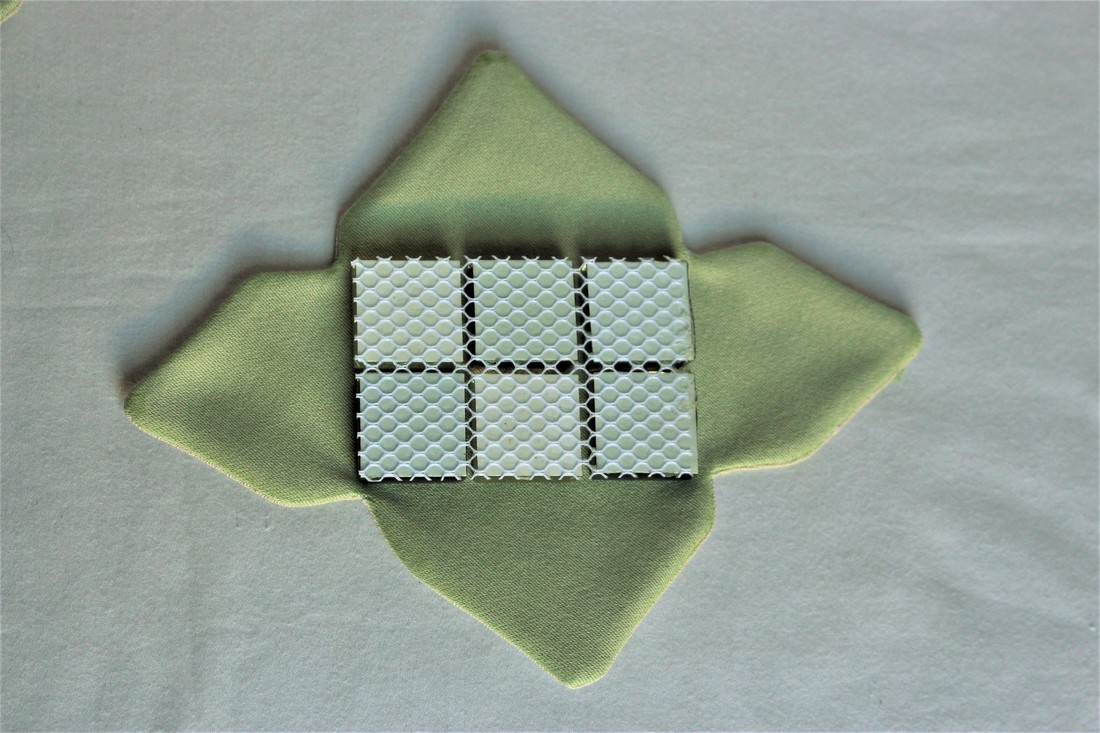
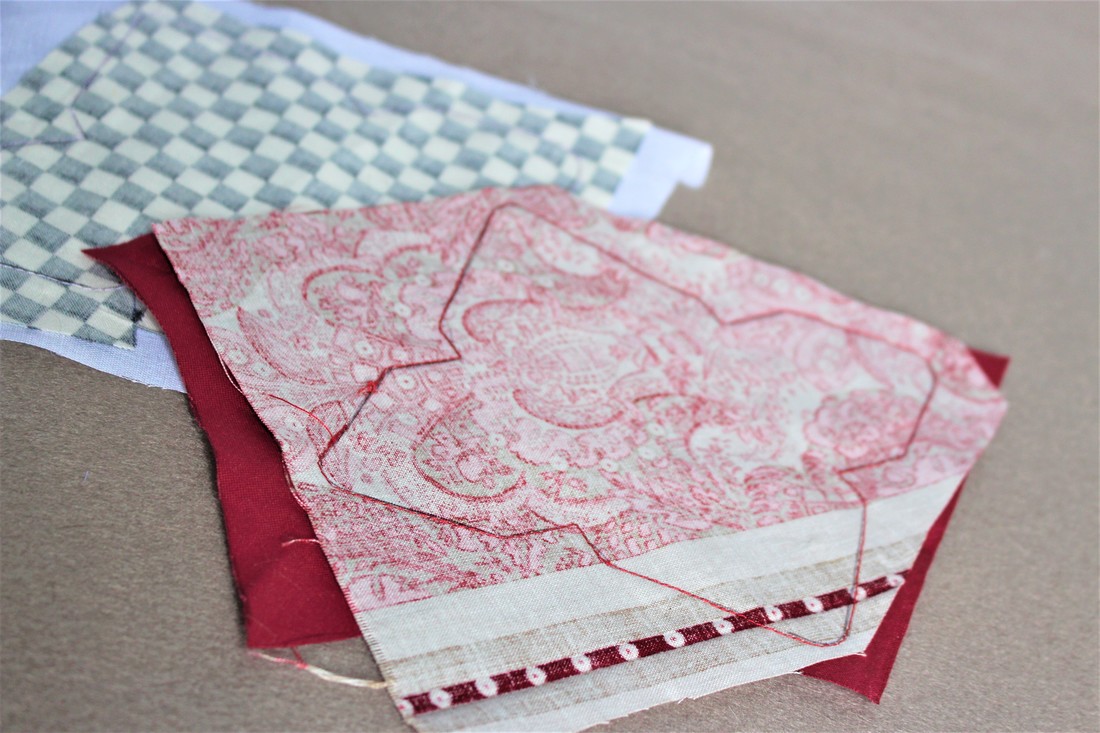
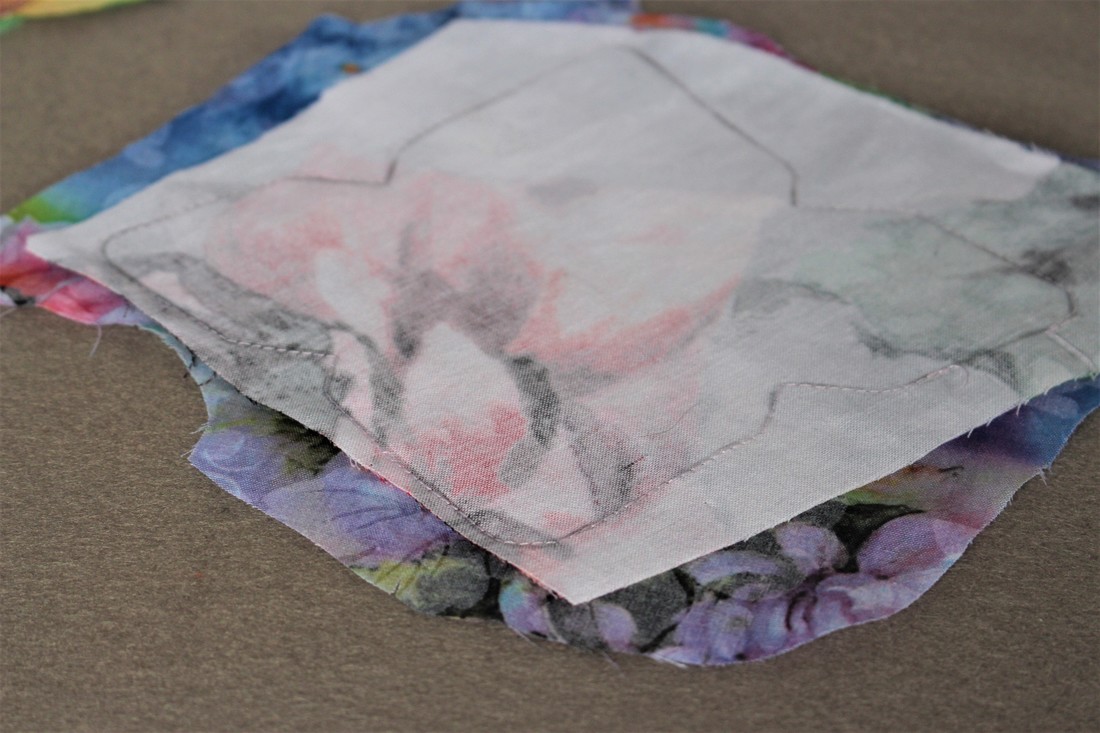
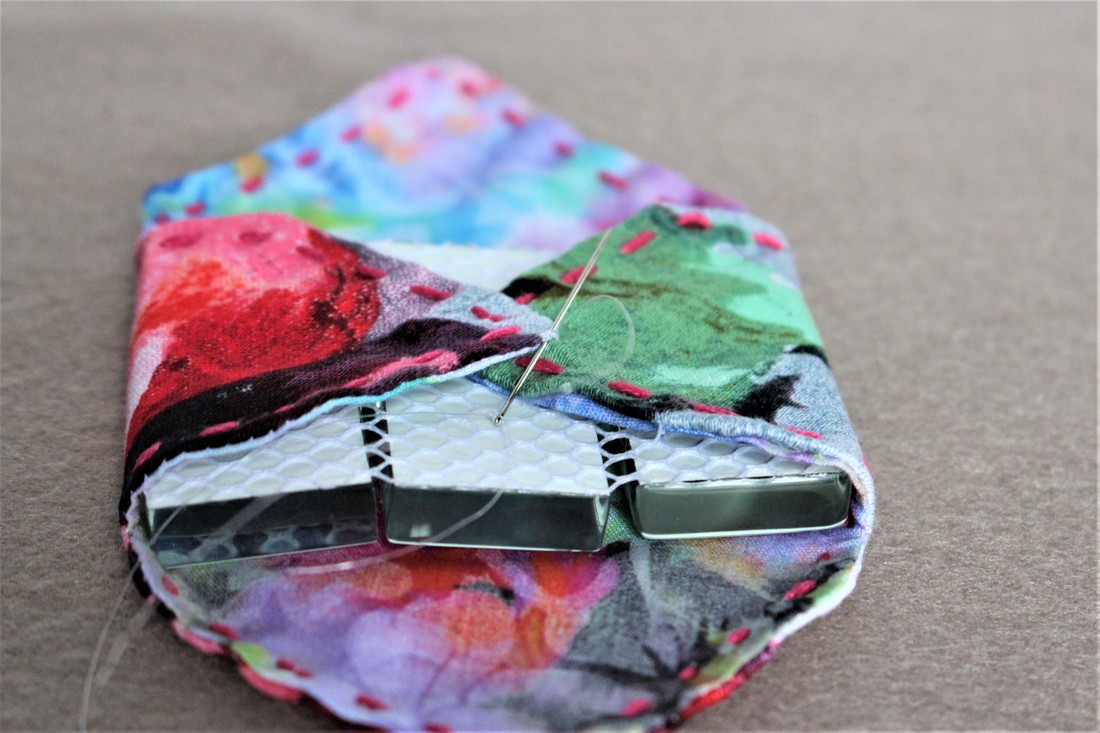
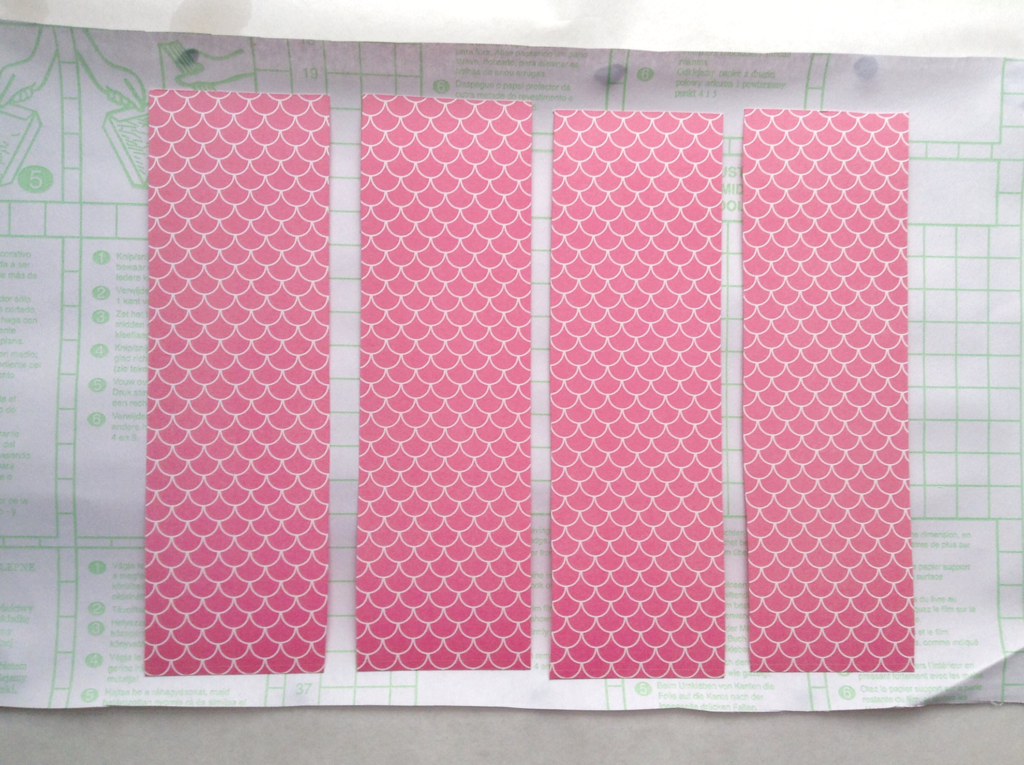
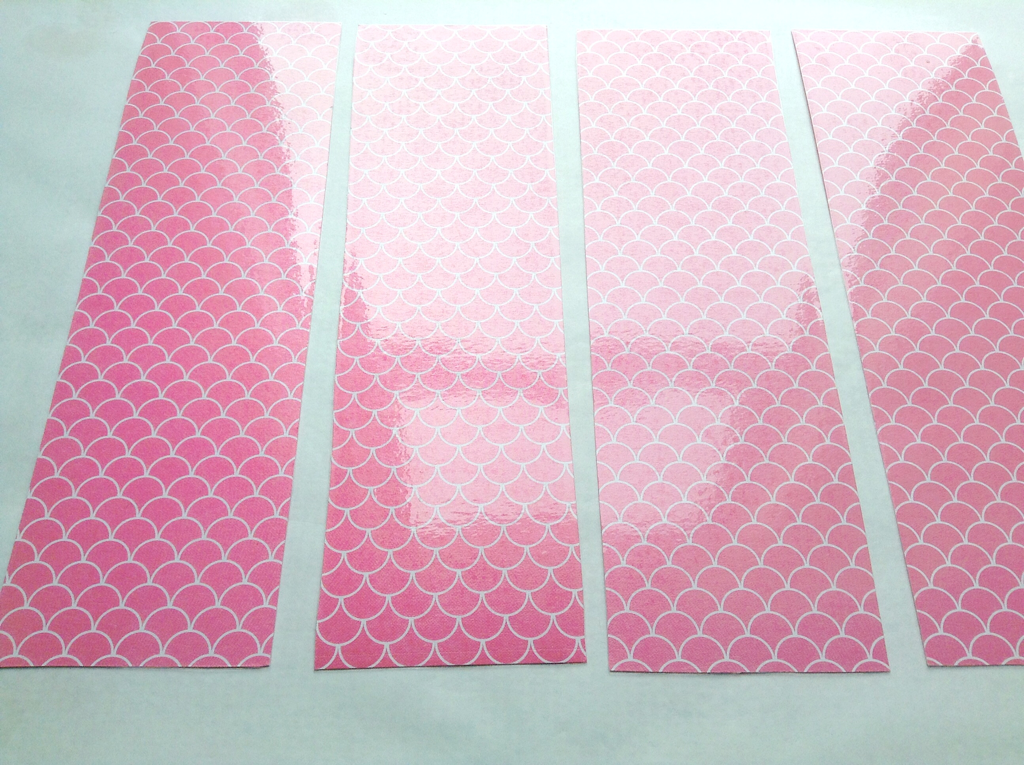
I cut out a square of felt and cut rungs across the middle. Each rung is about 1.5cm wide. These allow pens to be woven through the felt. 
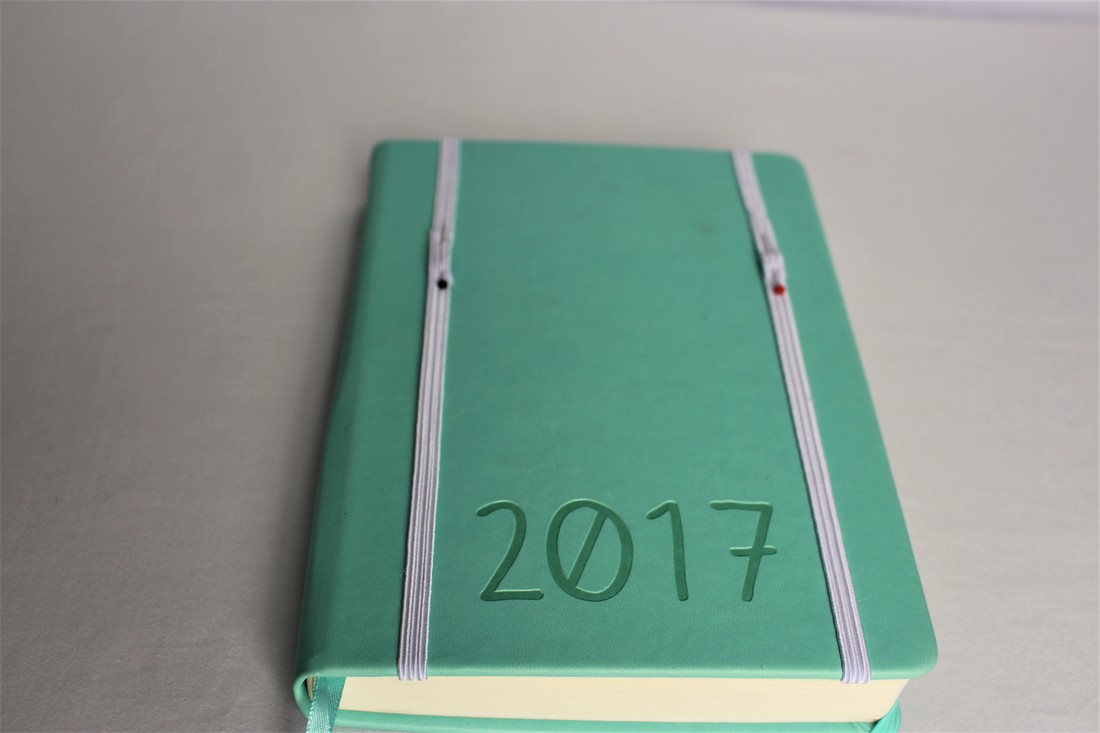
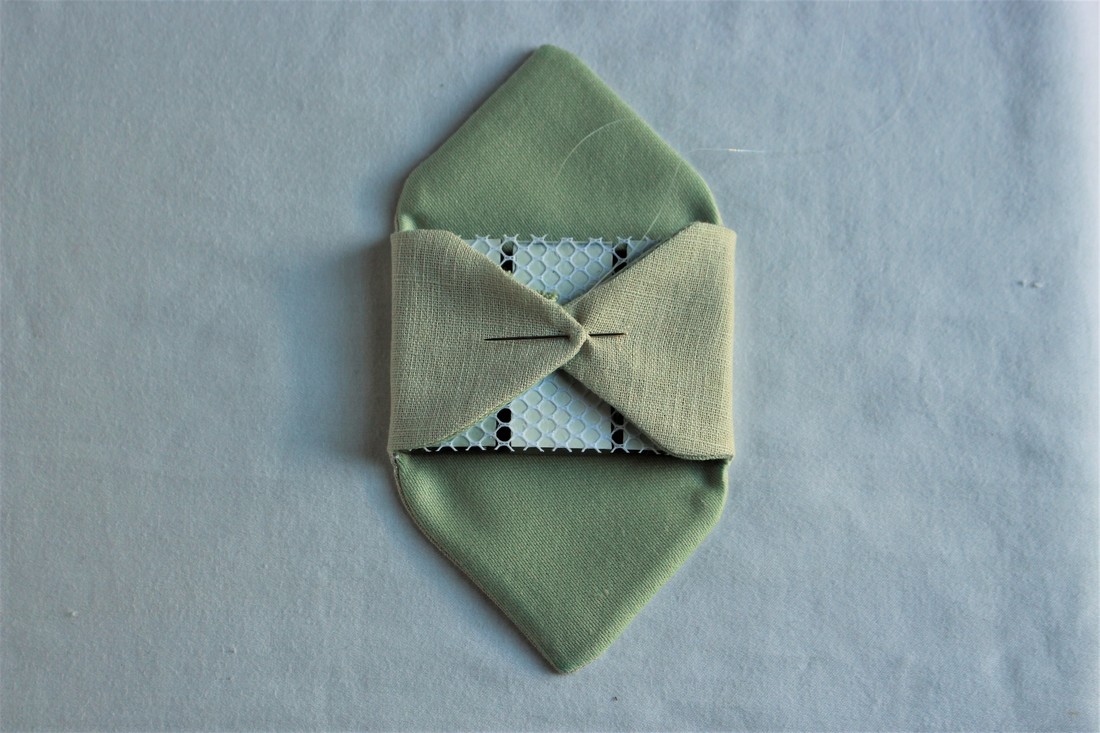
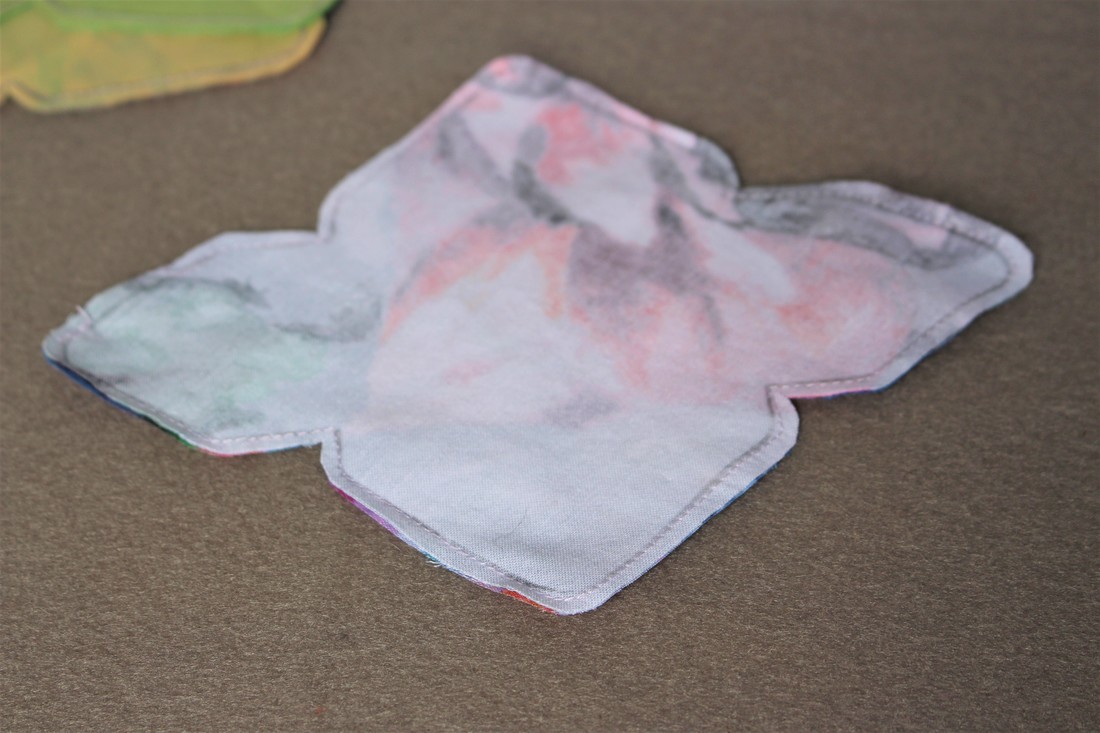
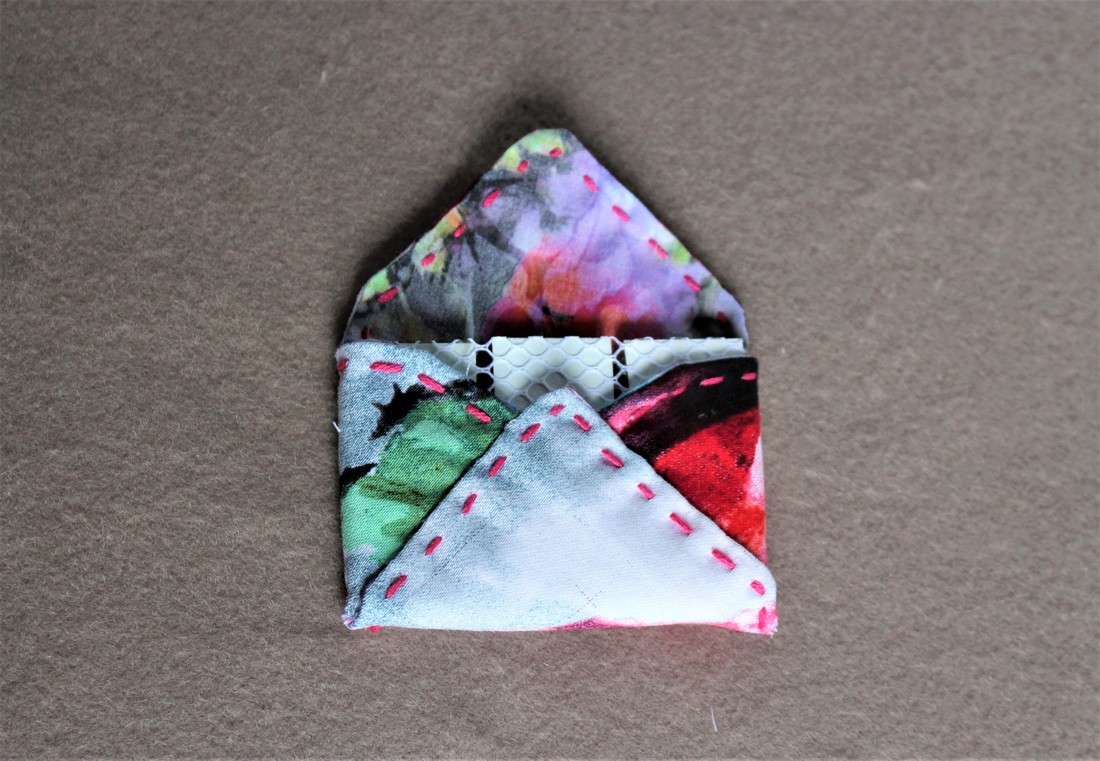
I fit elastic to the cover of my diary. The felt and elastic fit the book. 
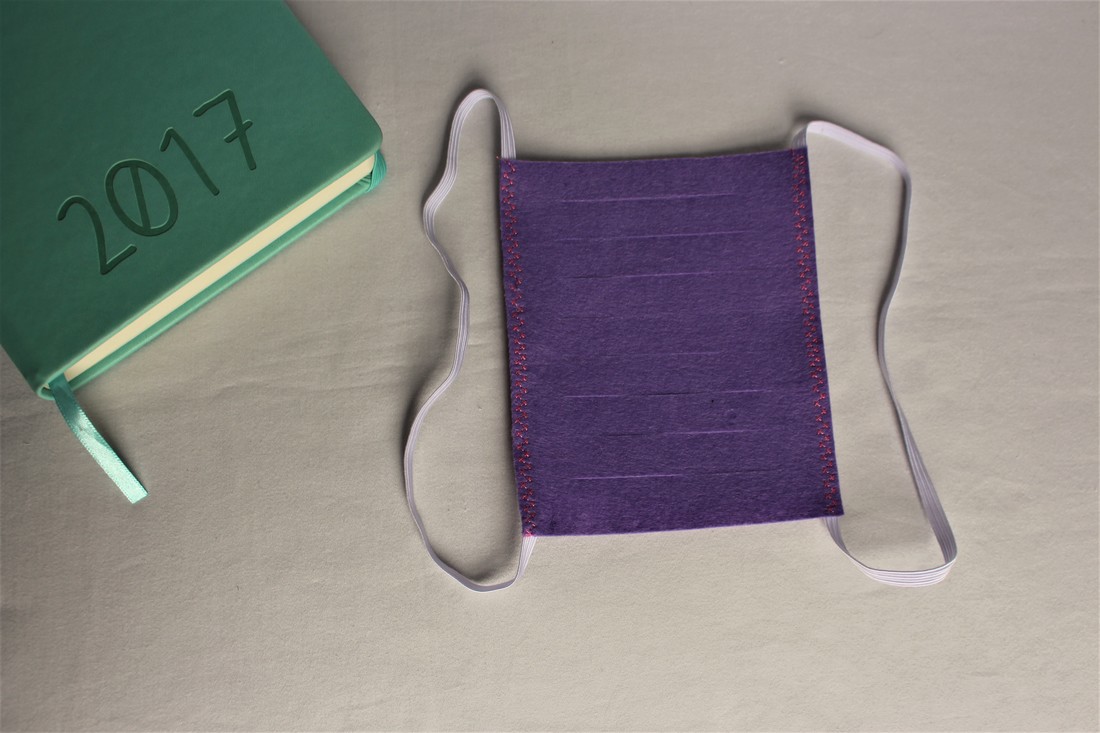
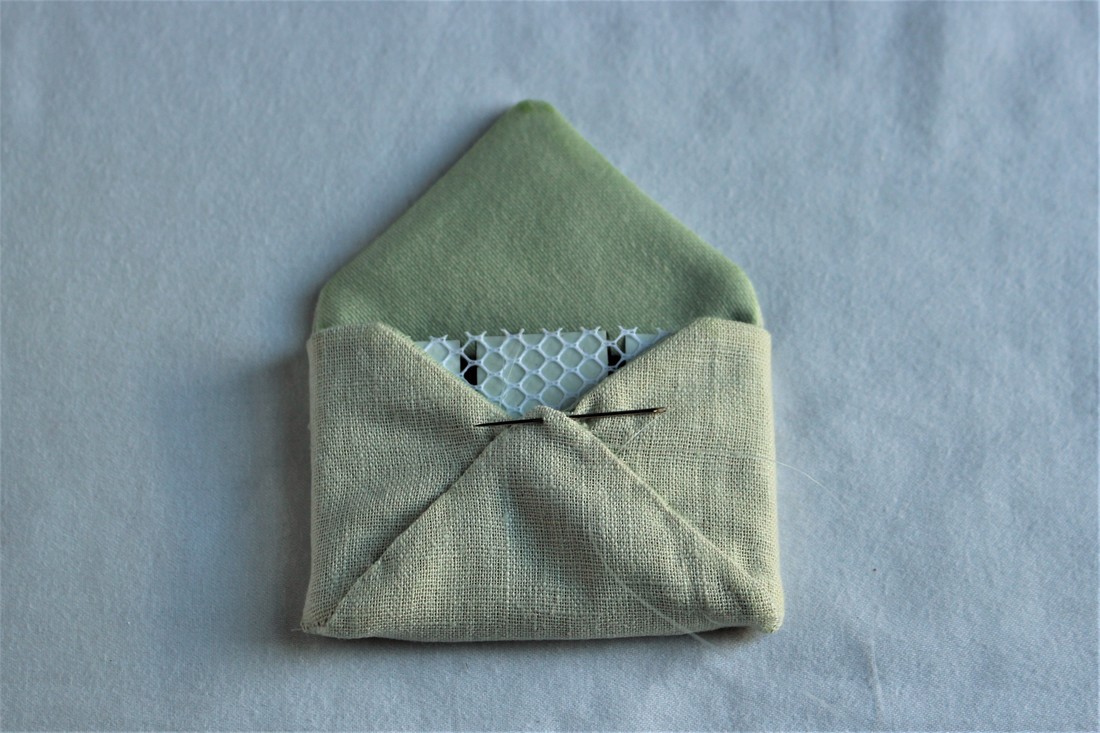
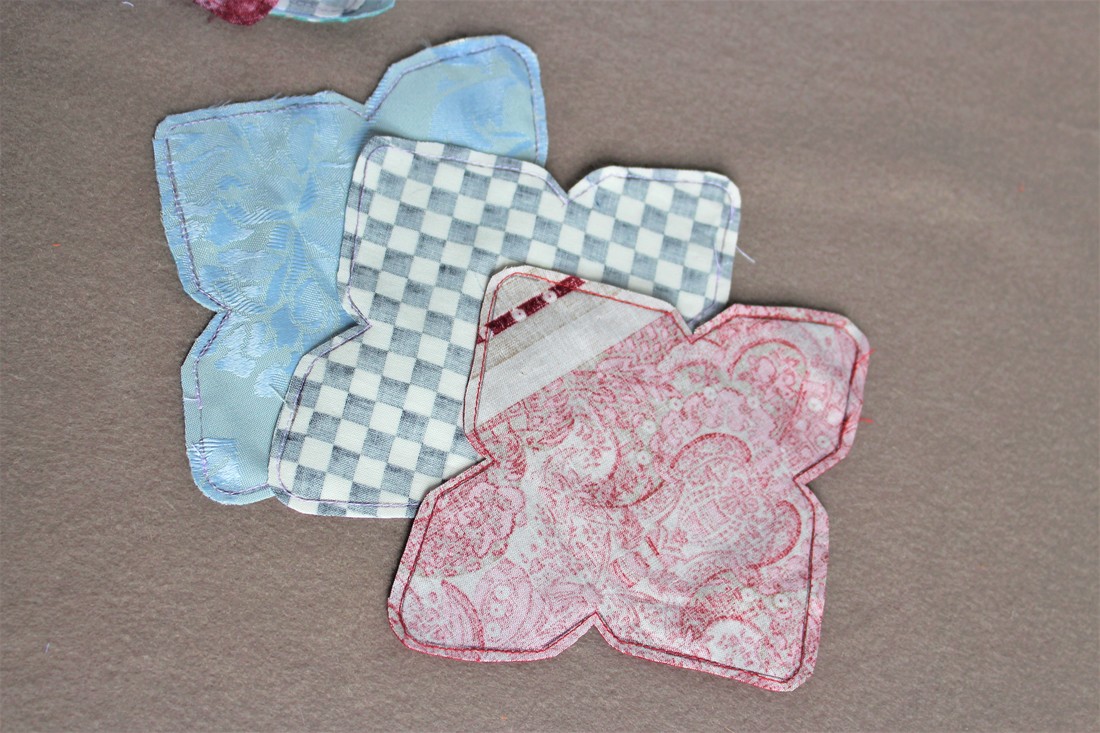
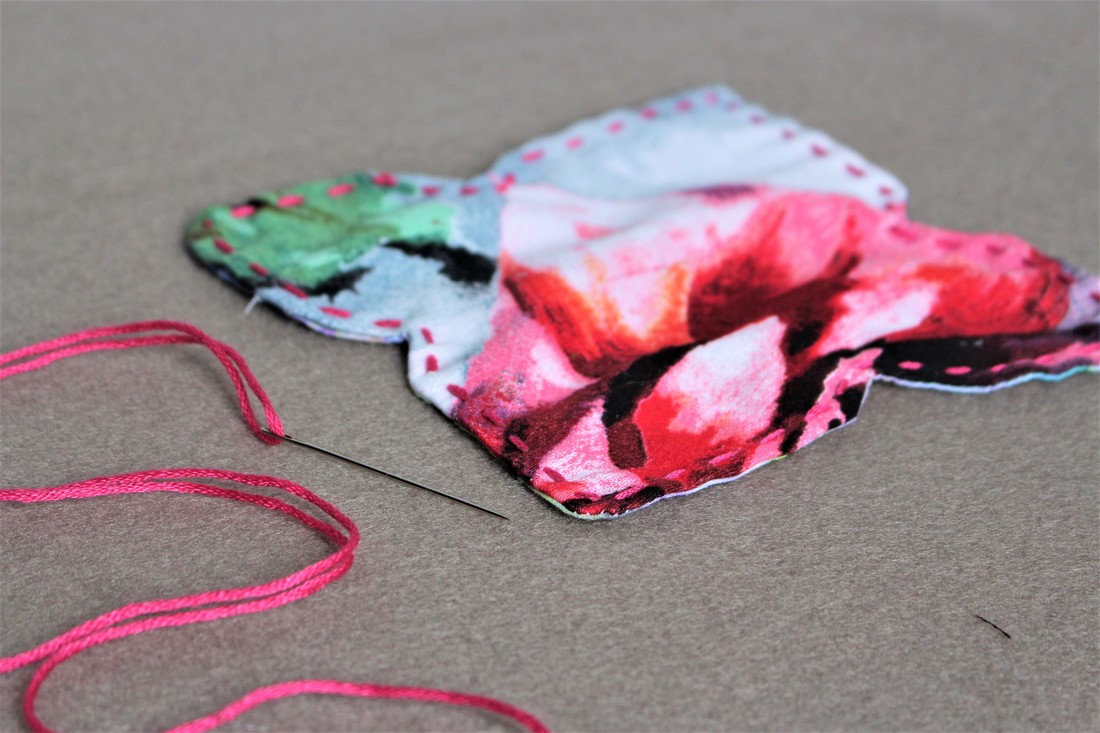
I sewed the elastic to the felt. I used a decoractive stitch just so it looks pretty. 
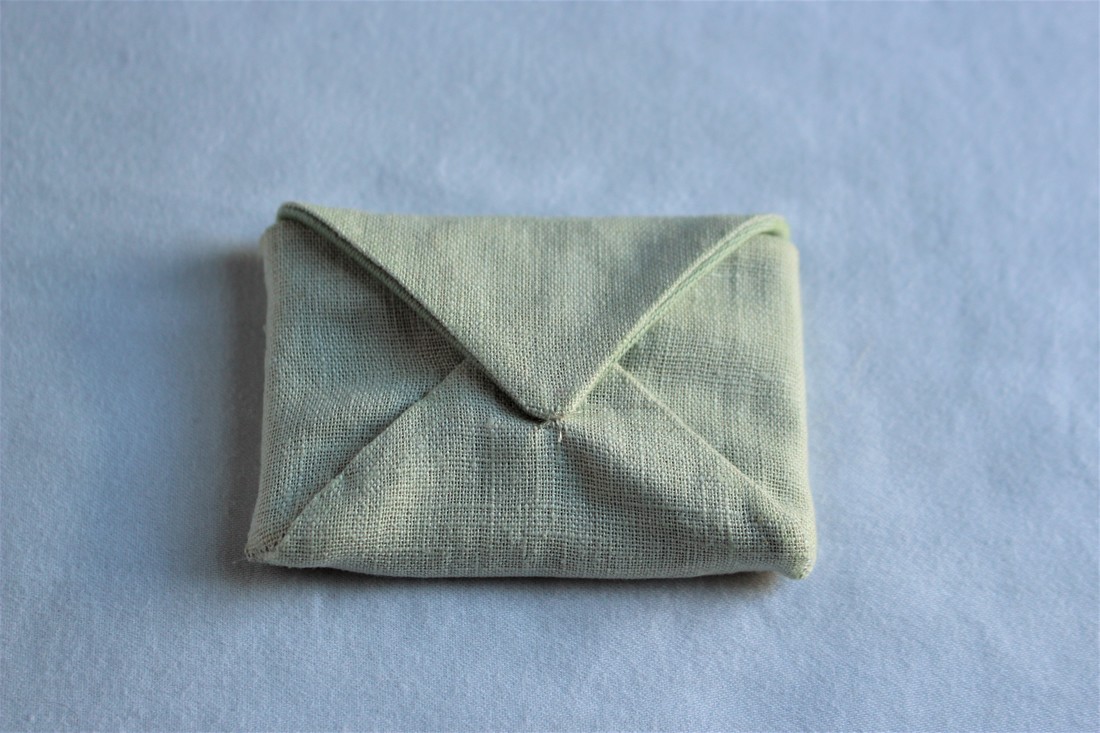
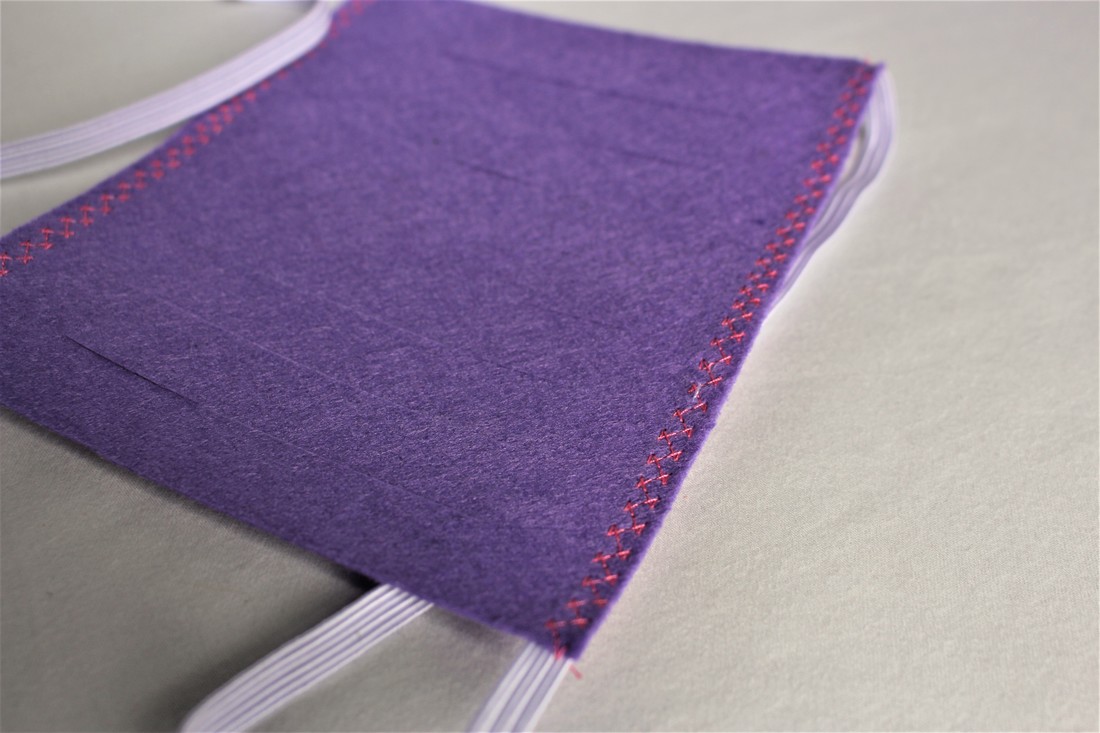
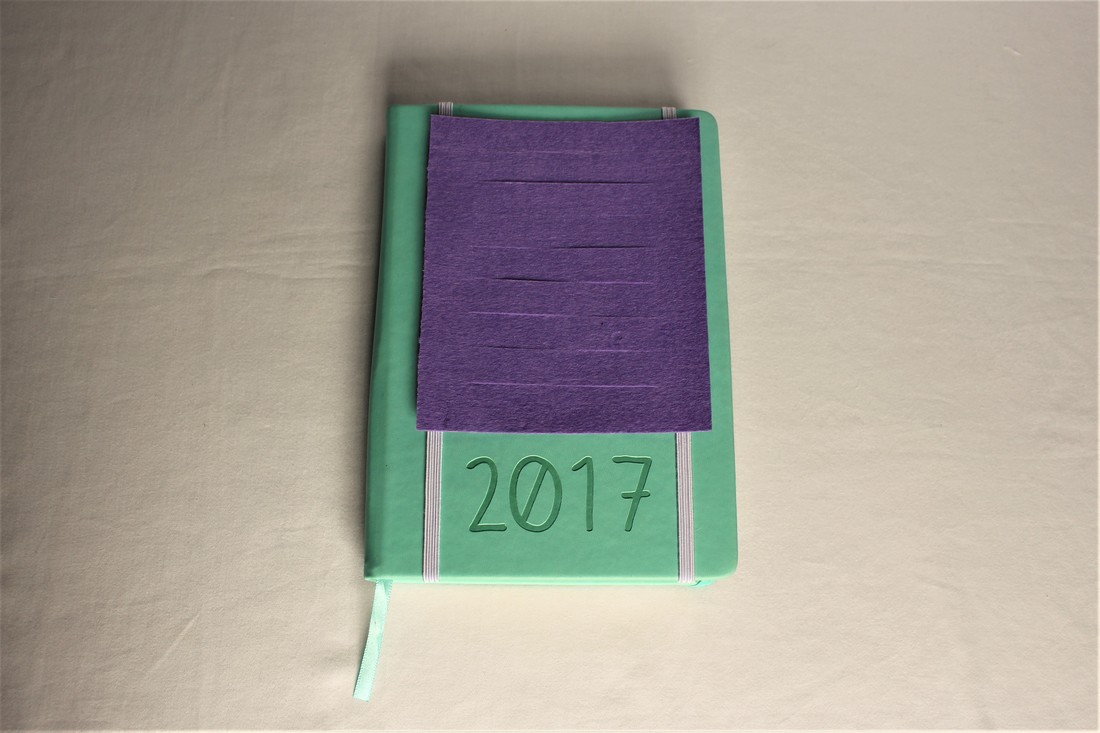
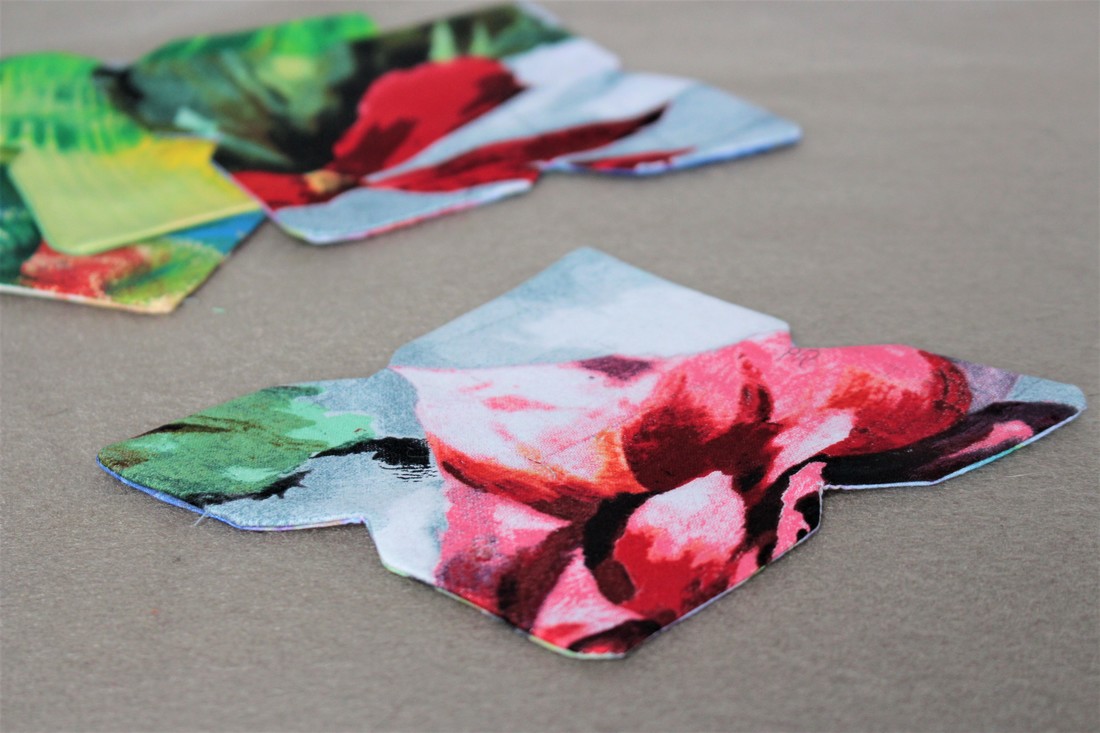
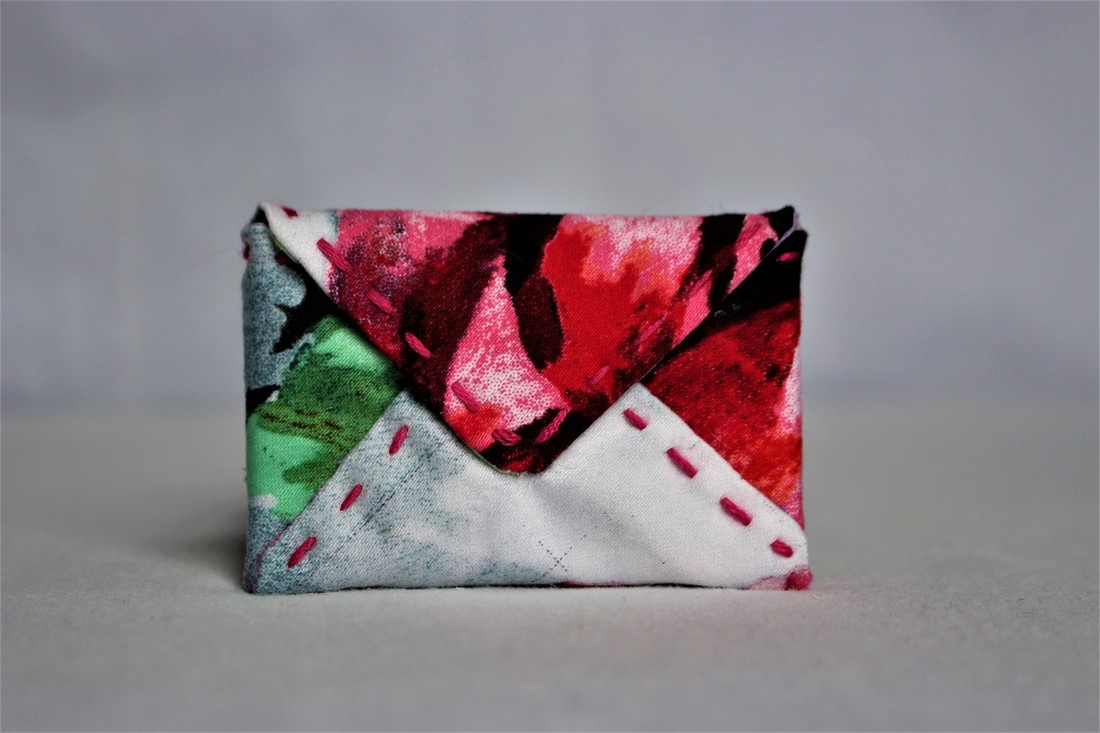
Front and back pictures. The underside isn't quite as pretty but that can't be seen when the book is in use. 
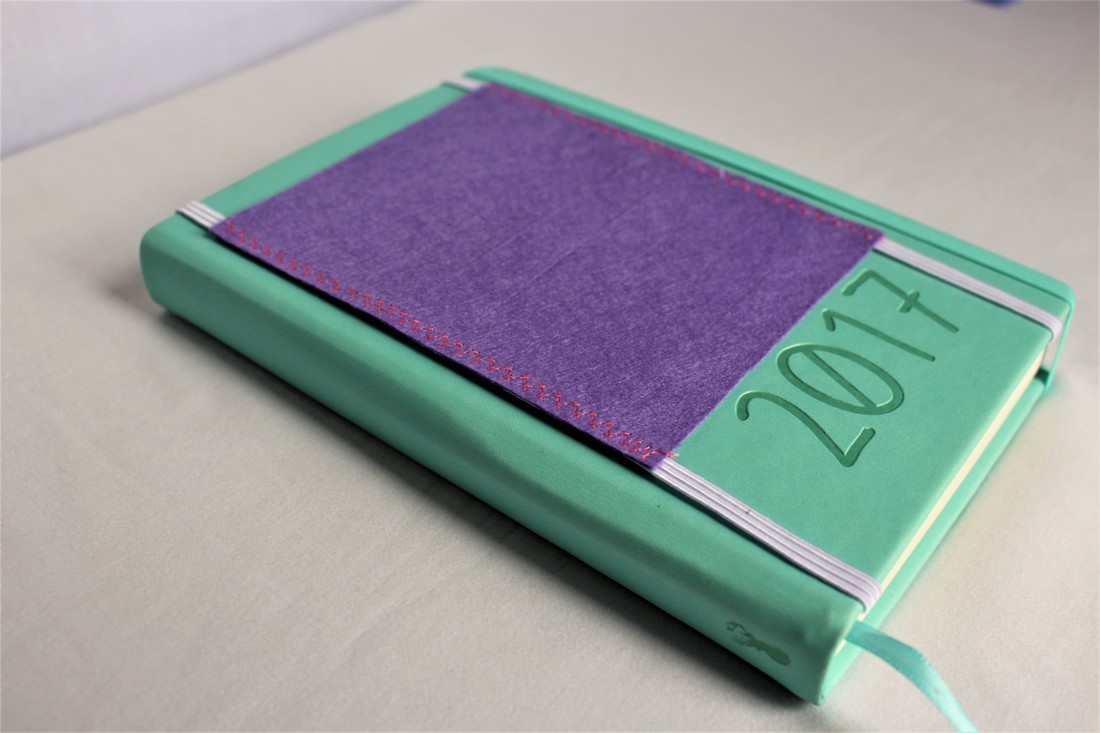
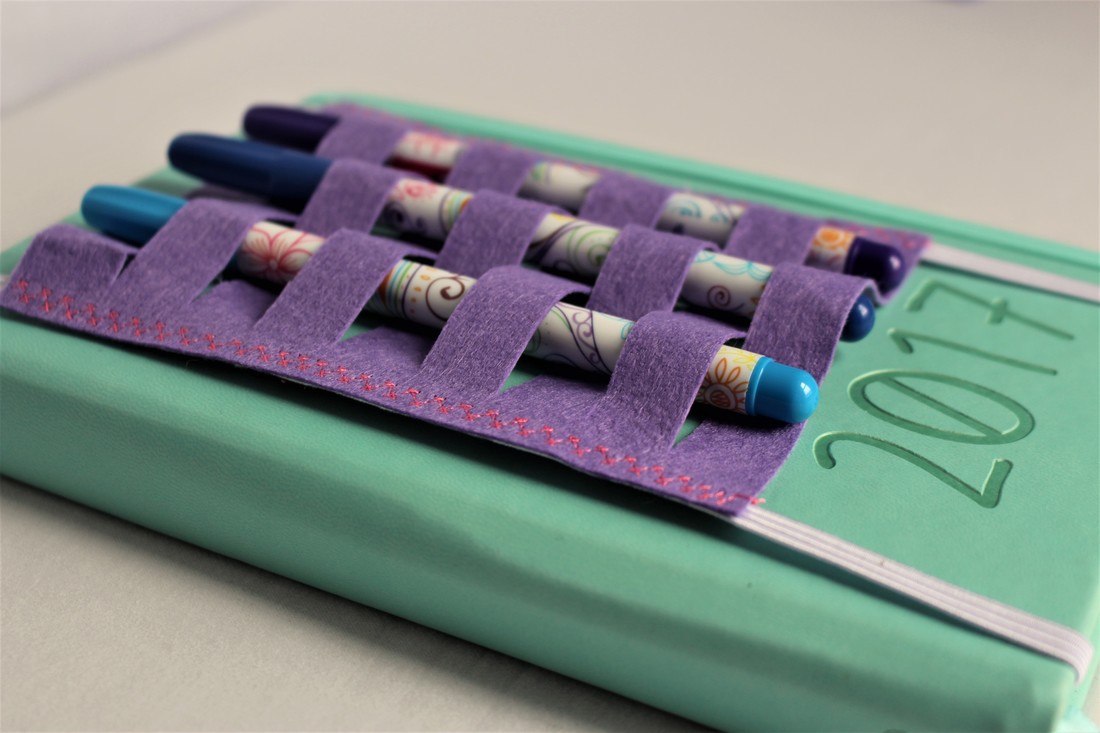
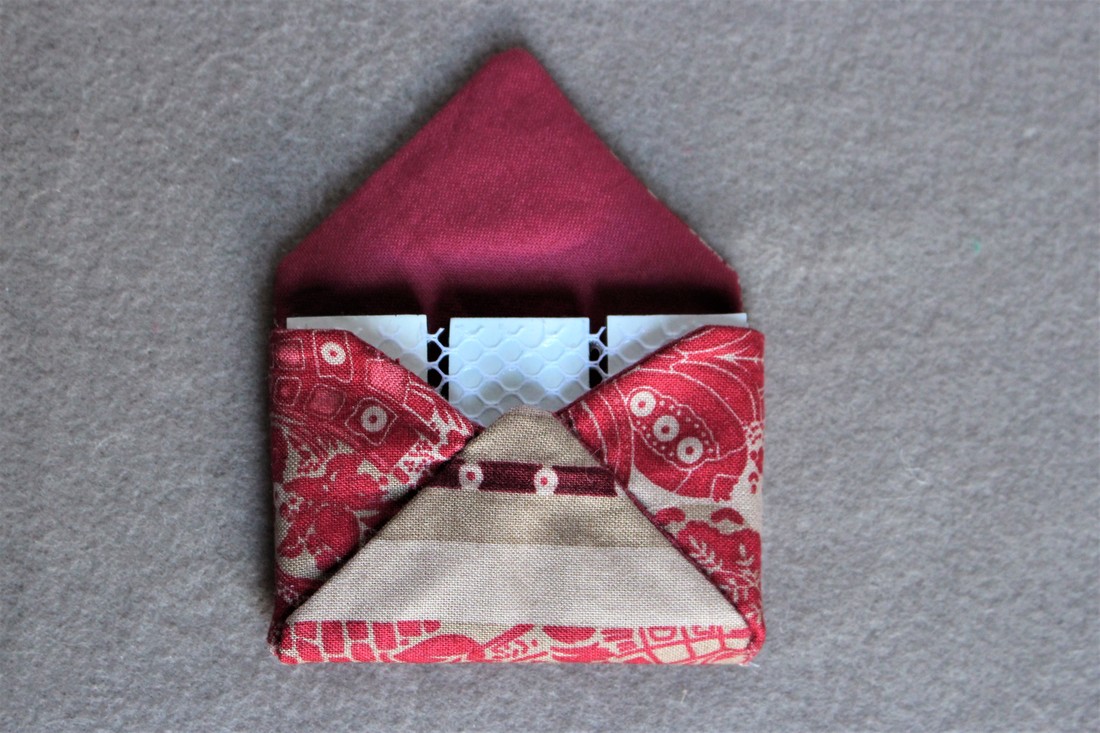
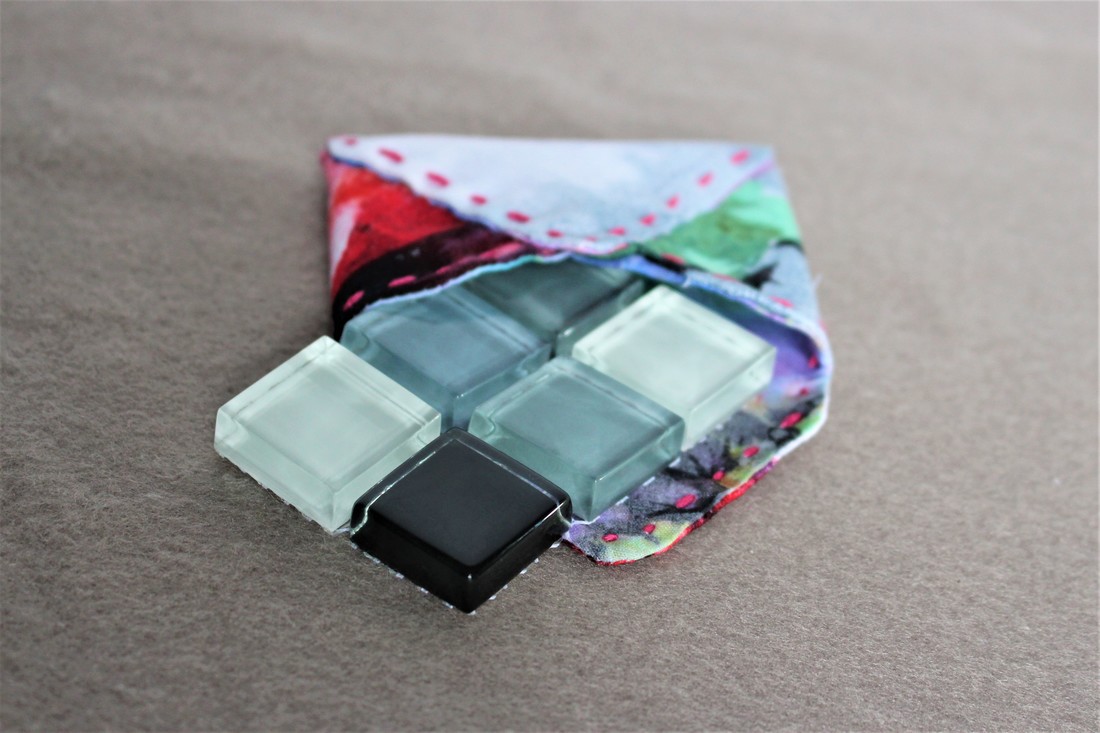
The pen sleeve slides over the front cover, nice and snug. 
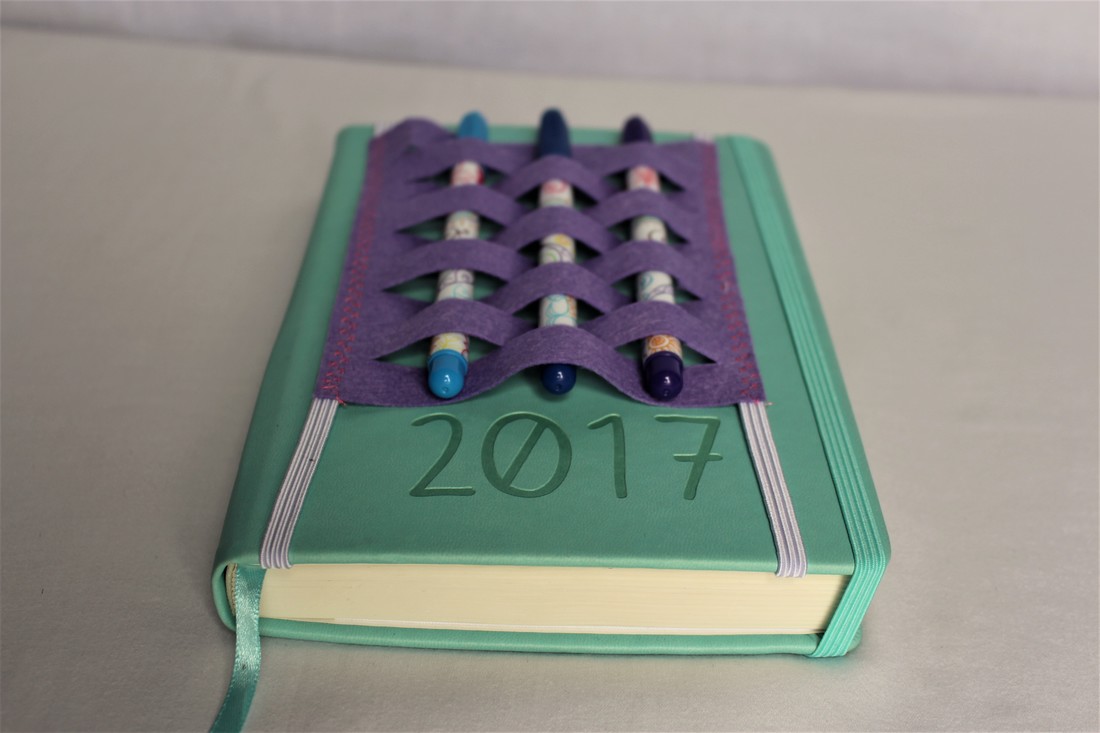
I can thread 1 to 4 pens into the sleeve. 
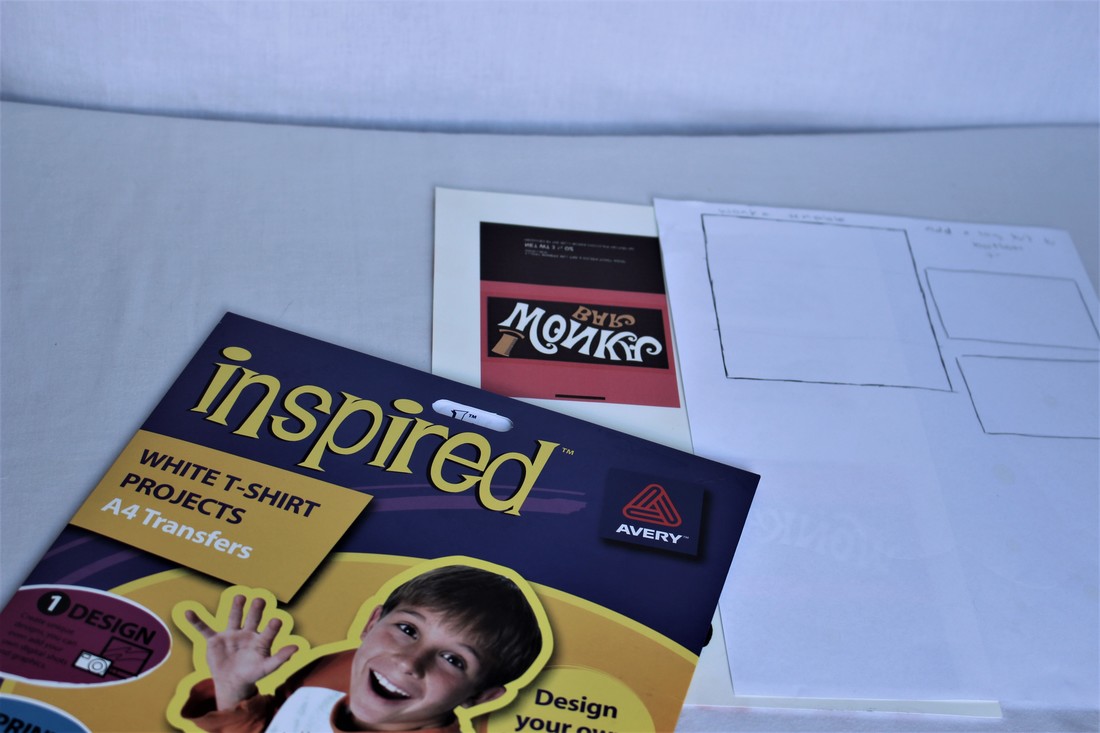
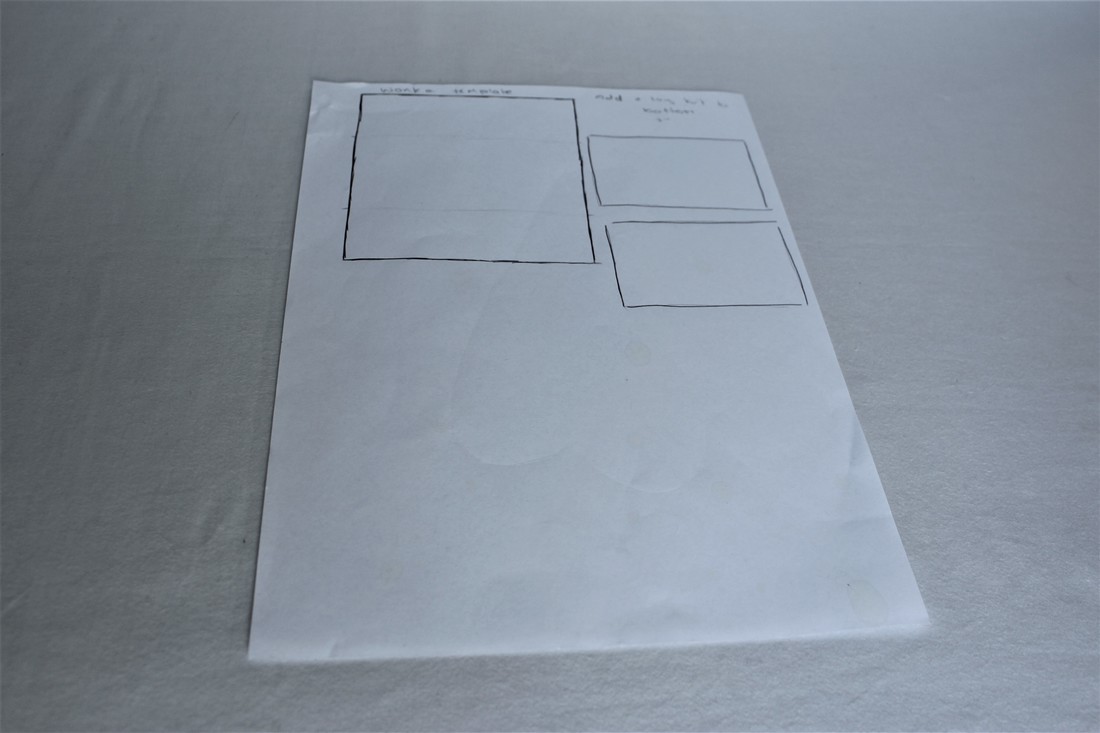
The inside cover can also be used to store note paper.
0 Comments
The Candy Man Can. DIY Wonka Bars.A golden ticket in sewing. I'm following the sewing weight trend of this month with a Willy Wonka inspired Wonka Bar sewing Weight. I used the last of the mosaic tile to make these. You will need.
On With The Tour . . .I wanted my wrappers to be a specific size. I have no idea how to get a picture to print at a specific size. I fail every time I try. I either measure the object wrong or pick the wrong size to print. I've come up with my own way. I trace the object I want to fit on an A4 piece of paper, scan this into the computer. I open up Word and size the scan to fit a full page in Word, then I copy and paste the image I want to print and size it to fit the scanned template. I delete the scanned template image before printing. Thats probably an overly complicated way of doing it but at least it works. I found a Wonka Bar wrapper HERE. Its very important to either flip the image, or print it in mirror reverse. The image must be printed backwards so that when it is ironed onto the fabric it will read the right way. I printed a mirror image of the Wonka Bar logo onto t-shirt transfer paper and trimed away the edges. You can usually find fabric transfer paper at craft stores and occasionally stationary stores too. Following the instructions on the packet, I ironed the printed Wonka wrapper onto plain white cotton and peeled the paper away. I trimmed and ironed the raw edges under. I took a 2 X 4 block of mosaic tile and wrapped it in tinfoil to imitate a foil covered chocolate bar. I quickly hand sewed the wrapper with invisible thread and slid the faux chocolate inside. A scrumdiddlyumptious craft. Yum!! A shot of these sewing weights in action.
Hogwarts Letter Sewing WeightI am making Harry Potter sewing weights beacuse what doesn't go better with sewing than fandom, right? I'm making Howarts acceptance letter weights using discarded wall/floor moasic tiles as the weights. If Hogwarts won't send me my acceptance letter, I'll just have to make my own. I may not be a Hogwarts Witch but I can still craft. Shop in Diagon Alley for. . .
Transfigure . . .First I traced the outline of an envelope* onto doubled cotton. Sewed around the outline (leaving a gap to turn through) I trimmed the edges, turned through and gave the envelope a good press under the iron. *I made my own envelope outline by tracing around the tile I planned to use, then I added triangular flaps to each side. It was a bit trial and error. I made a couple of prototypes with paper first and tested them by wrapping them around the tile. I printed an image (to size) of the Hogwarts letter head. I printed this in mirror reverse (meaning the words look backwards when printed) onto fabric transfer paper. I trimmed the image and placed it face down onto the front of the envelope and ironed, following the instructions on the packet. I peeled away the backing paper to reveal Mr Harry Potters Hogwarts acceptance letter. Time to wrap the letter around the weight. Place the weight in the middle of the envelope (printed side facing down toward table) Sew the side tabs first. Then the bottom. Sew the top tab first. If you want to be able to remove the weight whenever you want to, sew on a clasp or velcro. I use invisible thread because it hides all of your stitches. Here are the weights in action. They do work best when face down. Now, off to Hogwarts with you.
Alice In Wonderland Inspired Sewing Weights.I'm back, this time with Alice In Wonderland inspired sewing weights. These work the same as the Floral Envelopes I previously posted about, except these are made to fit into Wonderland. You Will Need . . .
Sewing. Sewing. Sewing.EmbellishEmbellish envelopes with whatever scraps of ribbons and notions you have to hand. My favourite envelope was a Queen of Hearts pincushion envelope, made from red felt, stuffing and thread. The Other Alice EnvelopesI used ribbon, pom-poms, felt, buttons, playing cards, and fake flowers to decorate the other envelopes.
Figwit and TonksIgnore this. Not a craft just kitty cat pictures. I got a new camera and I just wanted to see how the pictures looked on the blog.
Floral Envelopes. Sewing WeightsWhen sewing it is sometimes necessary to use weights instead of pins to secure a pattern into place while cutting because, lets face it, there are some fabrics that just don't work well with pins. Pins can damage light chiffons, fall through the gaps in wide knitted fabrics, and leave little pin pricks all through waterproofing and vynil. Weights need to be made out of something small but weighty, unsurprisingly. A lot of people use washers stacked together, or weights filled with sand or gravel. We had some mosaic-style tile leftover from when we revamped the kitchen. It's been sitting in the mosaic box but hasn't been used because the tiles are so much thicker than ordinary moasic tiles. I'm trying to clean out some of my sewing/craft stock, the craft boxes are quickly running out of room, I thought this might be a good way to use up those couple of sheets. The tile is easy to cut down to a smaller size and fairly weighty. It should make a pretty suffient fabric weight. The tiles look fine on their own but I decided to have a little fun and give them some cute envelope coverings. What I used
Wieghting. . .I made a quick envelope pattern by tracing around the tile I planned to use and adding triangular tabs. I traced the envelope shape onto doubled floral fabric. I sewed around each envelope, leaving a gap to turn through. I trimmed the edges of the envelope. I always sew then cut when making small objects like this. If you try to cut the envelope first then sew you risk the edges getting all bunched up in the machine. I turned the envelope through and gave it a good press under a hot iron. I used embroidery thread to add a decorative stitch around the edge. I placed the tile on the wrong side of the envelope and sewed the side flaps shut. I used invisible thread. Then I sewed the bottom flap into place. Lastly I sewed the top flap down into place. If you want to be able to remove the tile from the envelope sew a clasp or velcro to the top flap. Bright And Colourful Weighted Envelopes.Here they are in use.
I suppose you could call this a master post of all the polymer clay paperclip bookmarks that I made a while ago. I've combined all the different animal bookmark DIYs together here, with brief tutorials and links to their original posts. You Will Need
Making the bookmarksCut card into long rectangles about just big enough to slip into a small paperback. Cover both sides of card in clear duraseal/book covering. Sculpt clay into little animal figures. Cut into the base of each figure and add a paperclip. Bake clay following the guidelines. Paint clay figures and leave to dry. Varnish the clay figures. I use Craft Smart Liquid Gloss. Its a two part hardener and resin. Its very forgiving, closing over brush stokes leaving a smooth surface. And it does dry hard. But it doesn't work on raw polymer clay. The oils in the clay cause it to dry in patches, so if you prefer to use coloured clay over painting clay you'll need to be careful with what you use to seal the clay with. And there we have a little book guardian. clay animalsA collection of various animal sculpts and painting DIYs. Below each set is a link to a longer blog post about each creature. Fox /Cat - Animal look-a-likes, a different paint job results in an entirely different species.
|
Author - JEBARSBY TUTORIALSHere you will find craft ideas, tutorials and fandom crafting. Maybe some recipes Archive
May 2018
Categories
All
|