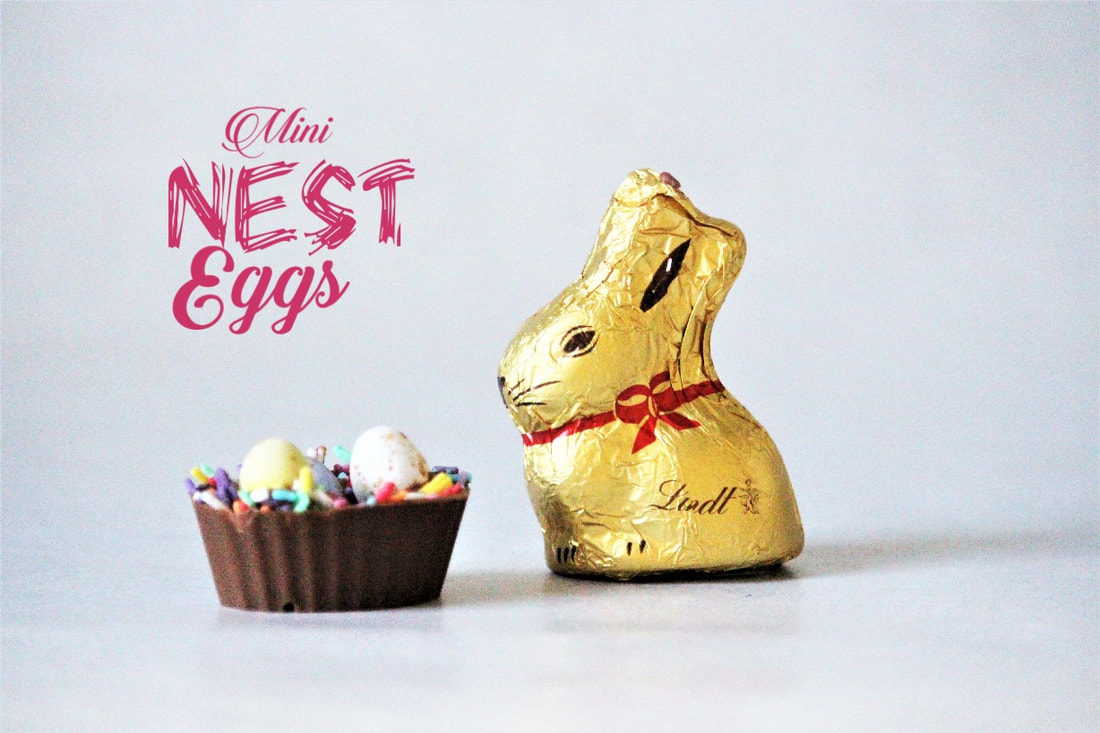
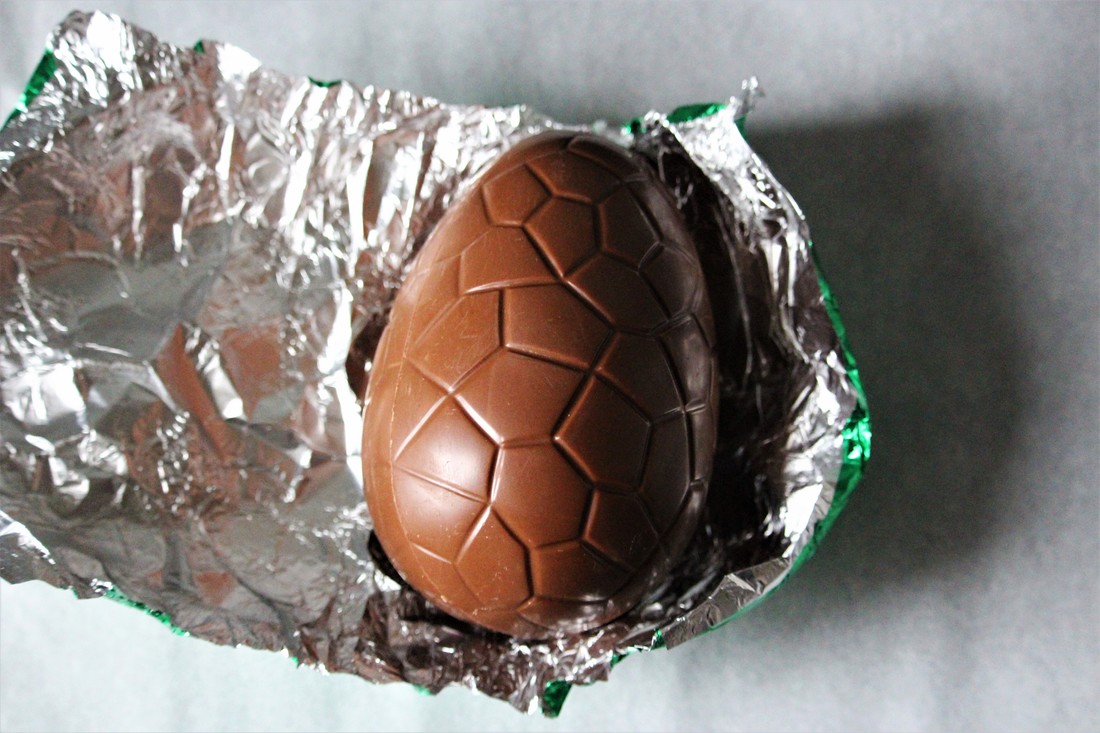
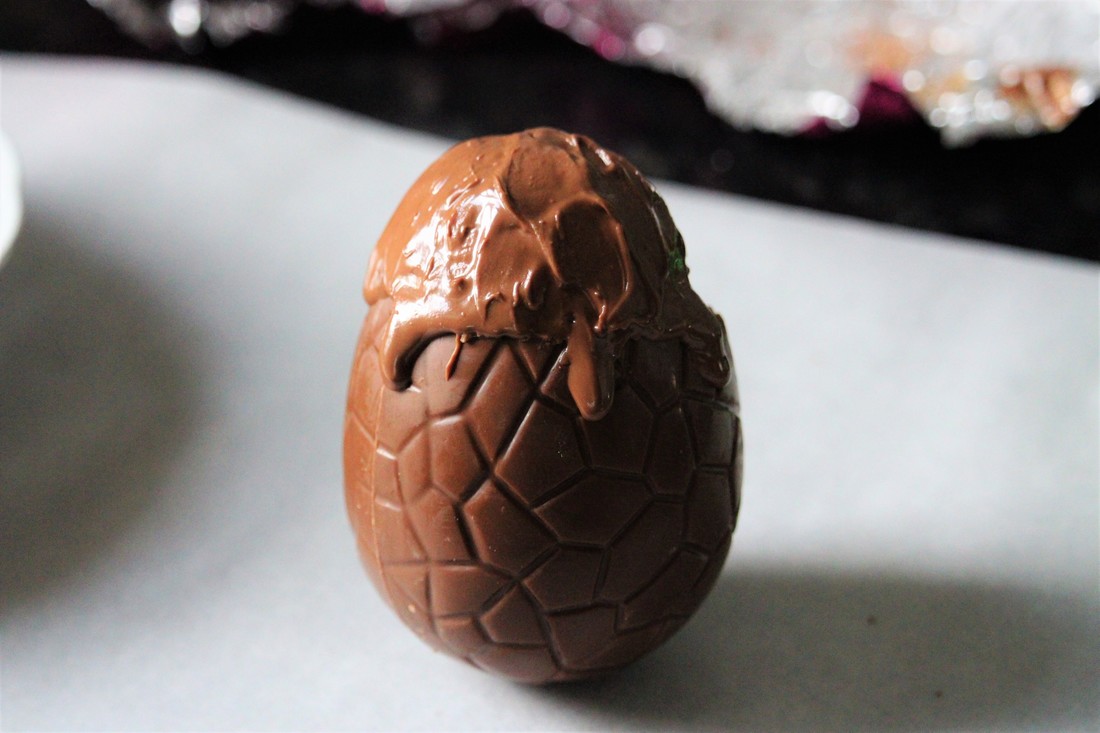
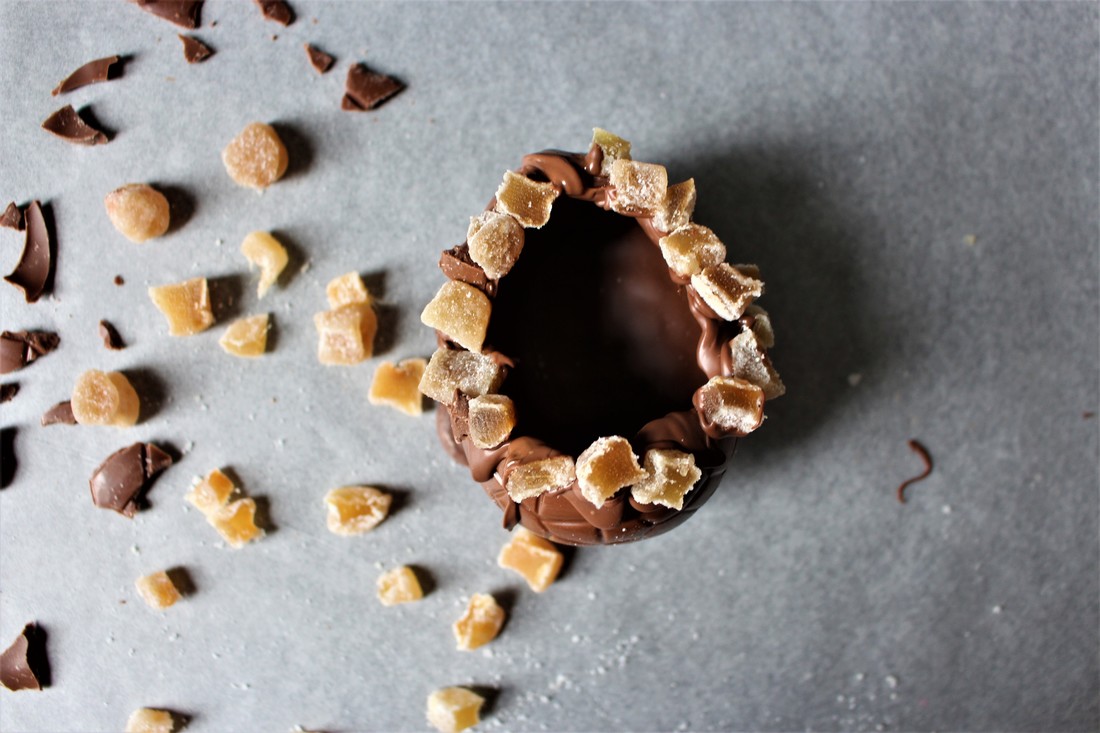
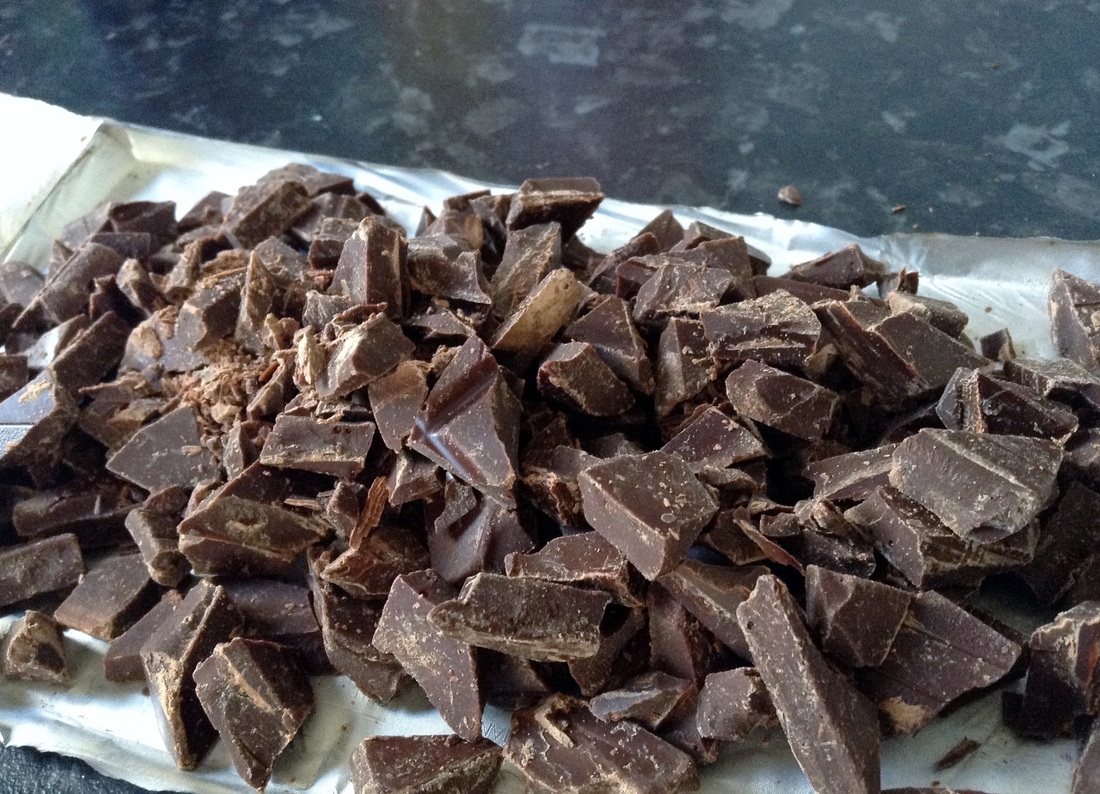
A little project I stumbled on when I was messing about with leftover melted chocolate. I don't have progress picks to make a nice line up of photos but the process is pretty simple.
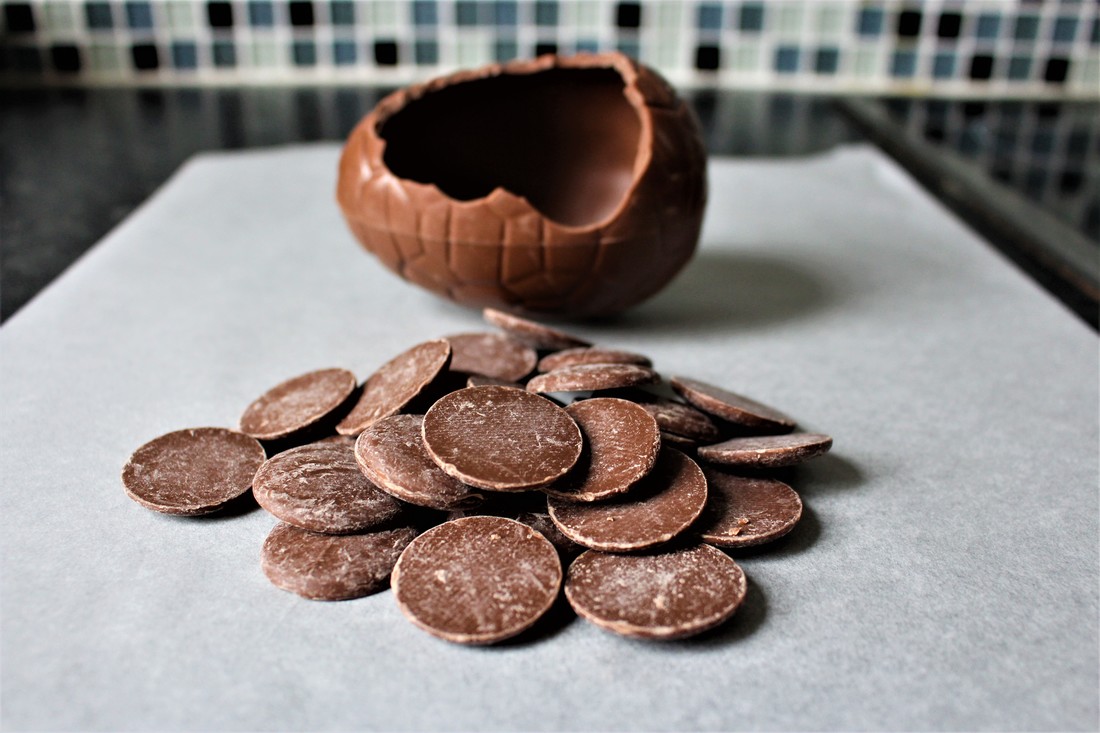
A great way to use that last little bit of chocolate at the bottom of the bowl.
A great way to use that last little bit of chocolate at the bottom of the bowl.
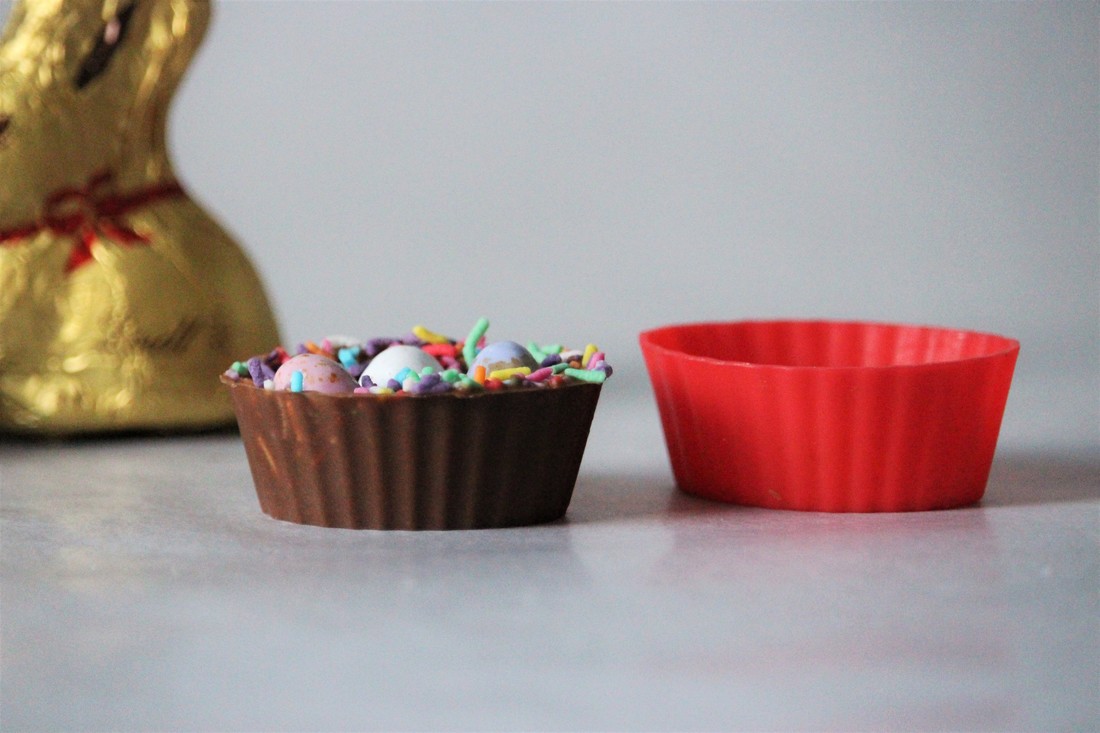
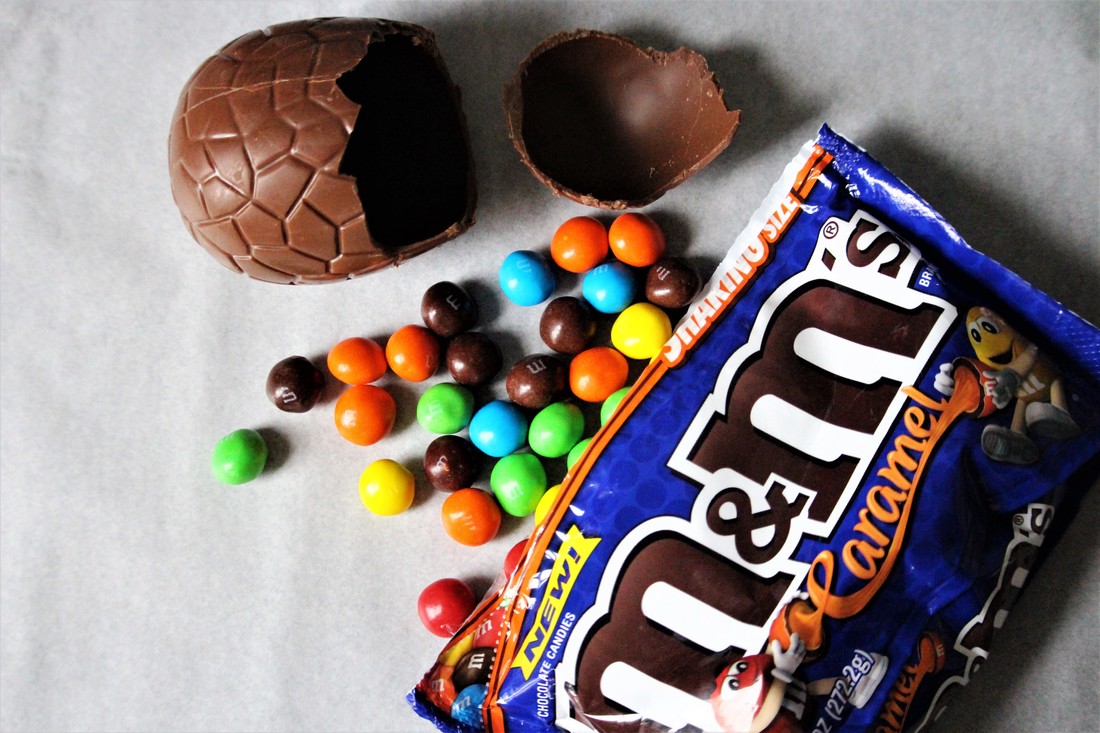
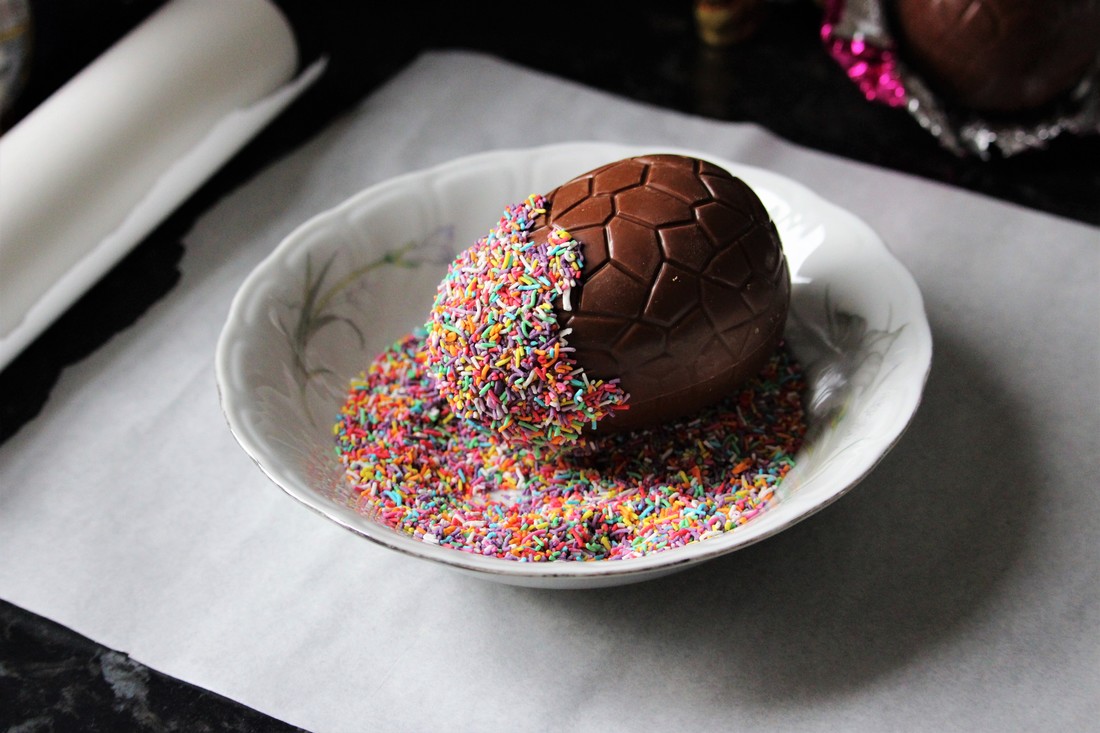
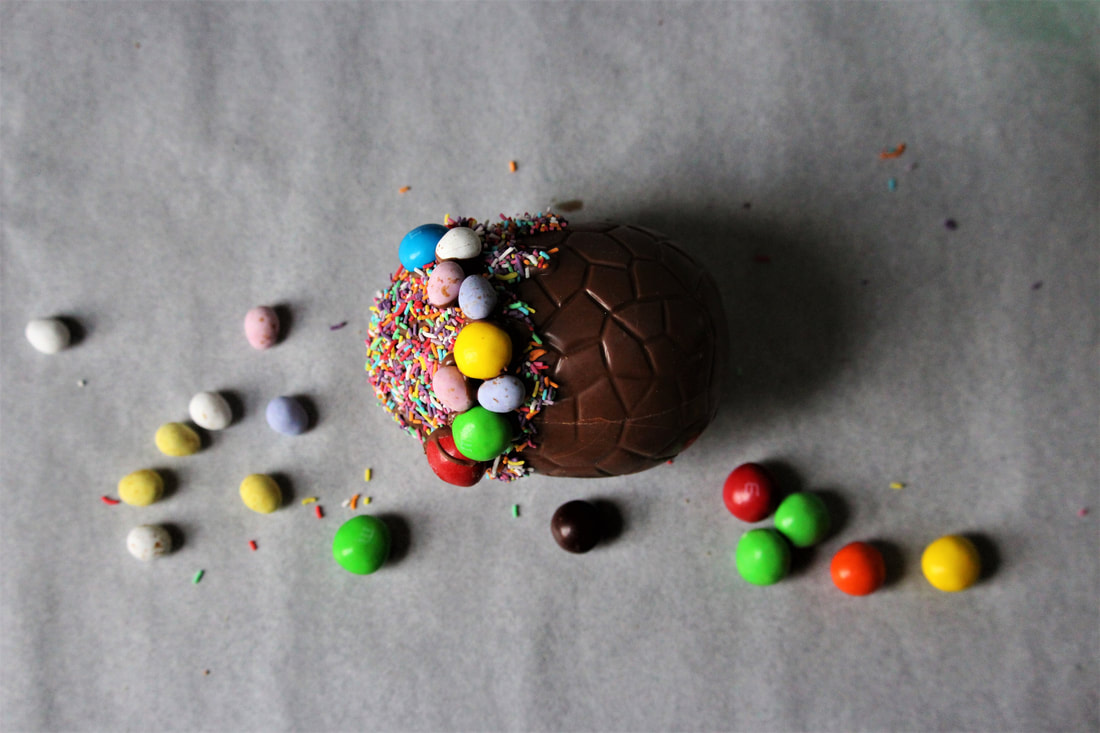
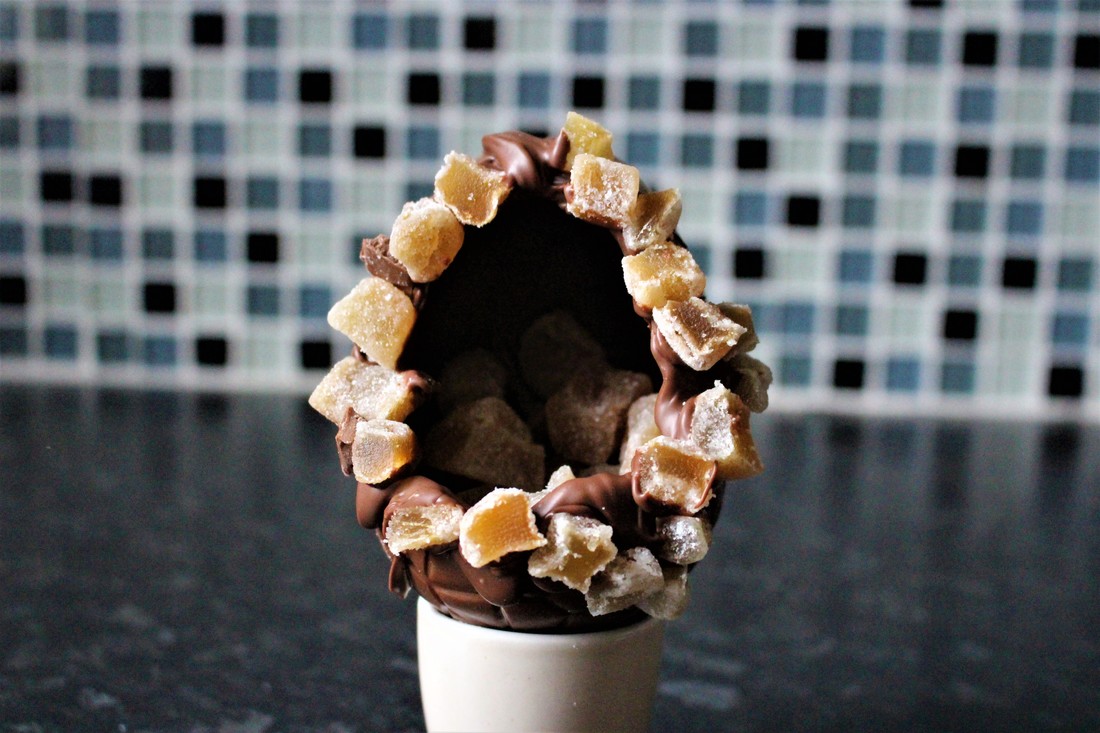
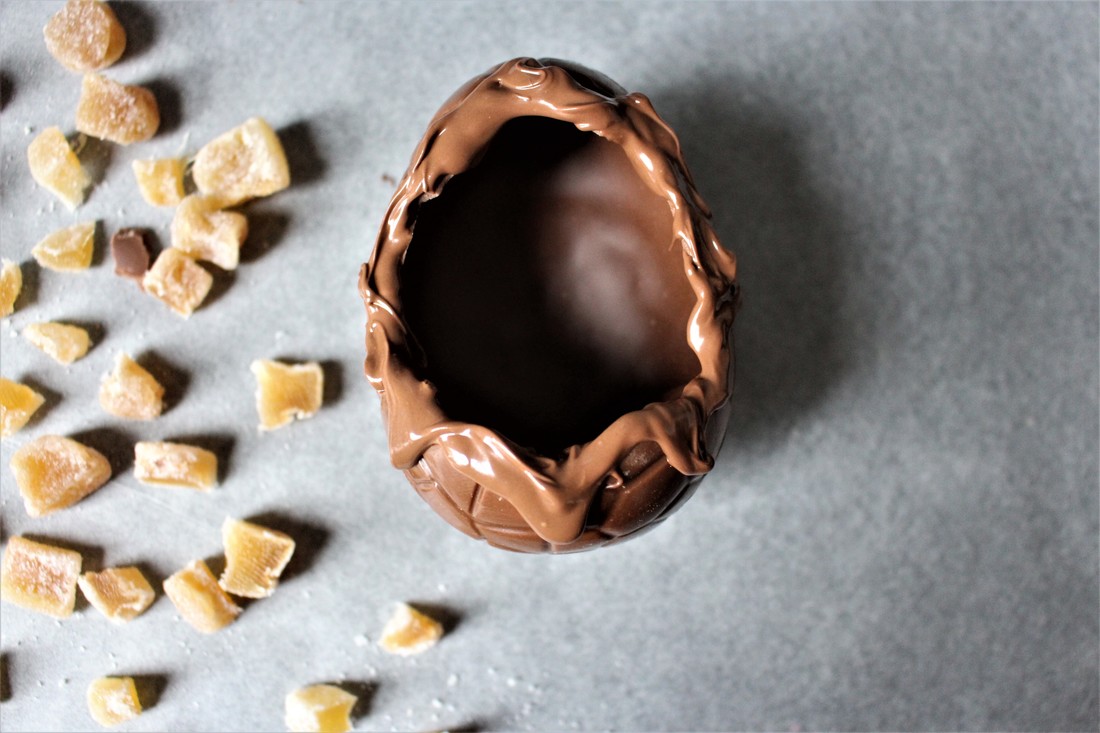
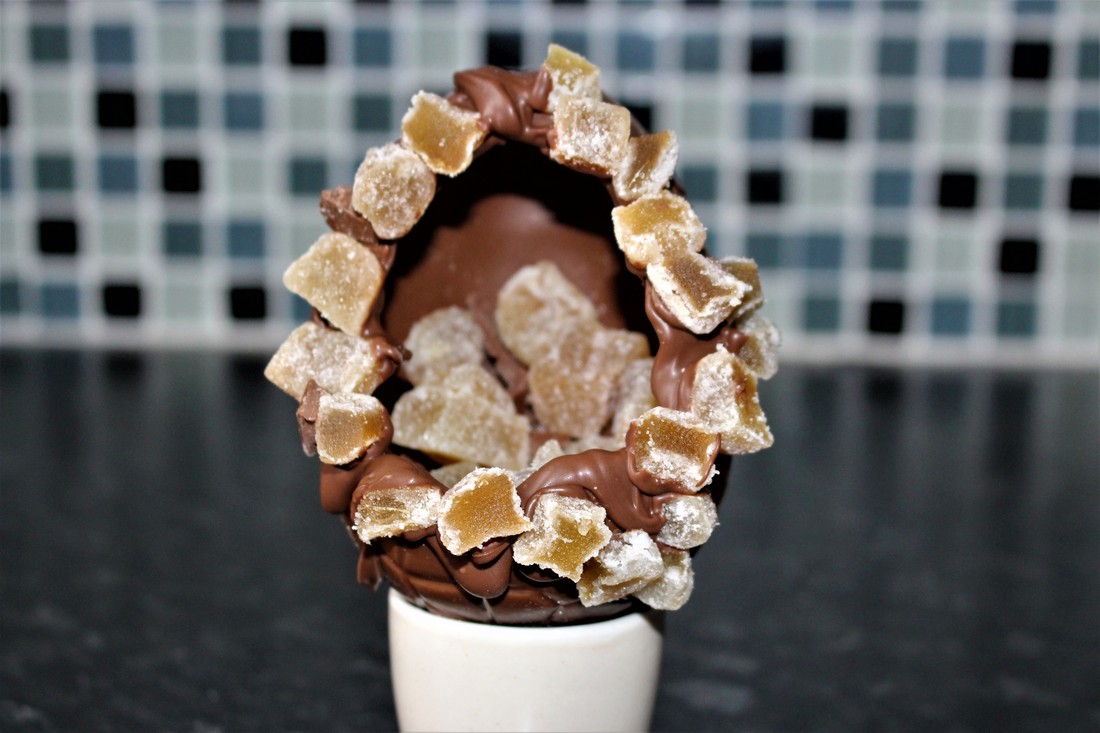
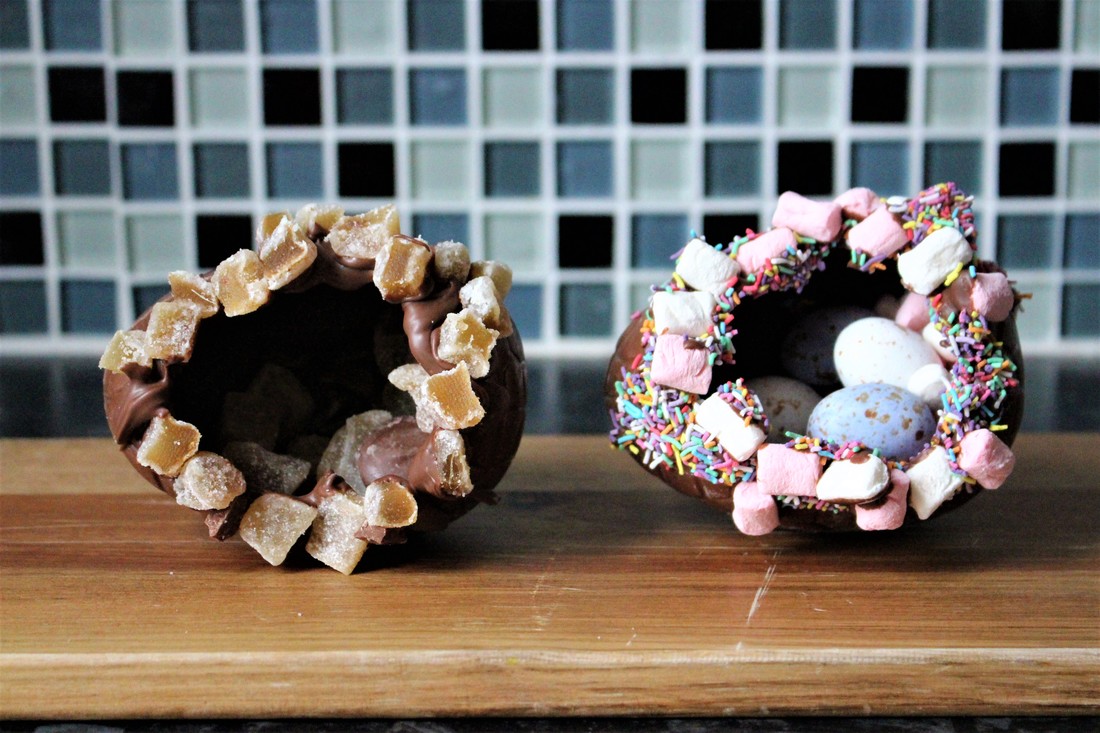
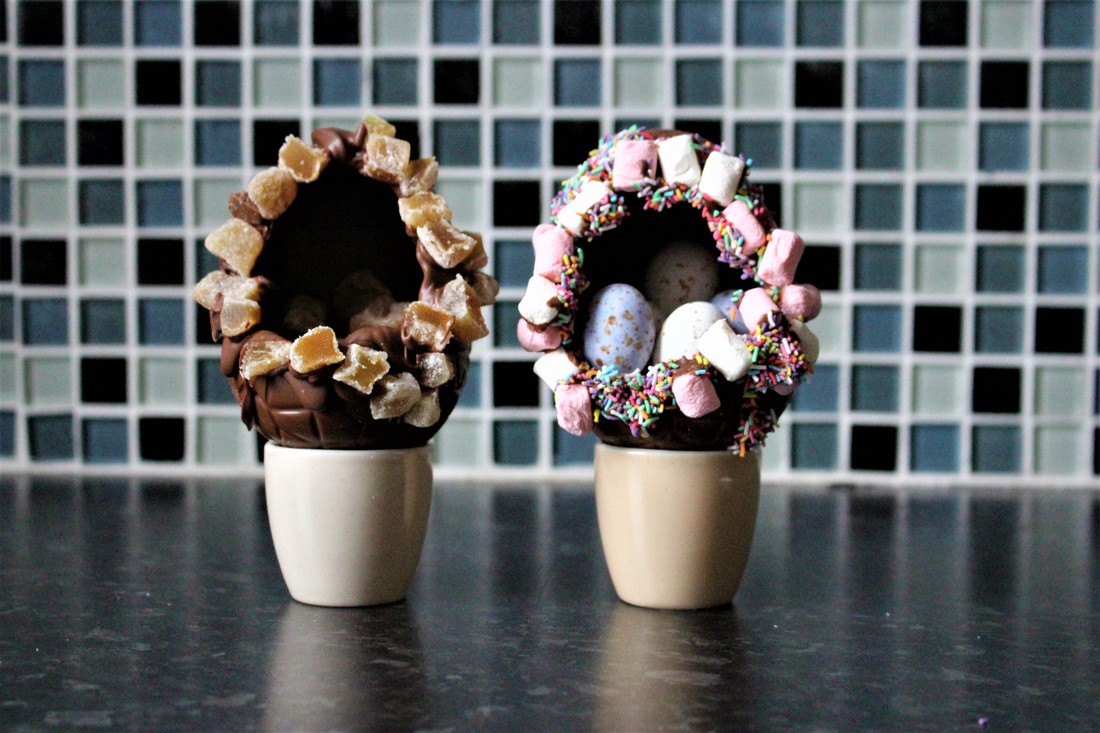
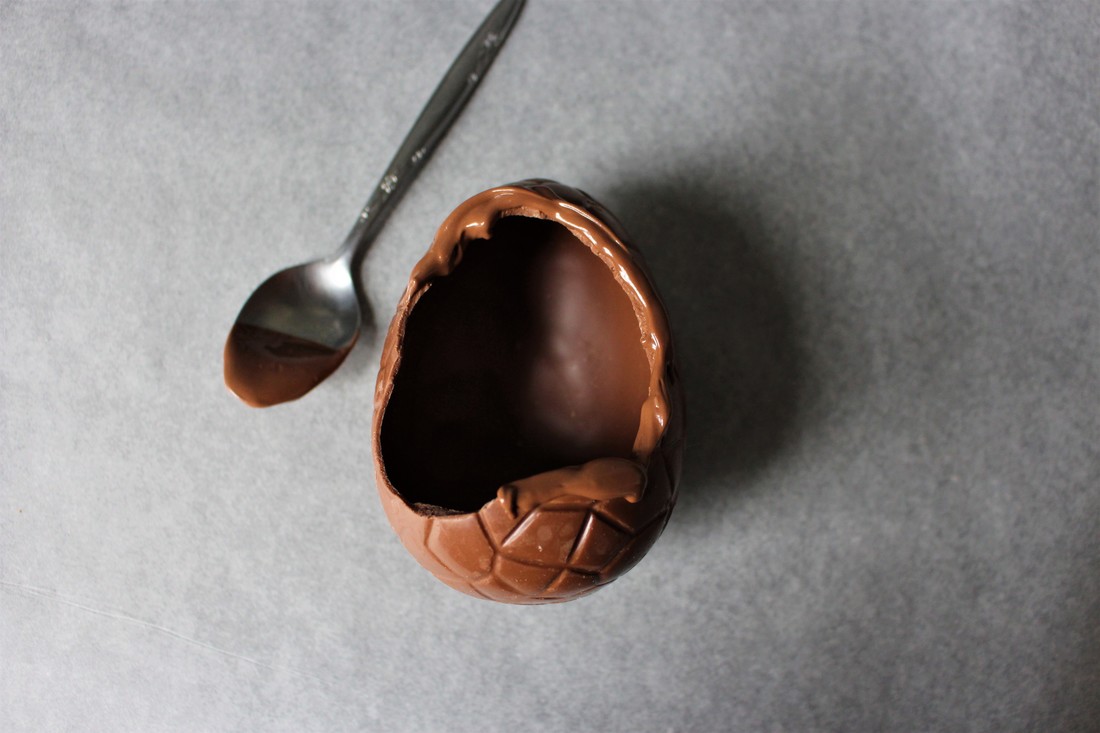
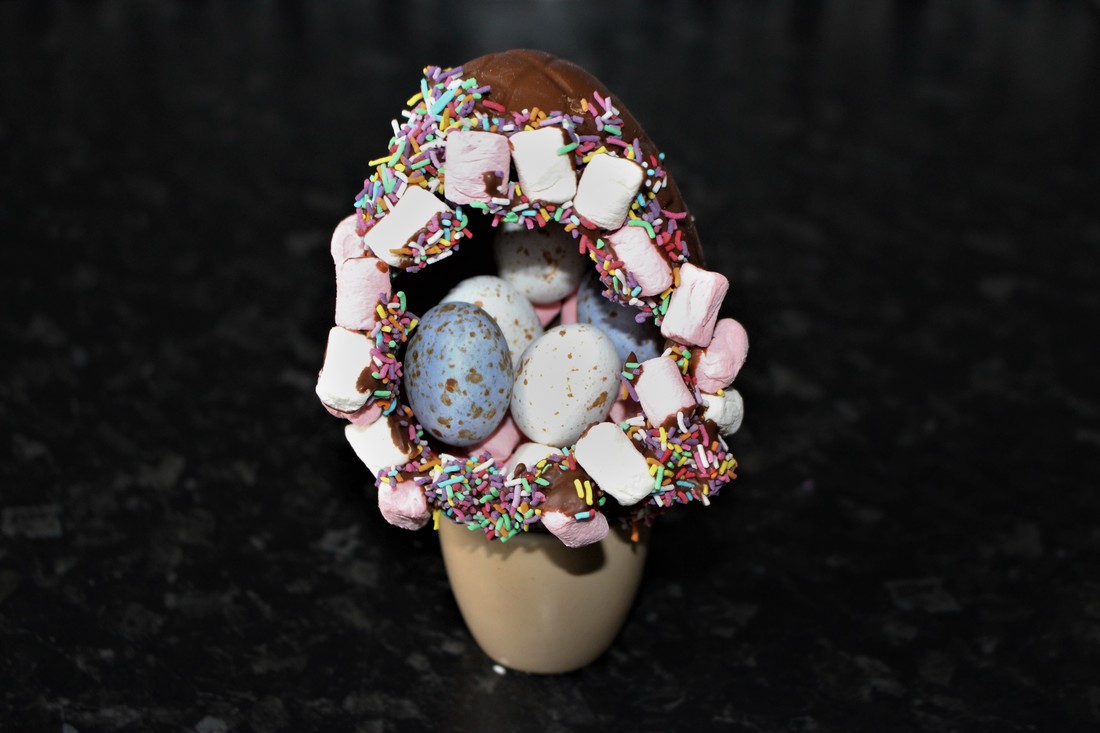
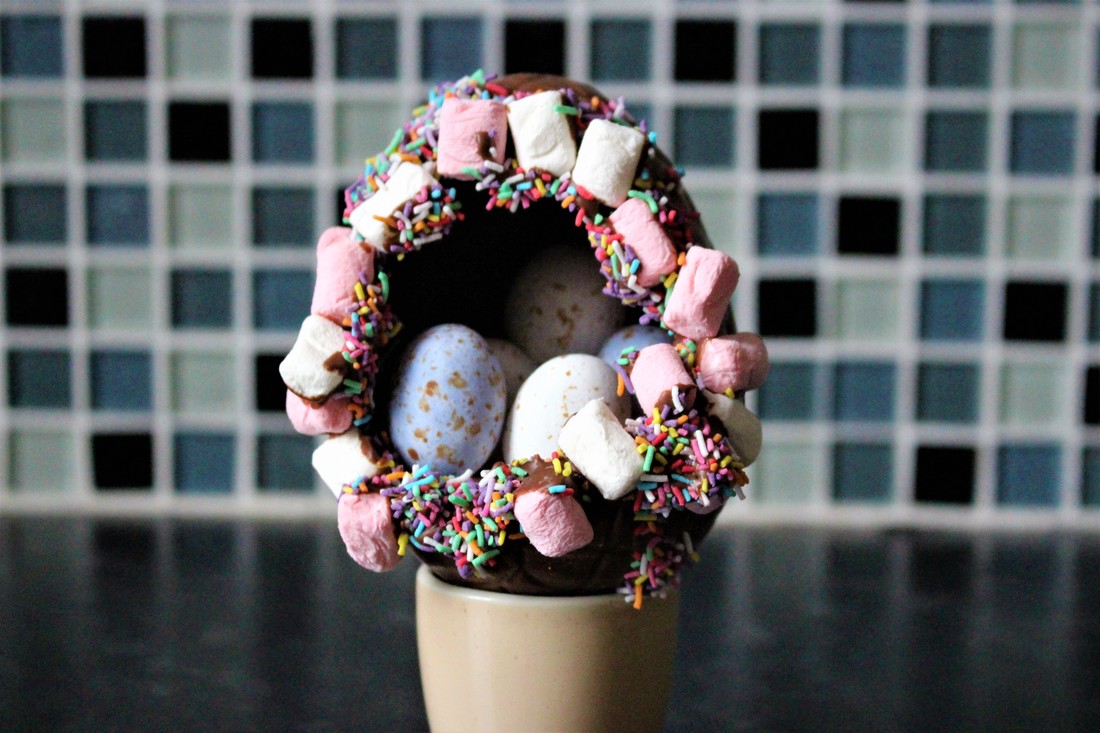
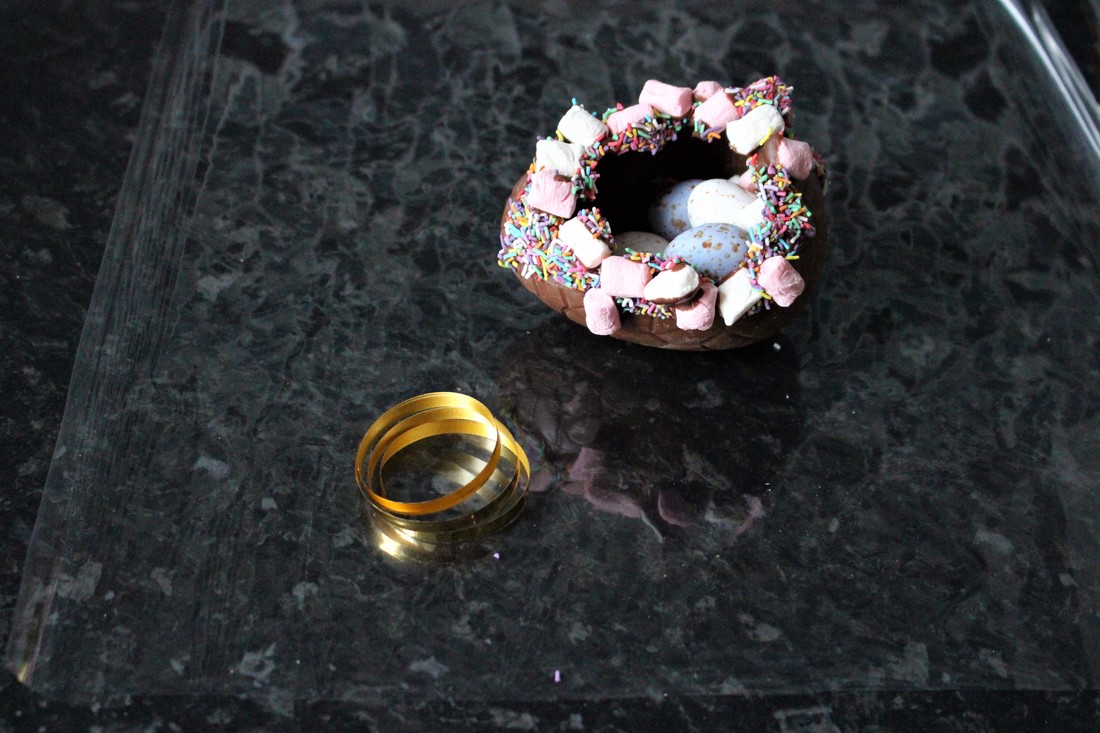
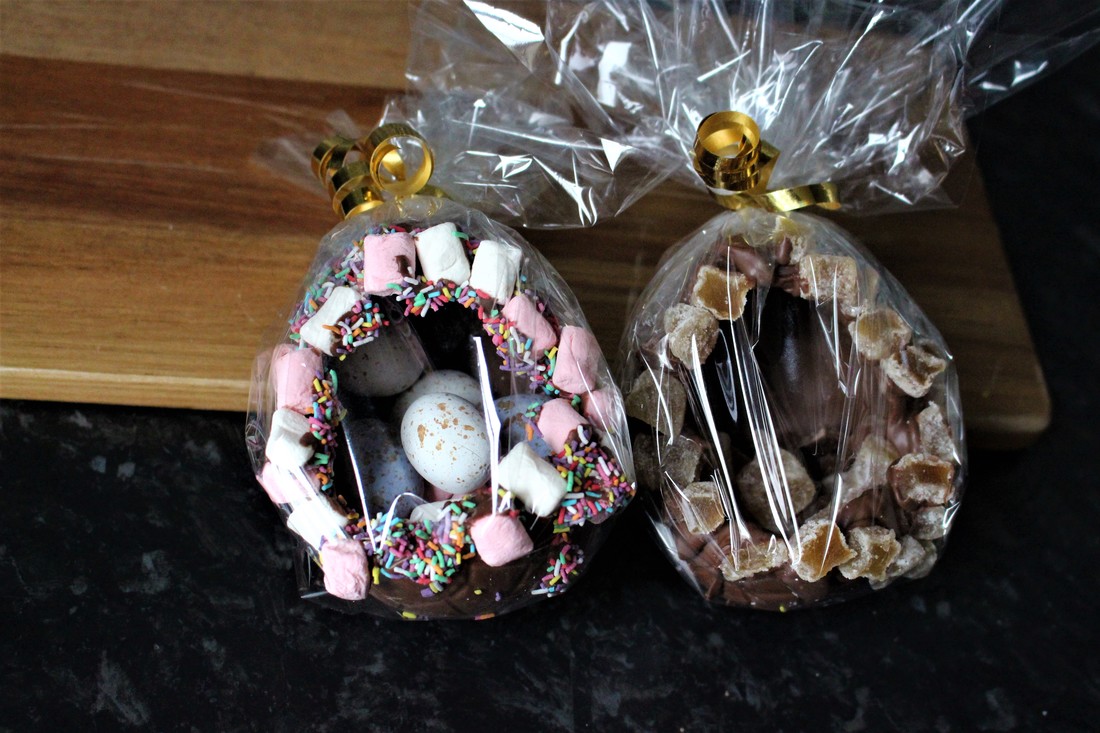
- Fill a mini chocolate mold with melted chocolate
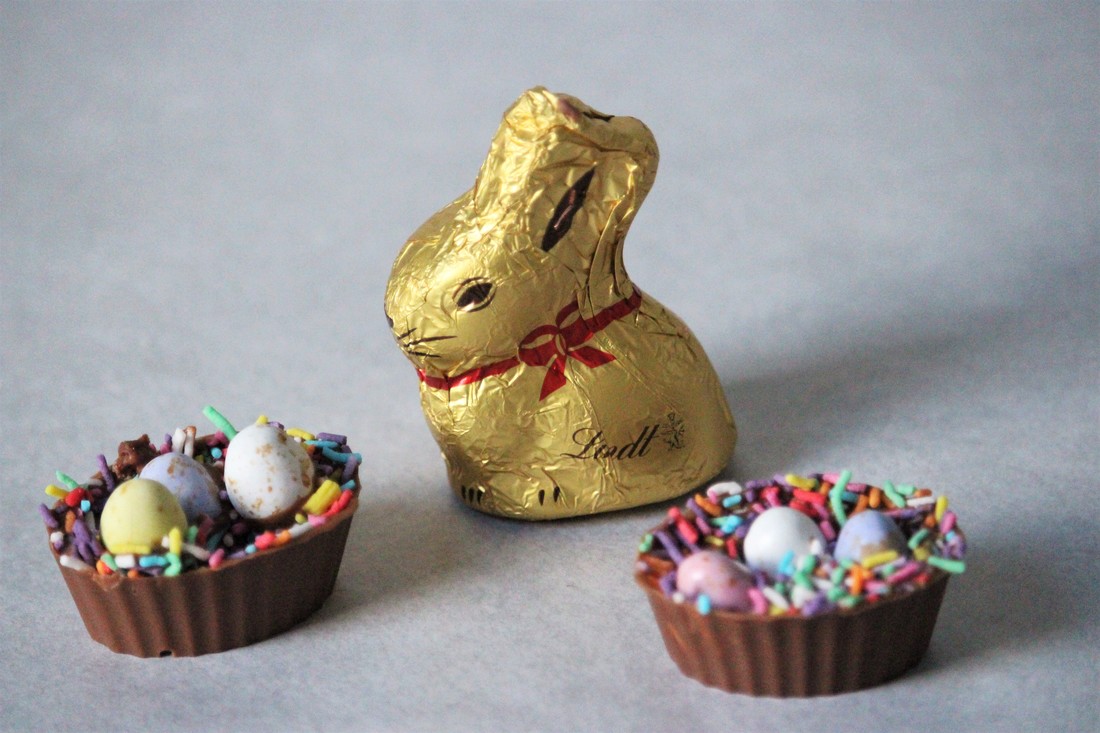
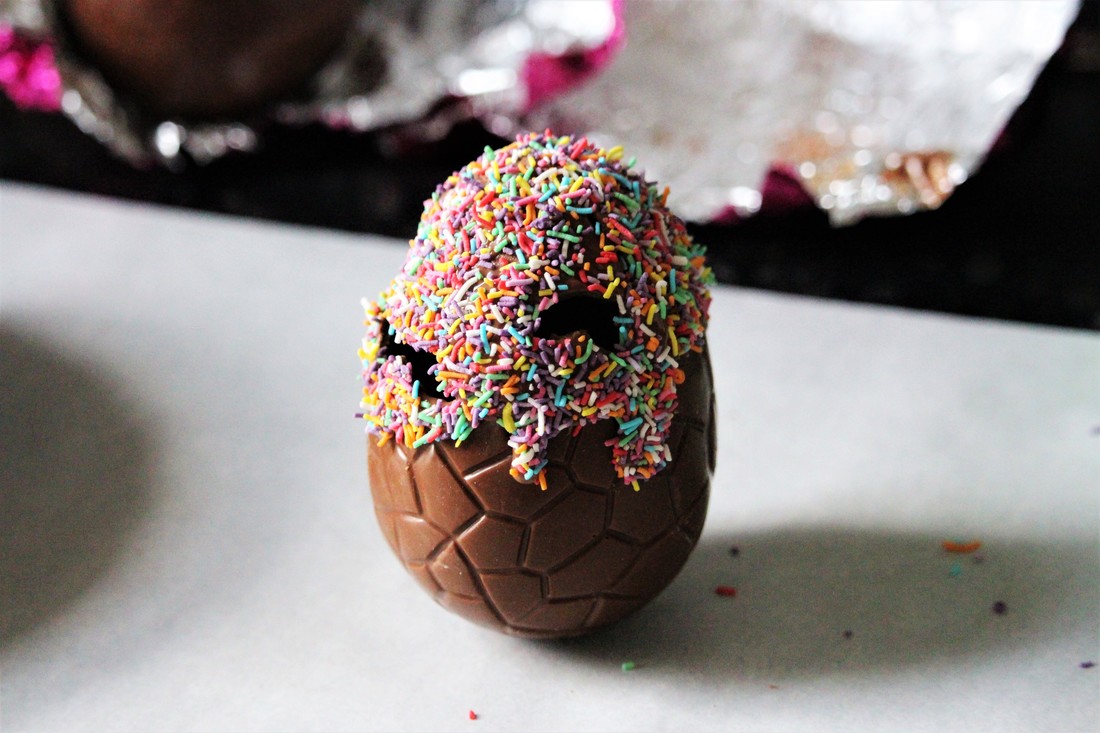
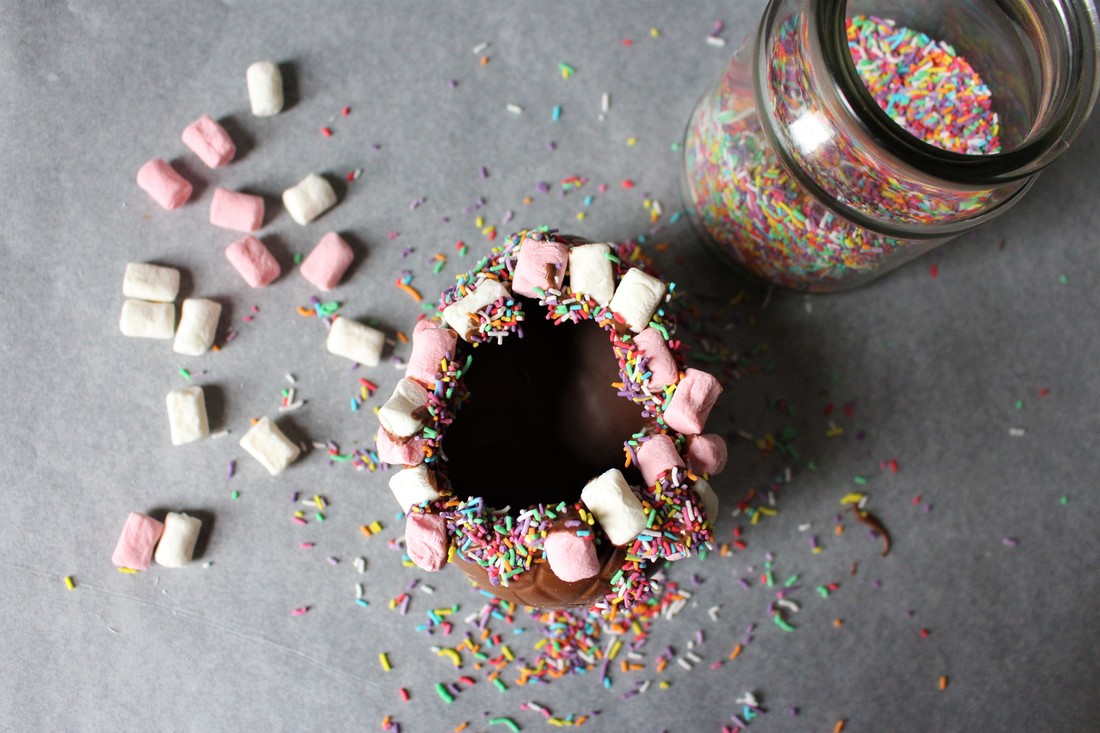
- Top with sprinkles
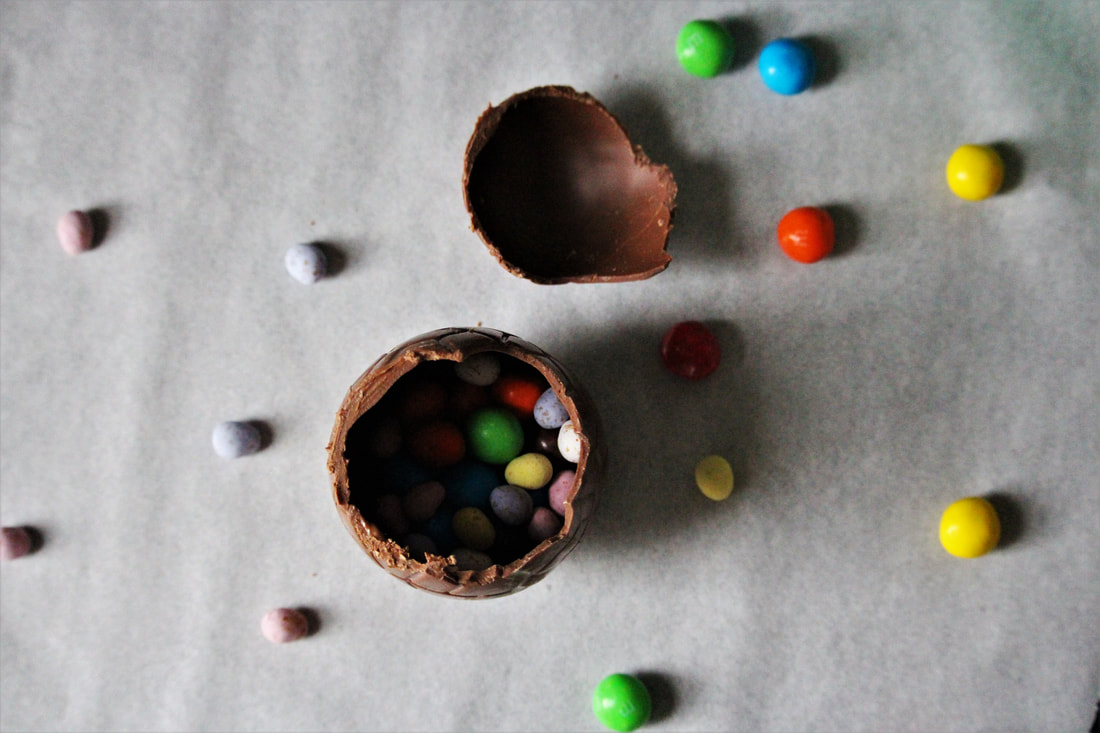
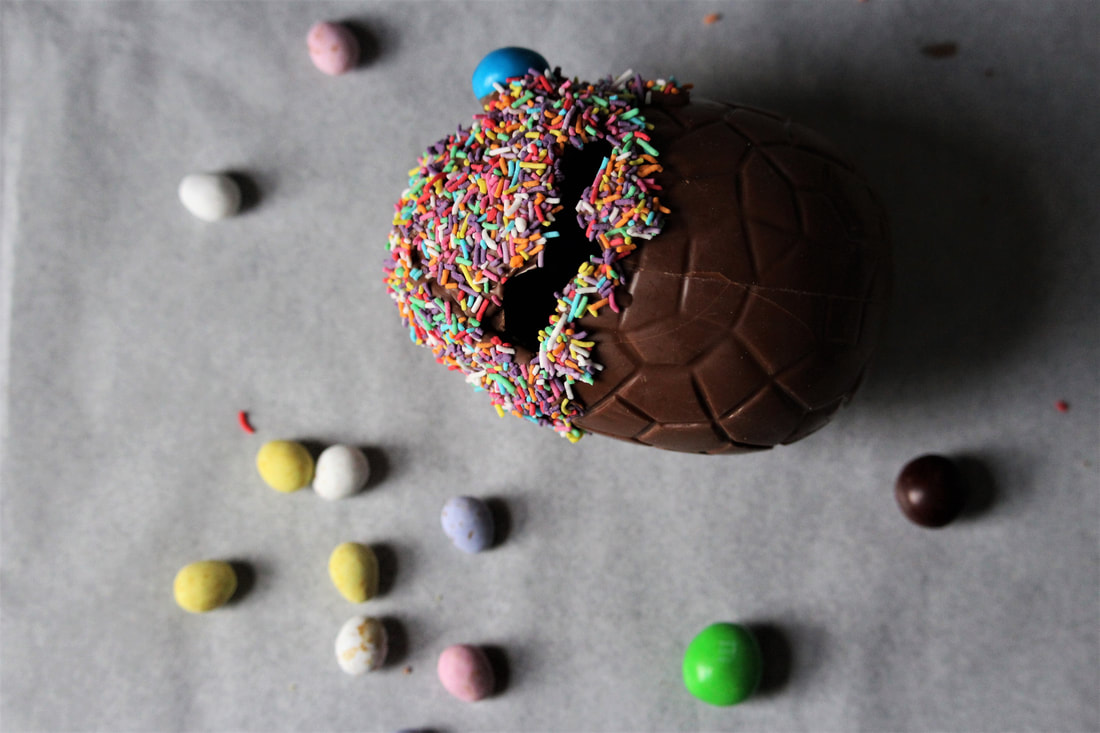
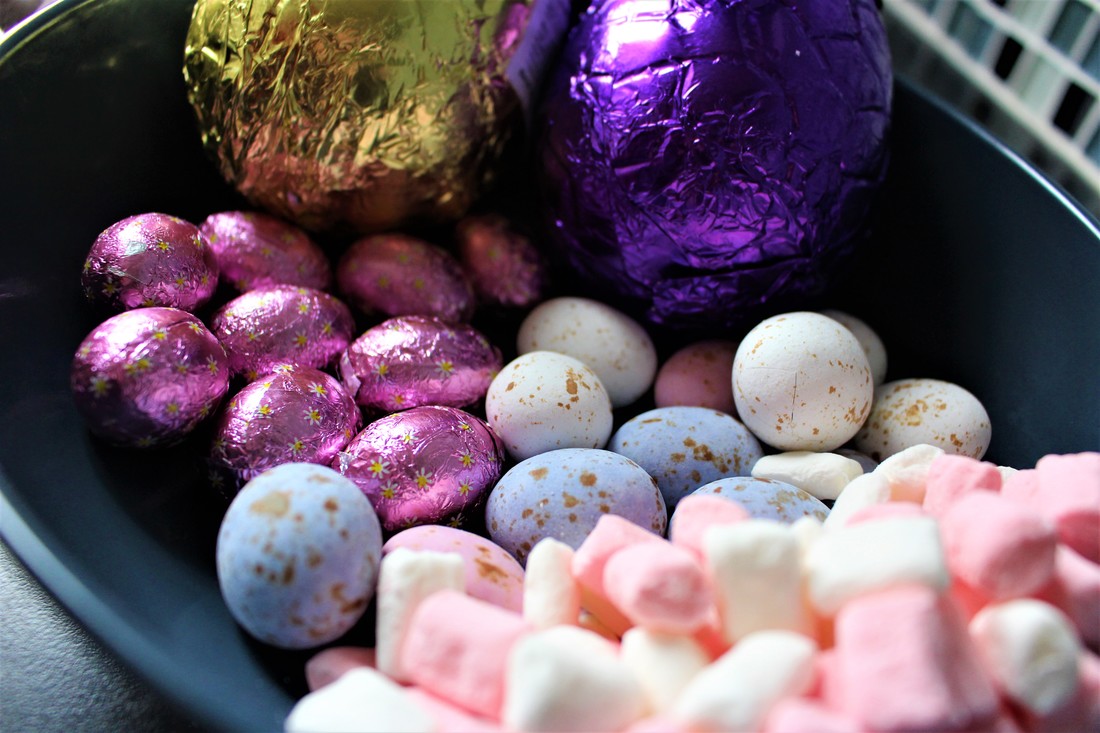
- Add mini sugar eggs


 RSS Feed
