Mini Book Tutorial
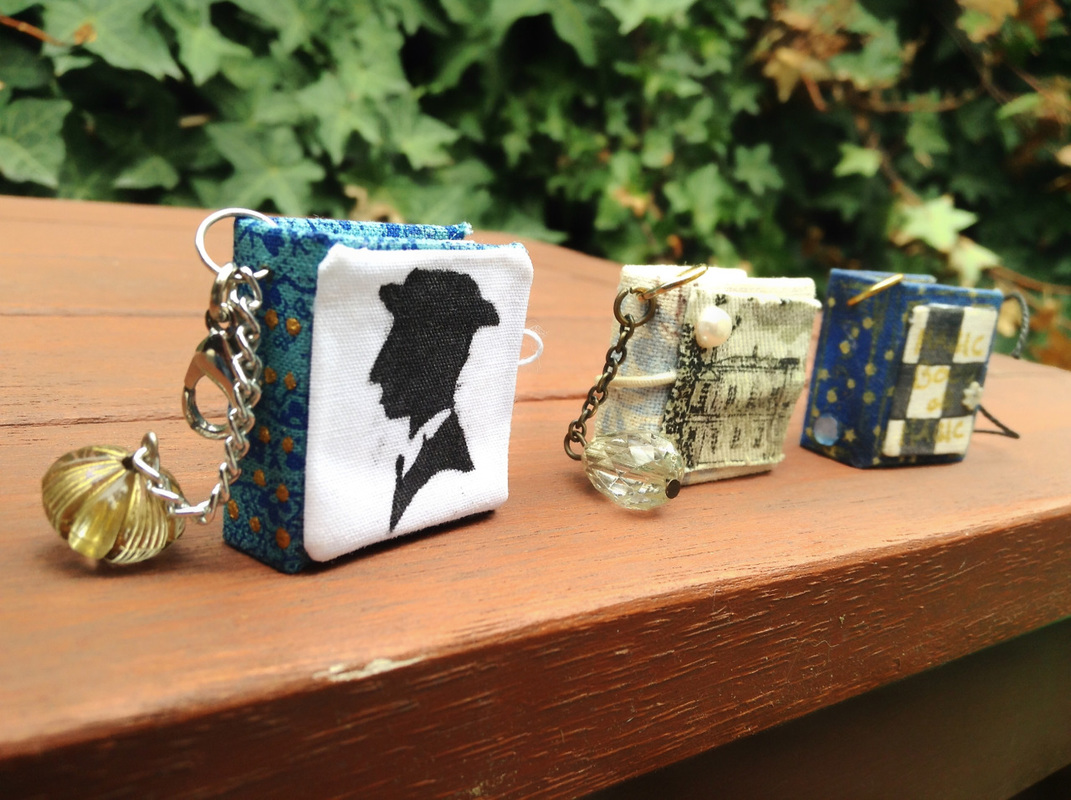
A miniature book with a miniature picture of a miniature Buster Keaton. These wee books are small enough to use as a neckalce pendant (portable writing book, stylin'!) Or they can be used as a keyring or similiar.
I made the book featured in this tutorial for a friend, it was her birthday (Shout out to you reading this!!!!!!!)
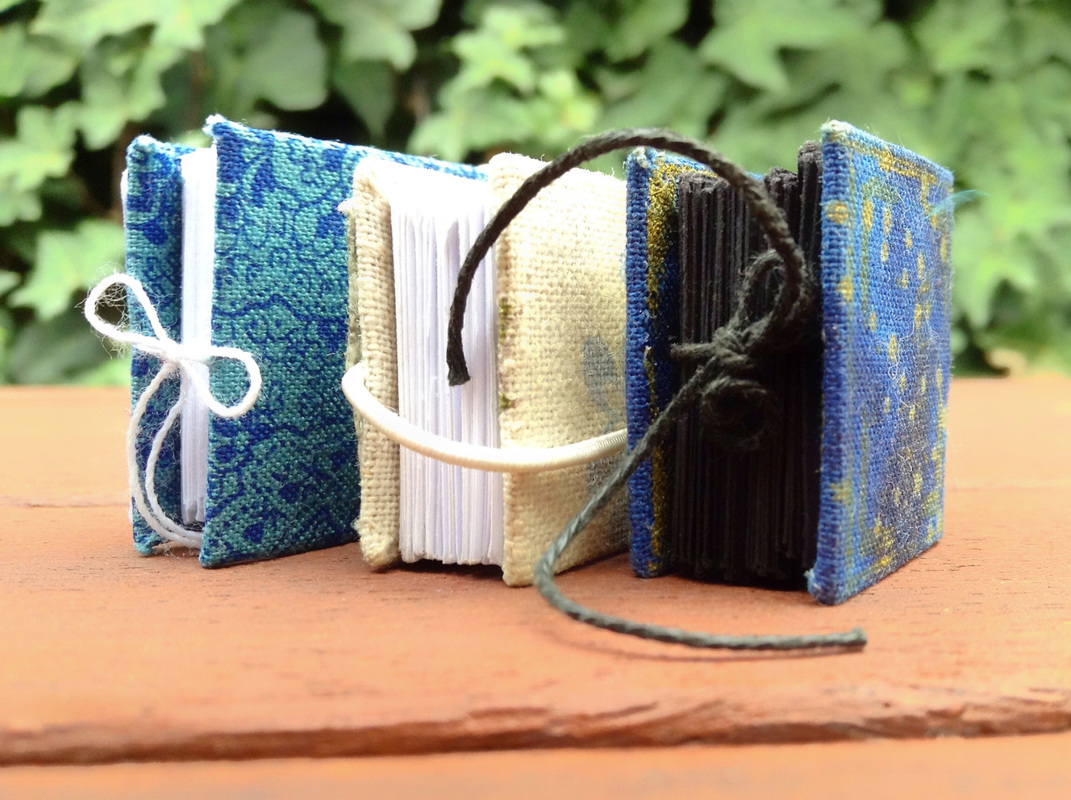
Buster is, of course, an optional add on. The book on the end in the photo above is my favourite book. I made it to look like a mini spell book. It has black pages, a midnight star fabric cover, gold lettering, everything!
I made the book featured in this tutorial for a friend, it was her birthday (Shout out to you reading this!!!!!!!)
Buster is, of course, an optional add on. The book on the end in the photo above is my favourite book. I made it to look like a mini spell book. It has black pages, a midnight star fabric cover, gold lettering, everything!
You Will Need . . .
- Paper
- Thread
- Needle
- Card
- Glue
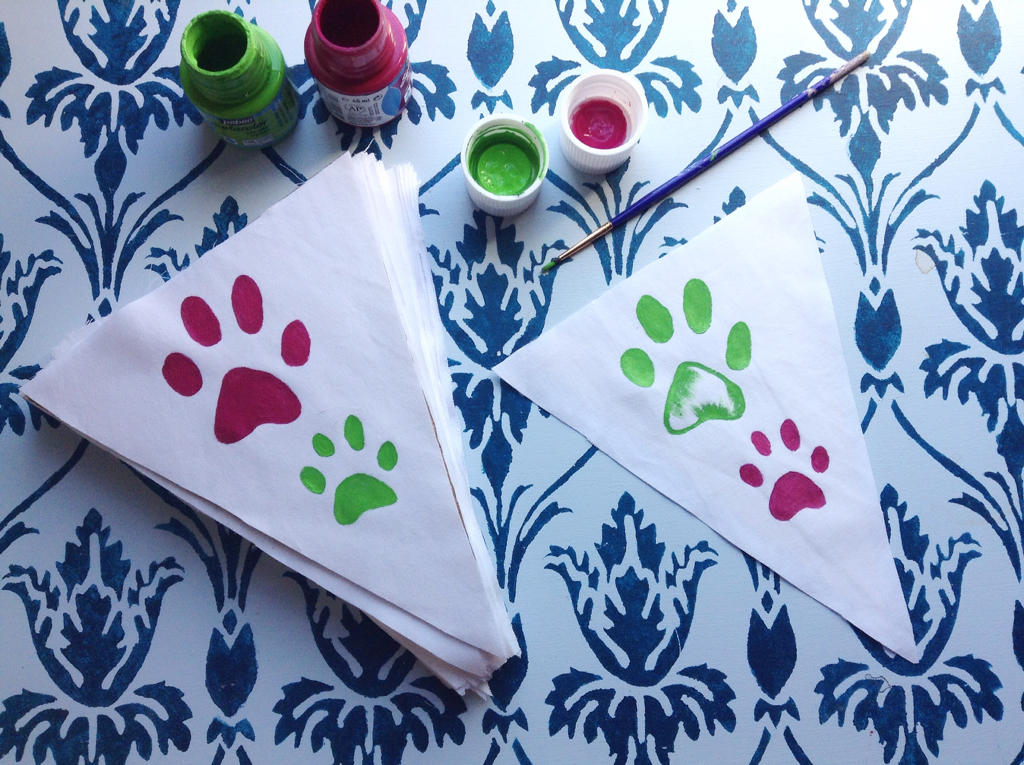
- Fabric
- Fabric paint
- Jewellery ring and/or keyring and or necklace.
Booking, BinDing, Making. . .
The first step is a real page turner.
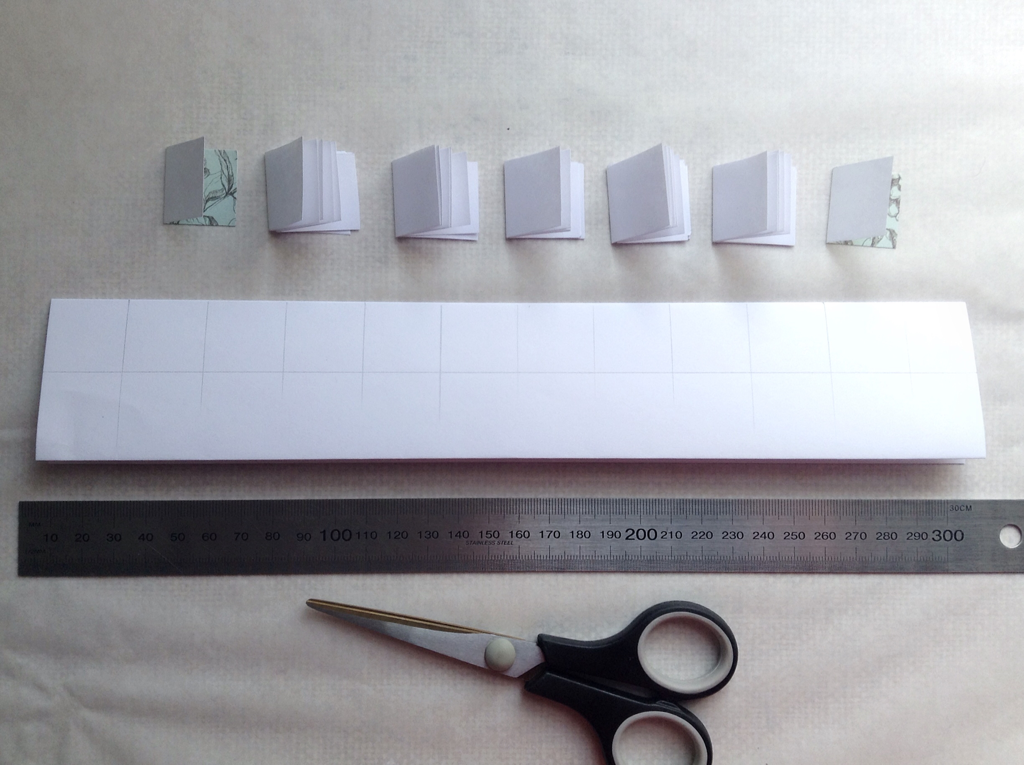
Fold ordinary office/printer paper in half lengthways, then fold in half again. Rule out squares/ rectangles (your choice what shape book you make) along the folded edge to make up the pages of your book.* Cut out pages.
*I hate measuring lines, it always goes wrong, I just make the pages as wide as my metal ruler, it makes a nice small necklace sized book. If I want a larger book I use a wider plastic ruler.
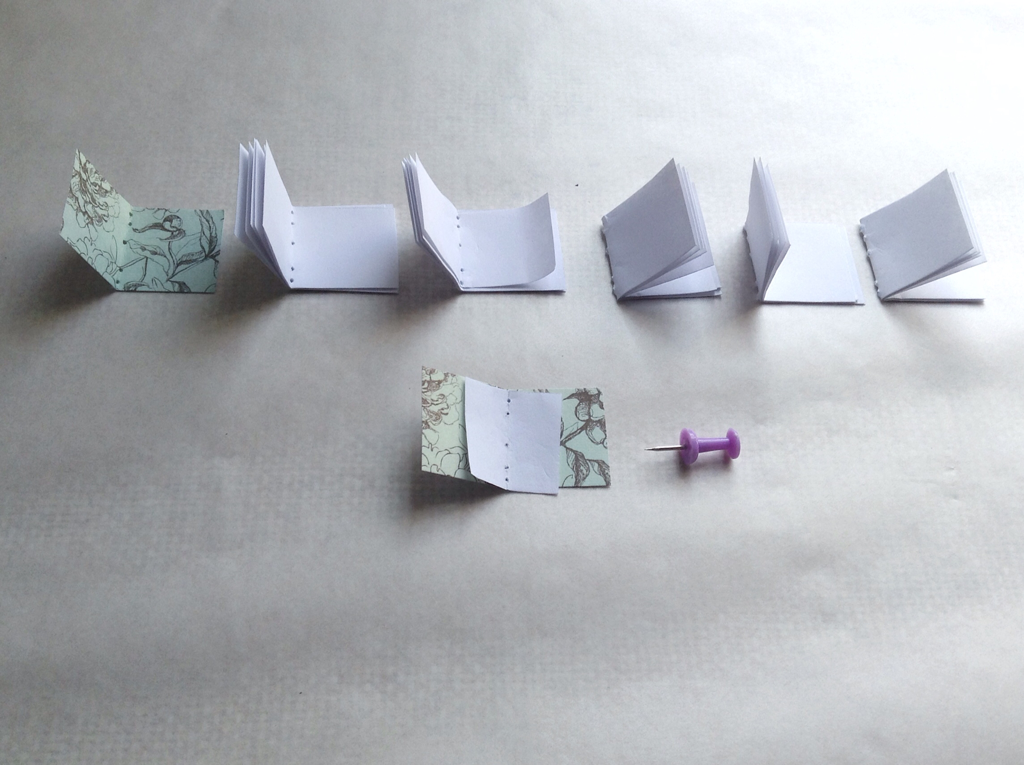
Assemble pages into "booklets." I put together six pages to make each booklet.
Assemble five booklets and two end papers, I like to use coloured paper for the end papers but you don't have to.
Using a drawing pin, punch five holes down the center of each booklet and endpaper.
You might want to make a template for the holes, it makes it easier to get each booklet exactly the same.
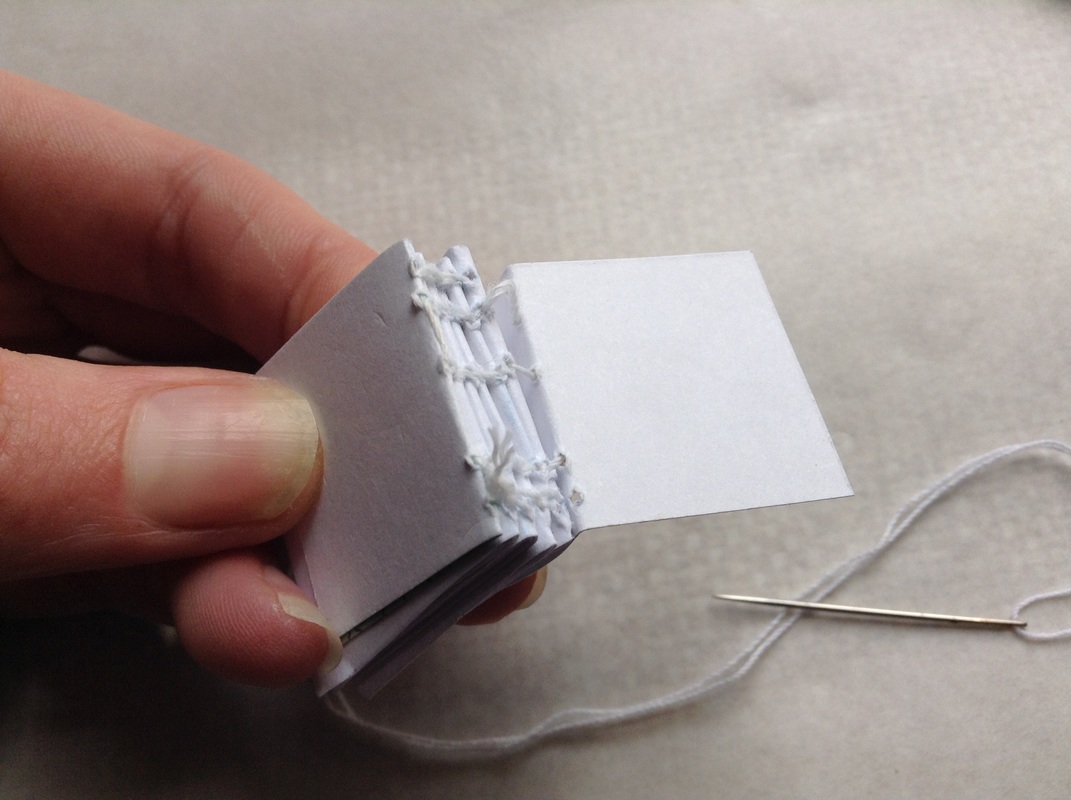
Sewing/Binding guide
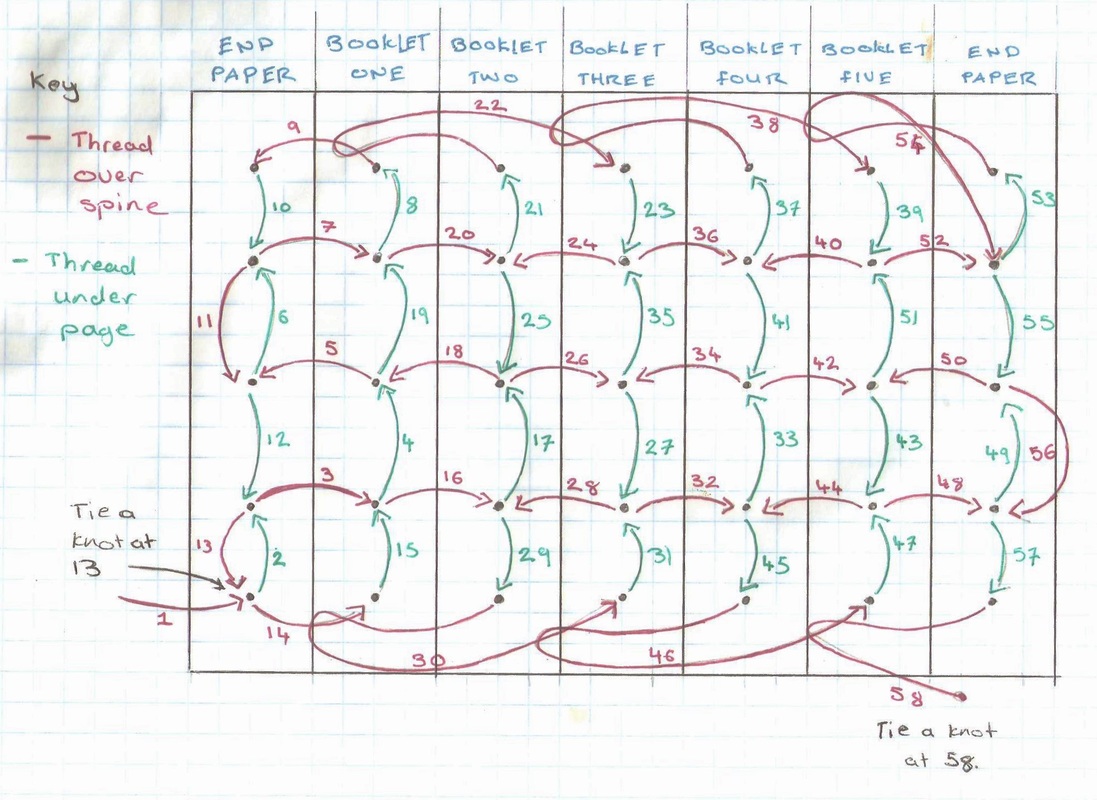
I have drawn out a refence sewing guide for the book binding. It looks difficult but it is actually pretty easy, you just have to start and it all flows together.
I have colour coded the steps. The red arrows indicate that the thread can be seen from the outside spine of the book and the green arrows indicate the thread should be seen from the inside page of the book.
Just in case the sewing guide is too confusing I have also pictured each step below. You probably won't need it but its there if you do.
Note on step 13 - Simply tie 13 and 1 together then move on to step 14.
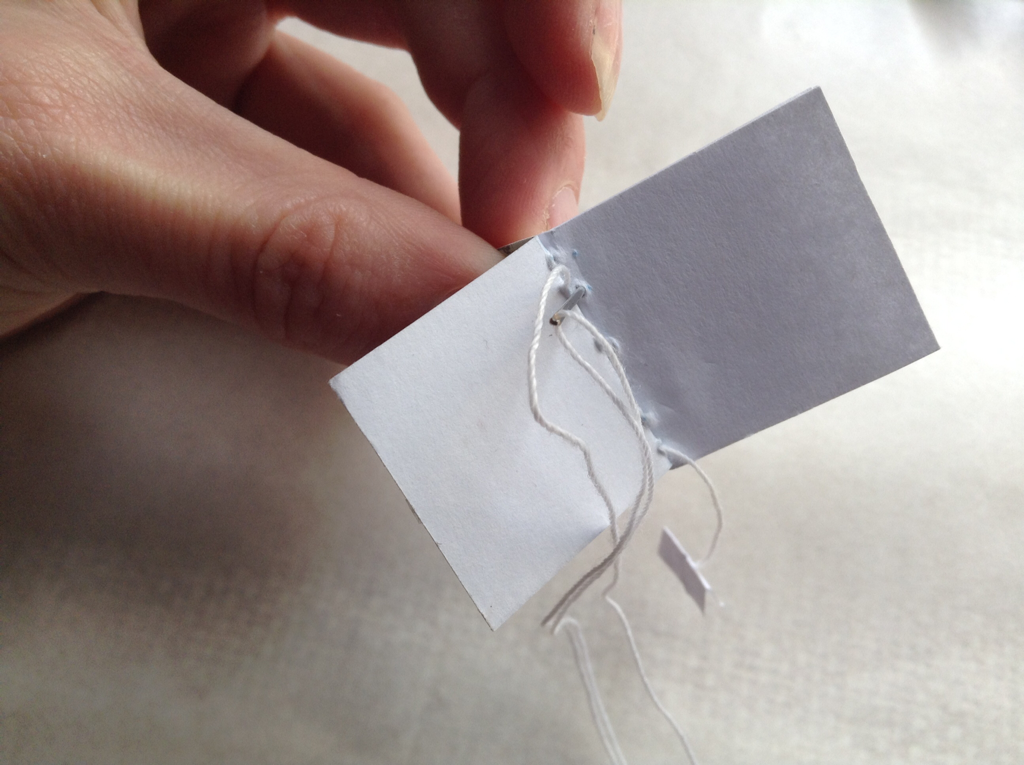
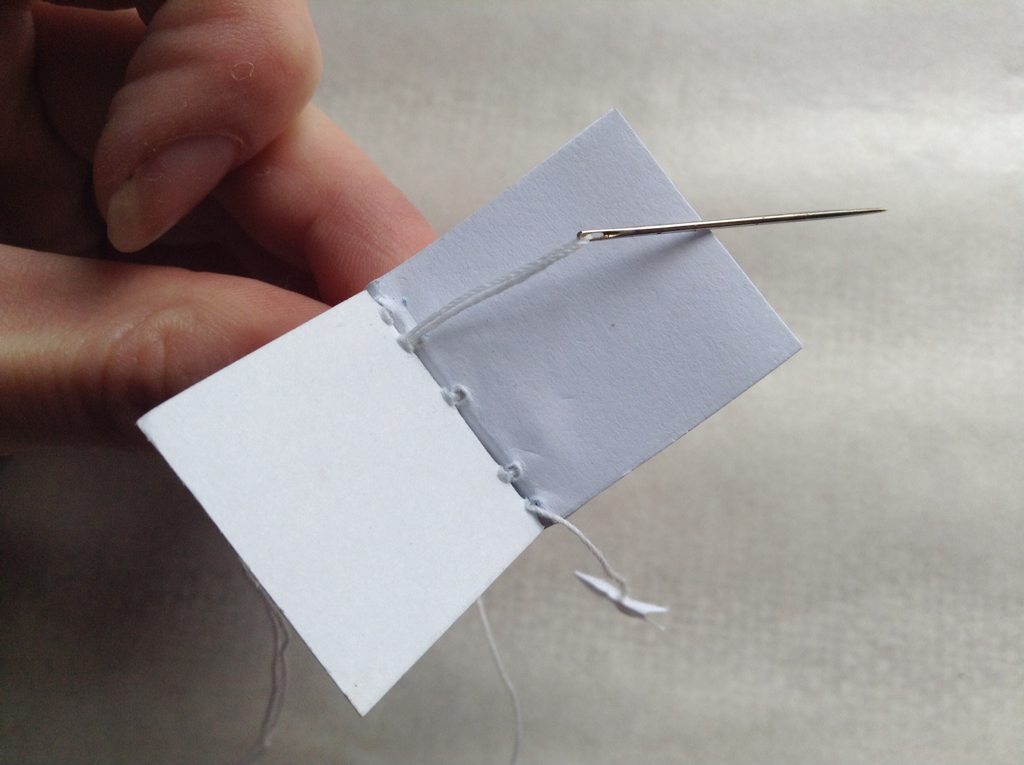
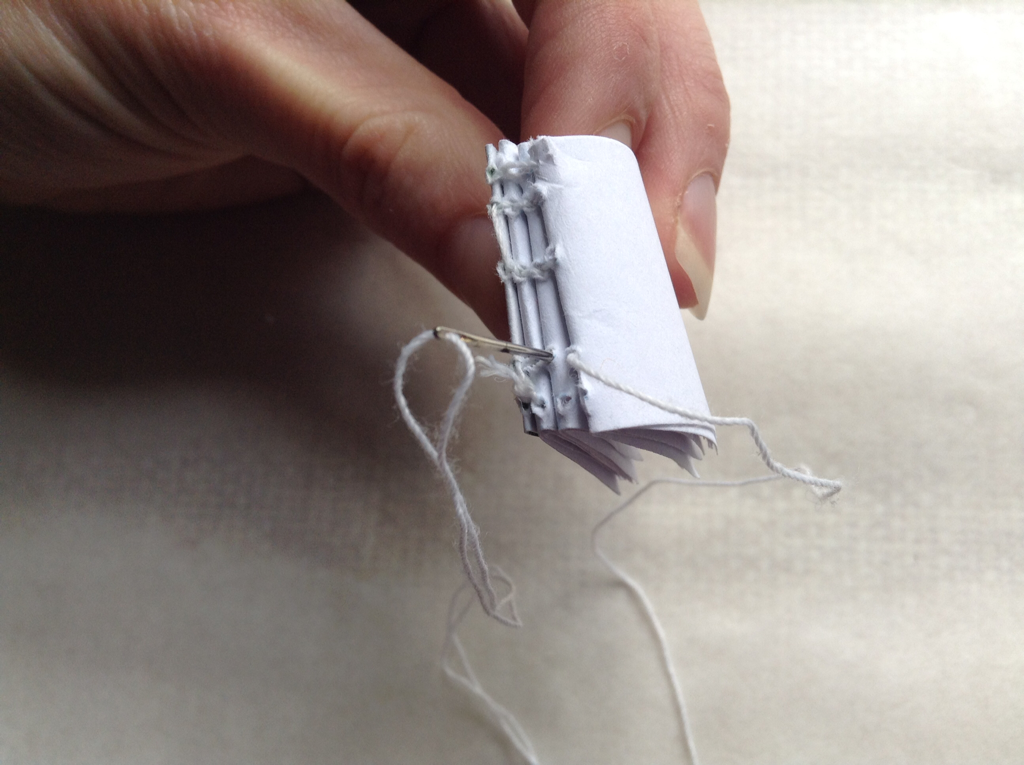
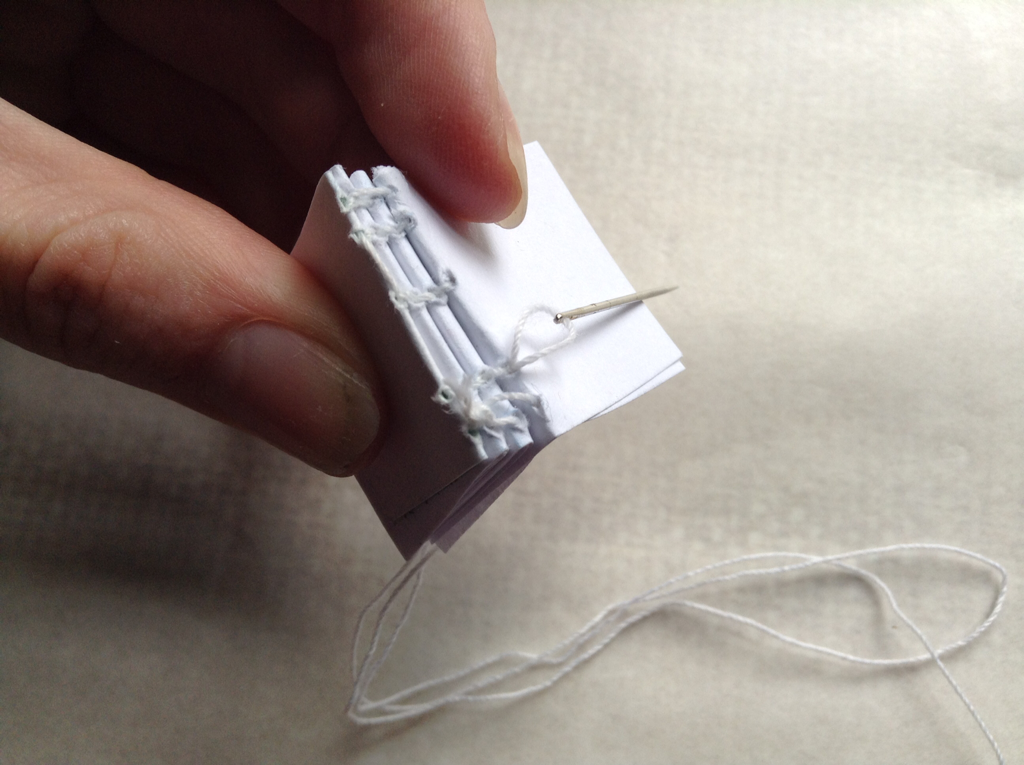
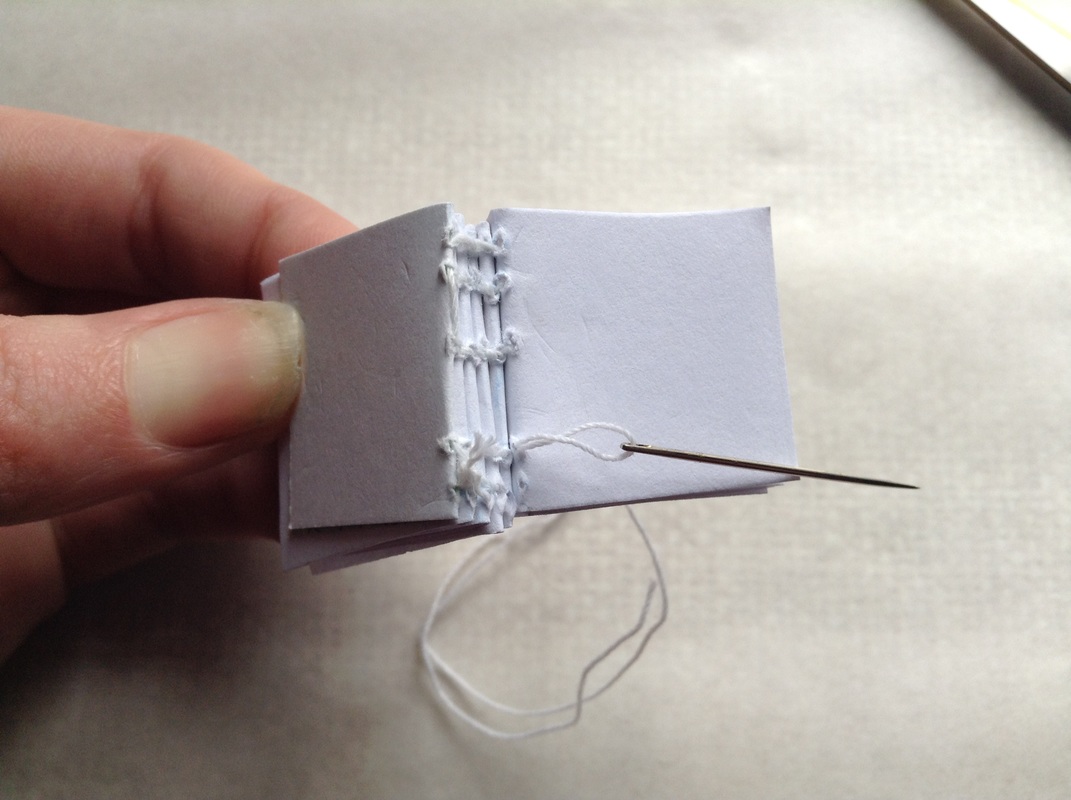
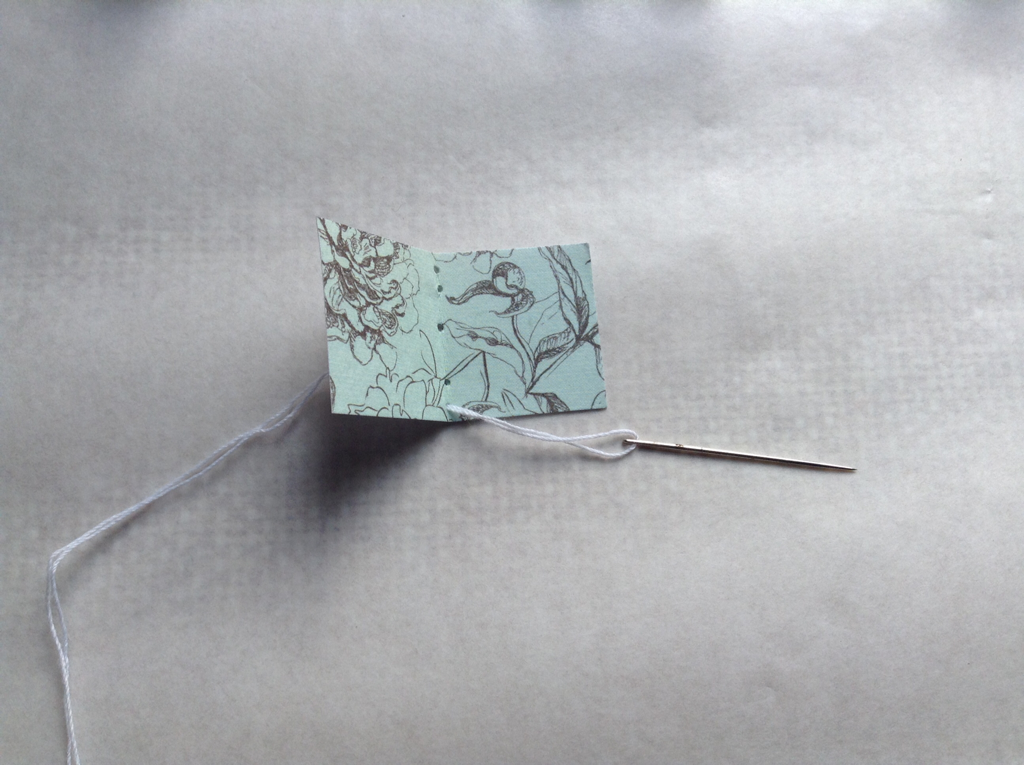 1) With spine facing you pass needle through hole five (lowest hole) Leave a little thread spare. | 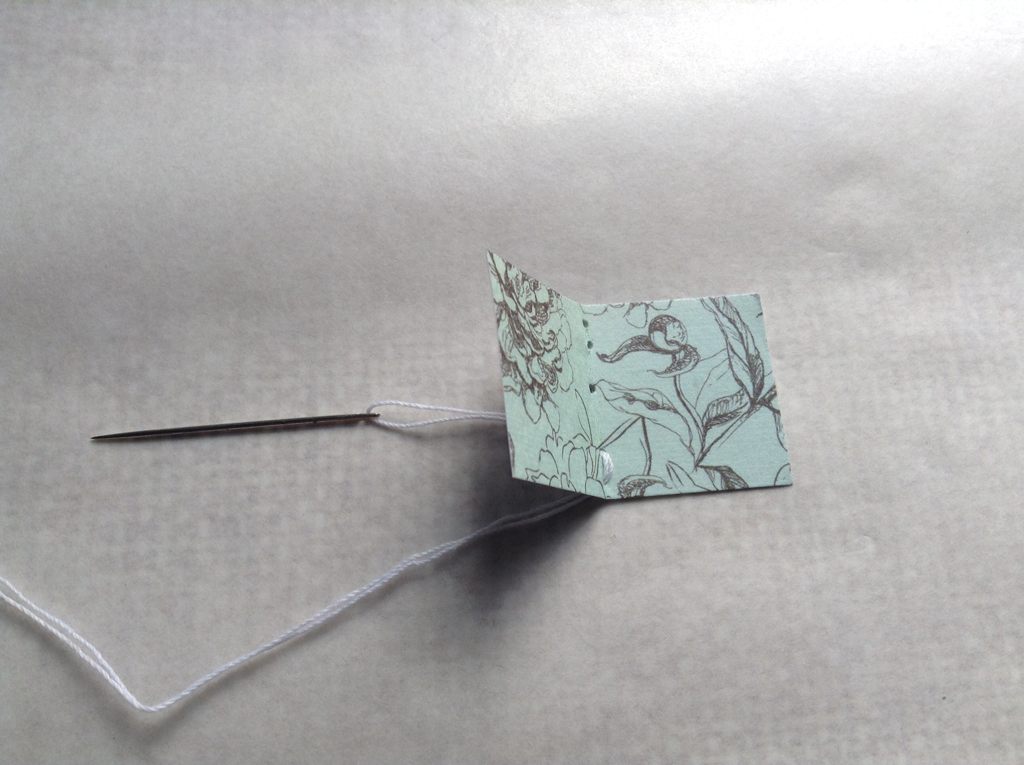 2) Pass needle through the fourth hole back out to the spine. | 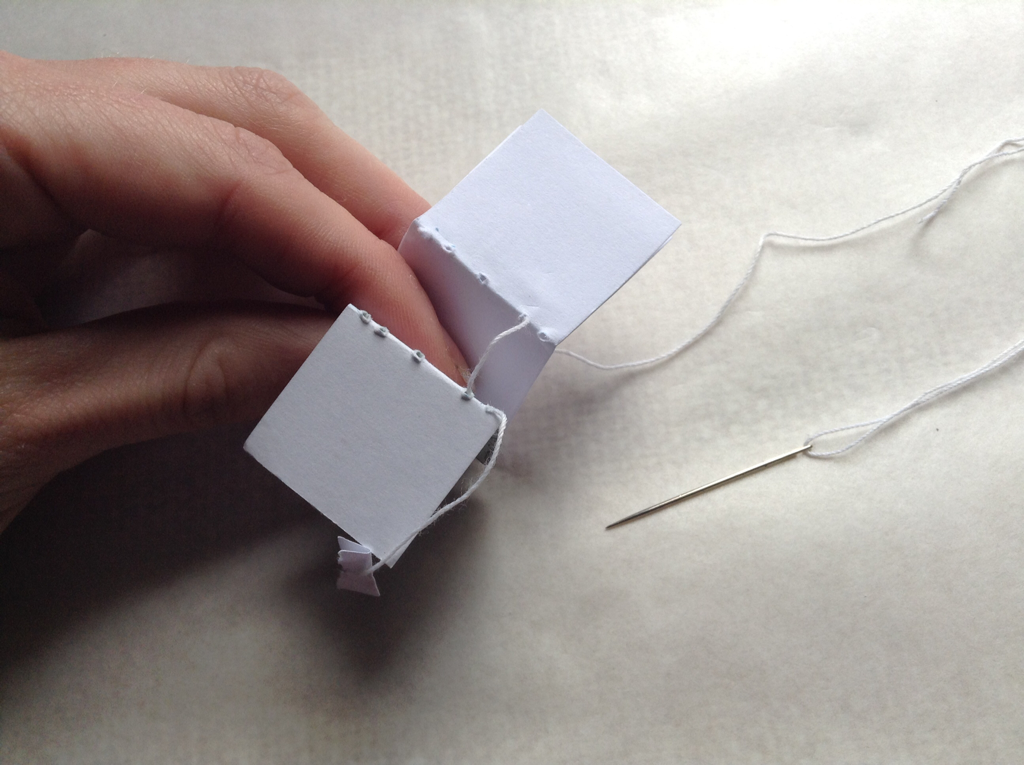 3) Introduce booklet one. Pass needle through hole four in boolet one. |
 4) Bring needle up out of hole three in boolet one. |  5) Pass needle across to hole three in endpaper. | 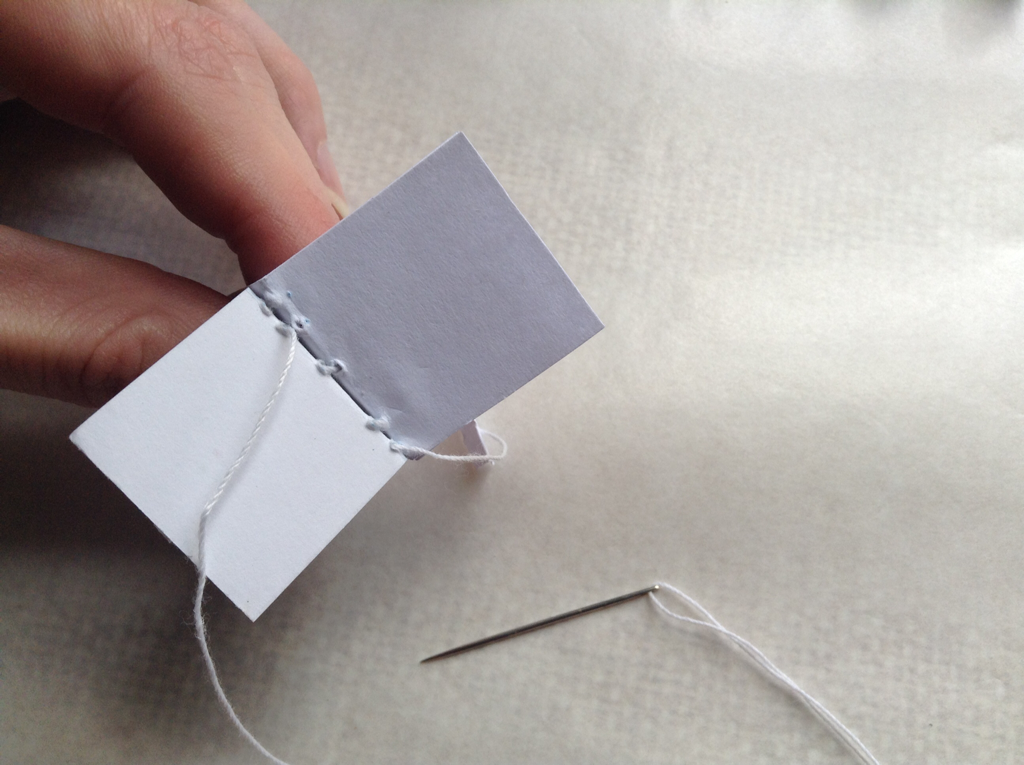 6) Bring needle out of hole two in endpaper. |
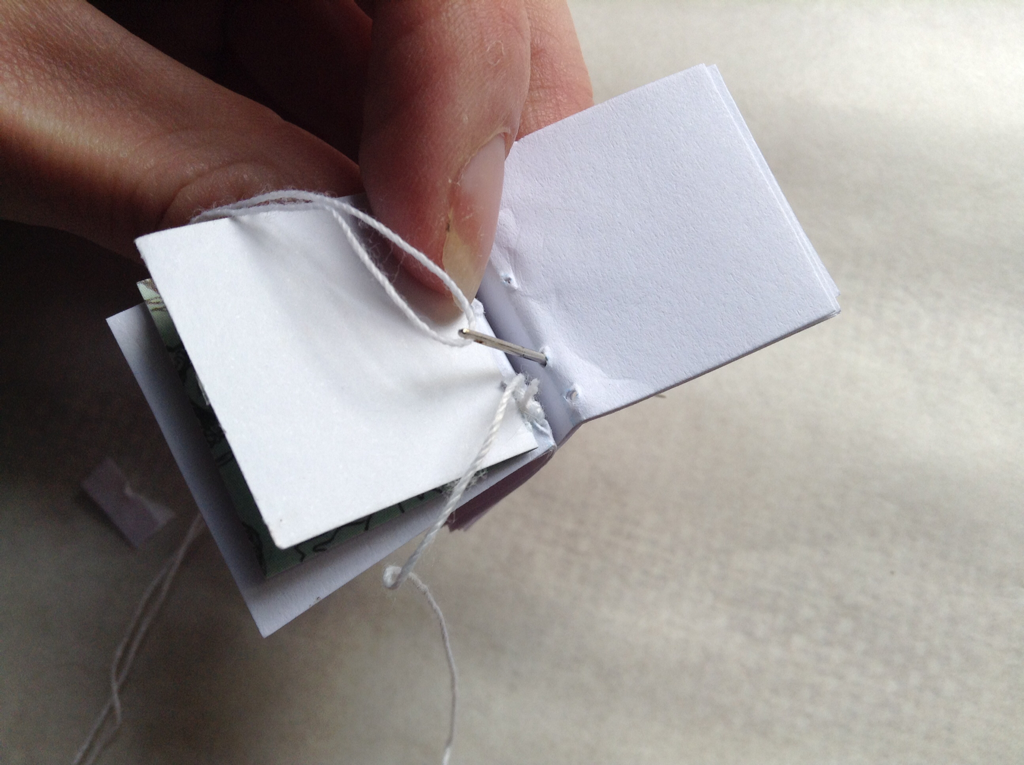
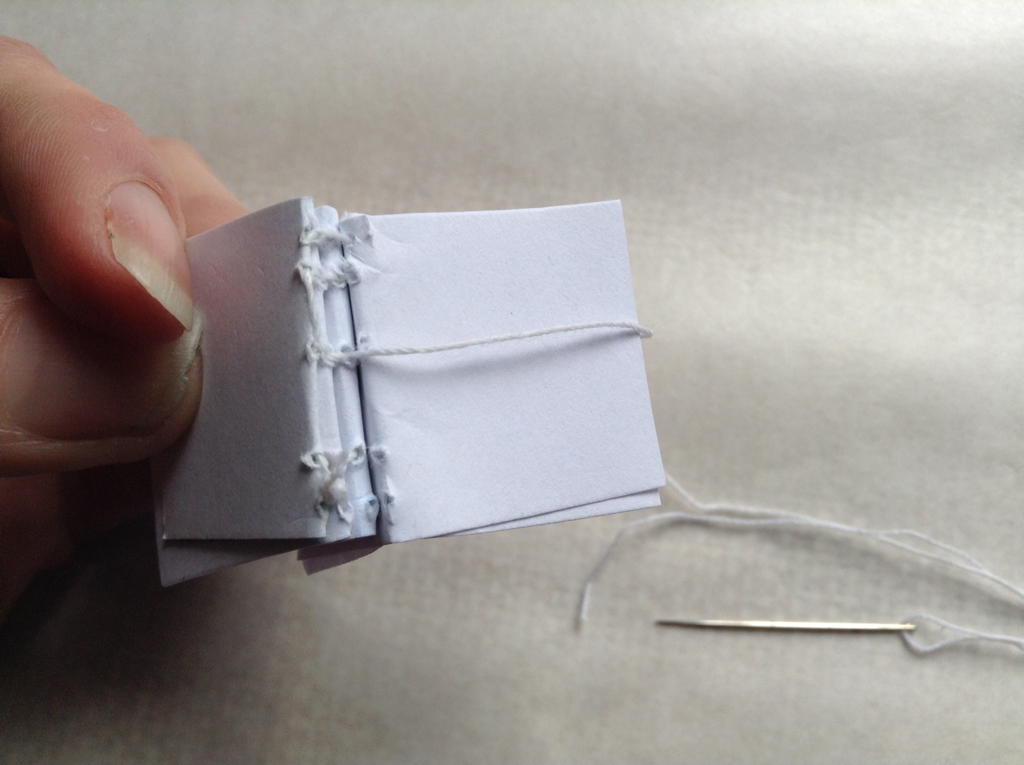
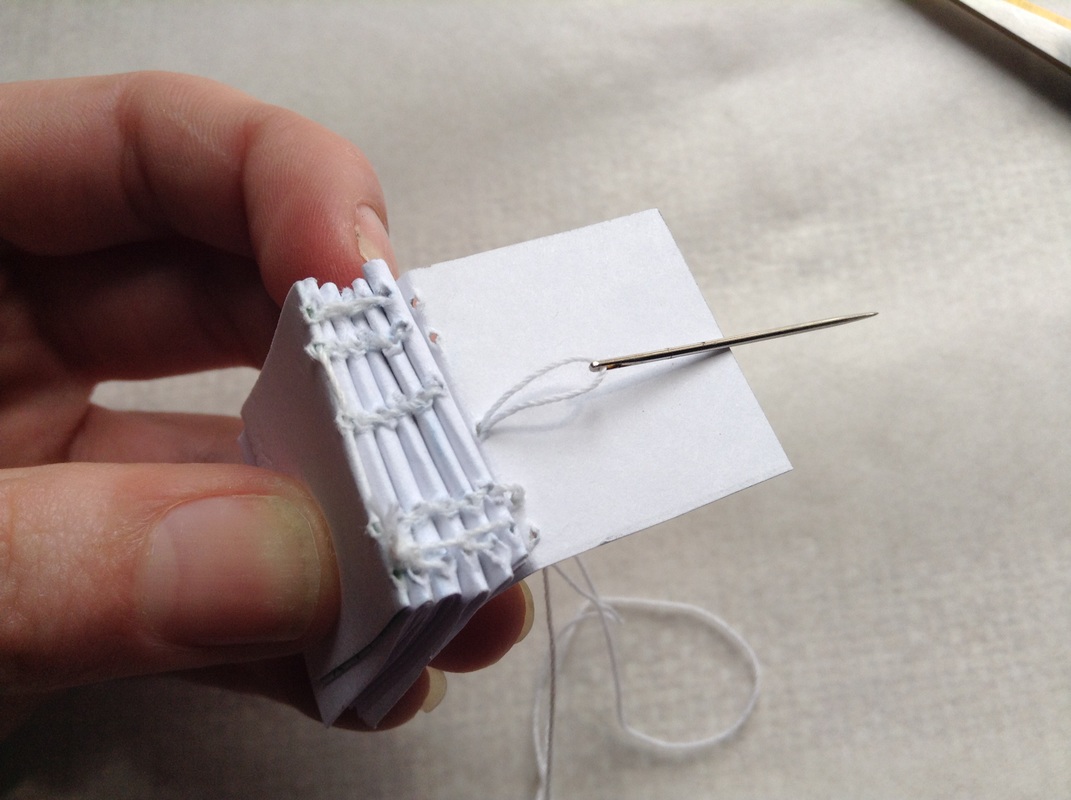
 7) Pass needle across hole two in booklet one. | 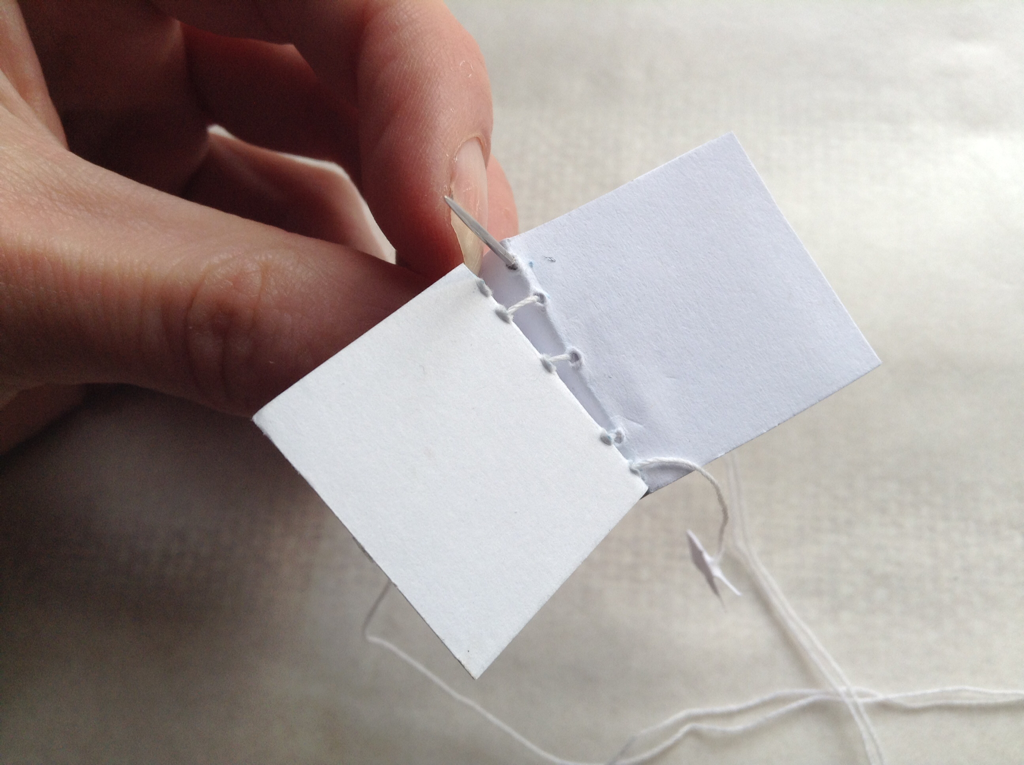 8) Bring needle out of hole one (top most hole) in booklet one. | 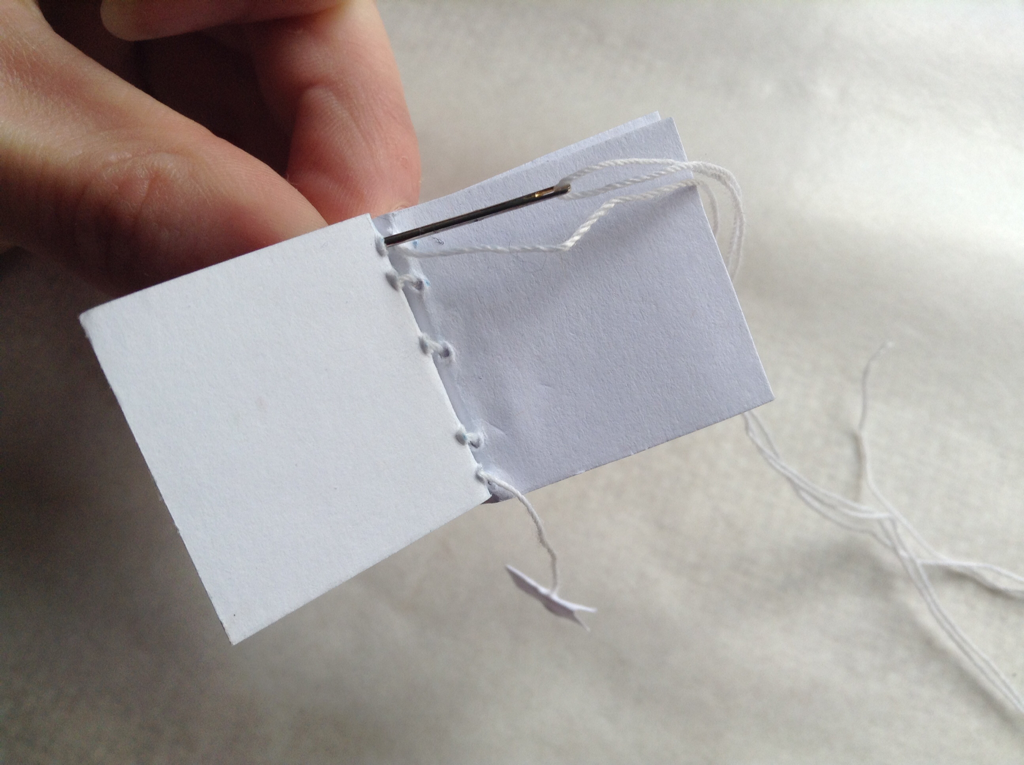 9) Pass needle across to hole one in endpaper. |
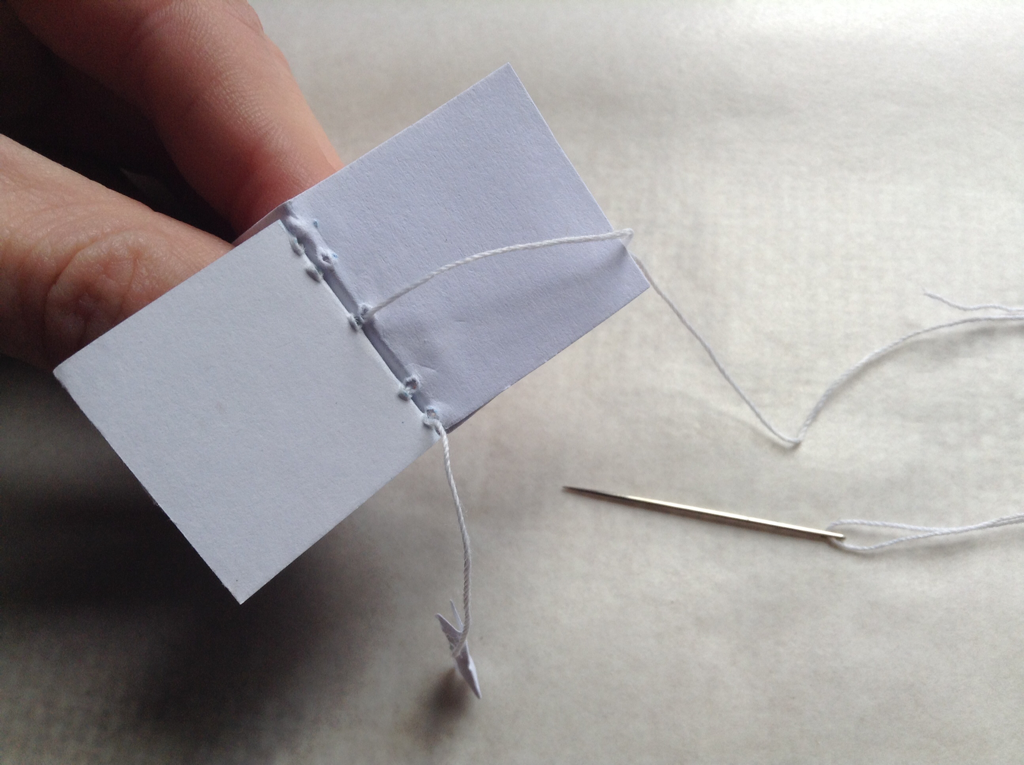
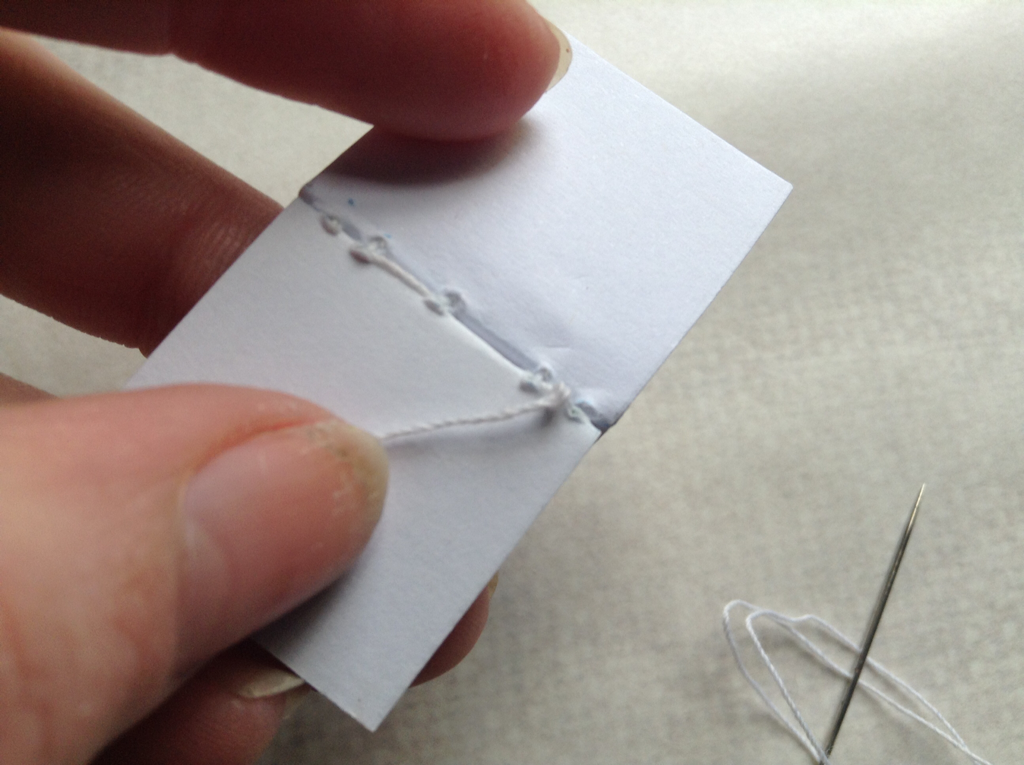
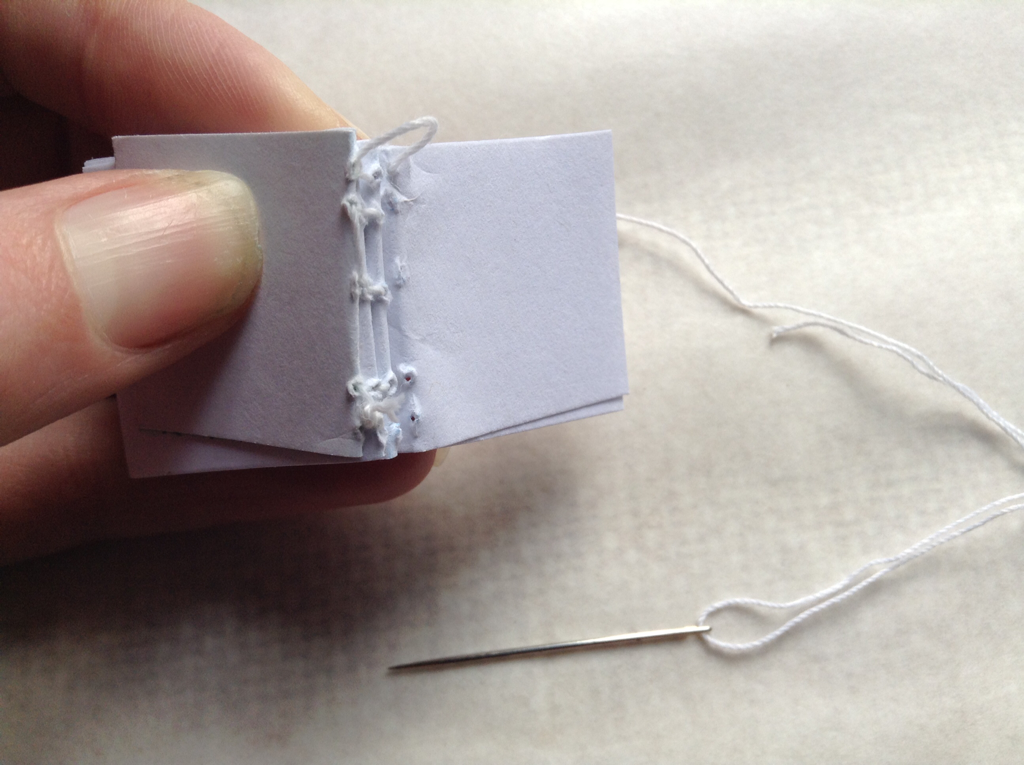
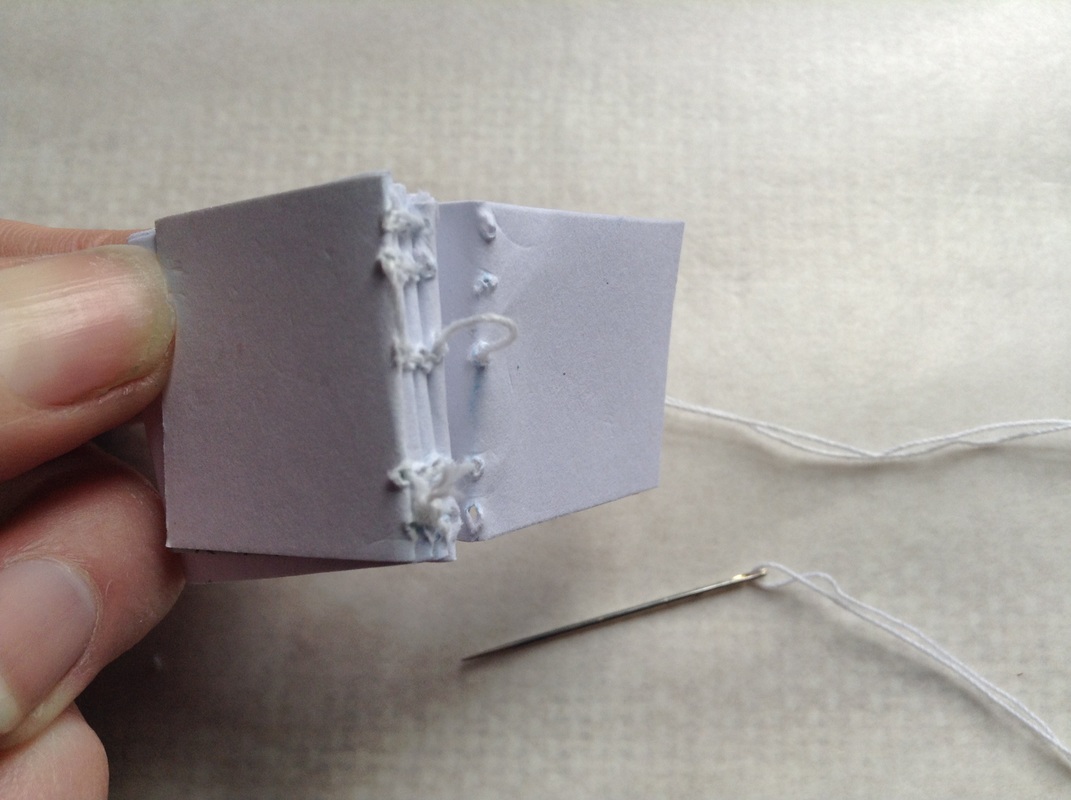
 10) Bring needle out of hole two in endpaper. | 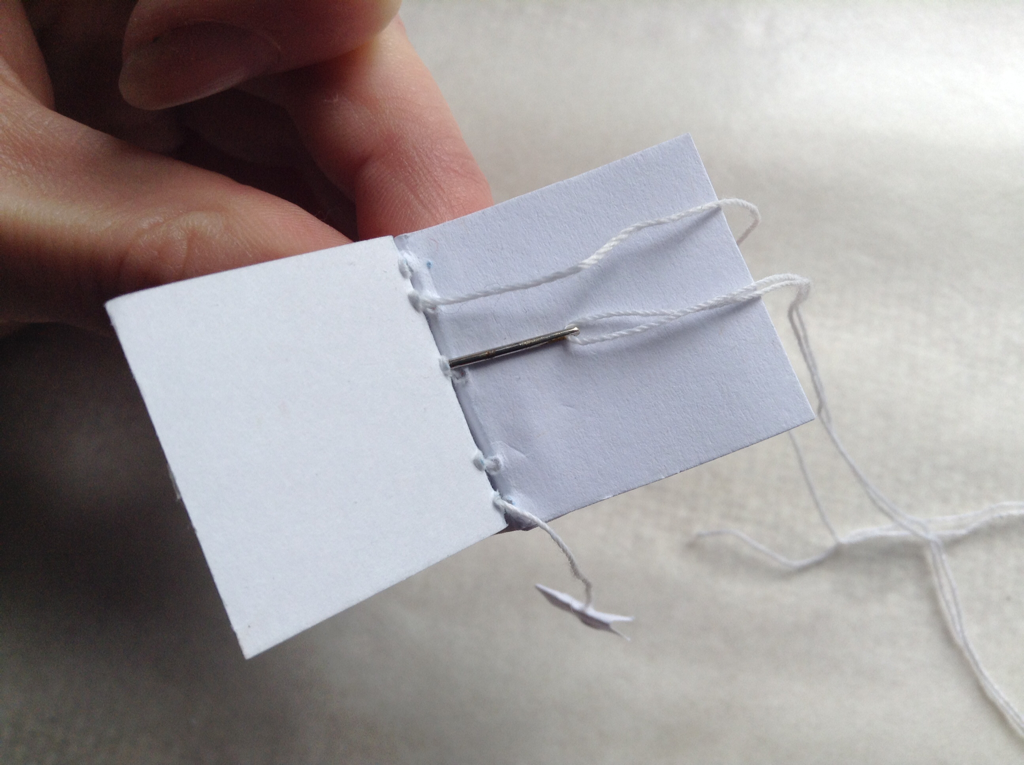 11) Bring needle through hole three in endpaper. This thread is along the spine. | 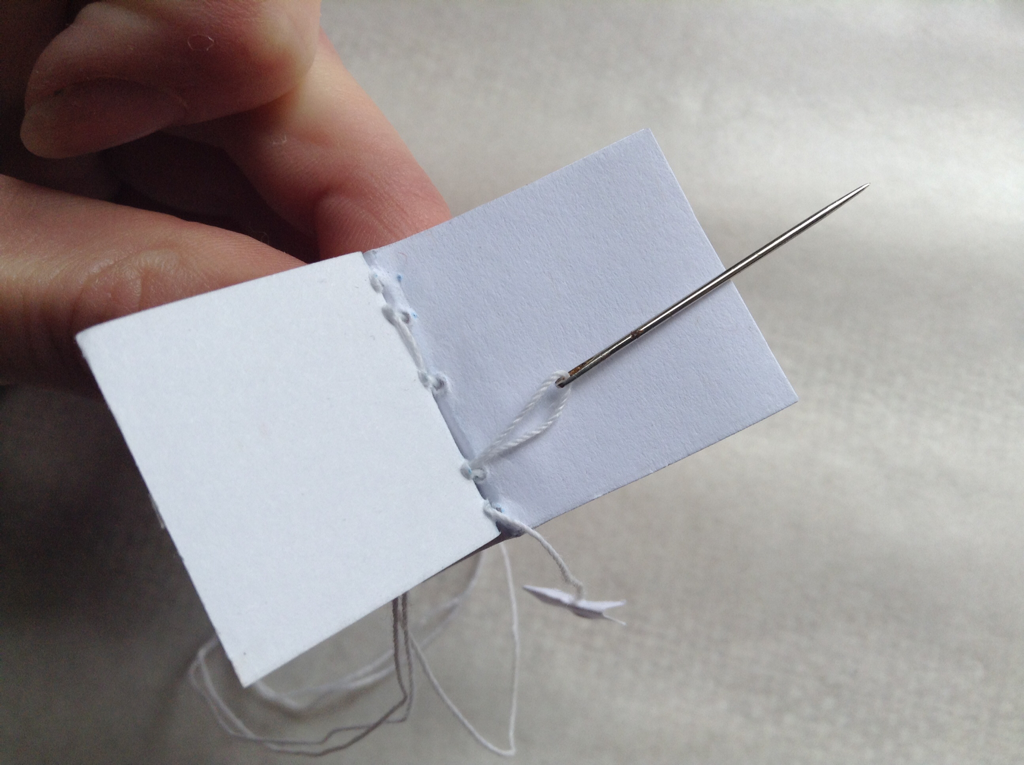 12) Bring needle through hole four in endpaper. |
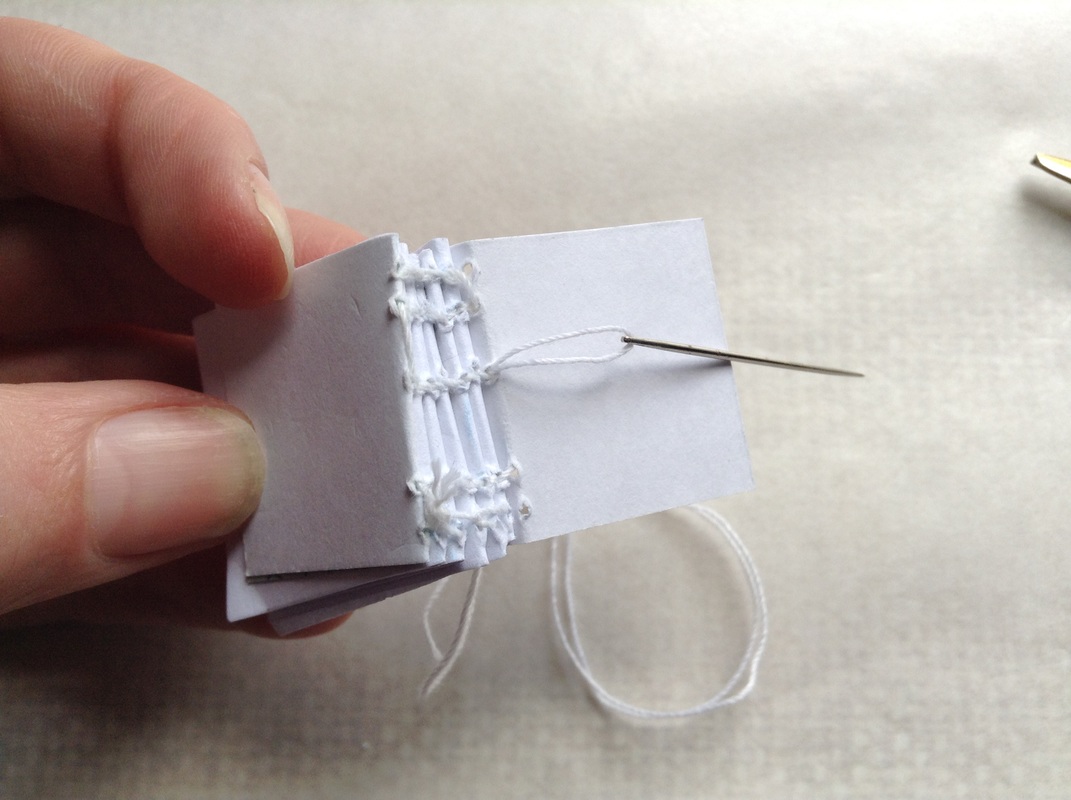
 13) Tie thread 13 to excess thread left at step 1. | 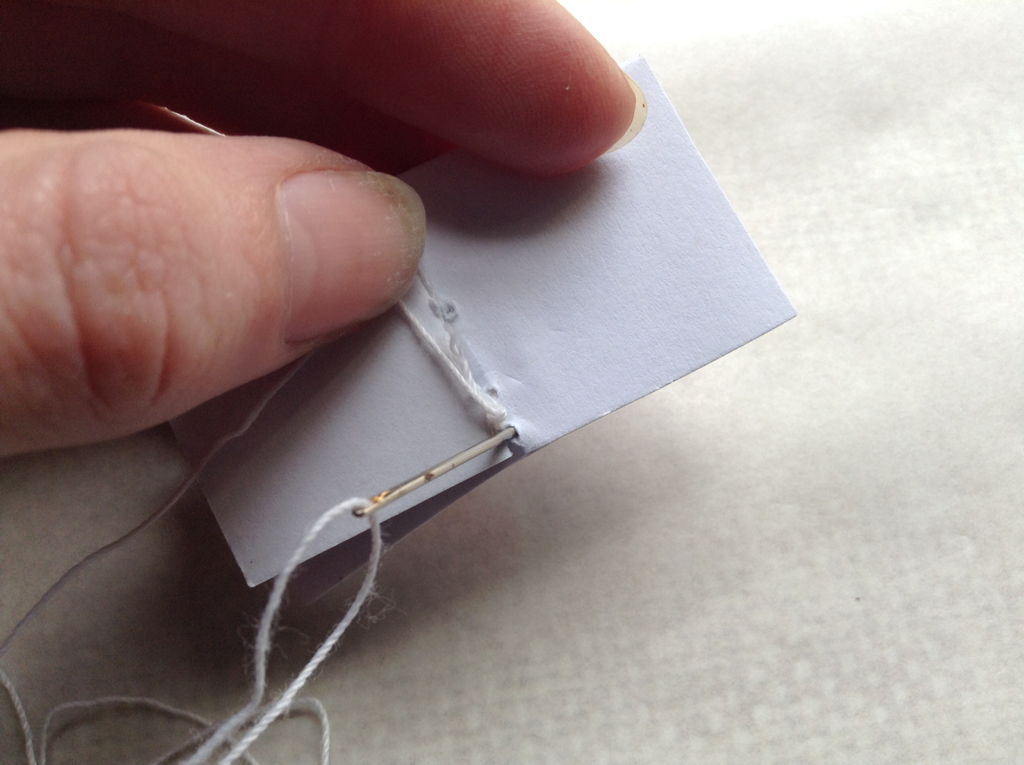 14) Pass needle through hole five in booklet one. | 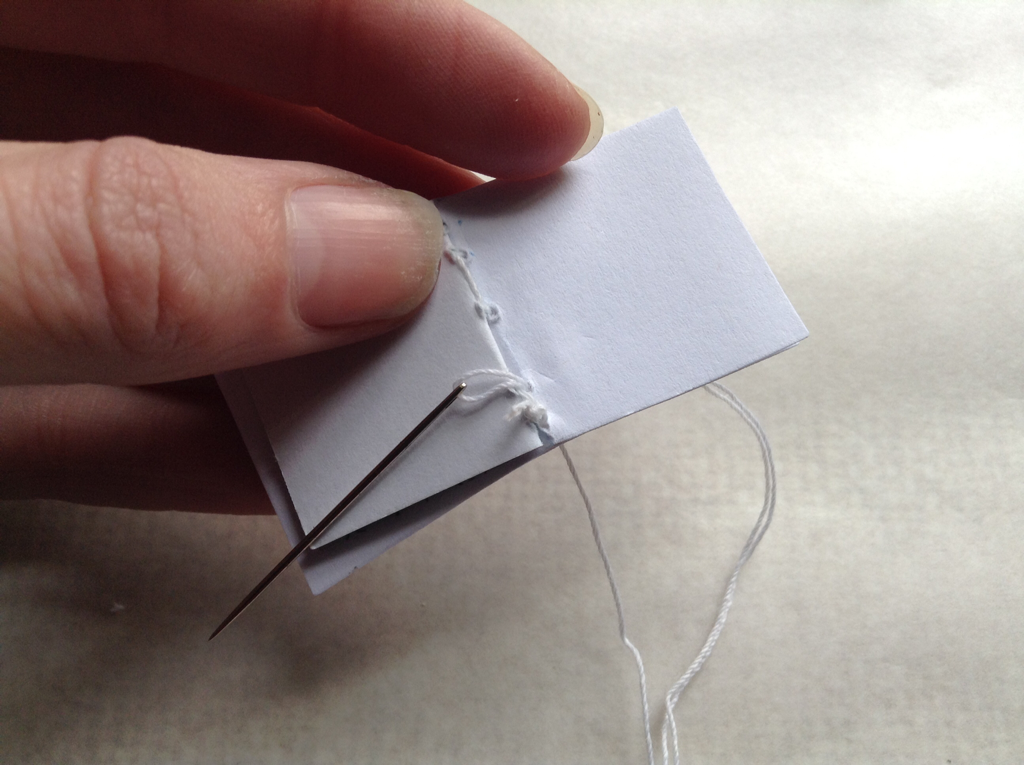 15) Bring needle through hole four in booklet one. |
 16) Introduce booklet two. Pass needle through hole four in booklet two. | 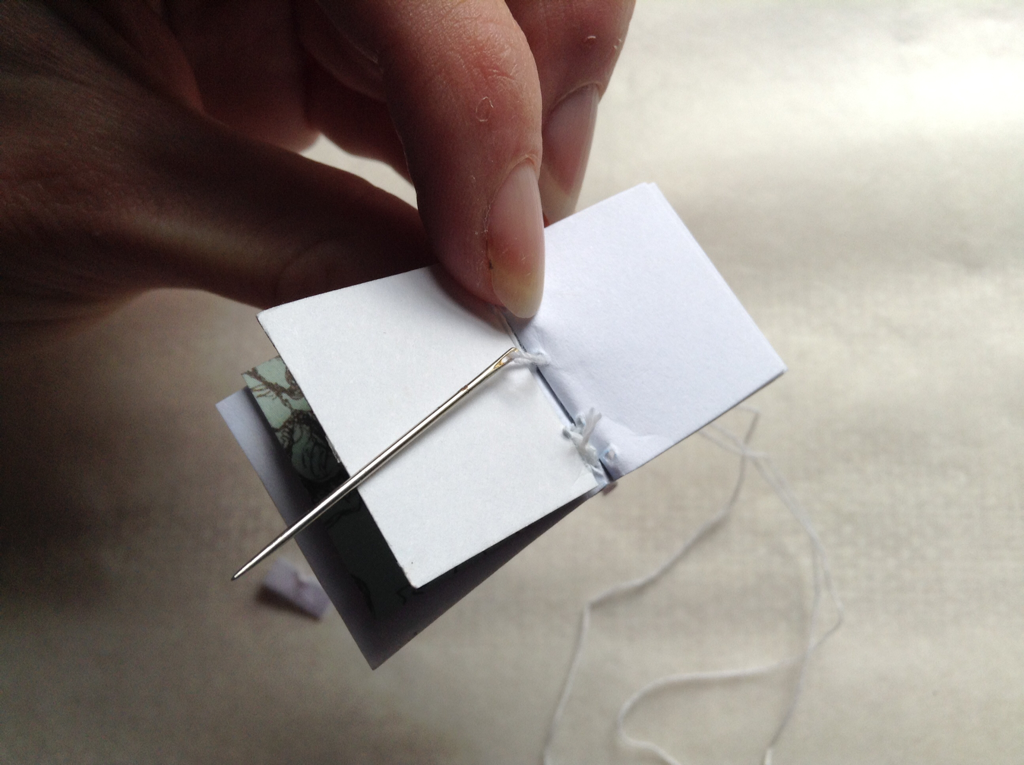 17) Bring needle through hole three in booklet two. | 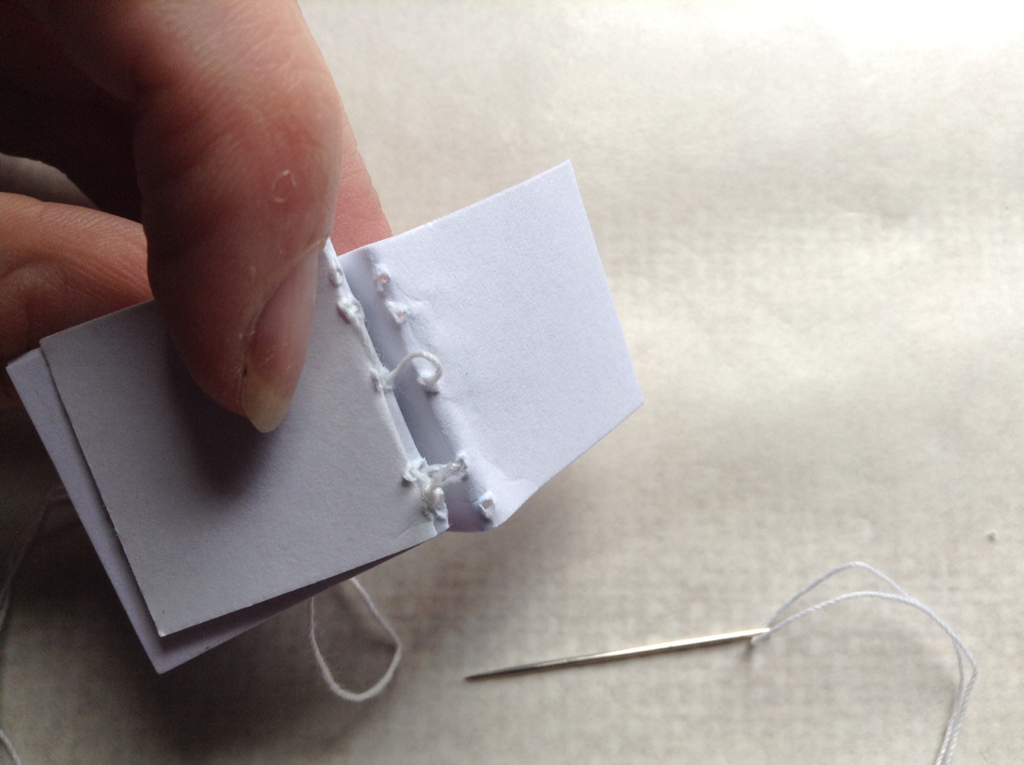 18) Pass needle through hole three in booklet one. |
 19) Bring needle through hole two in booklet one. | 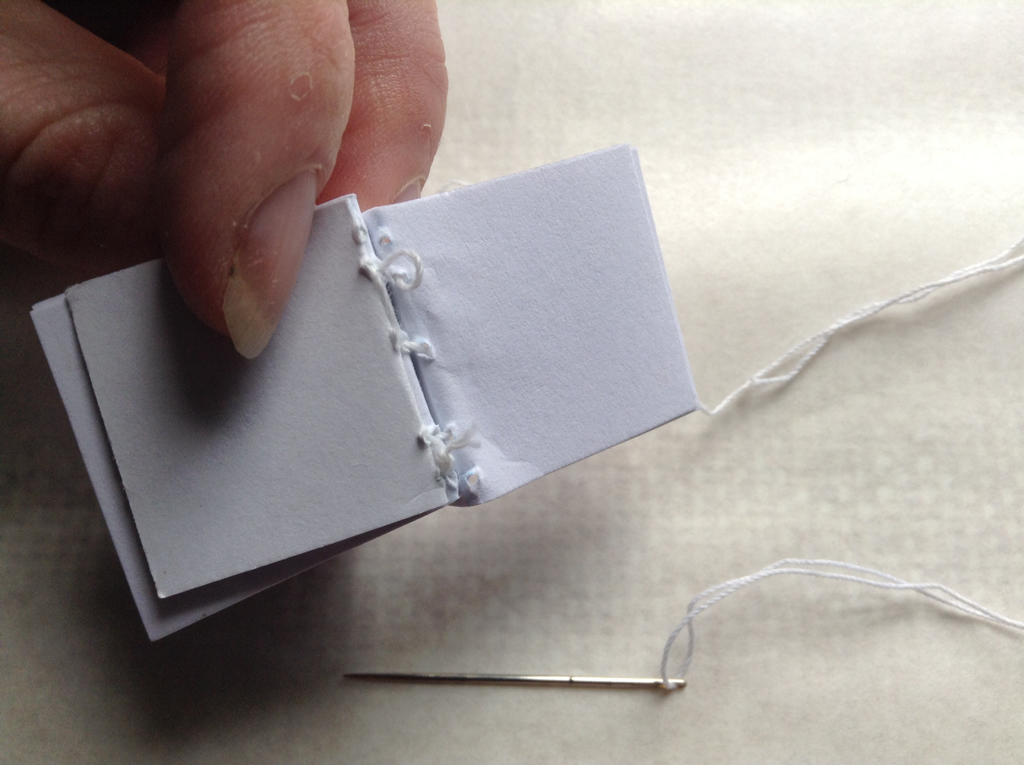 20) Pass needle through hole two in booklet two. | 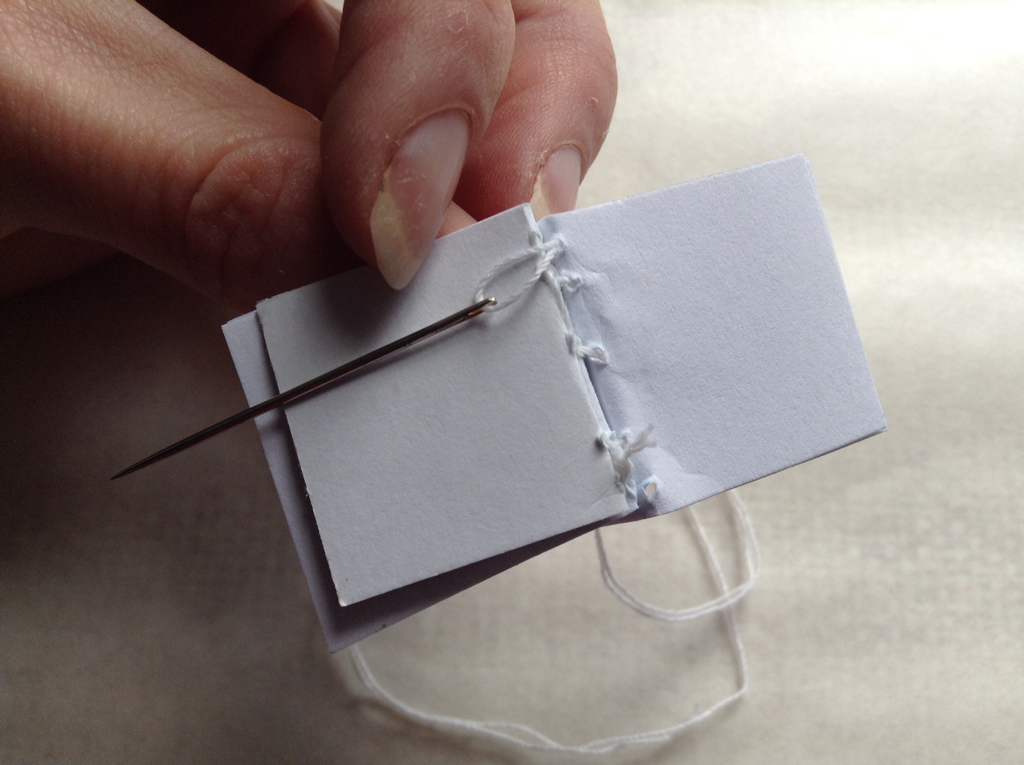 21) Bring needle through hole one in booklet two. |
 22) Loop thread through thread that was made in step 9. Introduce booklet three. Pass needle through hole one in booklet three. | 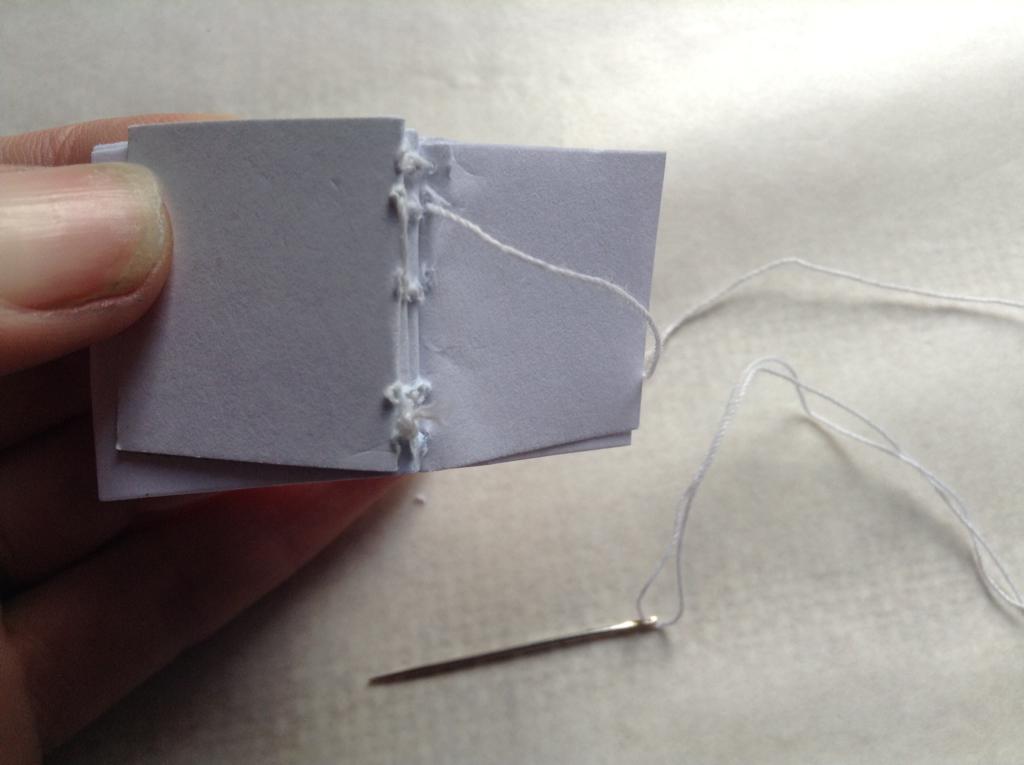 23) Bring through hole two in booklet three. | 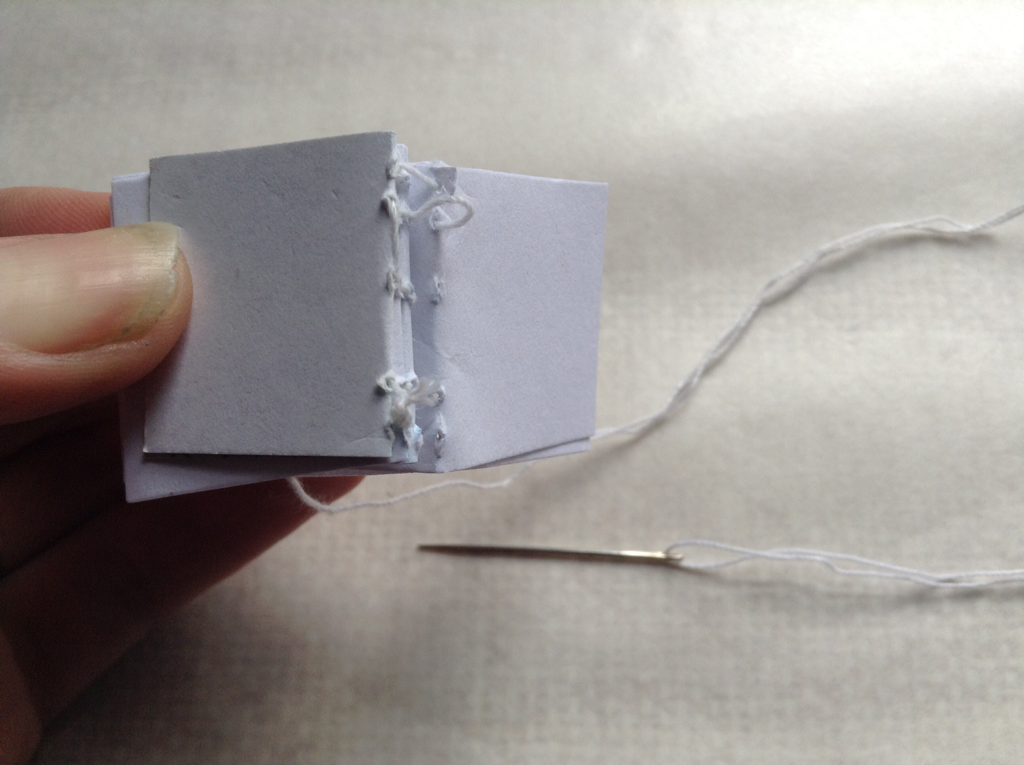 24) Pass needle through hole two in booklet two. |
 25) Bring needle through hole three in booklet two. | 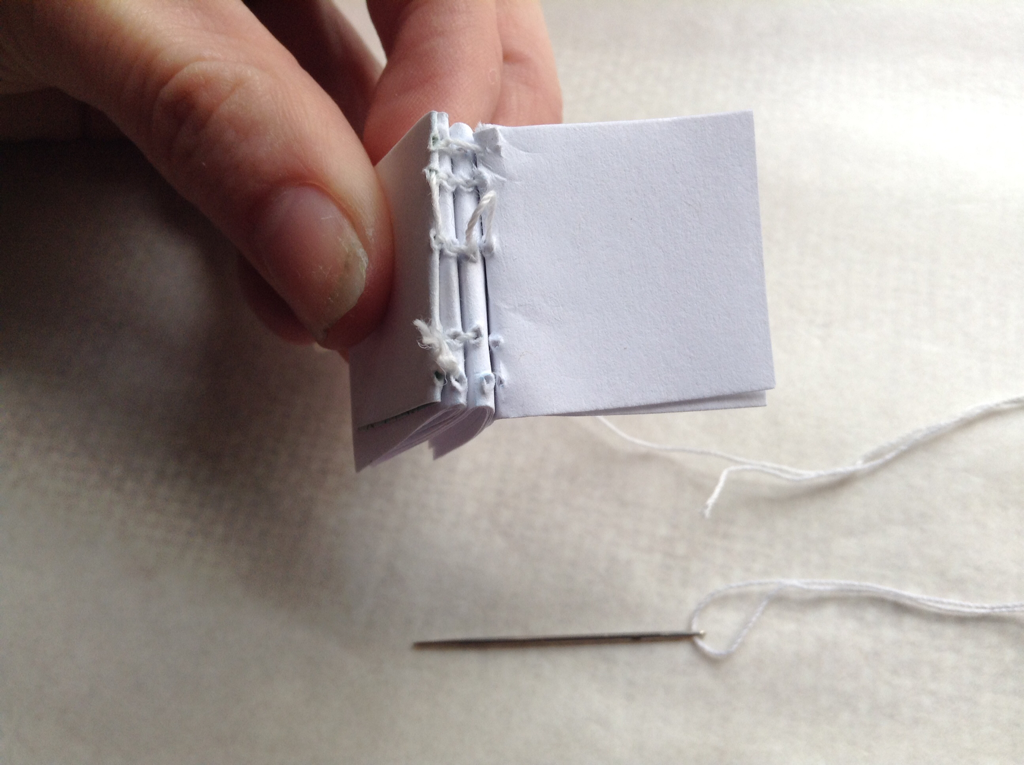 26) Pass needle through hole three in booklet three. | 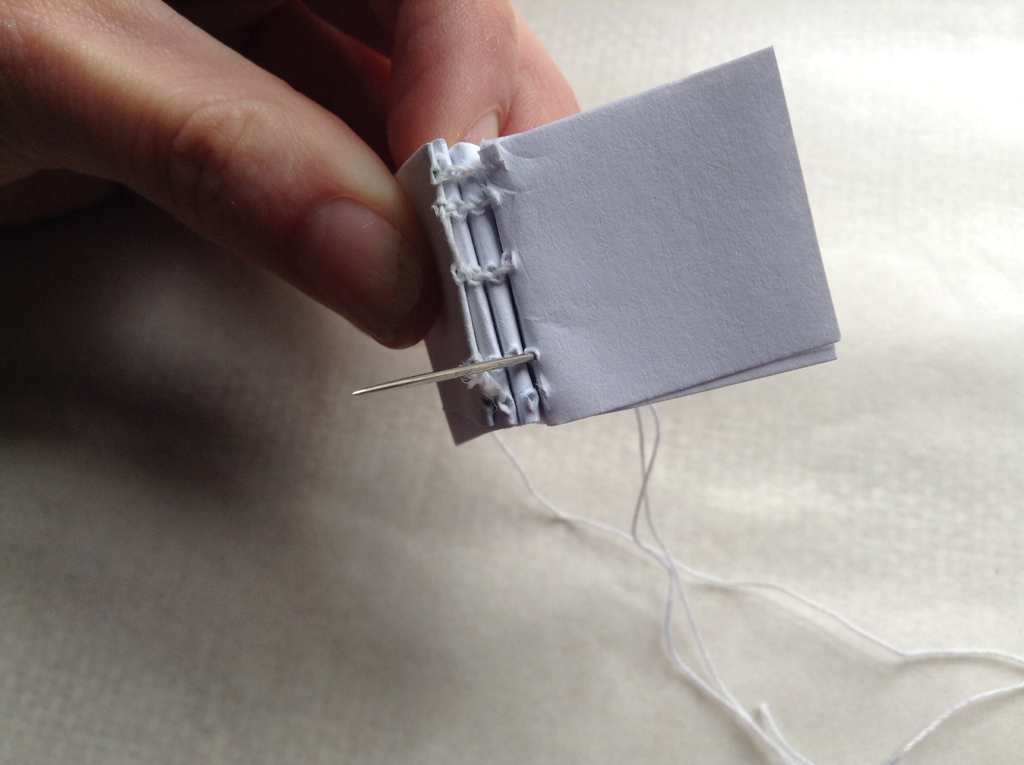 27) Bring needle through hole four booklet three. |
 28) Pass needle through hole four in booklet two. |  29) Bring needle through hole five in booklet two. | 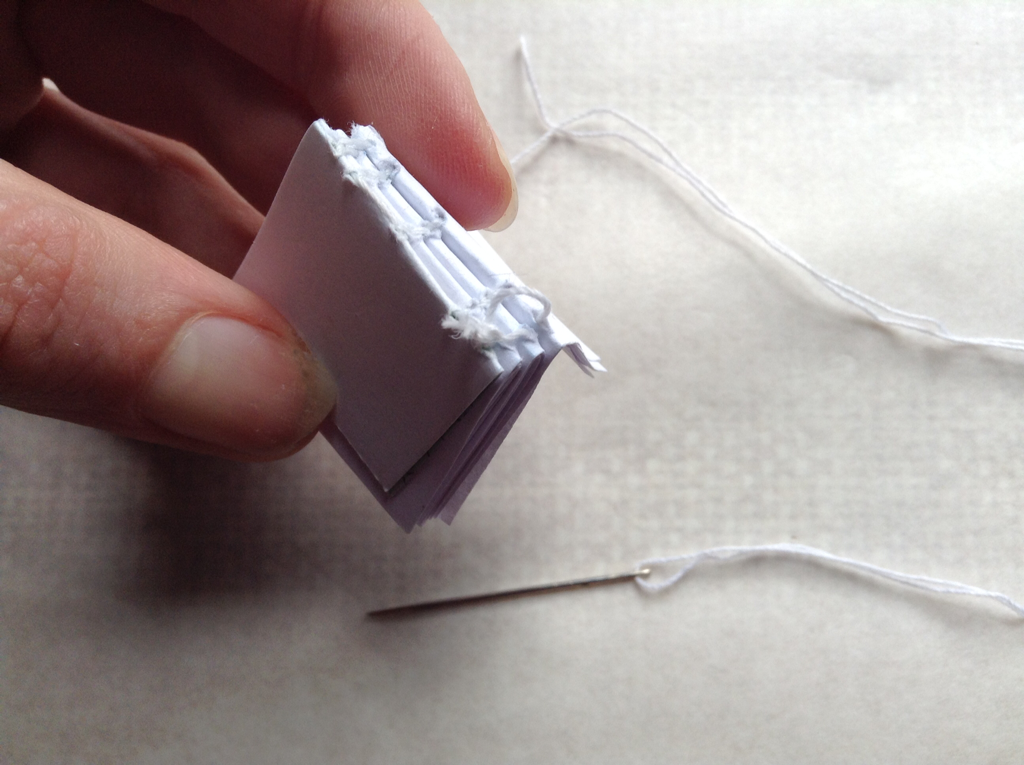 30) Loop needle through thread made at step 14. Pass needle through hole five in booklet three. |
 31) Bring needle through hole four in booklet three. | 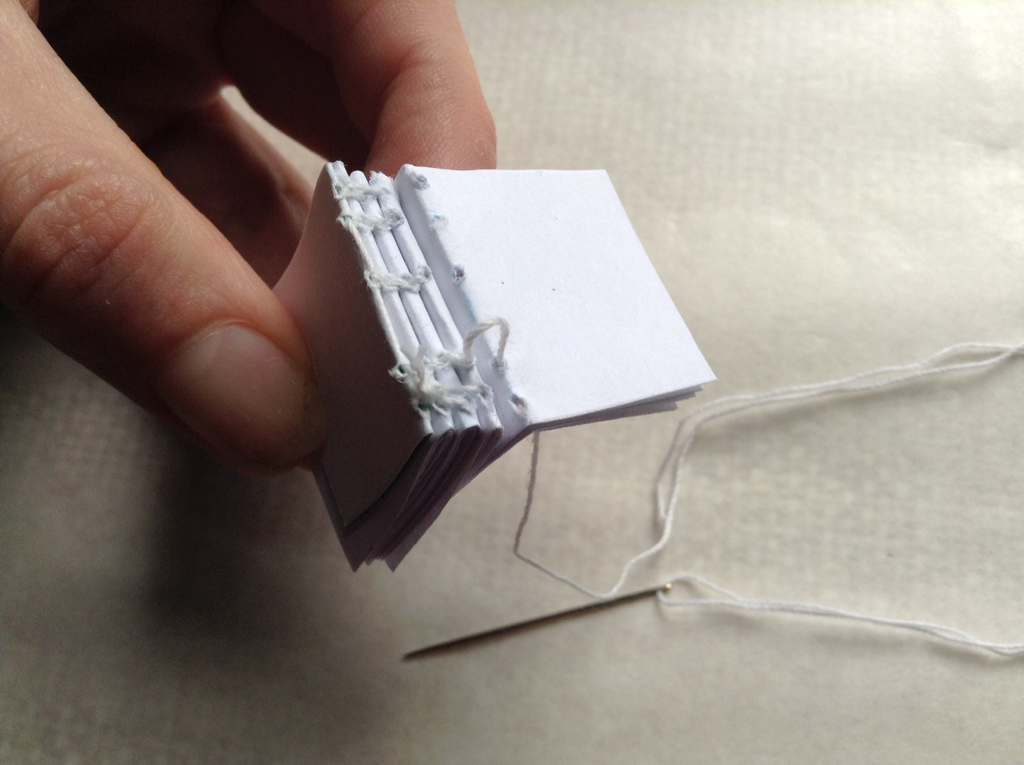 32) Itroduce booklet four. Pass needle through hole four in booklet four. | 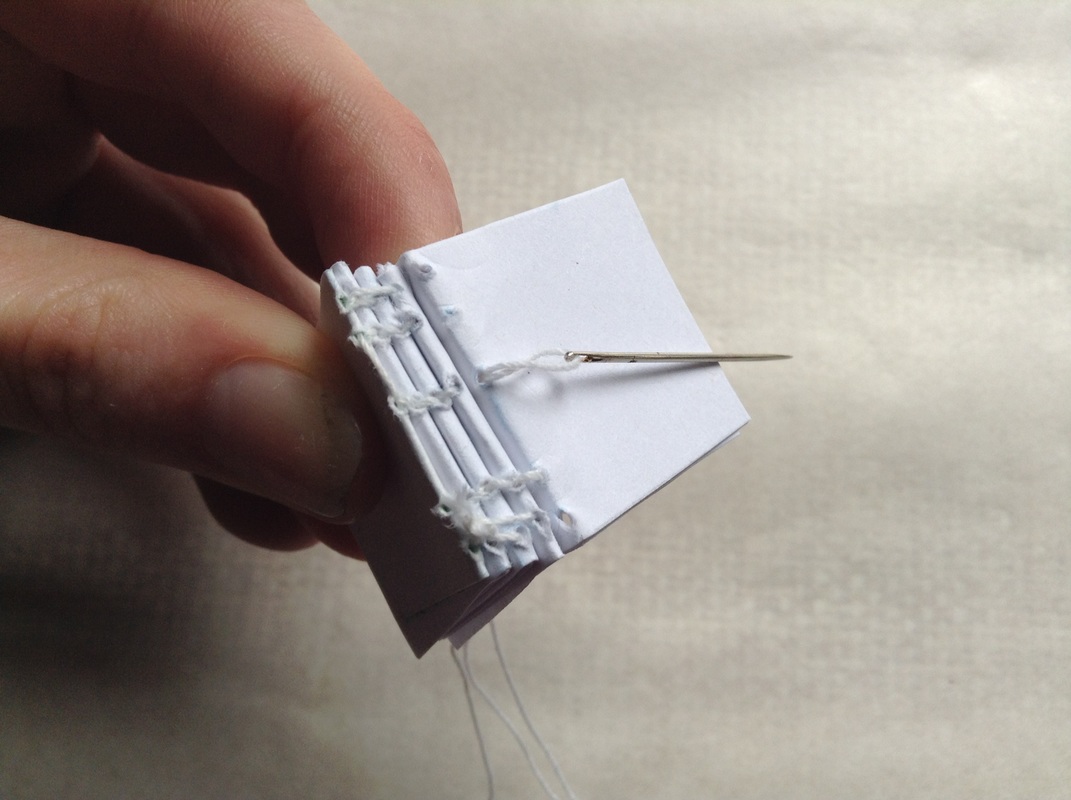 33) Bring needle through hole three in booklet four. |
 34) Pass needle through hole three in booklet three. | 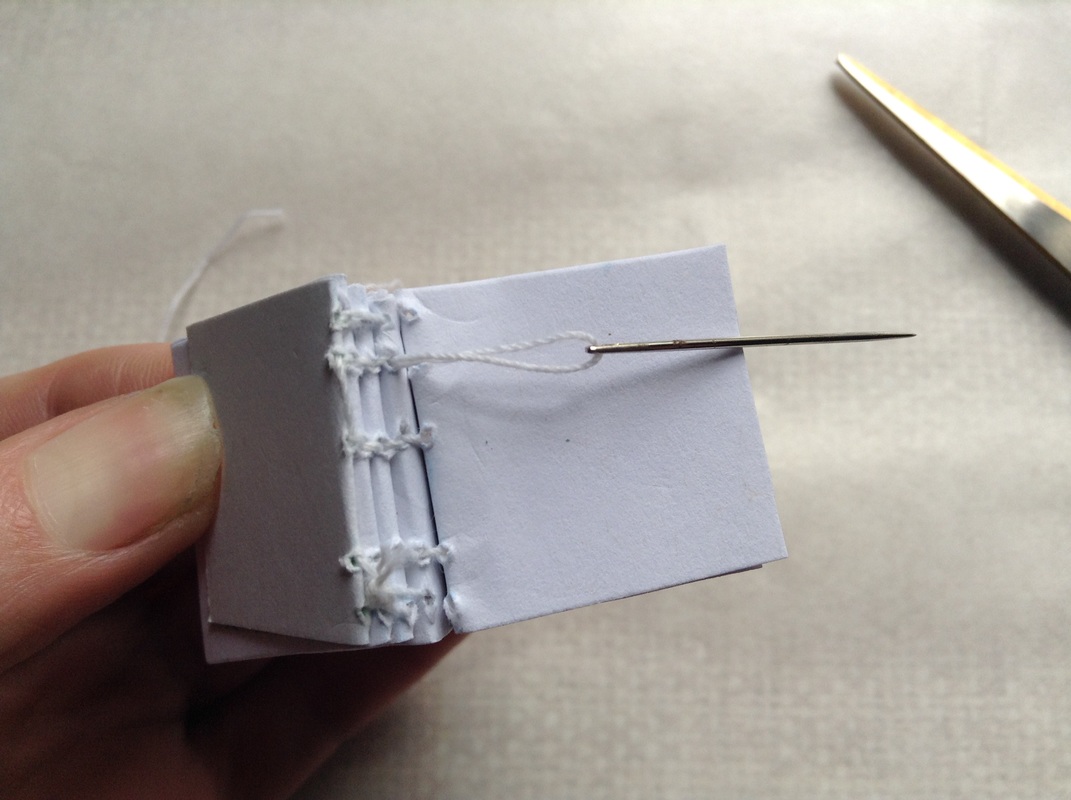 35) Bring needle through hole two in booklet three. | 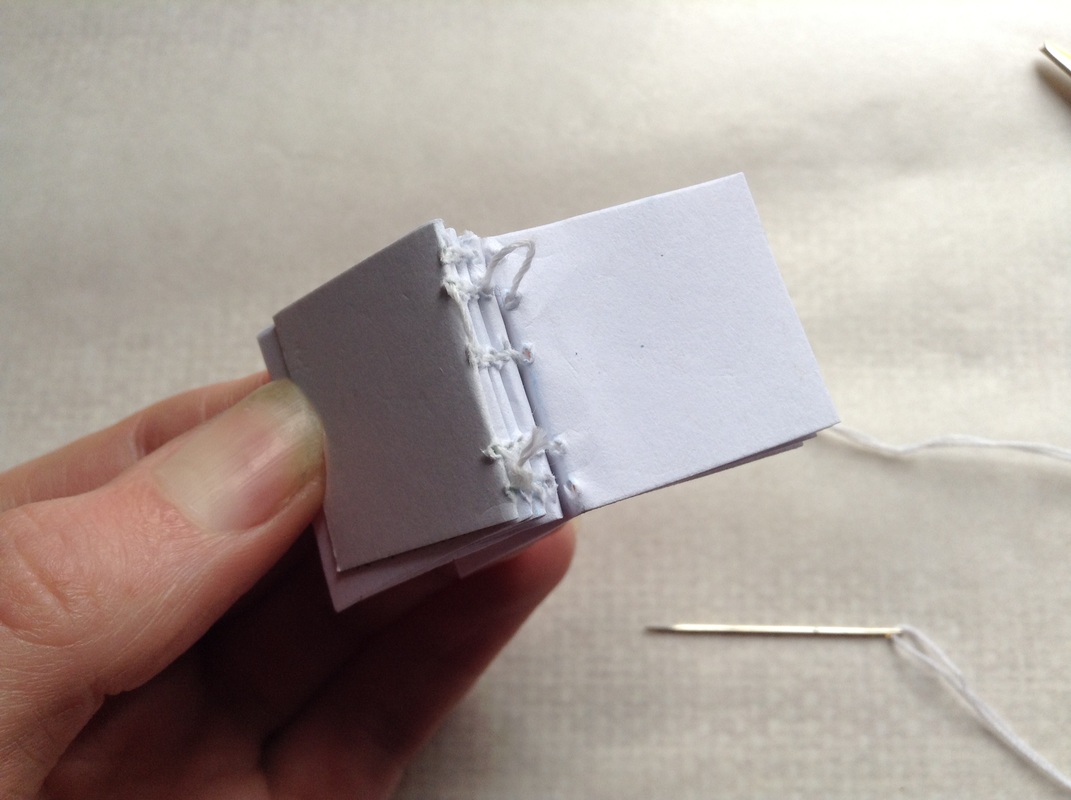 36) Pass needle through hole two in booklet four. |
 37) Bring needle through hole one in booklet four. | 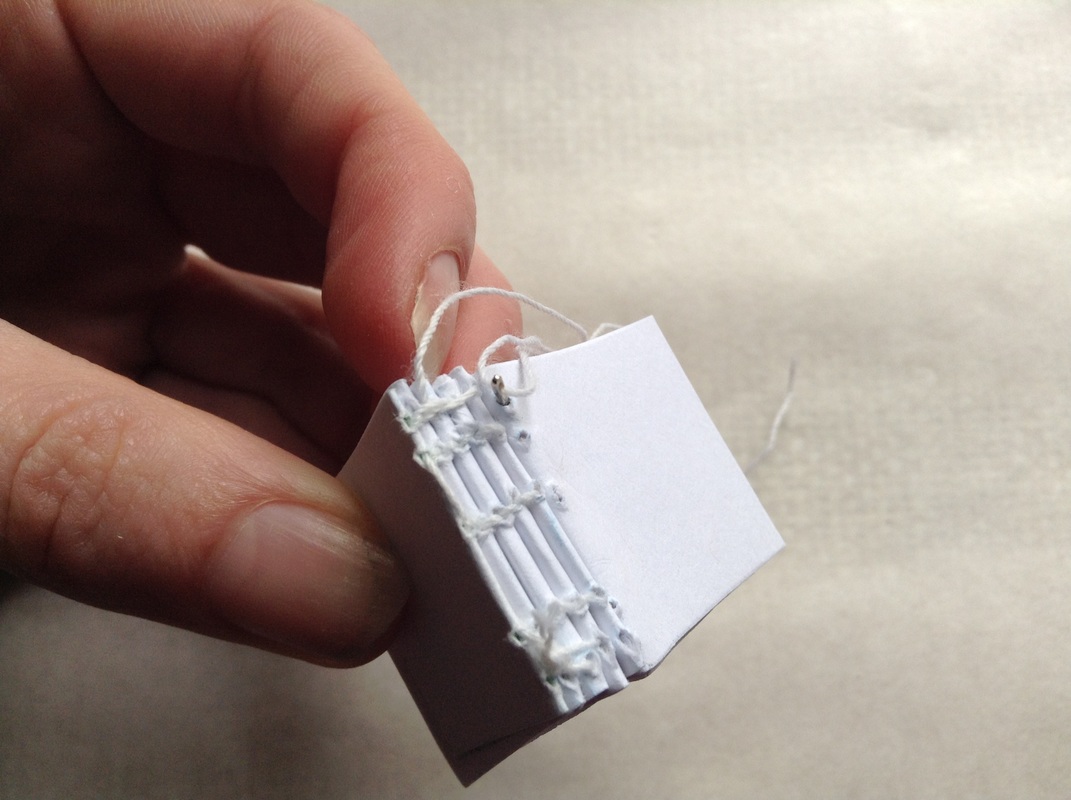 38) Loop needle through thread made at step 22. Introduce booklet five. Pass needle through hole one in booklet five. | 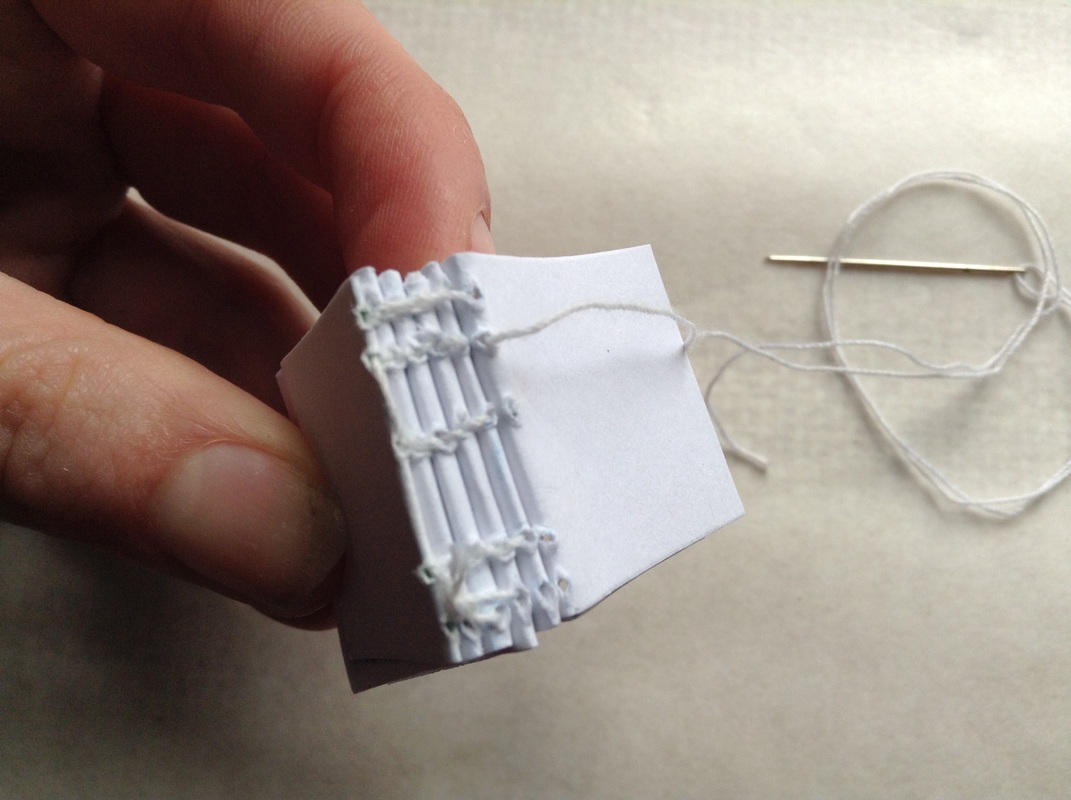 39) Bring needle through hole two in booklet five. |
 40) Pass needle through hole two in booklet four. | 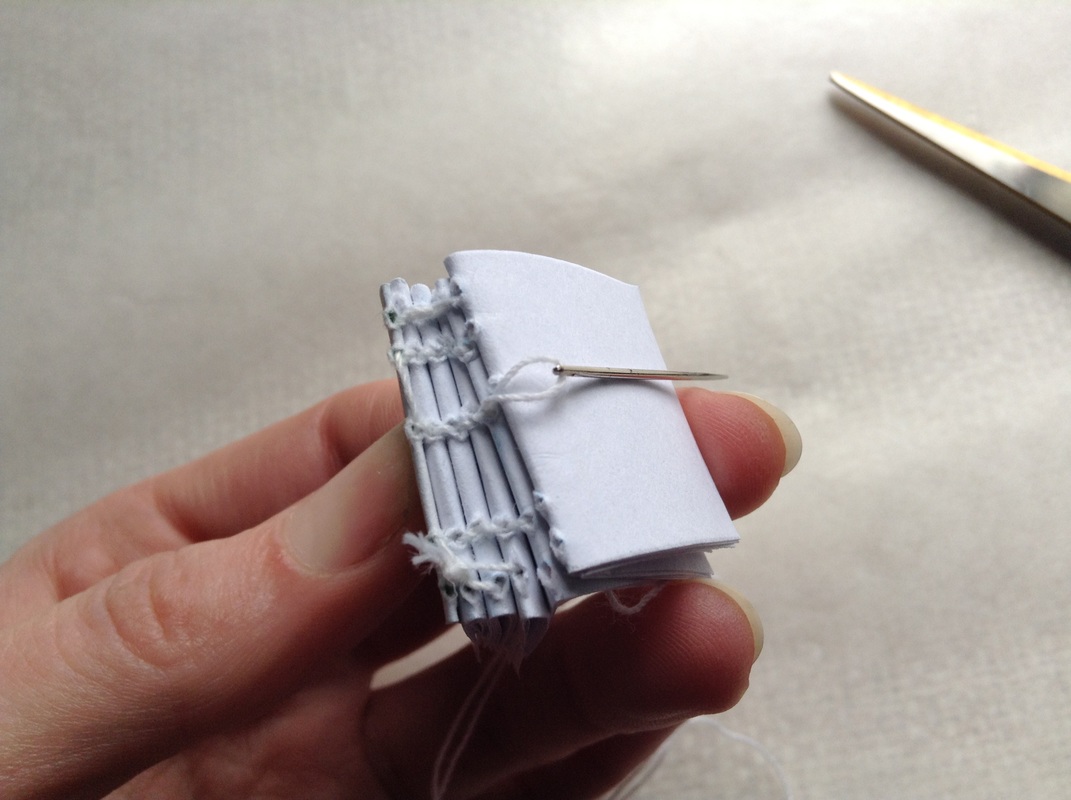 41) Bring needle through hole three in booklet four. | 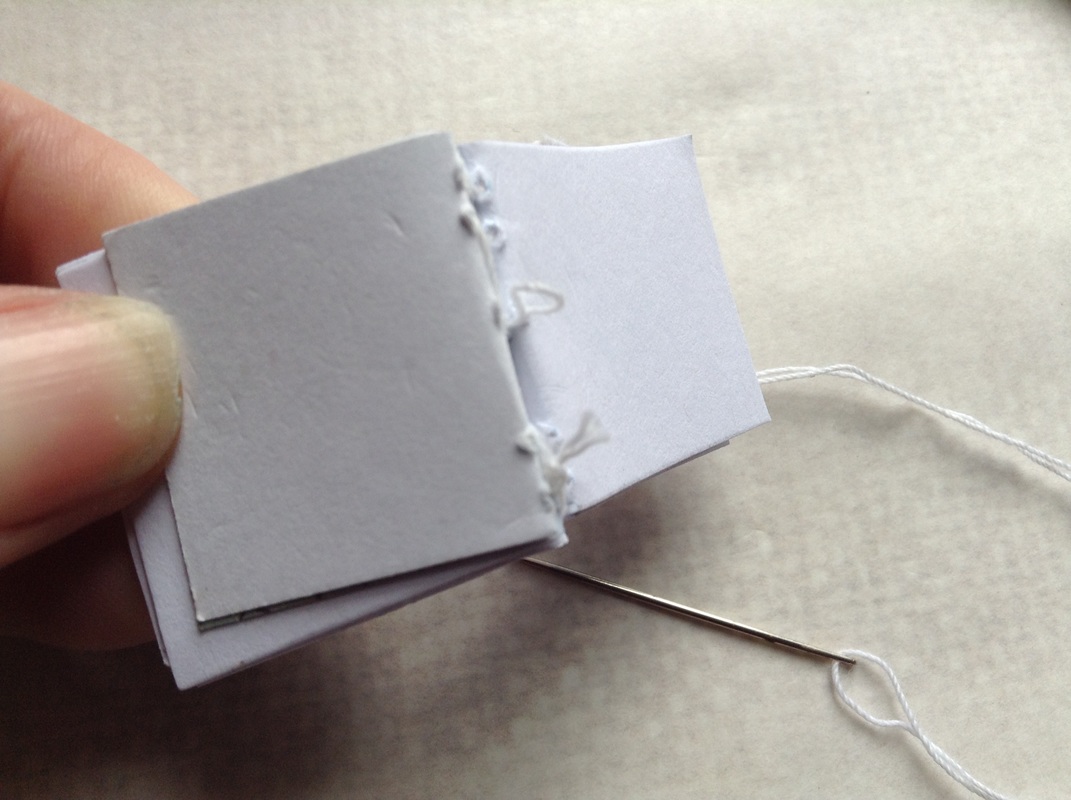 42) Pass needle through hole three in booklet five. |
 43) Bring needle through hole four in booklet five. | 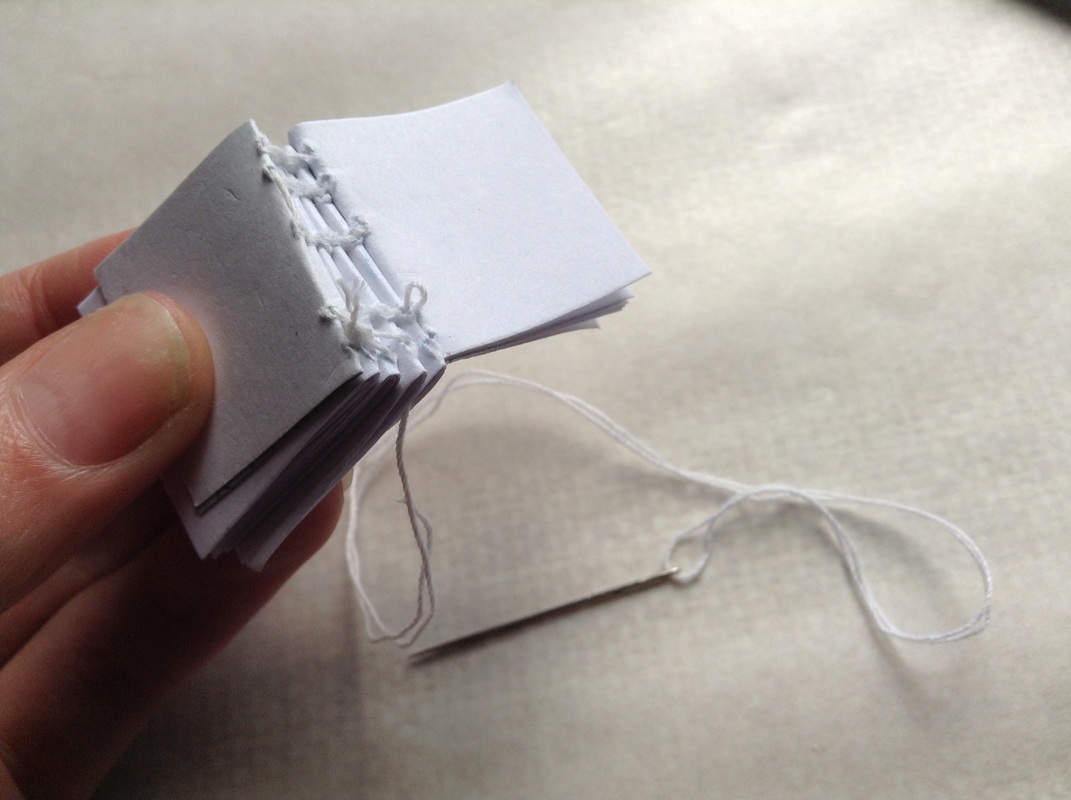 44) Pass needle through hole four in booklet four. | 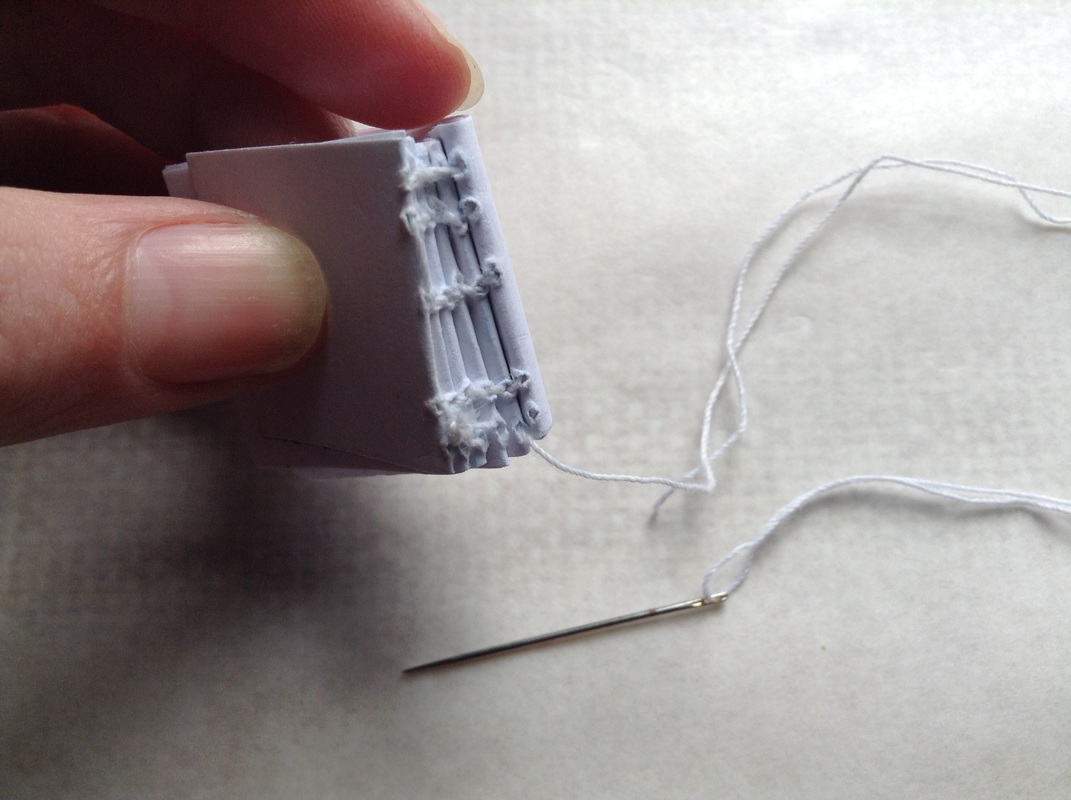 45) Bring needle through hole five in booklet four. |
 46) Lopp needle through thread made at stage 30. Pass needle through hole five in booklet five. | 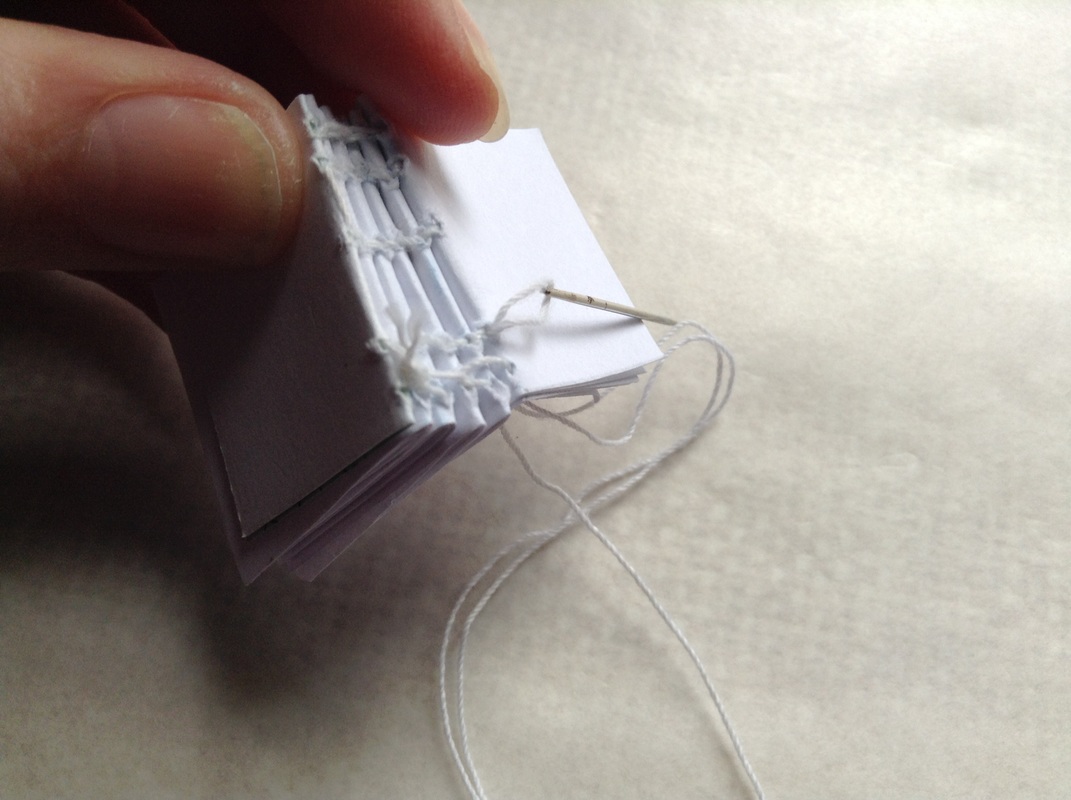 47) Bring needle through hole four in booklet five. |  48) Introduce endpaper. Pass needle through hole four in endpaper. |
 49) Bring needle through hole three in endpaper. | 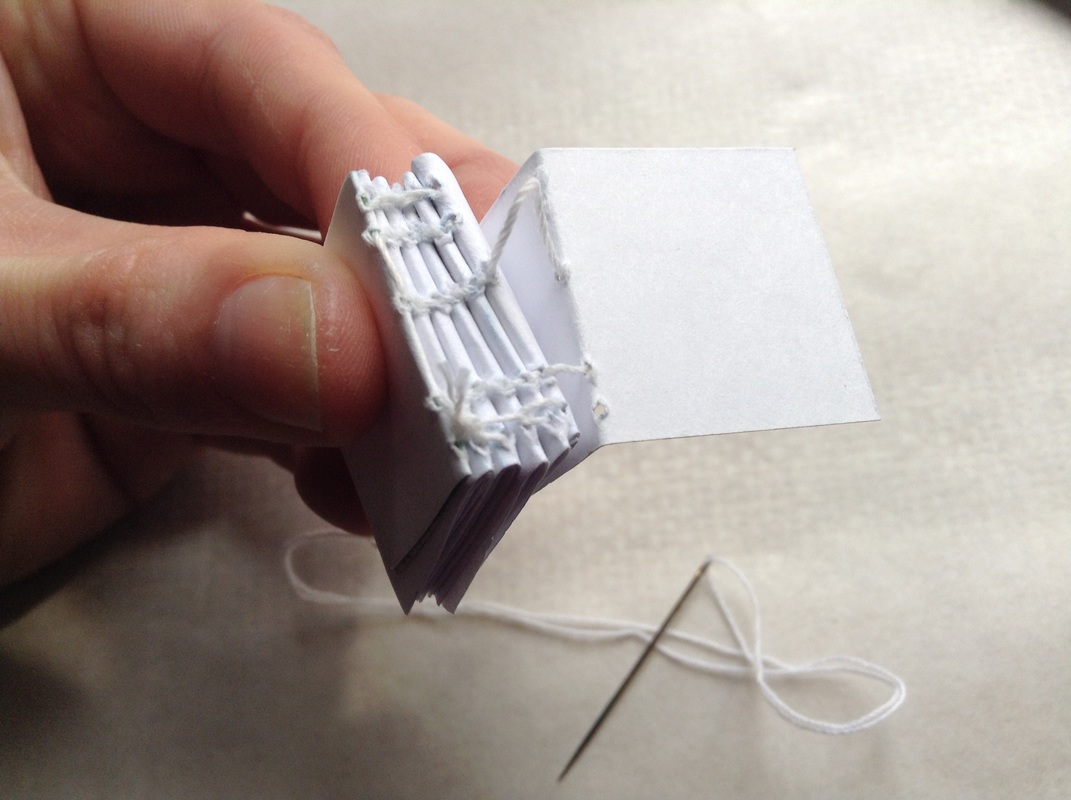 50) Pass needle through hole three in booklet five. | 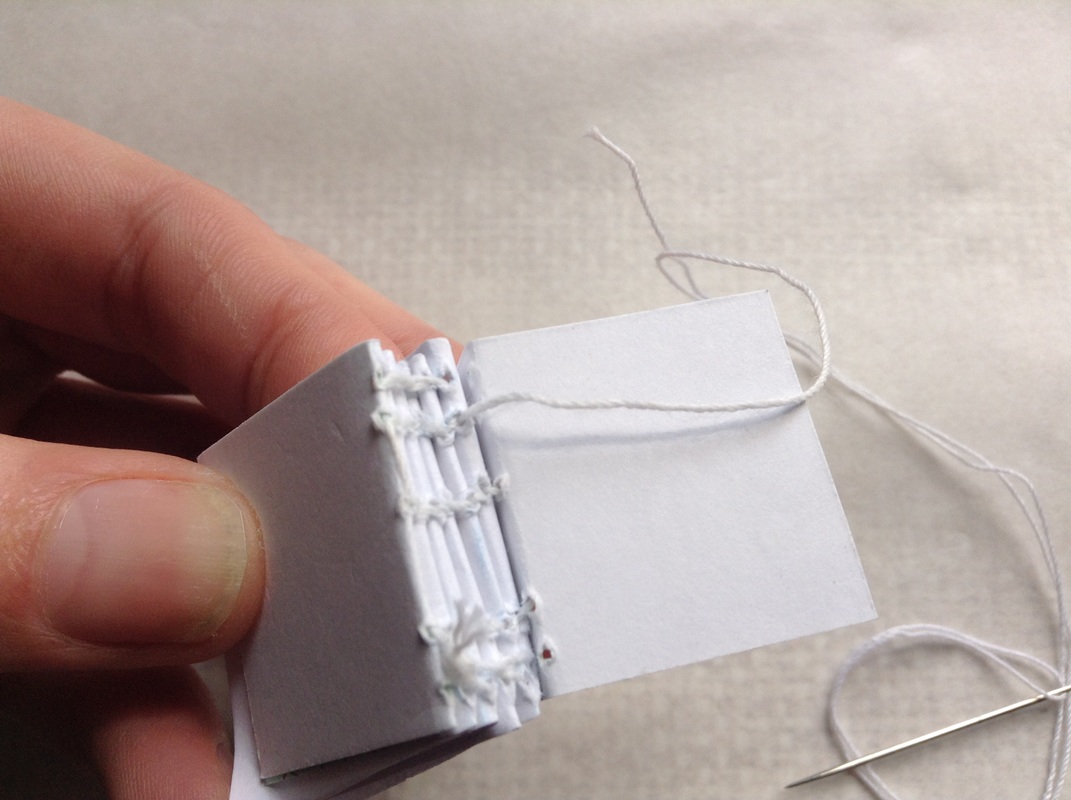 51) Bring needle through hole two in booklet five. |
 52) Pass needle through hole two in endpaper. | 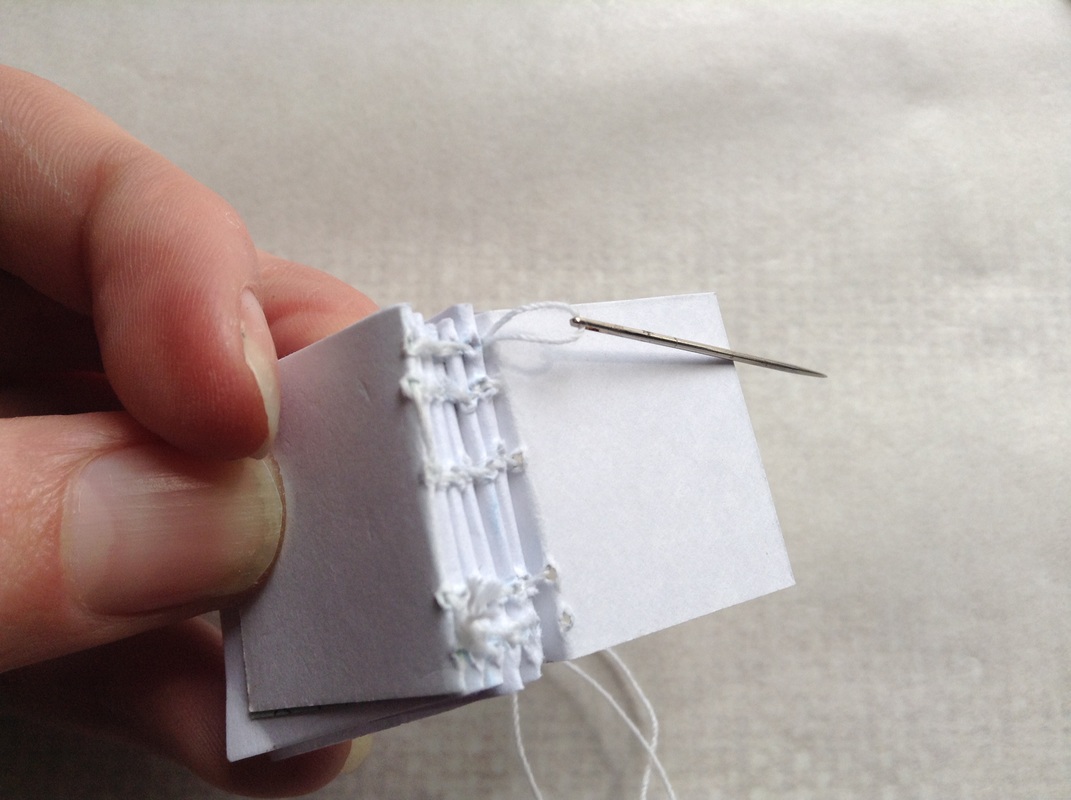 53) Bring needle through hole one in endpaper. | 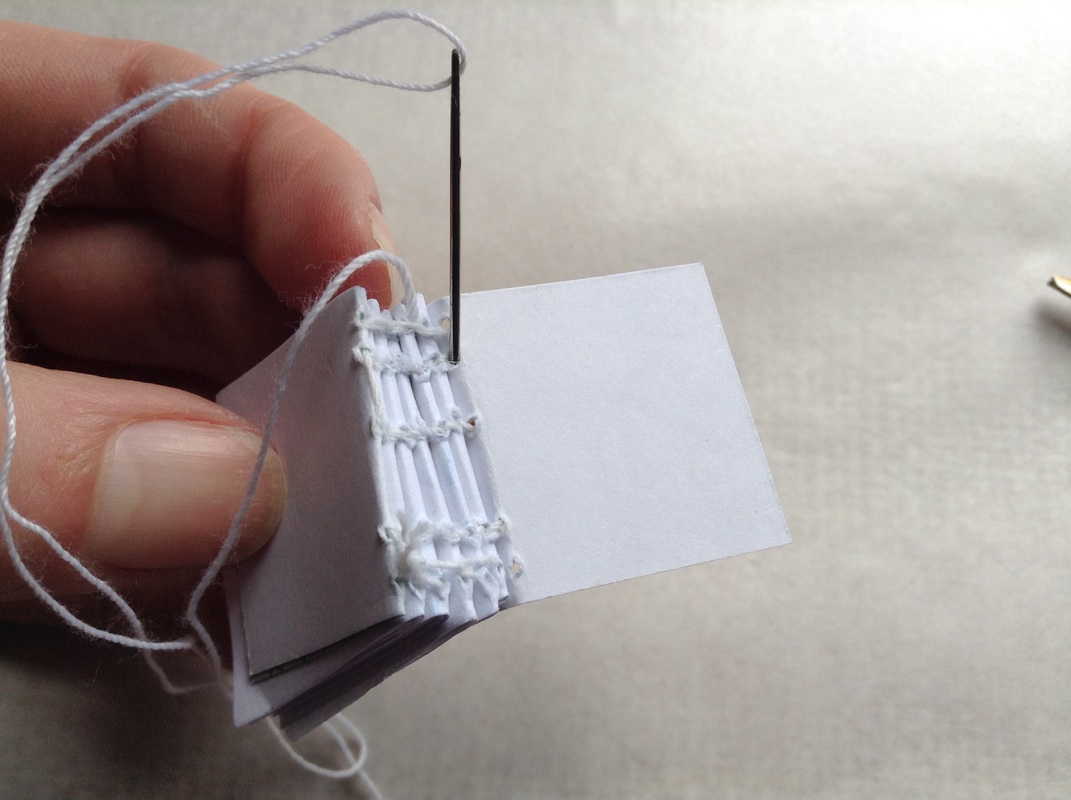 54) Loop needle through thread made at step 38. Pass needle through hole two in endpaper. |
 55) Bring needle through hole three in endpaper. | 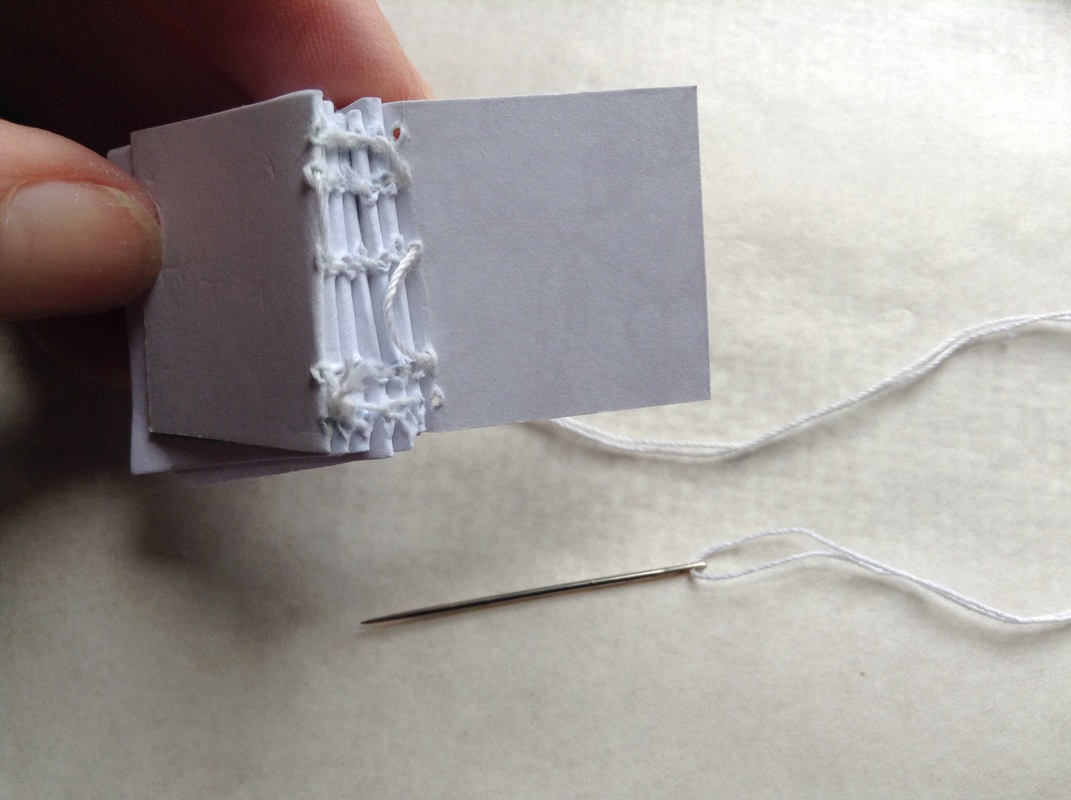 56) Pass needle through hole four in endpaper. Thread is seen along spine. | 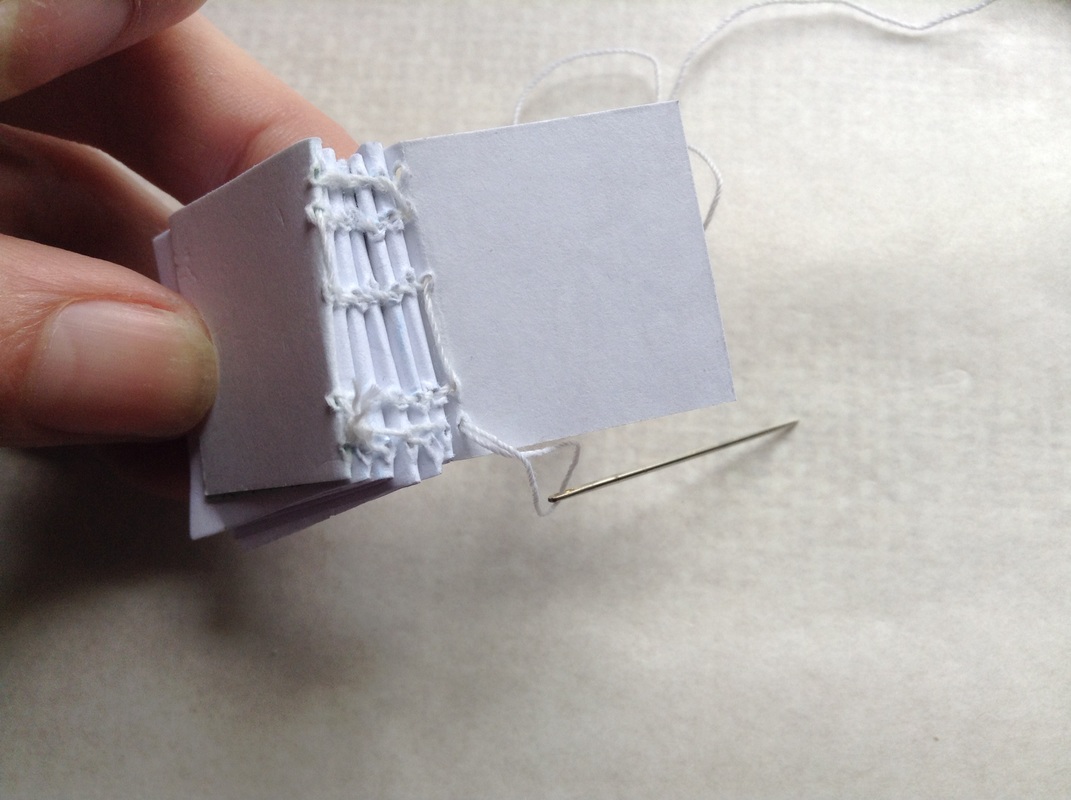 57) Bring needle through hole five in endpaper. |
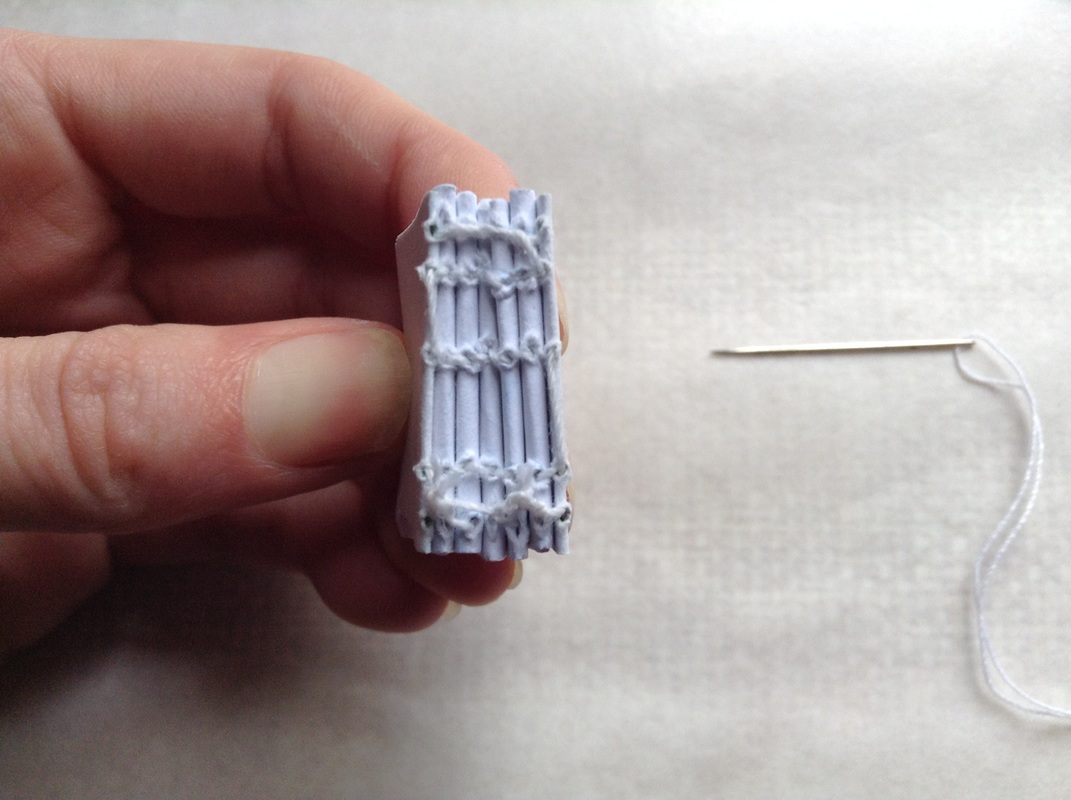
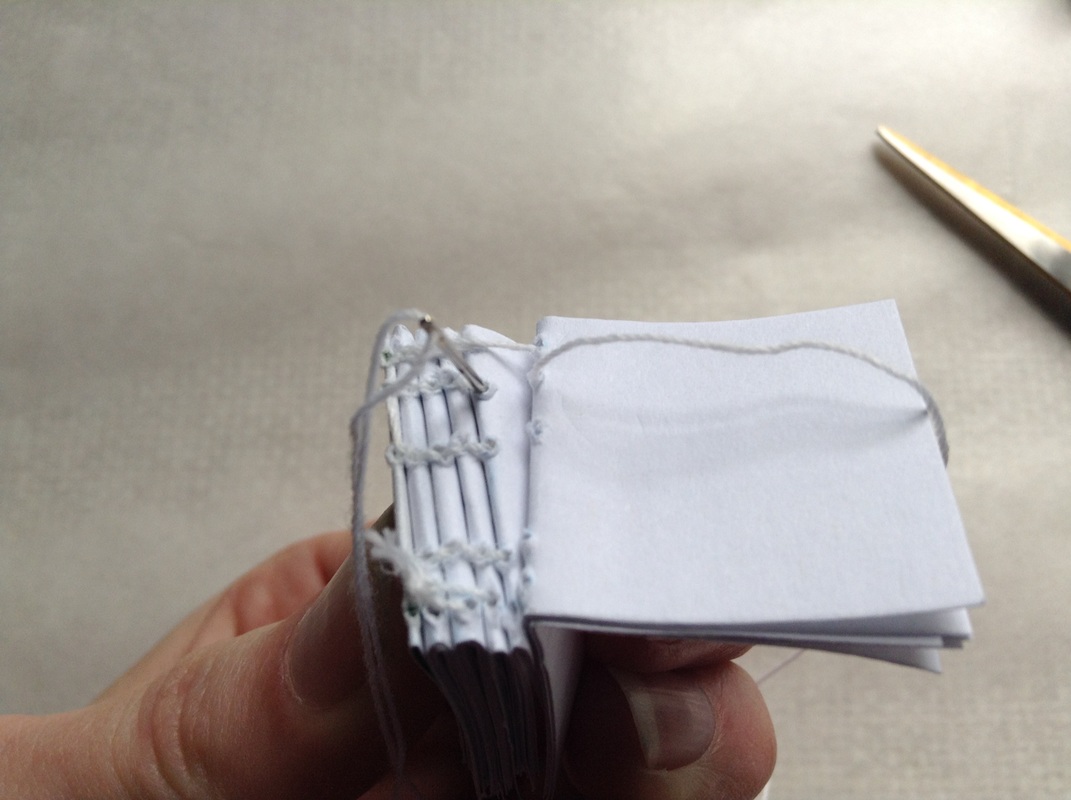
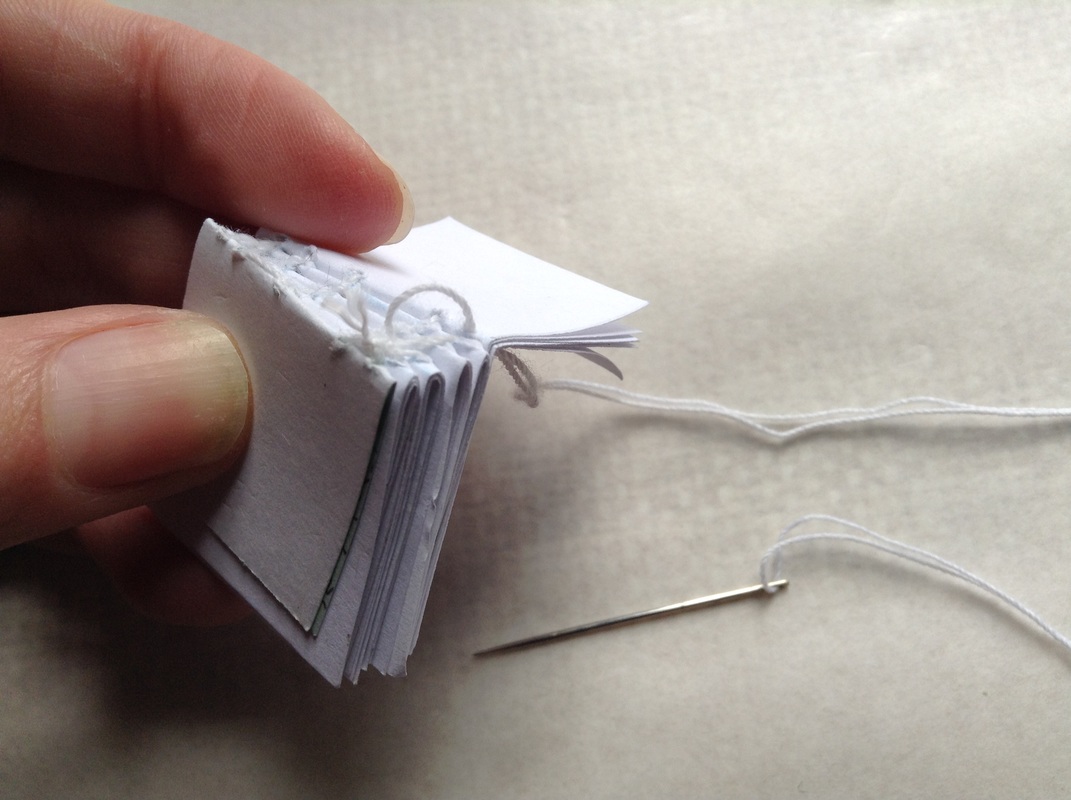
58) Loop needle through thread made at step 46. Tie a knot. Cut away excess thread.
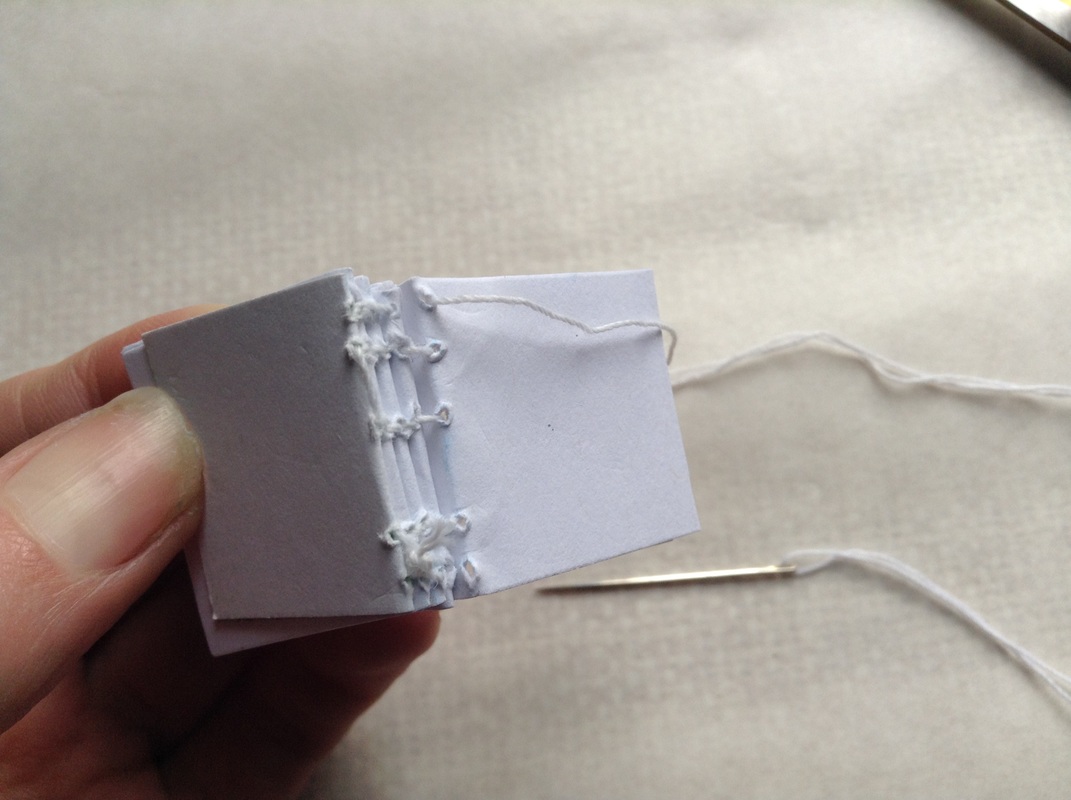
When you are finished the spine should look like this.
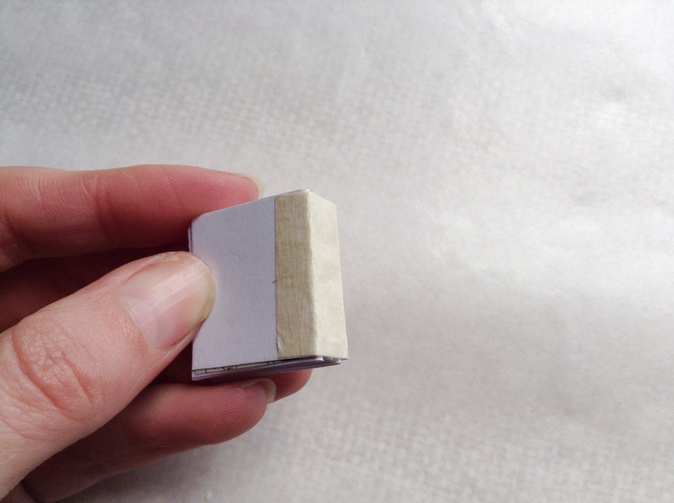
I like to cover the binding with masking tape. Helps to keep the binding nice and tight.

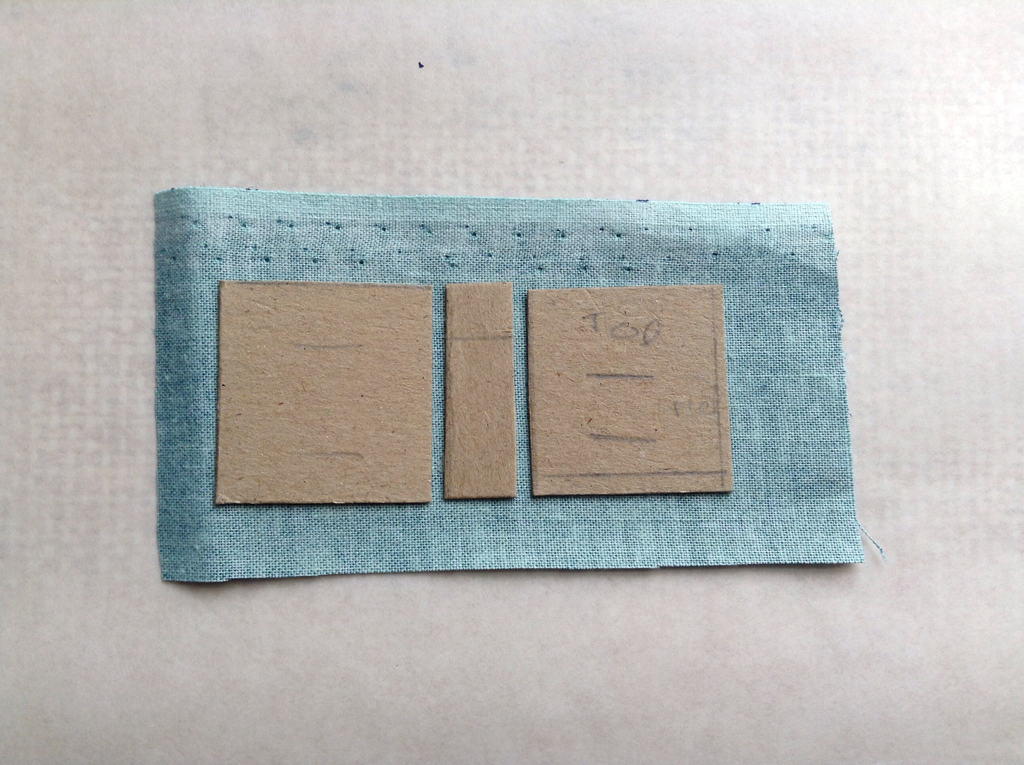
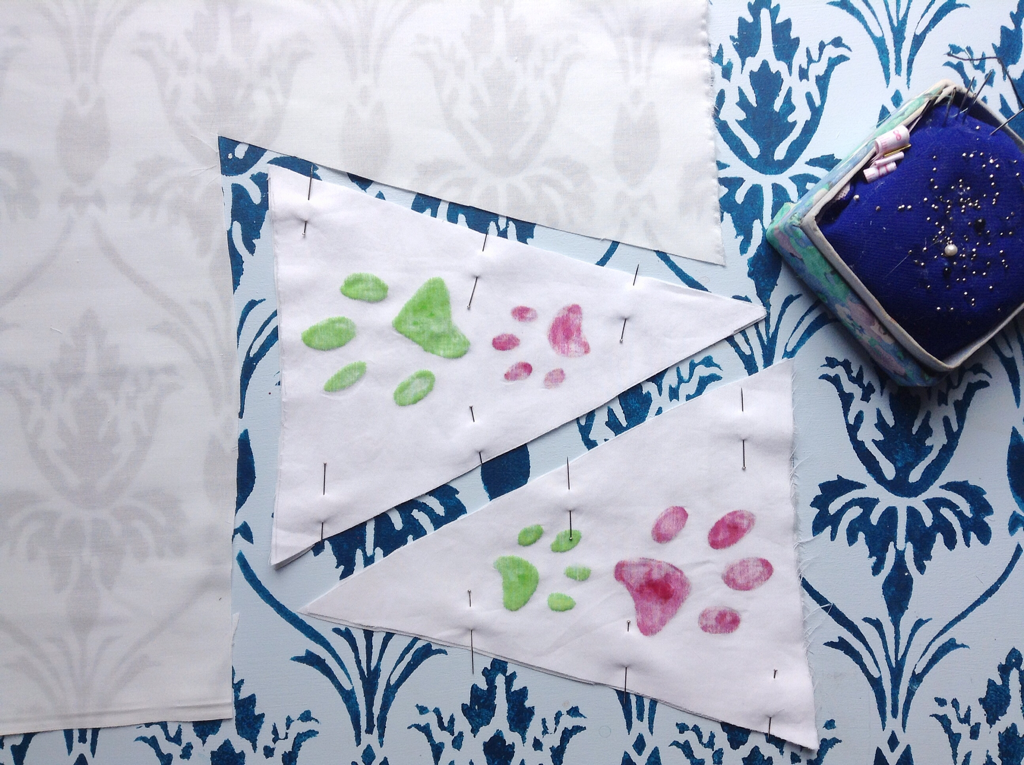
Cut out the cover, slightly larger than the booklet pages. You'll need two end covers, and a spine.
I made the cover out of a recycled cereal box.
I made the cover out of a recycled cereal box.
Glue card cover to fabric. Leave to dry.
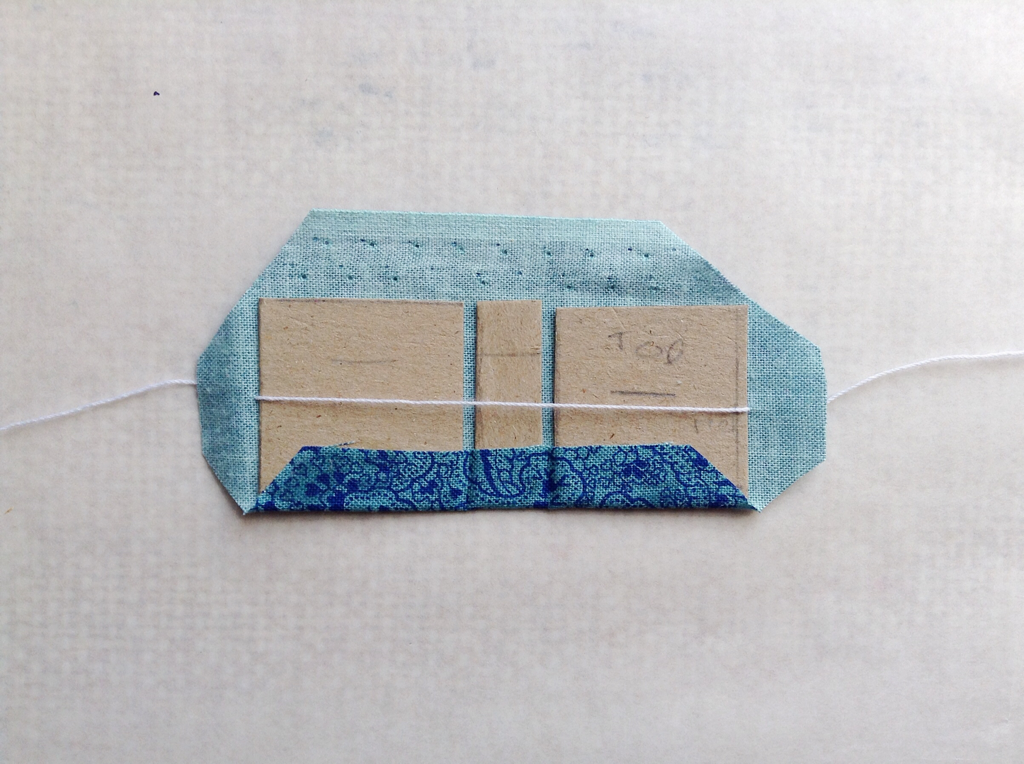 | 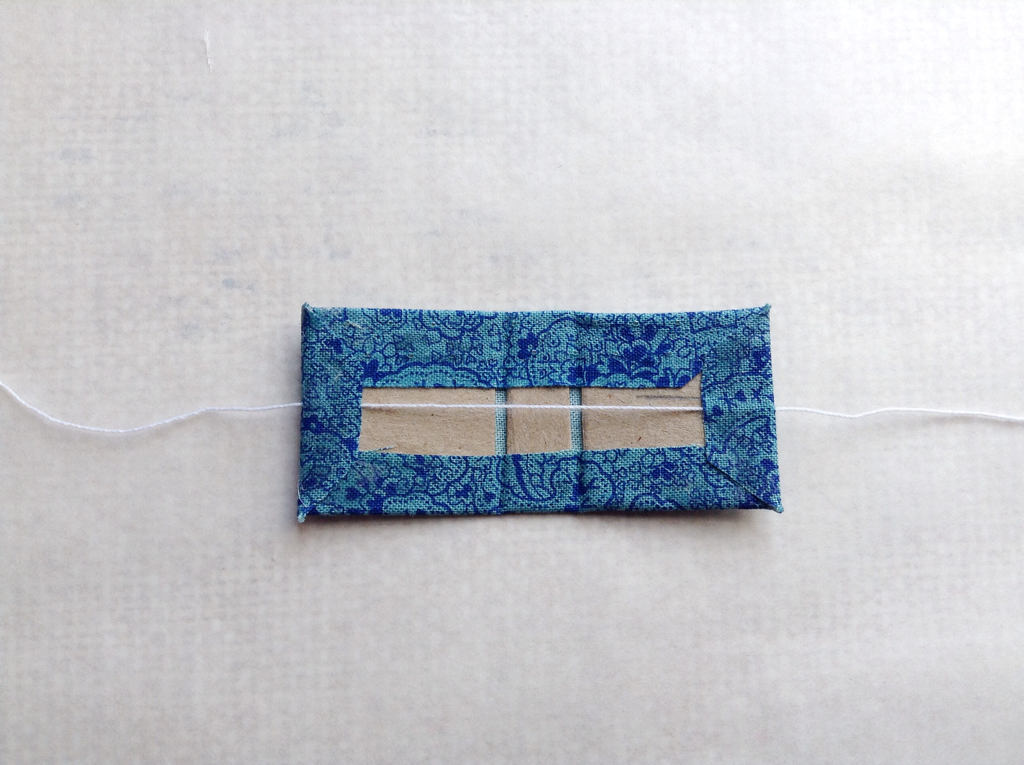 |
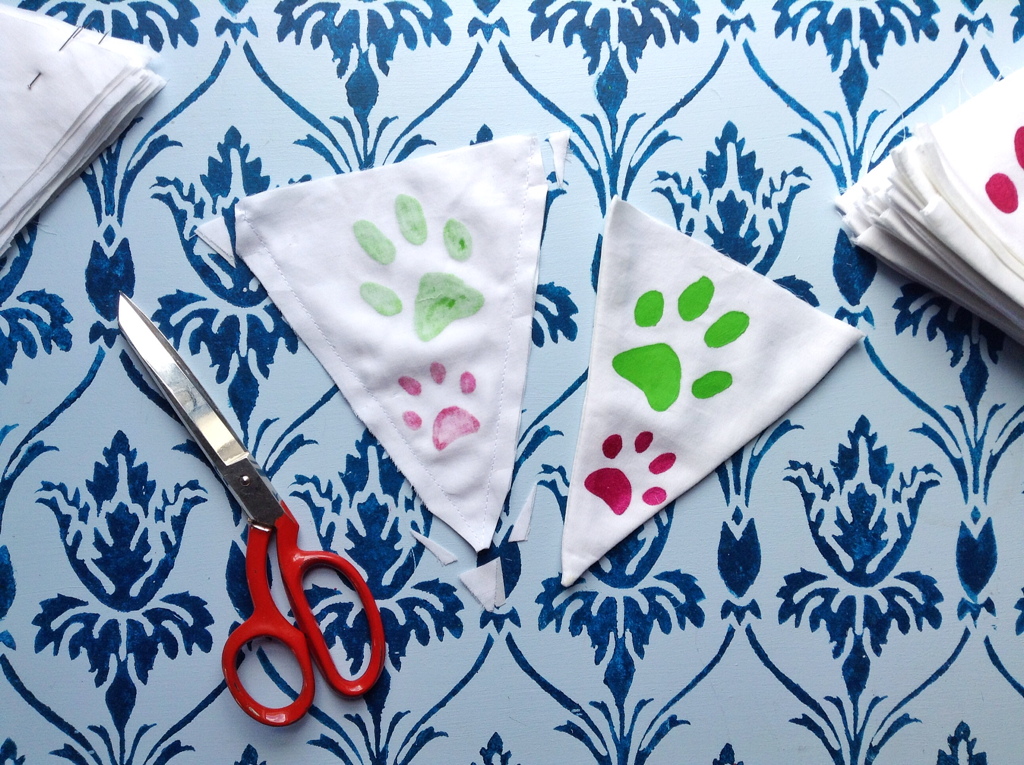
Trim fabric down. Thread string along inside of cover. Then glue down all the fabric edges.
Press the cover under some books as it dries.
Press the cover under some books as it dries.
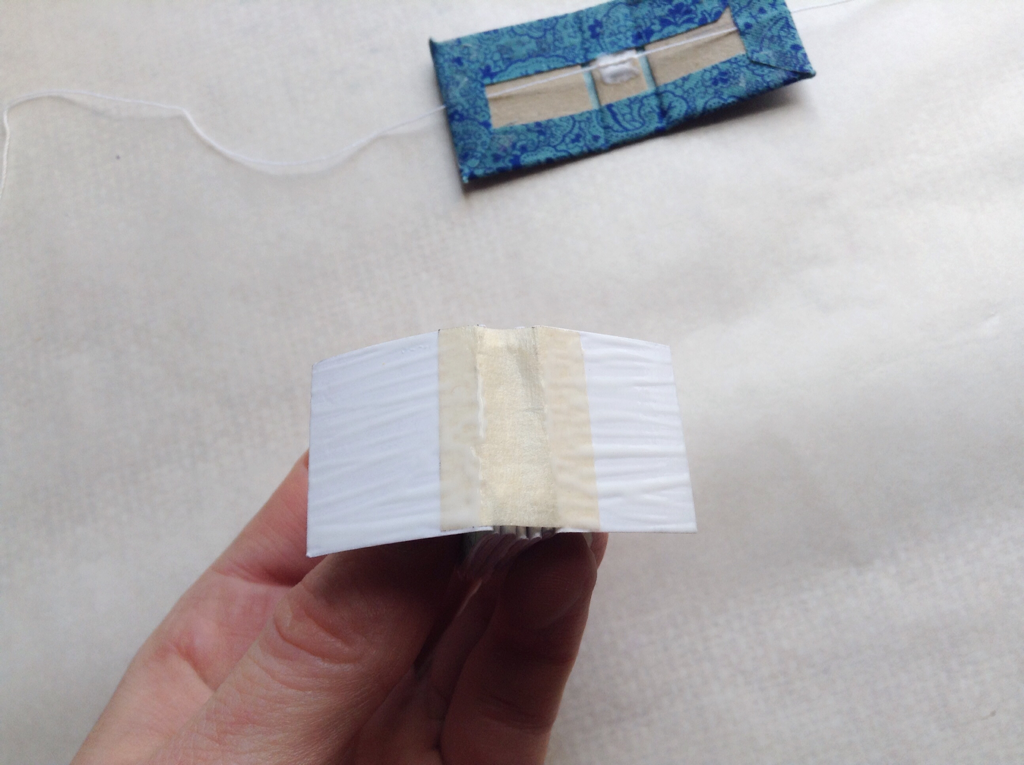
Glue booklet into cover. Press under a stack of books. Once its dry the book is done and you decorate to your leisure.
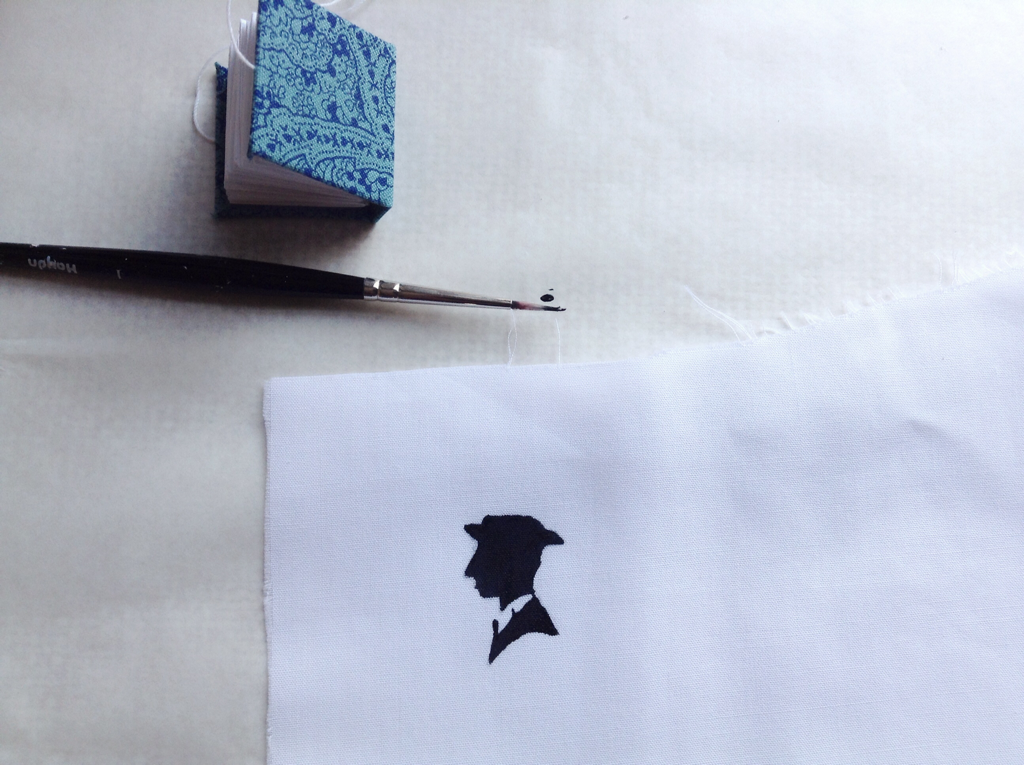
I painted a small silhoutte of Buster Keaton and glued the square onto the front of the book.
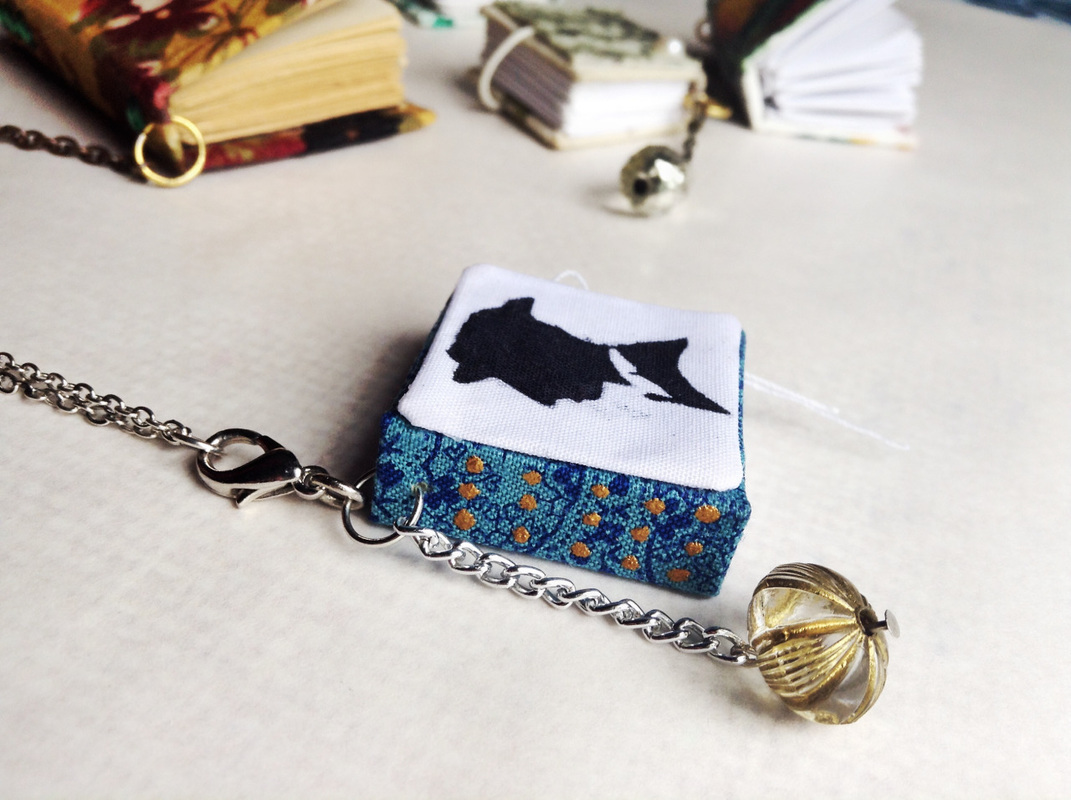
I like turning these mini books into pendants.
I use a drawing pin to punch a hole into the top of the spine of the book and loop through a jewellery ring. That way the book can be added to a necklace.
I use a drawing pin to punch a hole into the top of the spine of the book and loop through a jewellery ring. That way the book can be added to a necklace.
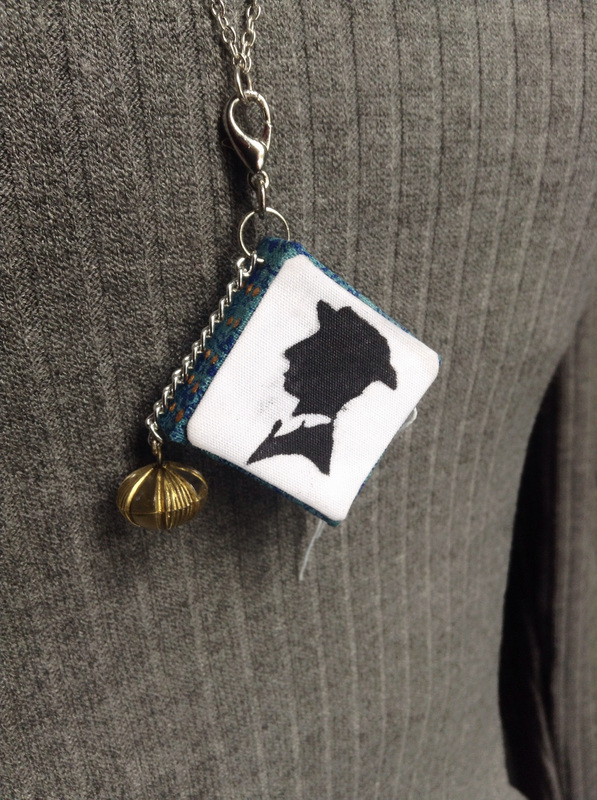
With this book I added a clip to make the book more multi-use. It can be clipped to a necklace or keychain or something.


 RSS Feed
