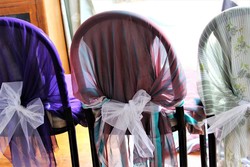
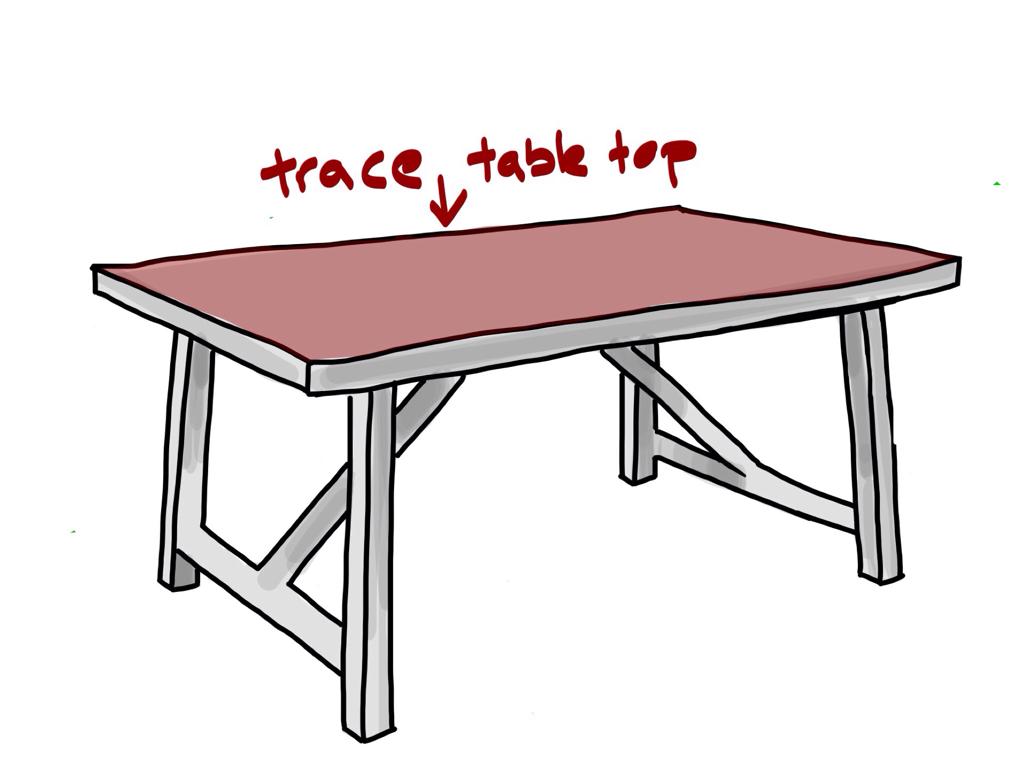
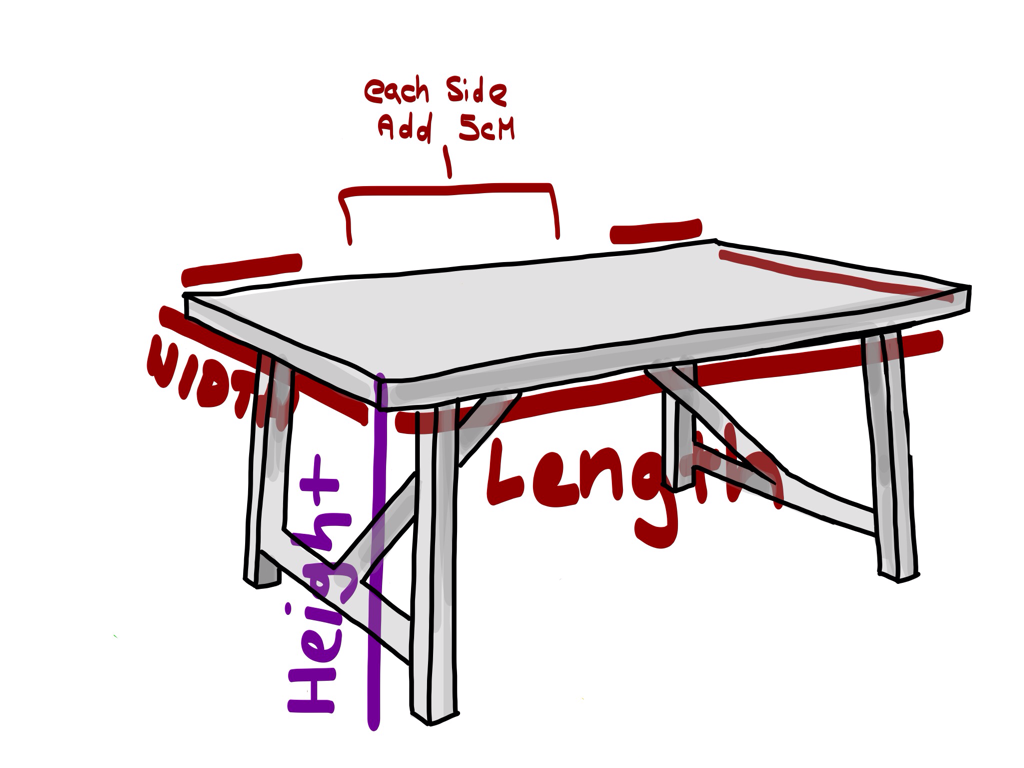
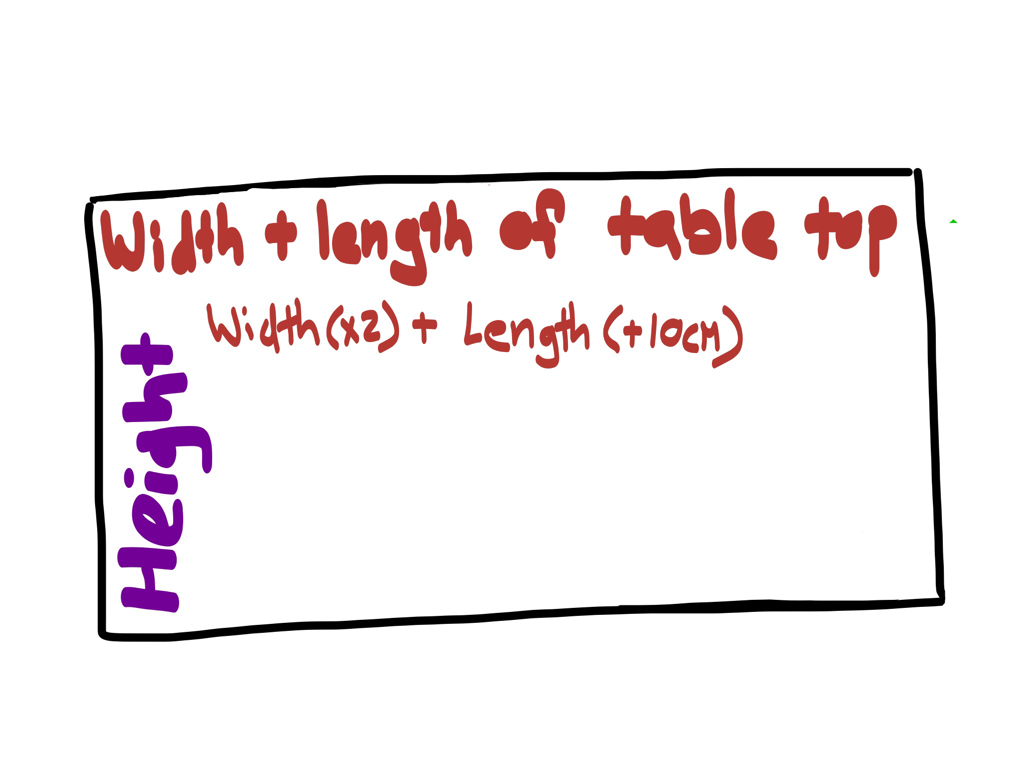
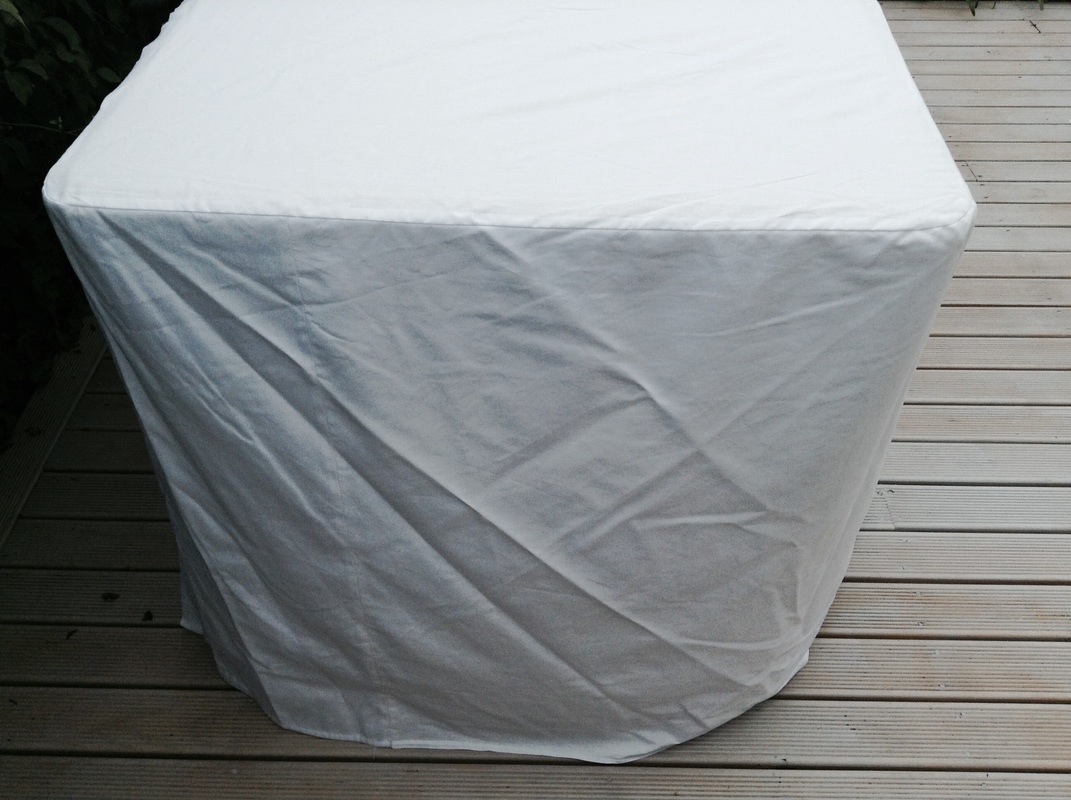
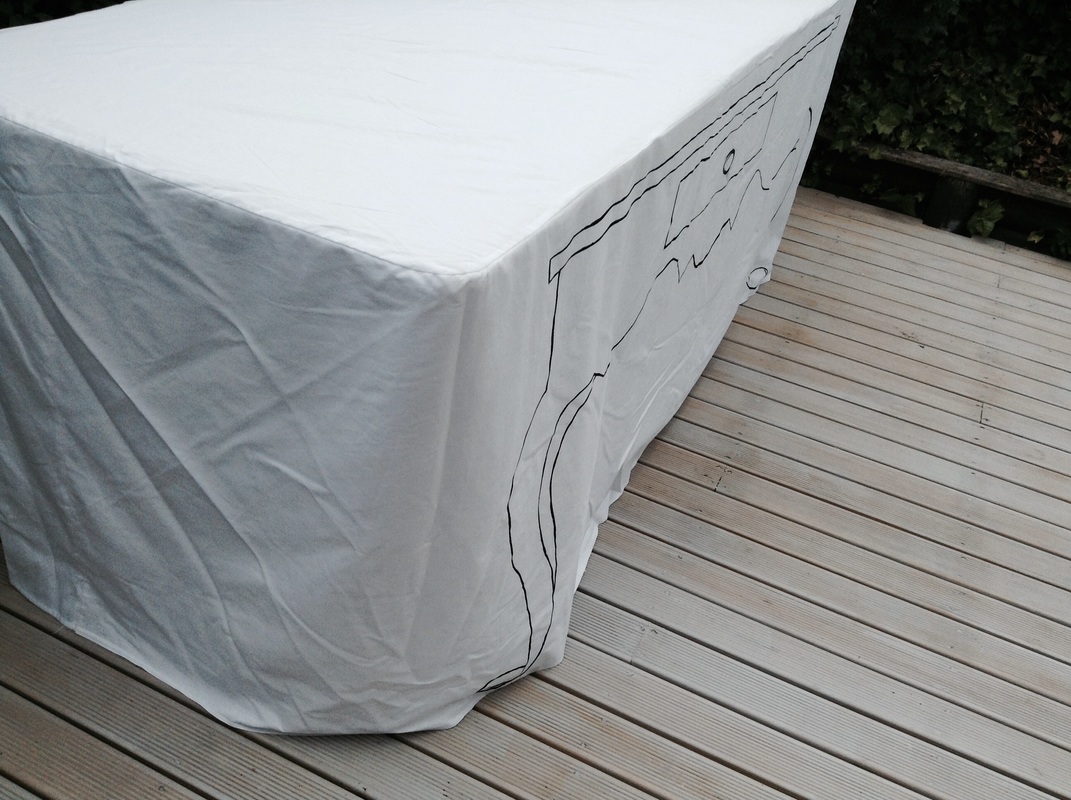
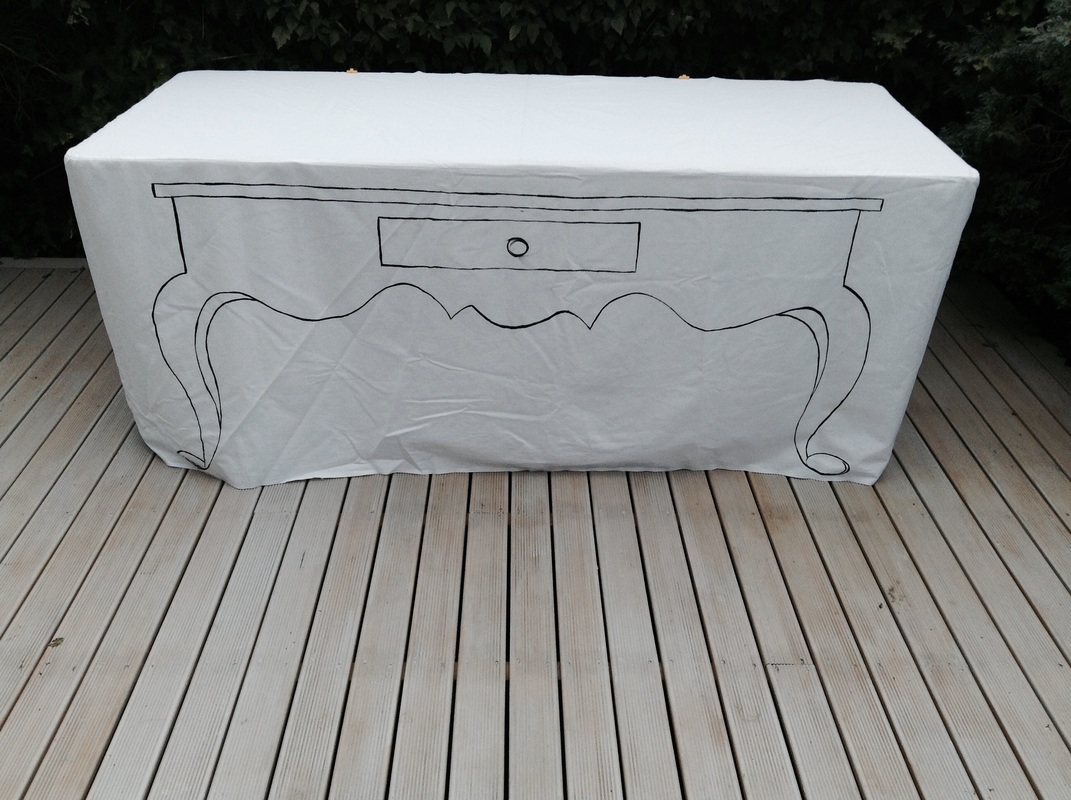
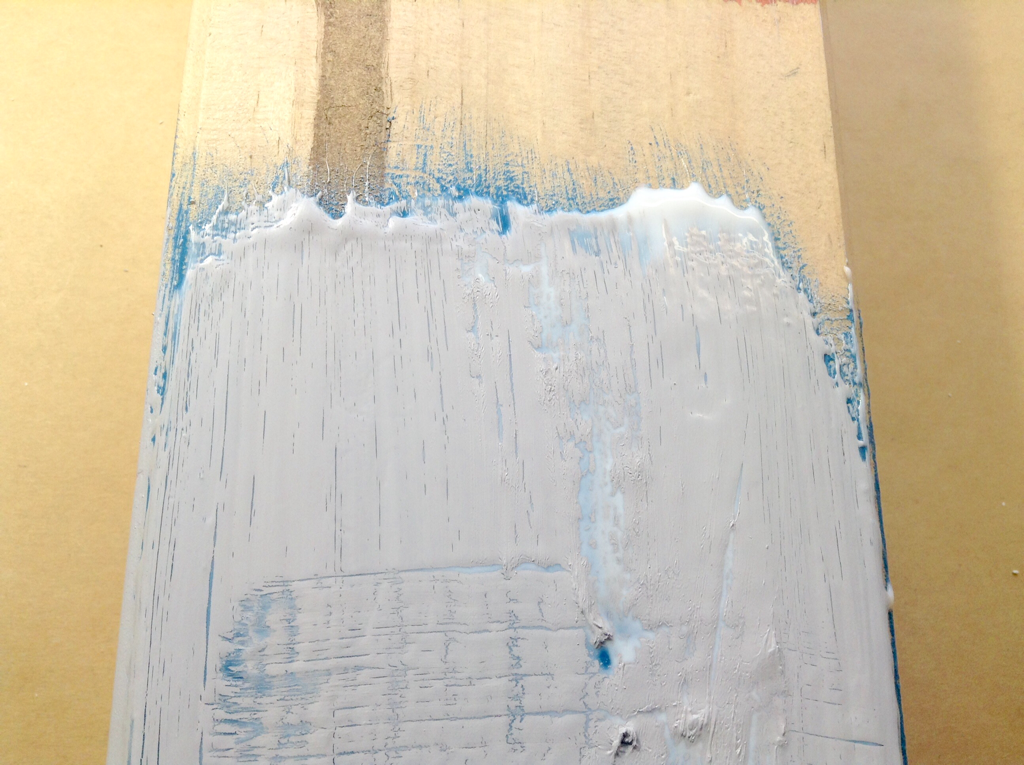
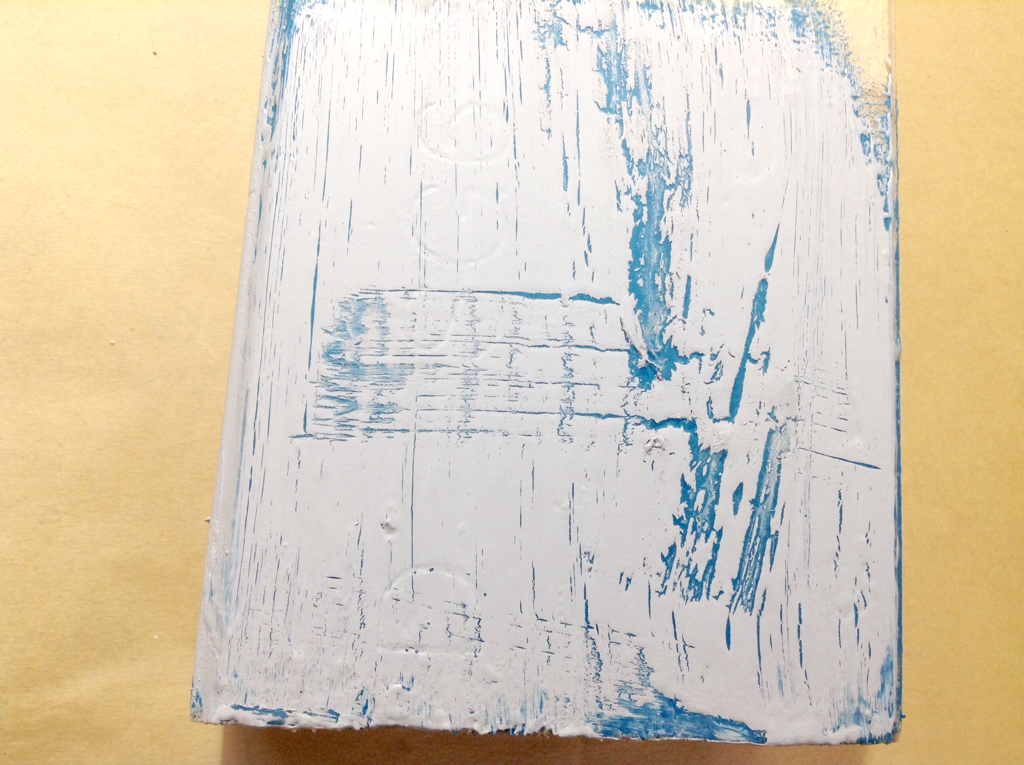
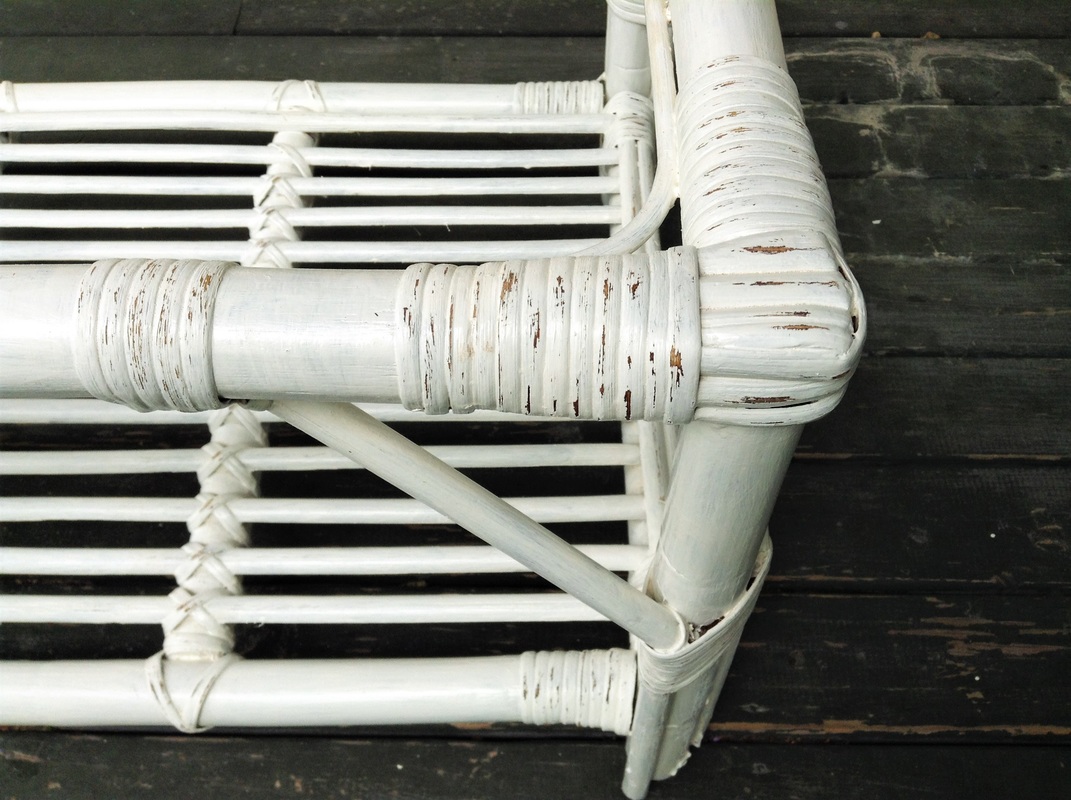
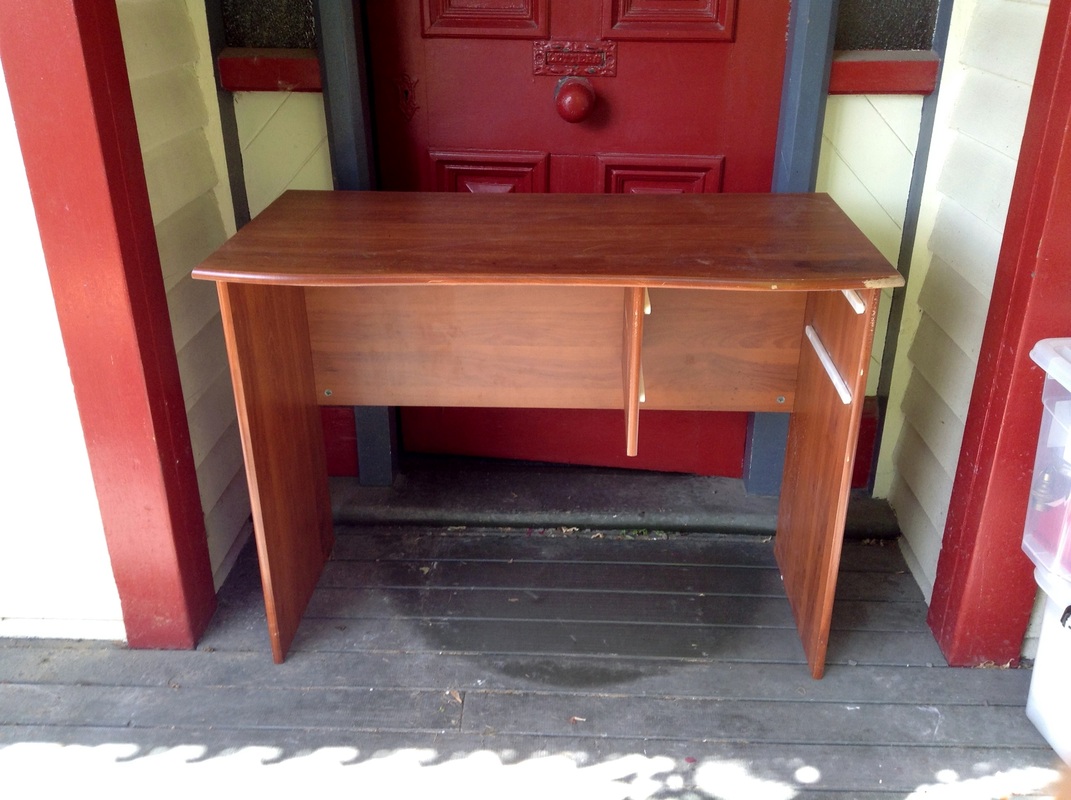
When you're having a tea party but you haven't gotten around to covering those super old, freyed, paint splattered, scratched by the cat chairs.
You raid the fabric boxes right quick and rig up some bows.
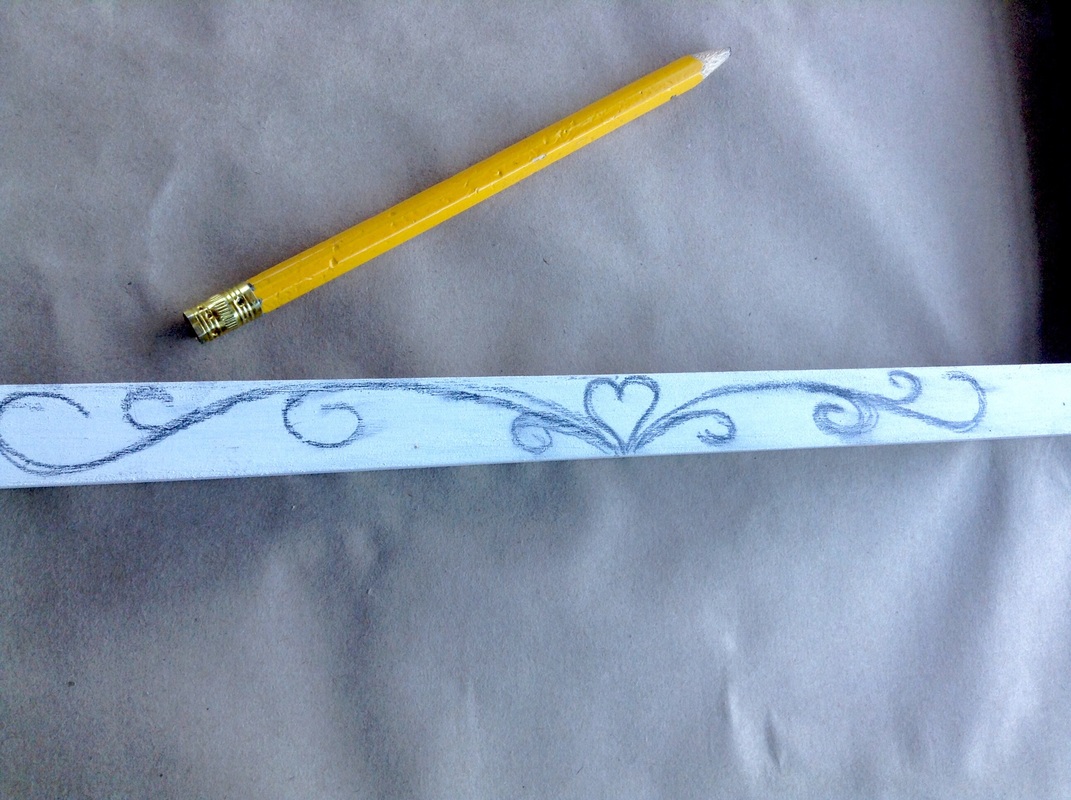
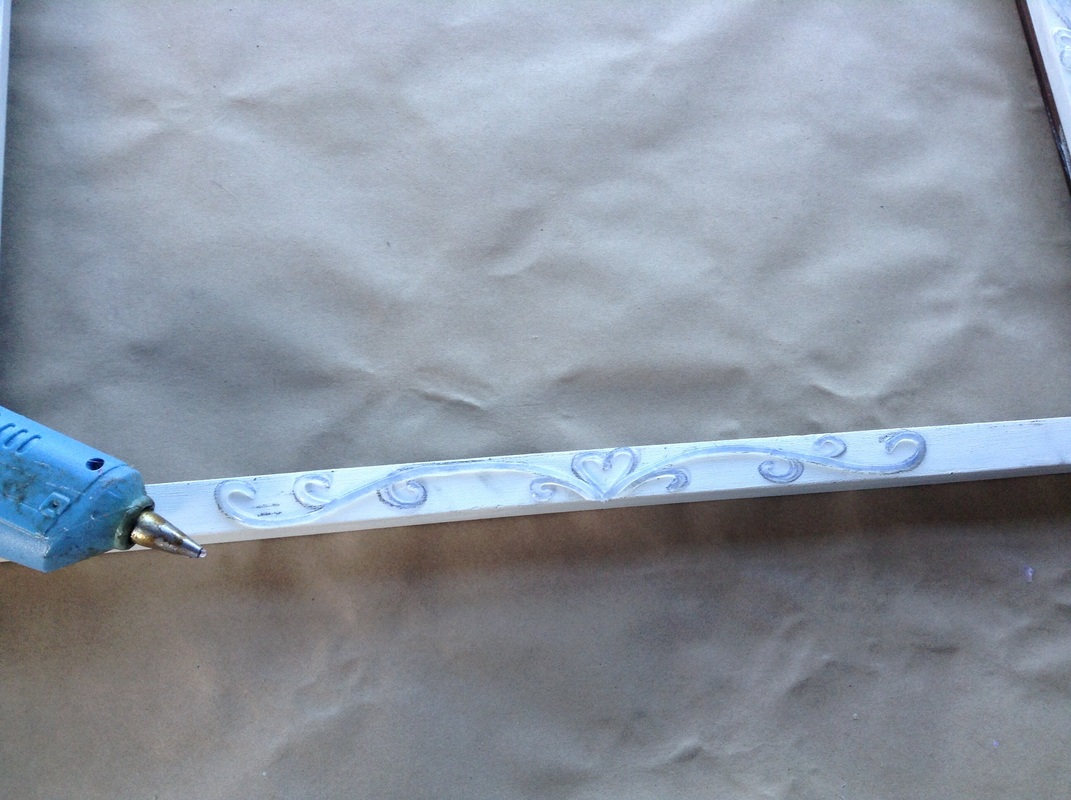
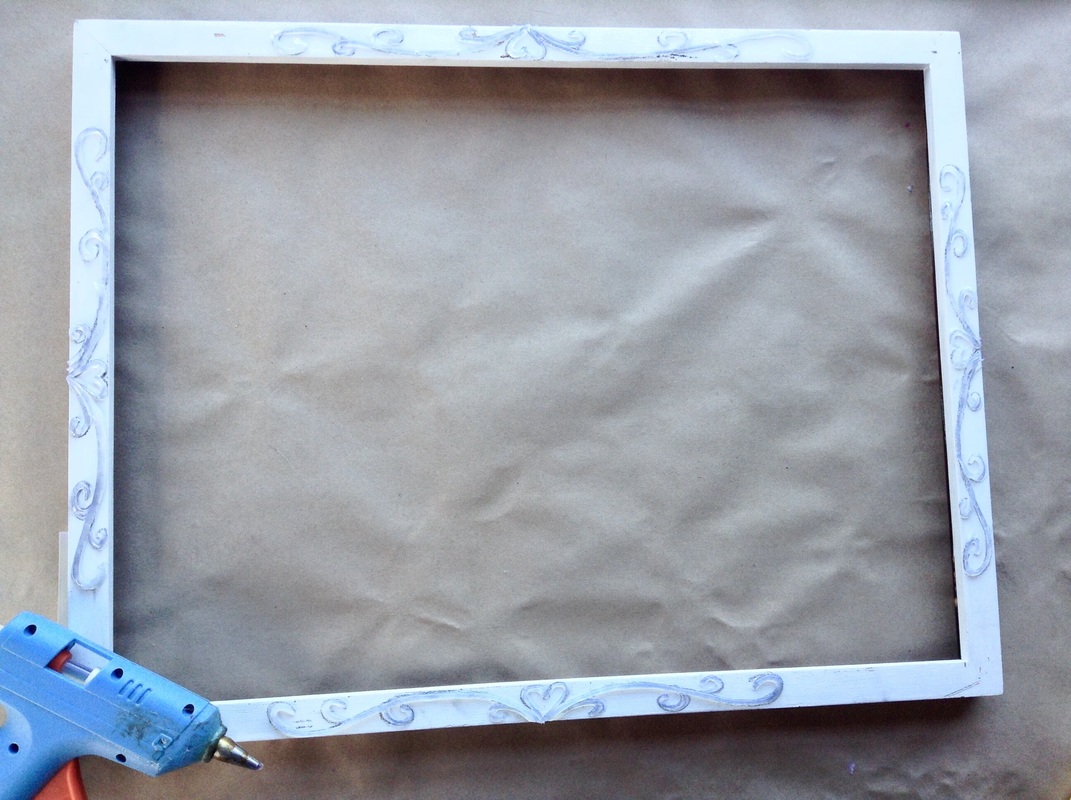
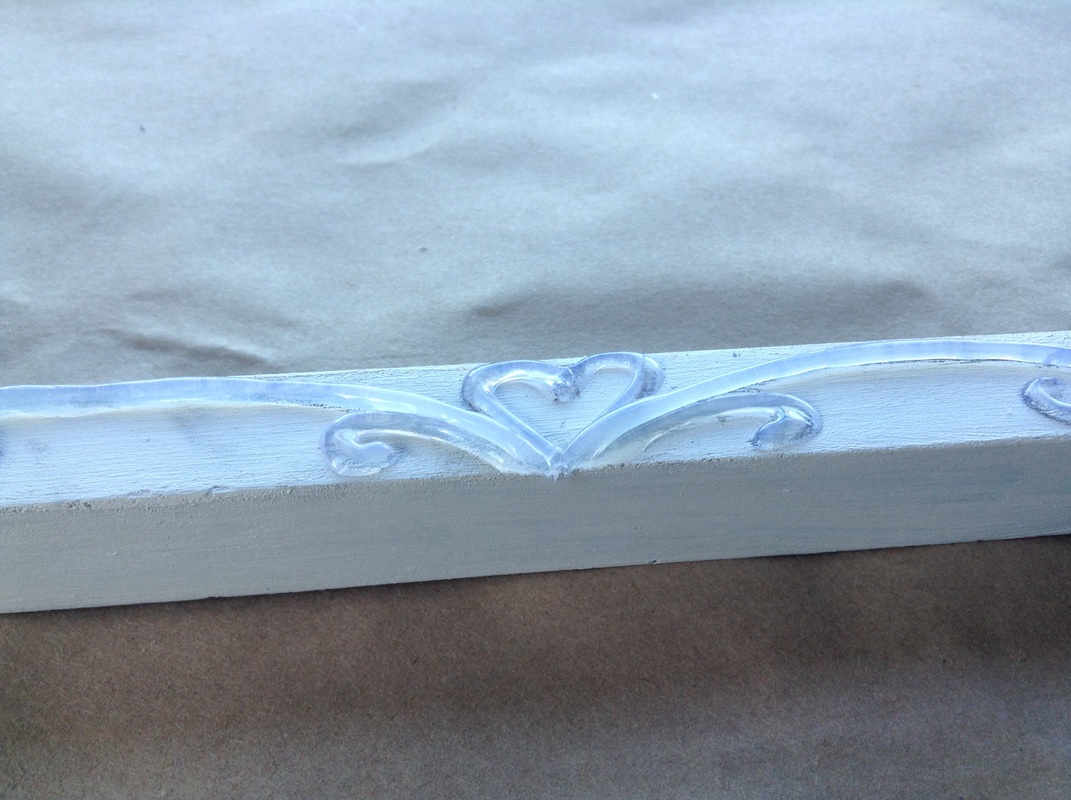
Our theme is whimsy! all should be good.
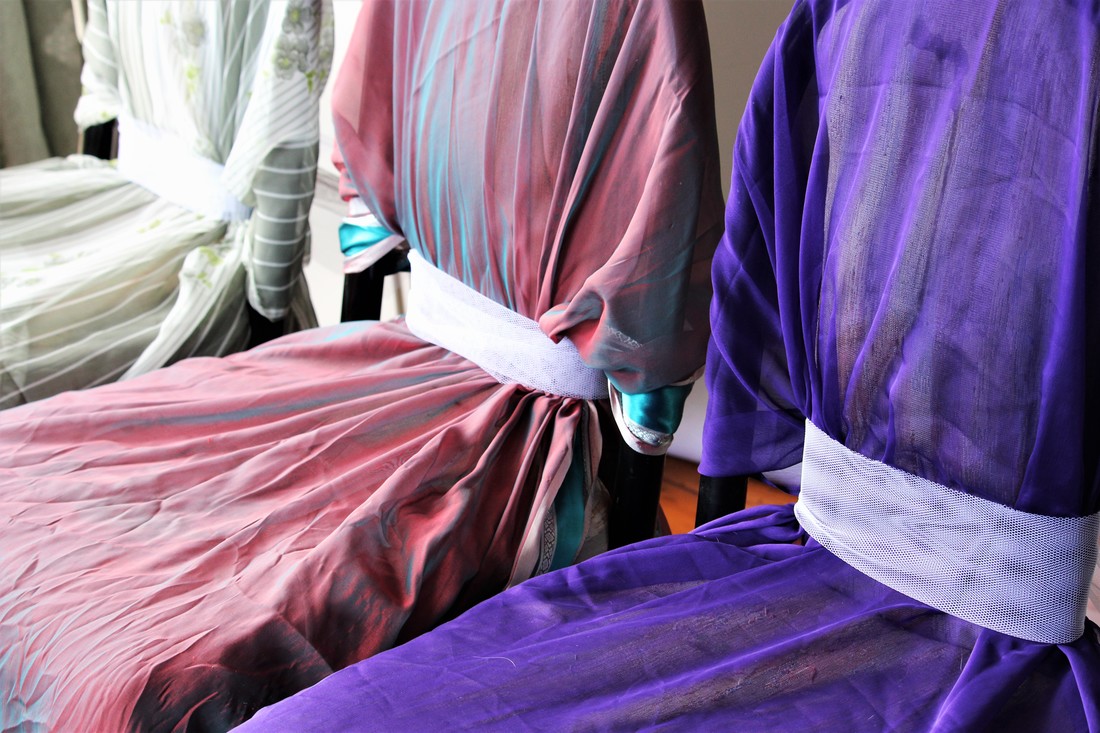
You raid the fabric boxes right quick and rig up some bows.
Our theme is whimsy! all should be good.


 RSS Feed
