Tricked out Easter Eggs
Chocolate Easter eggs are always great but lets make them the greatest! Usually, I wish Easter eggs were made of solid chocolate but this year I have come to see the benefit of a hollow egg, namely with the addition of sweet treats. Pimped out ice cream cones and milkshake jars always look so fantastical and appealing, Easter is a fantastical time of year. Why not bring all that wonder to Easter. Think of all the combinations you can try.
You Will Need
- Premade chocolate eggs
- Melting chocolate
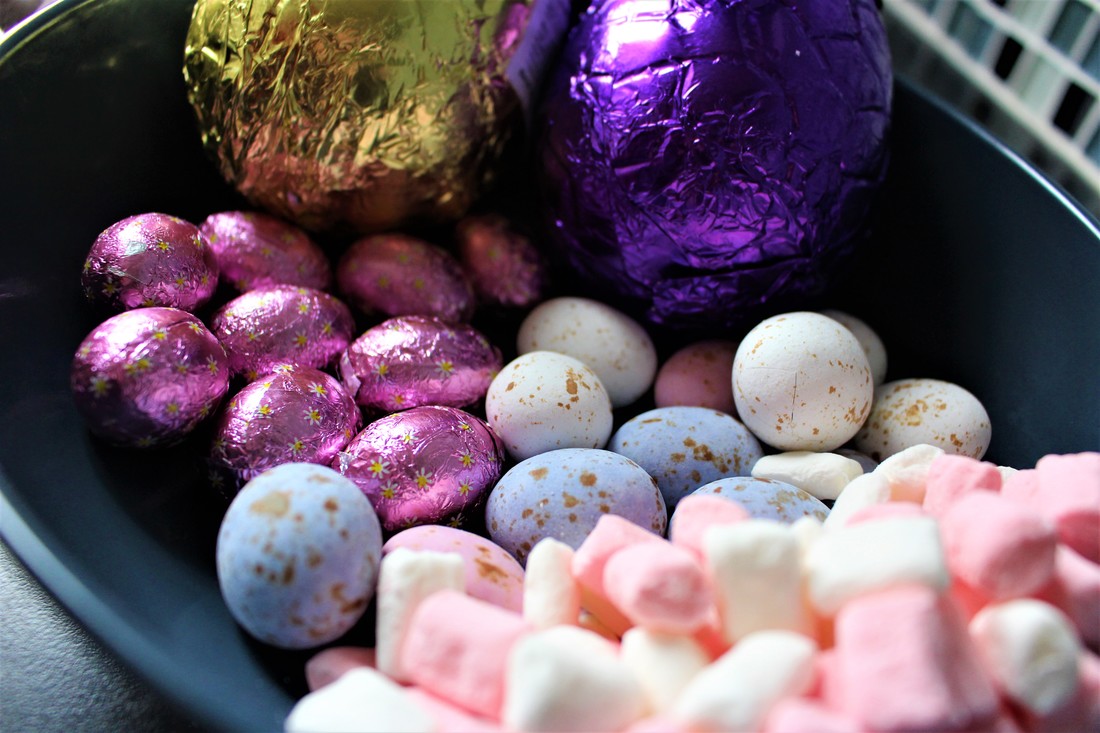
- Sprinkles
- Mini marshmallows
- Mini eggs
- Melting chocolate
- Sprinkles
- Mini marshmallows
- Mini eggs
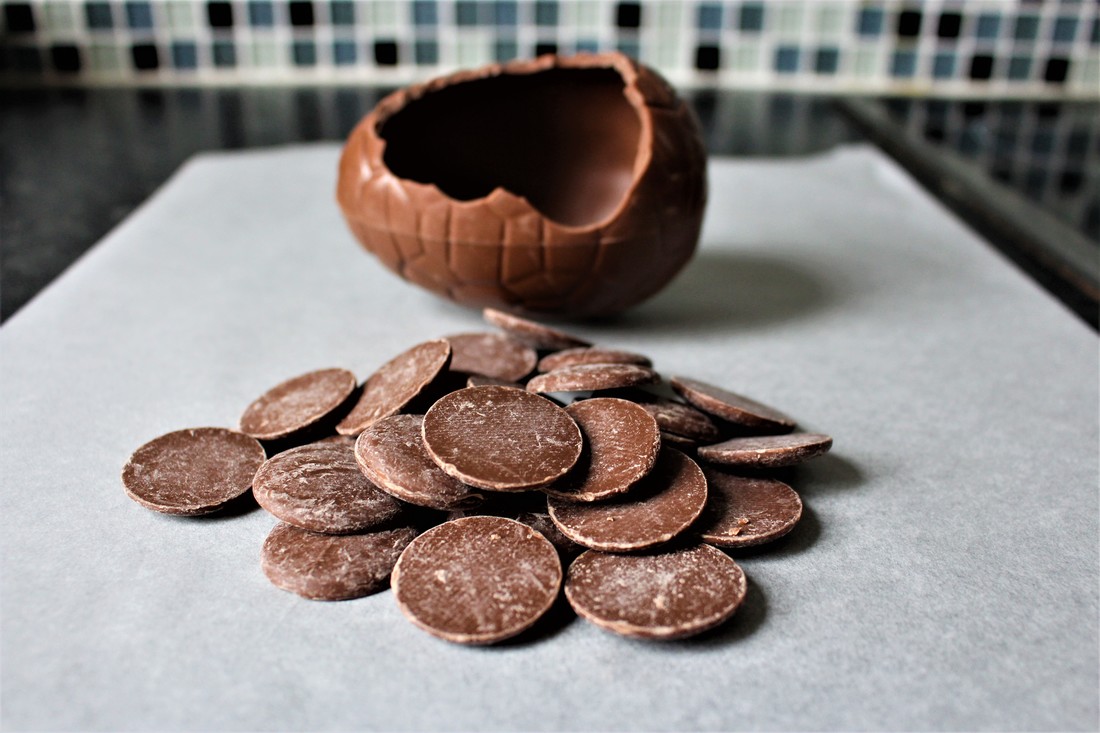
Cave open an egg, be careful not to crack it half (though, you can probably stick it back together if you do)
Melt a handful of chocolate.
Melt a handful of chocolate.
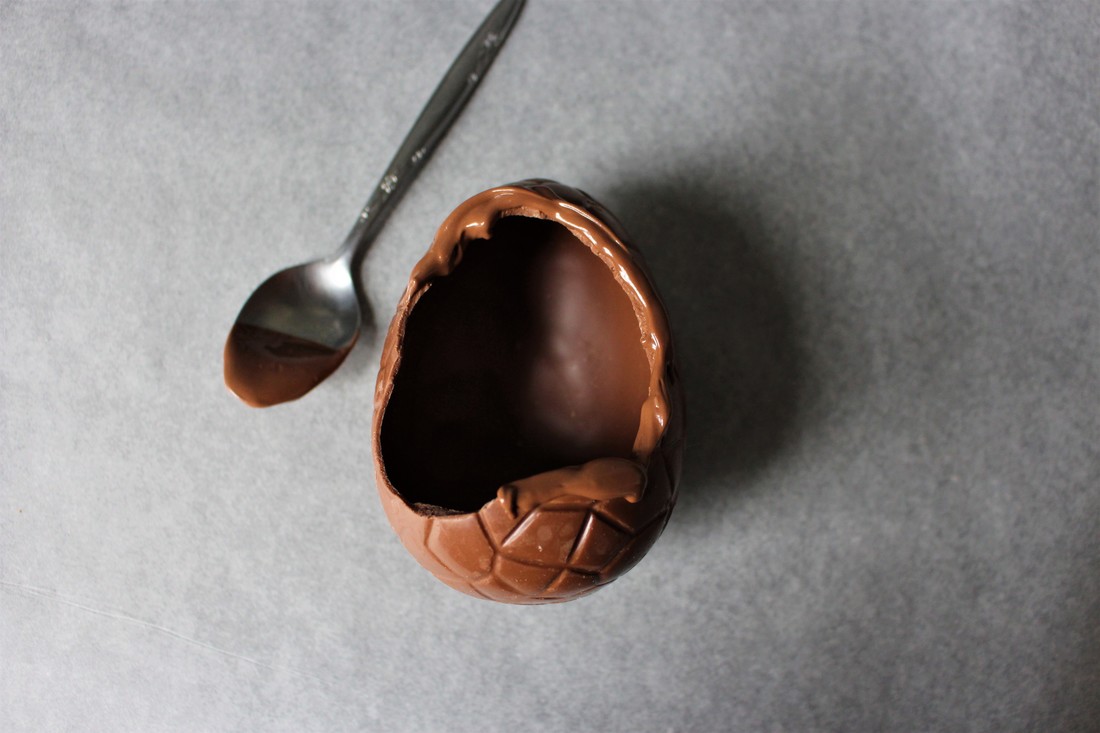
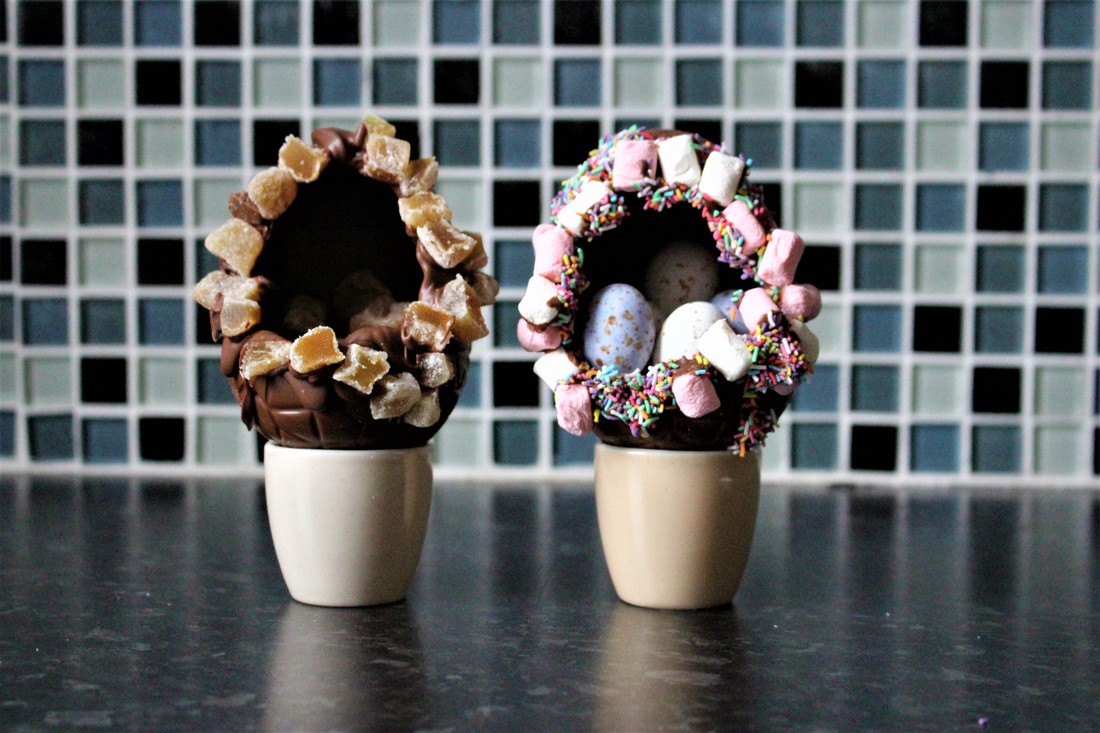
Spread chocolate around the edge of the egg.

Cover melted chocolate in sprinkles!!
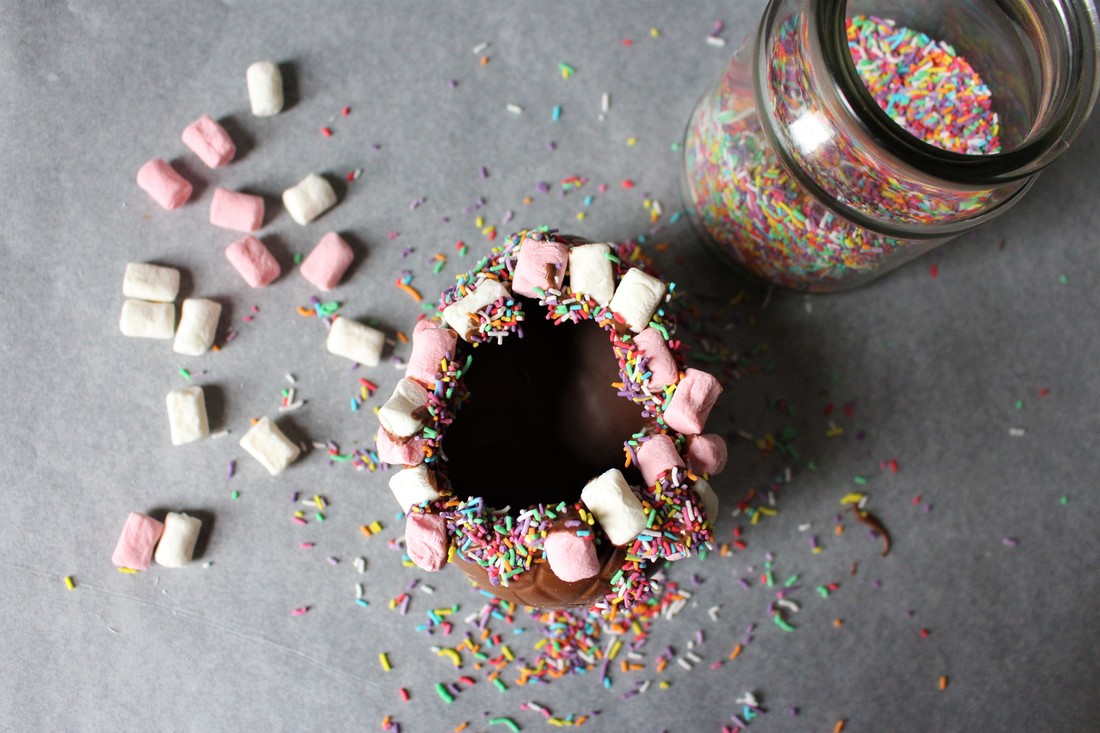
Dip mini marshmallows in chocolate and cluster around the egg.
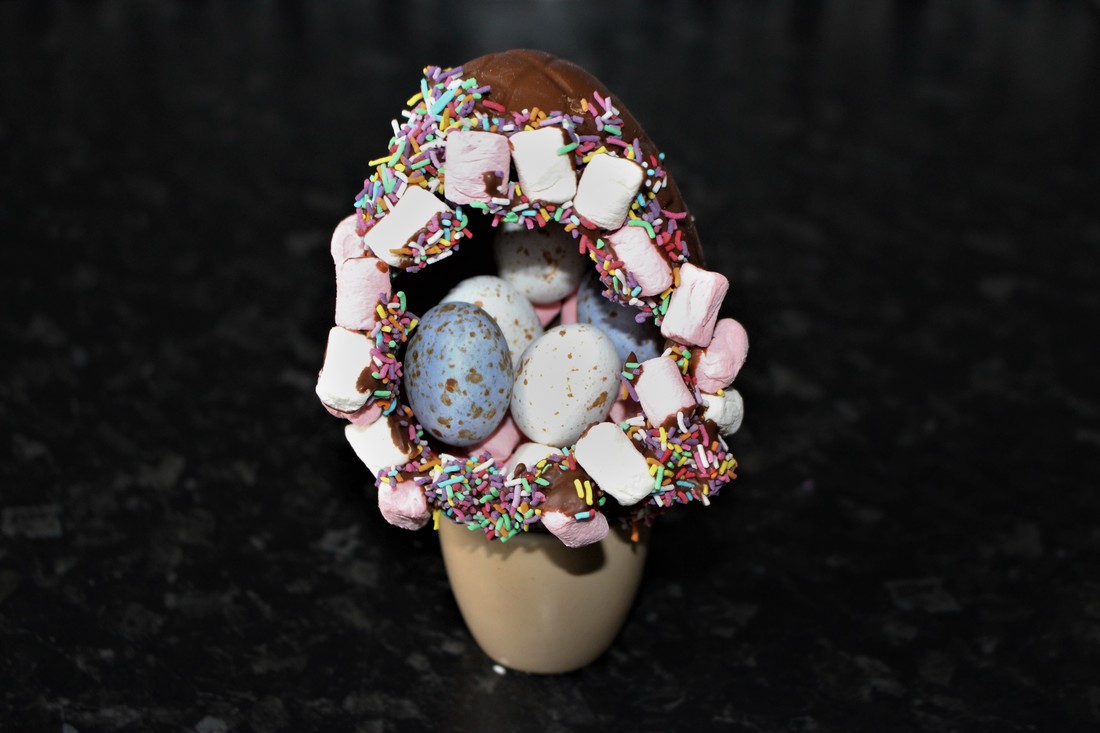
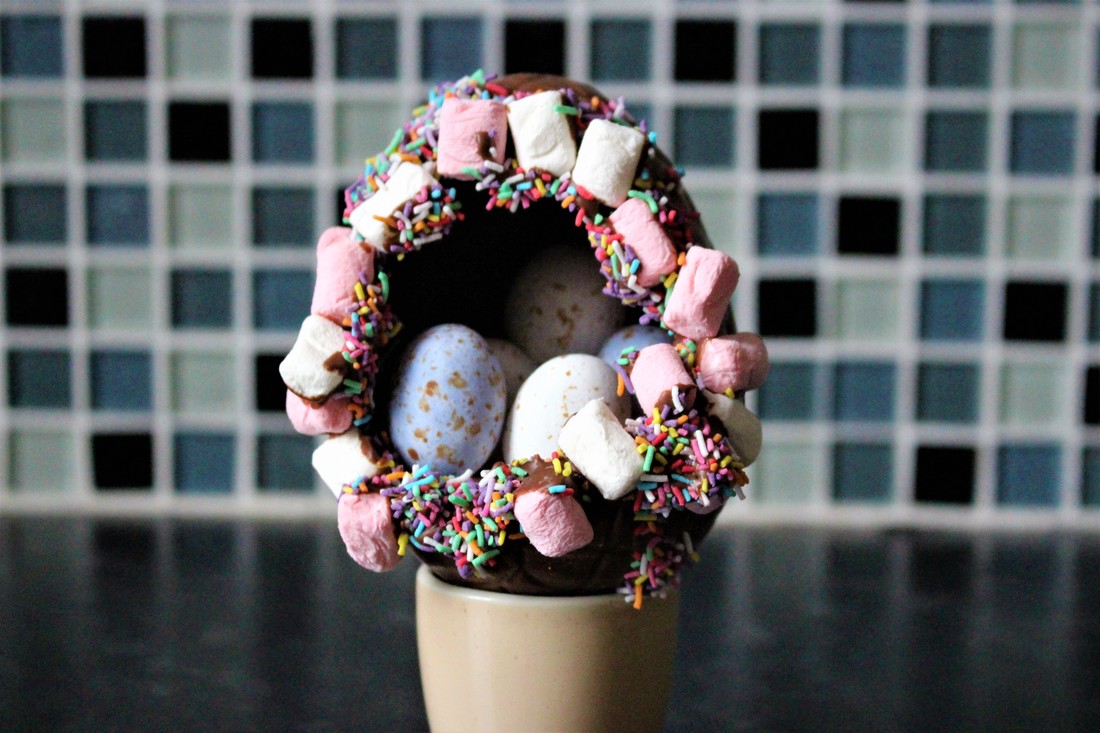
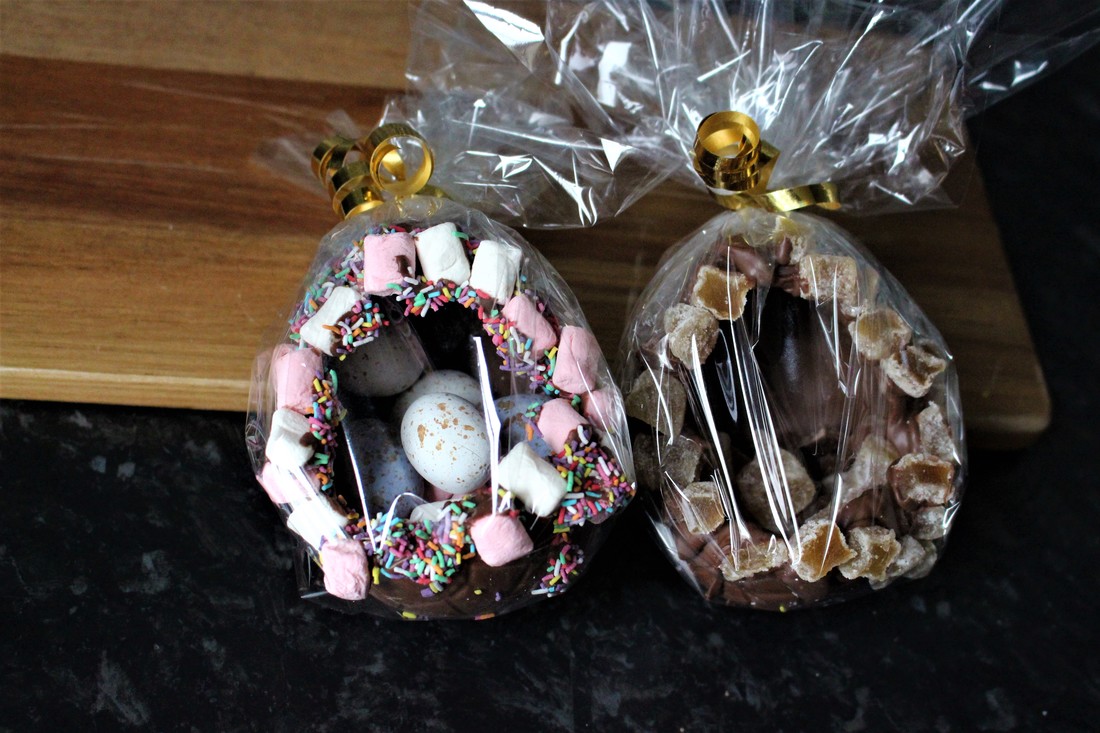
Fill that hollow egg with goodies. I love those candy coated speckled eggs, I've filled the egg with a mixture of those and more mini marshmallows.
It's probably over kill, but I feel like these would be great with a little ice cream added. Maybe that can be Eatser dessert?
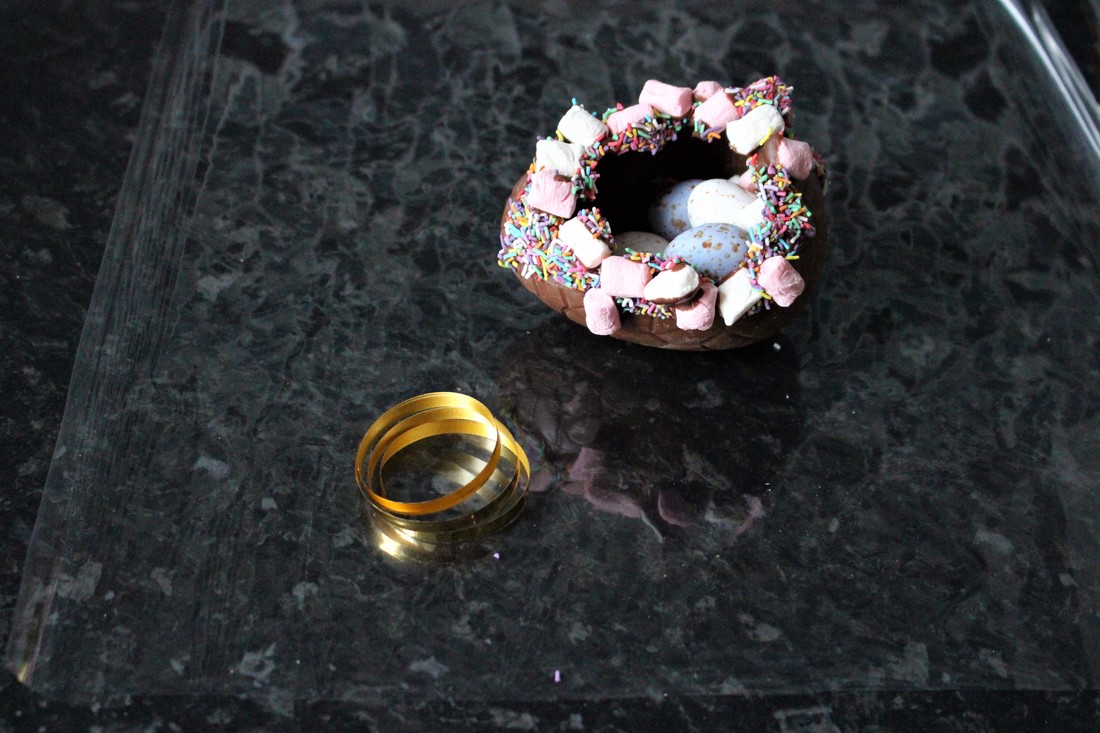
These eggs are going to be gifts so I wrapped them in clear cellophane and ribbon.


 RSS Feed
