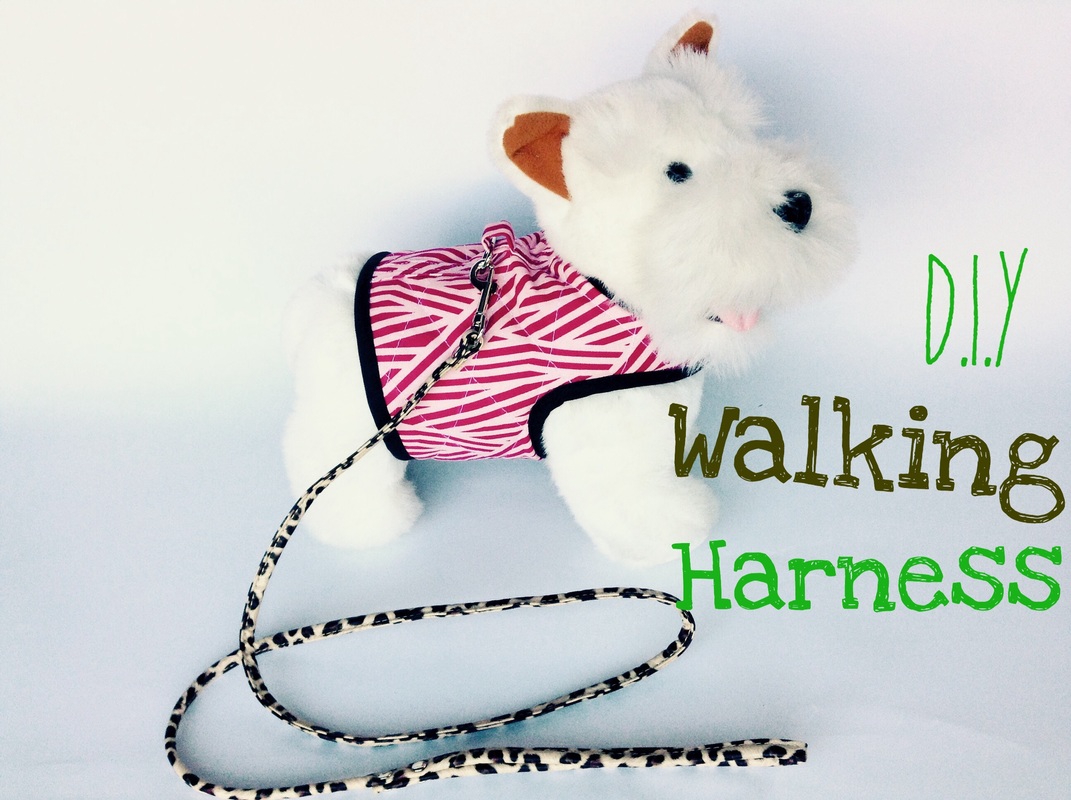
Fleece Lined Raincoat (For Dogs)
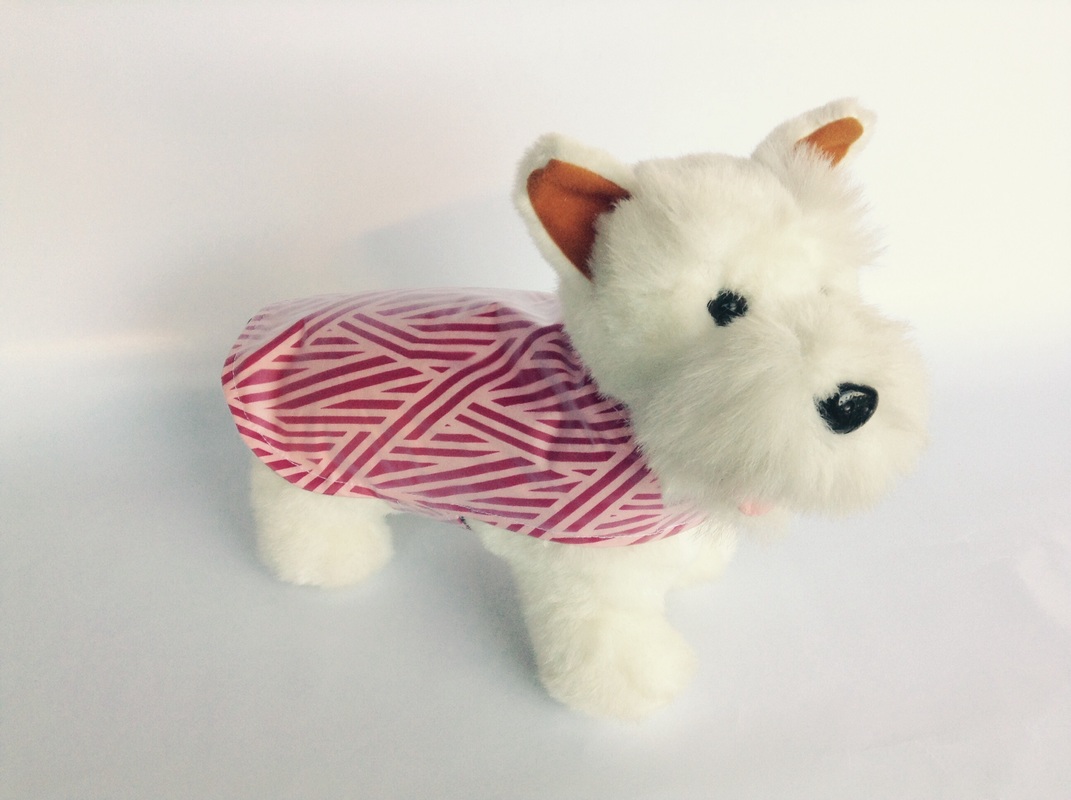
Its cold, its wet and your dog is shaking like a leaf. Time to make a warming waterproof jacket for your pooch. This is great little tutorial that allows you to personalise a raincoat for your dog.
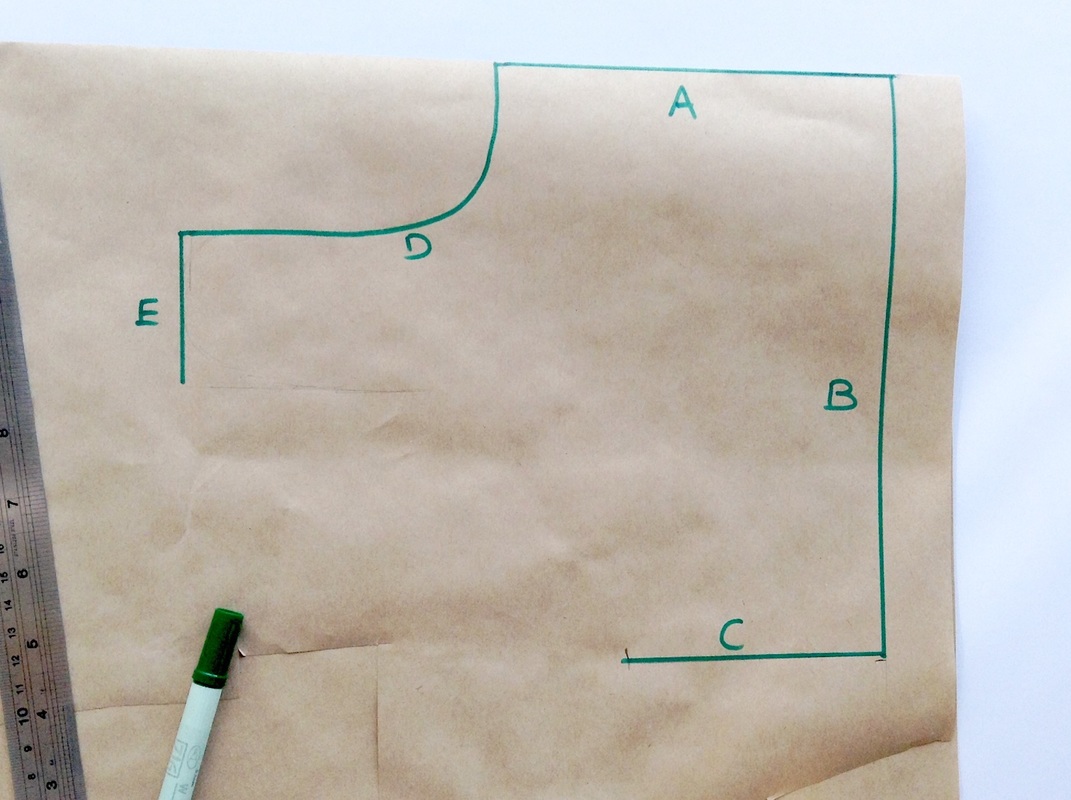
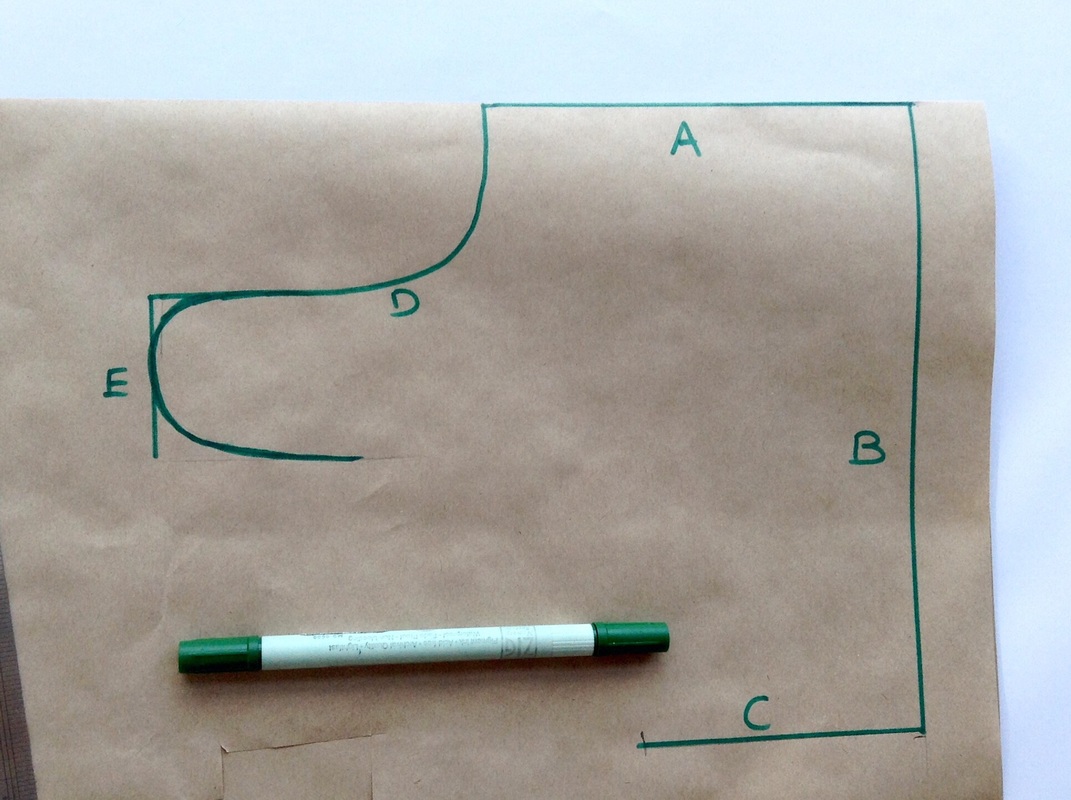
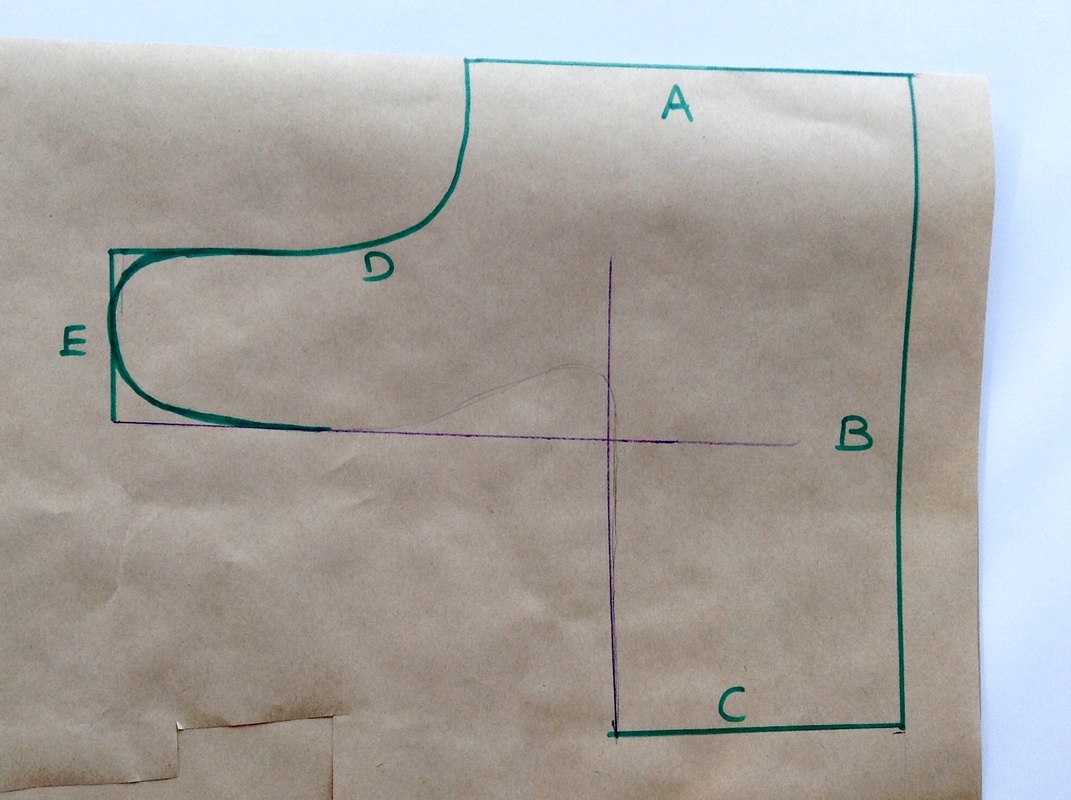
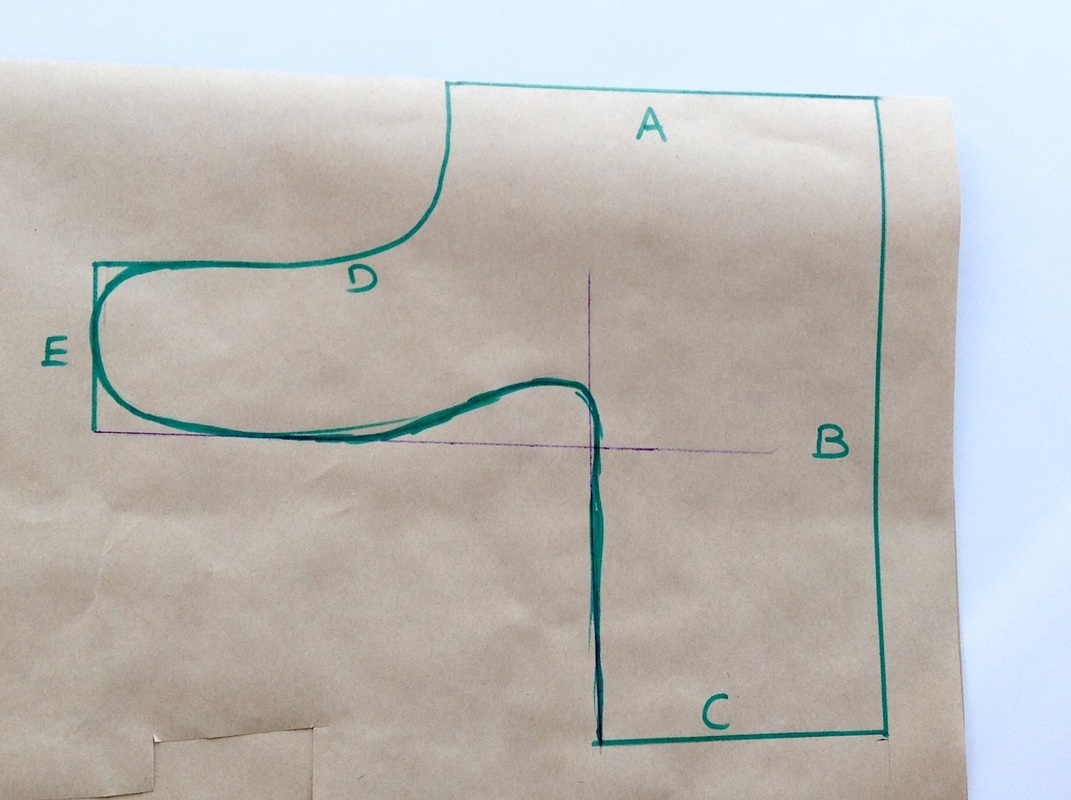
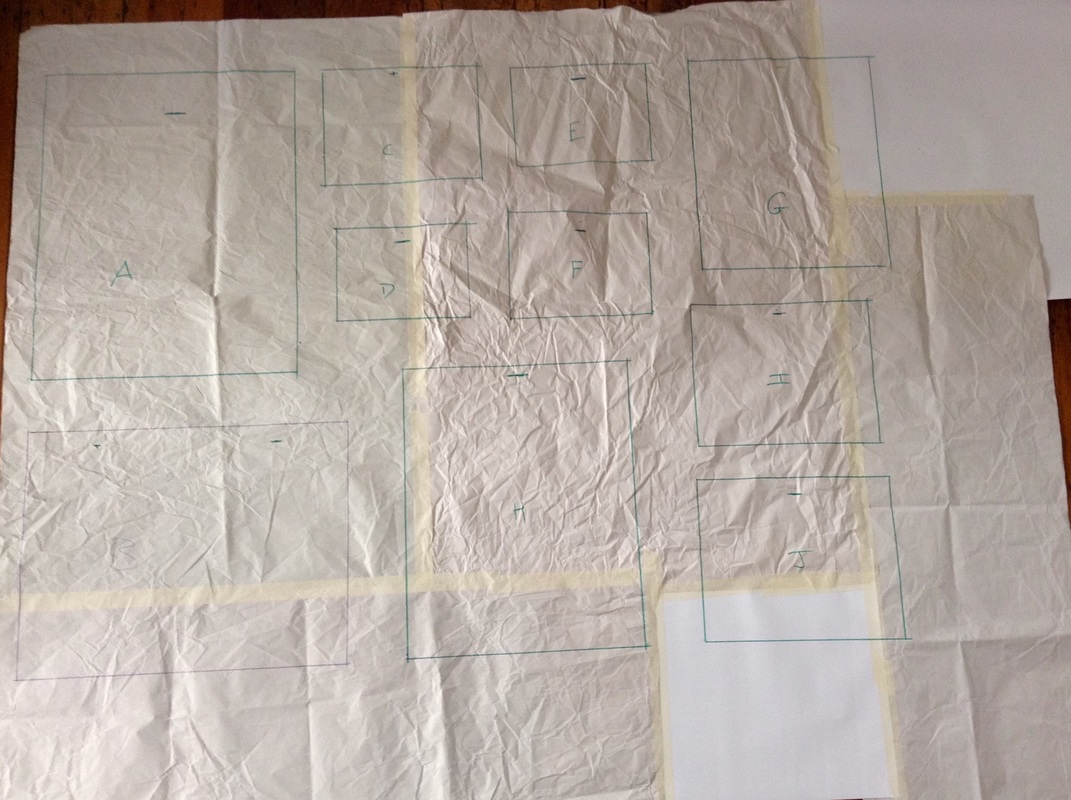
Before we start for this tutorial I am using a pattern I drafted myself. You can find instructions on how to make your own can be found at the button below.
This tutorial is great for sewing beginners.
Before we start for this tutorial I am using a pattern I drafted myself. You can find instructions on how to make your own can be found at the button below.
This tutorial is great for sewing beginners.
Equipment & Fabric
- PVC/vinyl/plastic sheeting*
- Cotton
- Fleece
- Velcro
- Pins
- Thread
- Scissors
- Sewing machine.
- Cotton
- Fleece
- Velcro
- Pins
- Thread
- Scissors
- Sewing machine.
* A note on the PVC/Vinyl. There are a couple of different types of this clear sheeting you can get. I think most craft stores would probably stock some and possibly some hardware stores too.
The main type of PVC/vinyl/sheeting that I've seen around is that clear tablecloth plastic you can buy by the meter. Its kind of thick but completly see through. Usually found stuck hovering somewhere between the dressmaking and upholstery fabrics. You don't want to use this sort, its just too thick and bulky.
The other kind - and this is the kind I use- is actually found in the fabric/ dressing making section of the store. It's a bit thinner than the tablecloth sort and is nice and light and flexible. I stumbled across it completely by accident when browsing fabrics. The sort I bought was labelled 'Egypt' and was about $14 a meter. I don't know if that's particularly helpful information but might help you track down the right sort of plastic sheeting for this tutorial.
I think you could probably use a transparent shower curtain also.
Sew On...
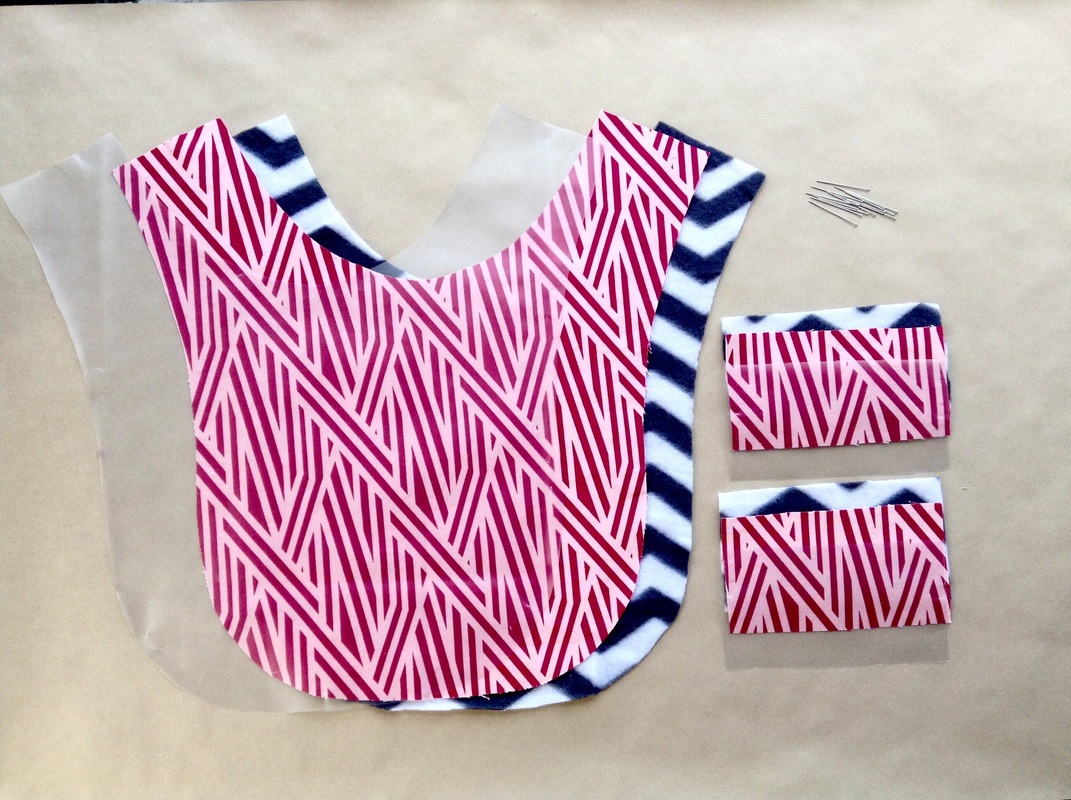
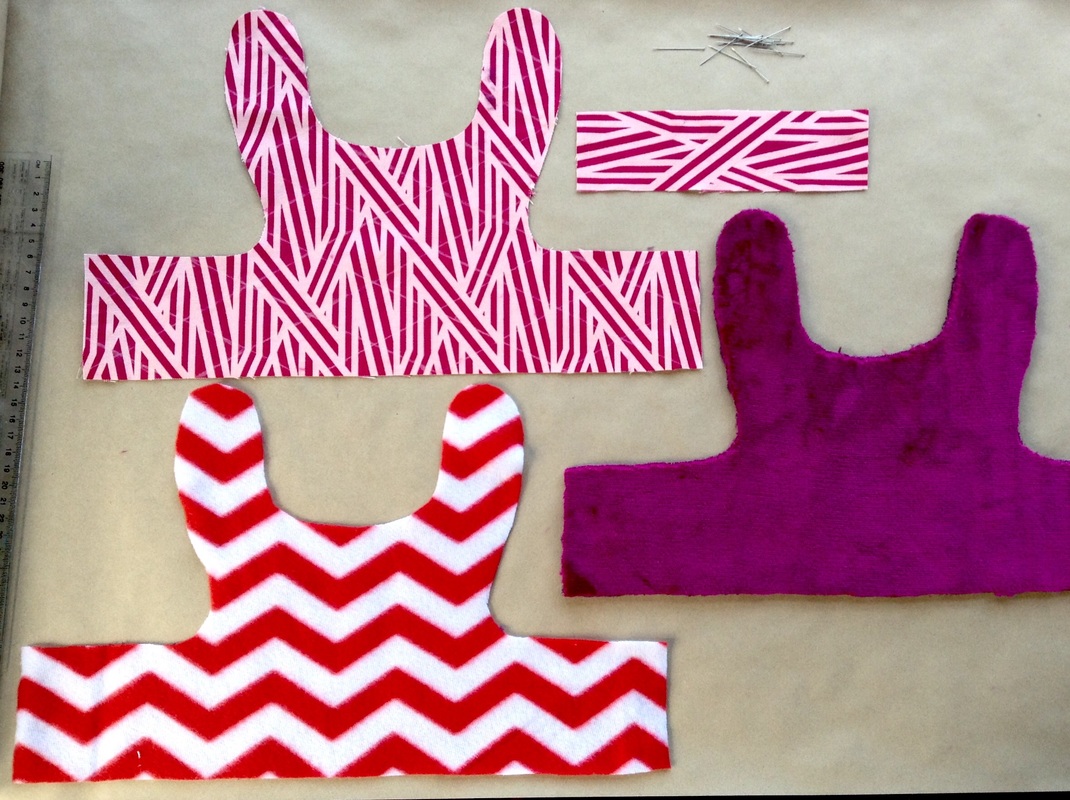
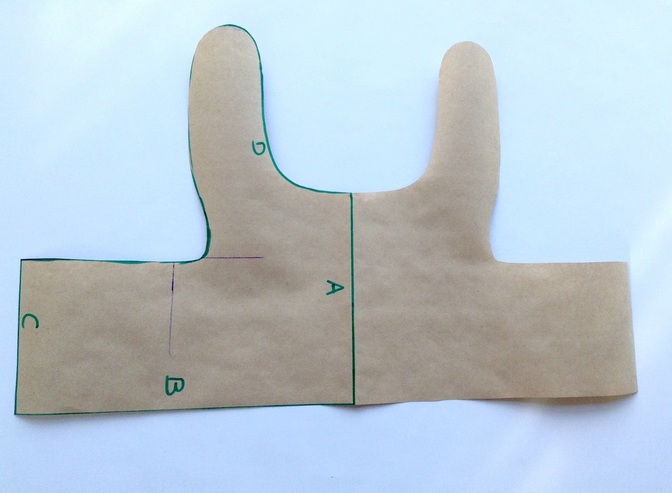
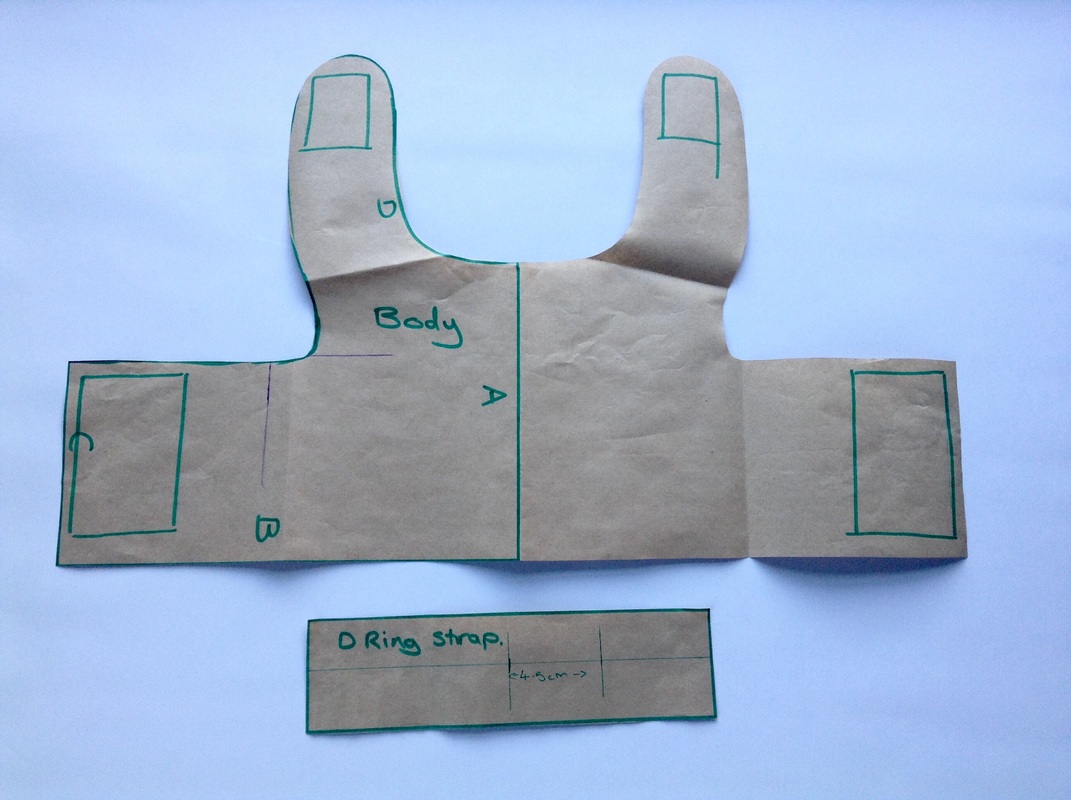
First you need to cut out all the pattern pieces.
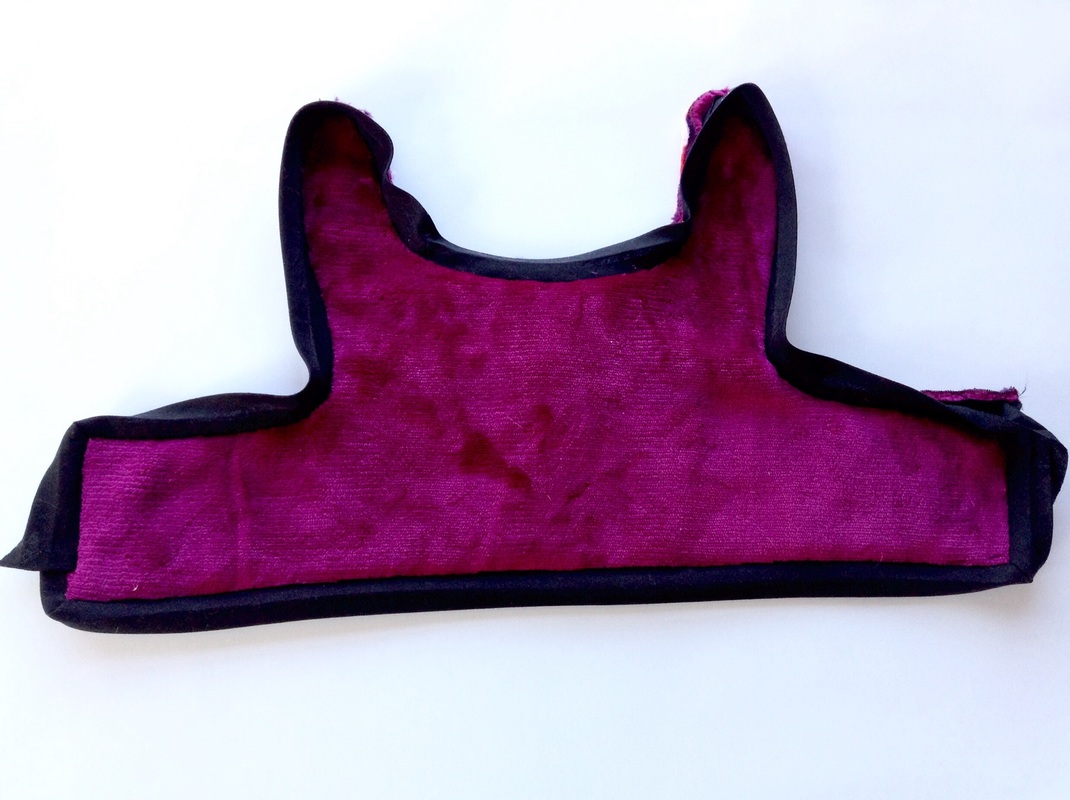
Cut out one body and two strap pieces out of the vinyl, cotton and fleece.
Pre-wash the cotton on a hot wash before use, as cotton will shrink a bit after its first wash.
Cut out one body and two strap pieces out of the vinyl, cotton and fleece.
Pre-wash the cotton on a hot wash before use, as cotton will shrink a bit after its first wash.
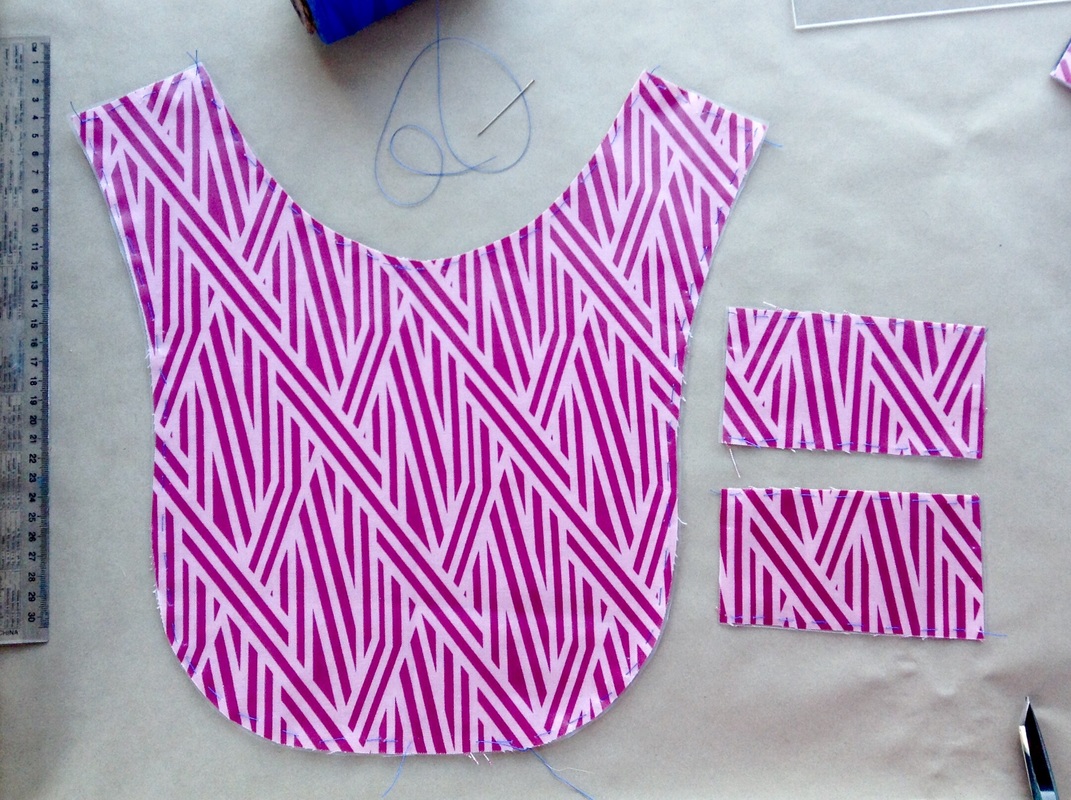
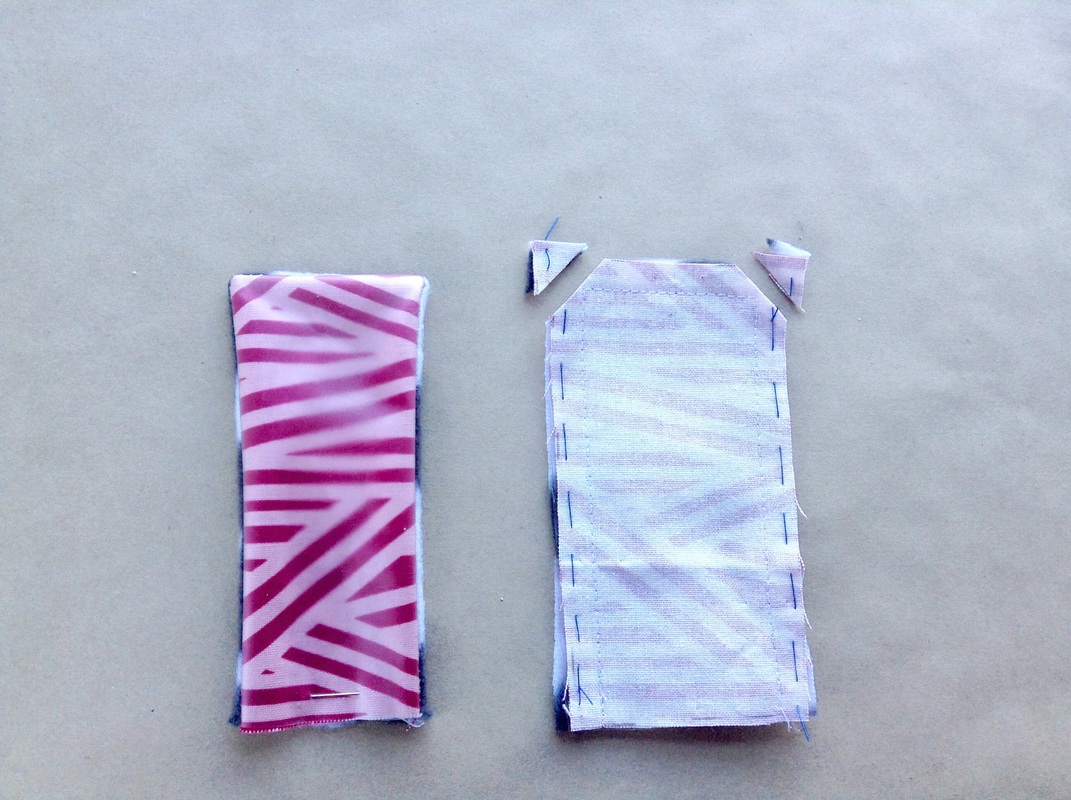
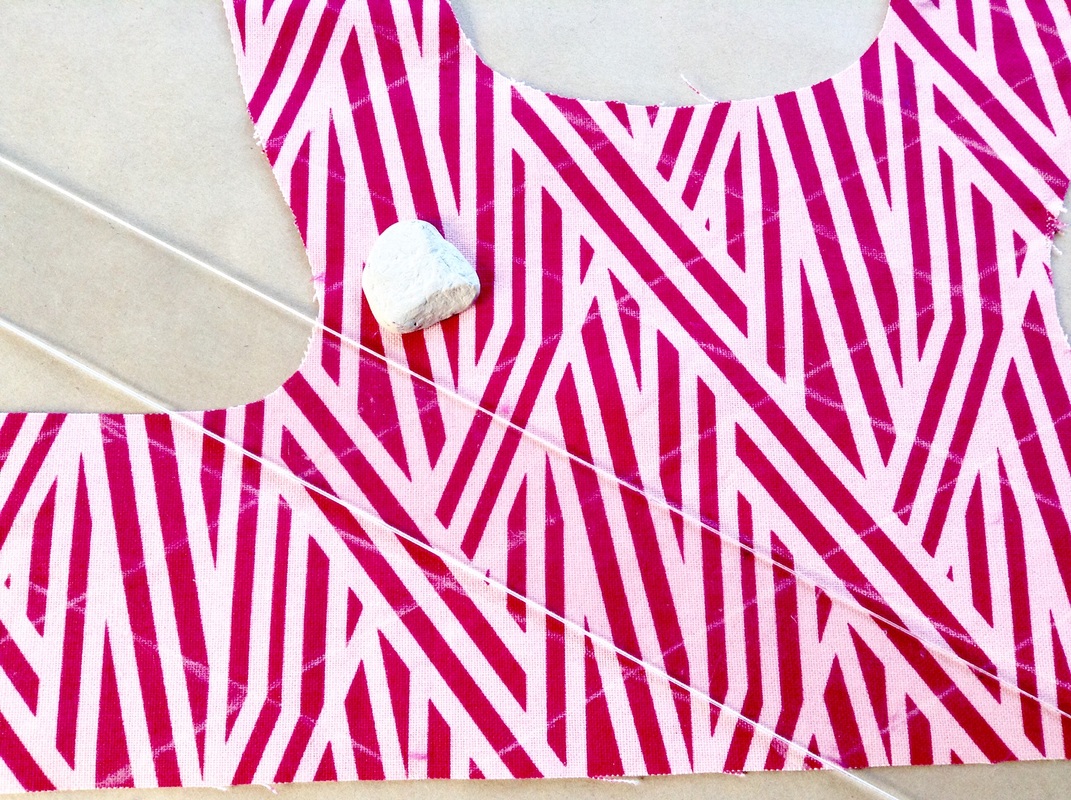
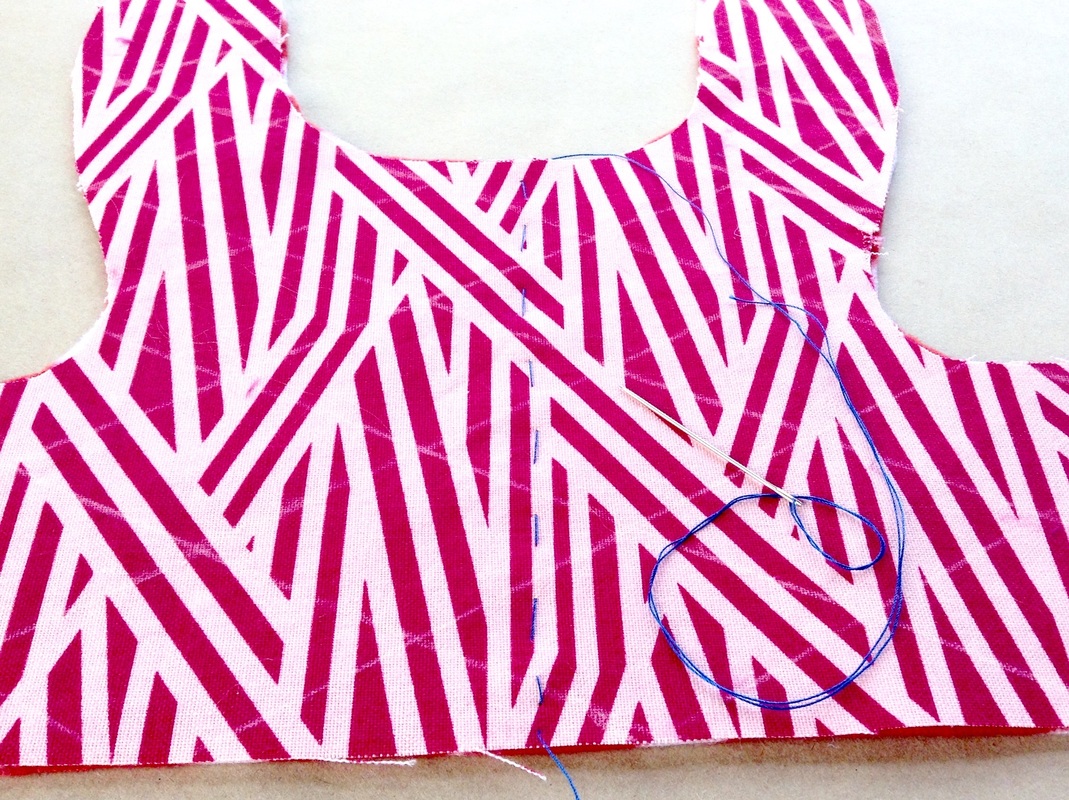
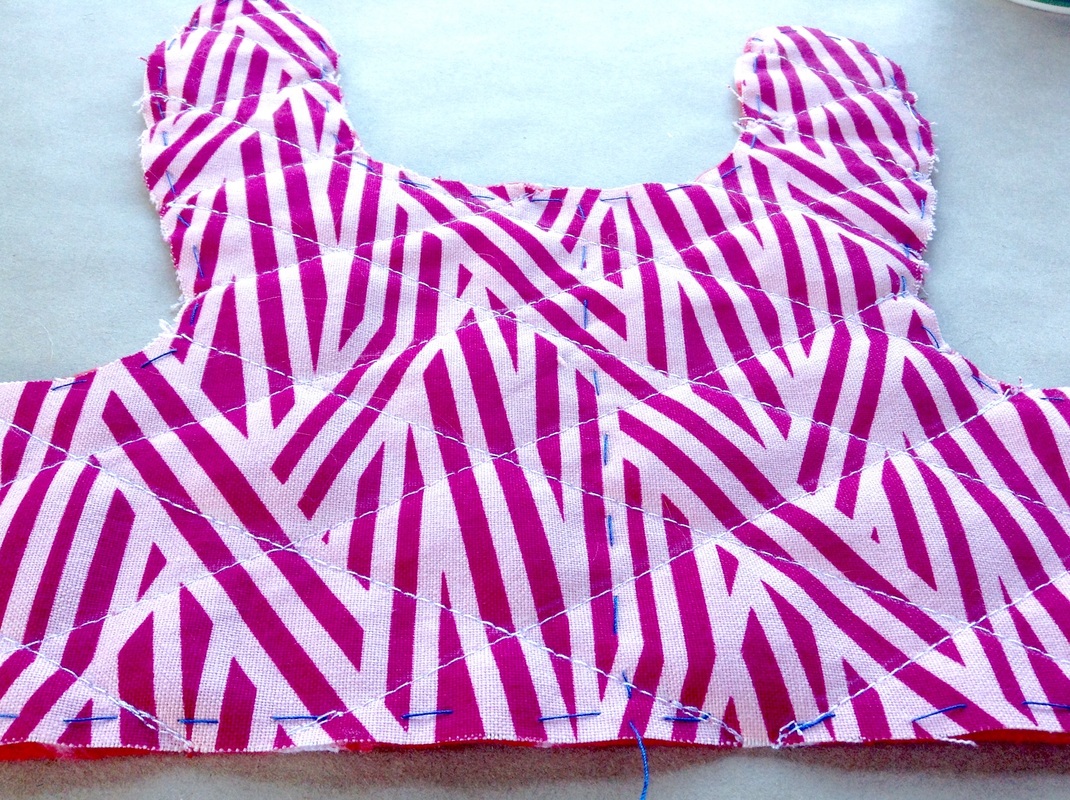
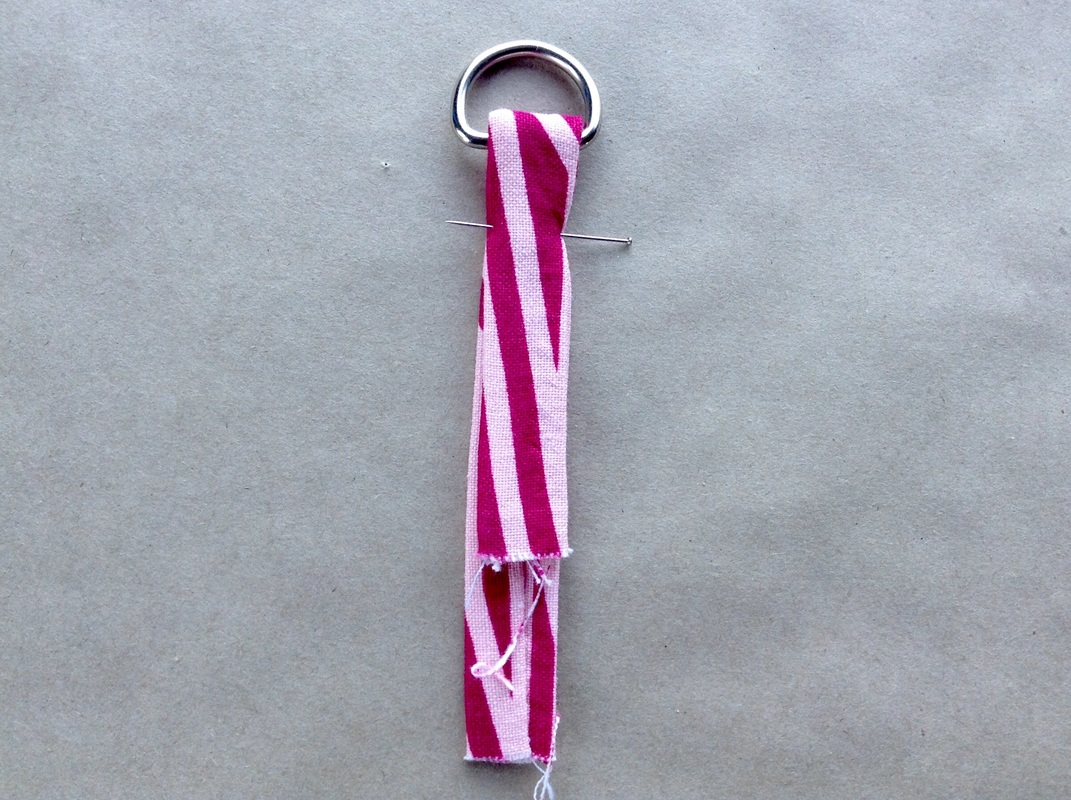
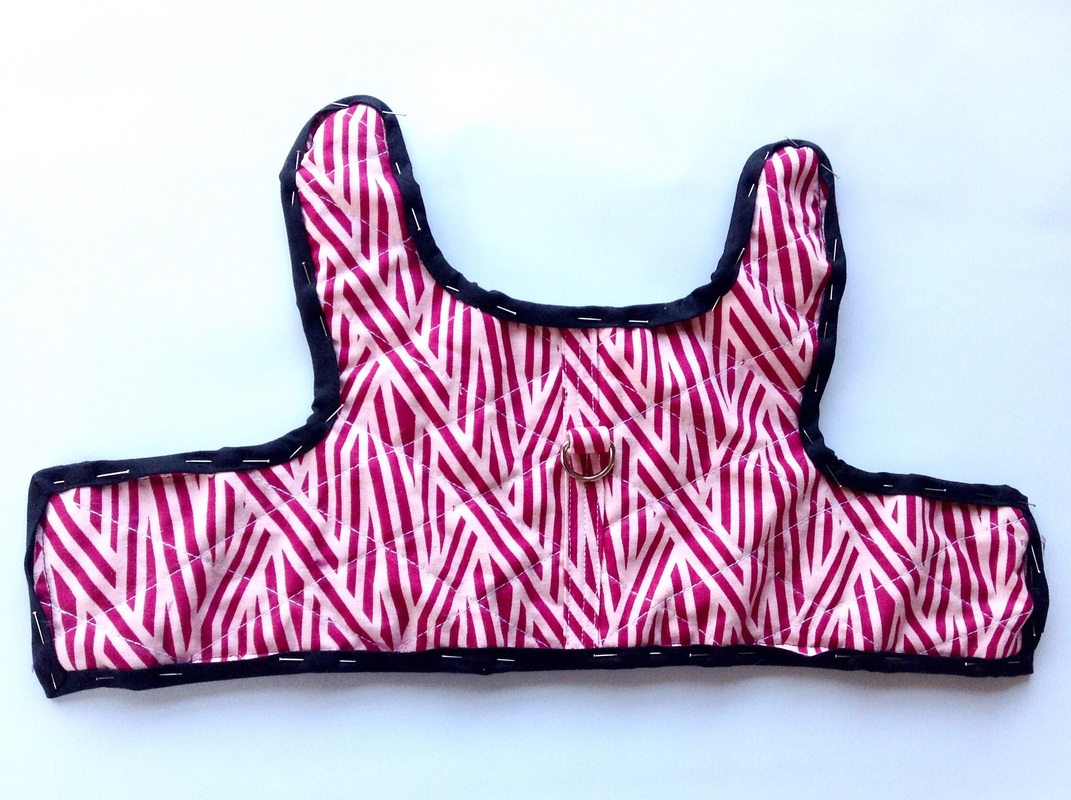
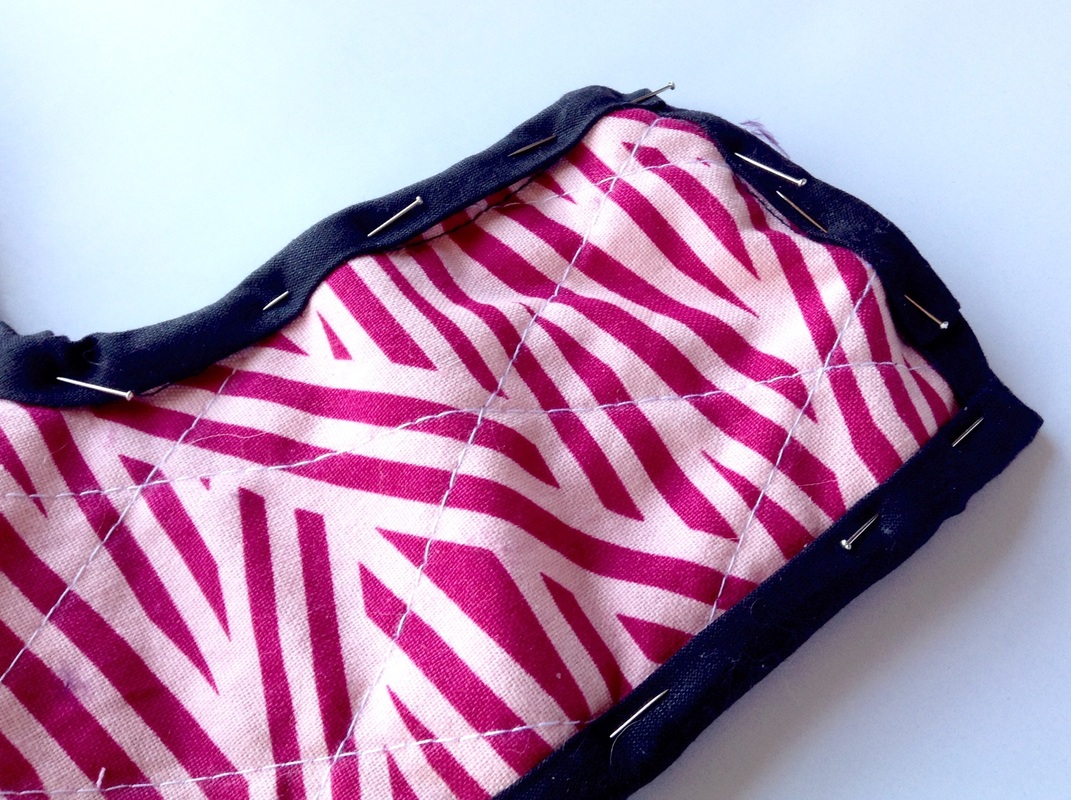
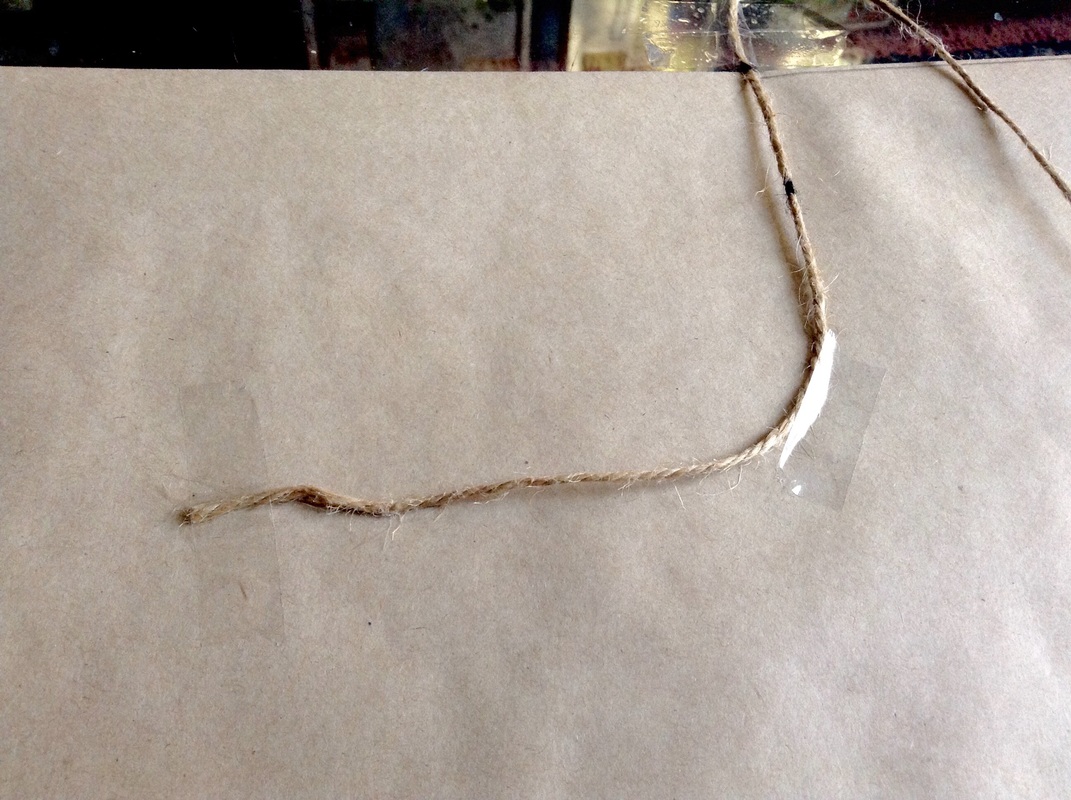
Doing a bit of hand sewing Baste/tack* the clear vinyl sheeting to the good side of the cotton. Do this for the body piece and both of the strap pieces. Use a contracting colour so it is to see, this stitching will be removed later. I have used blue thread on pink material (if you can see that in the picture)
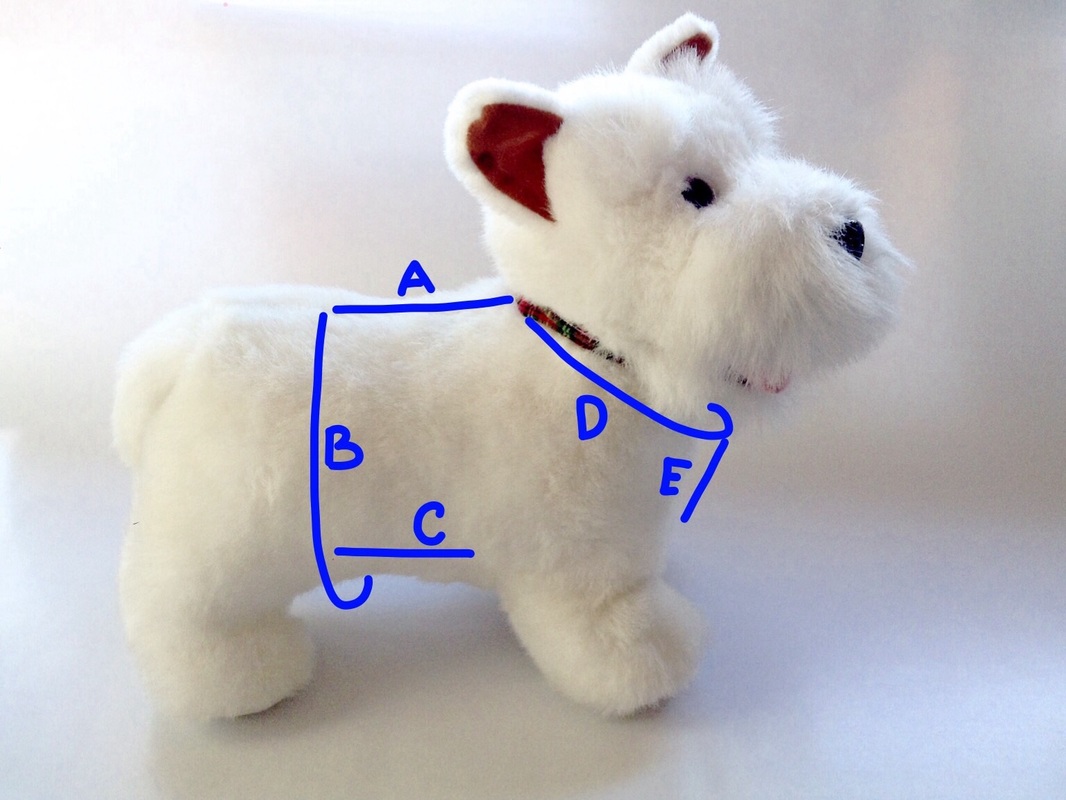
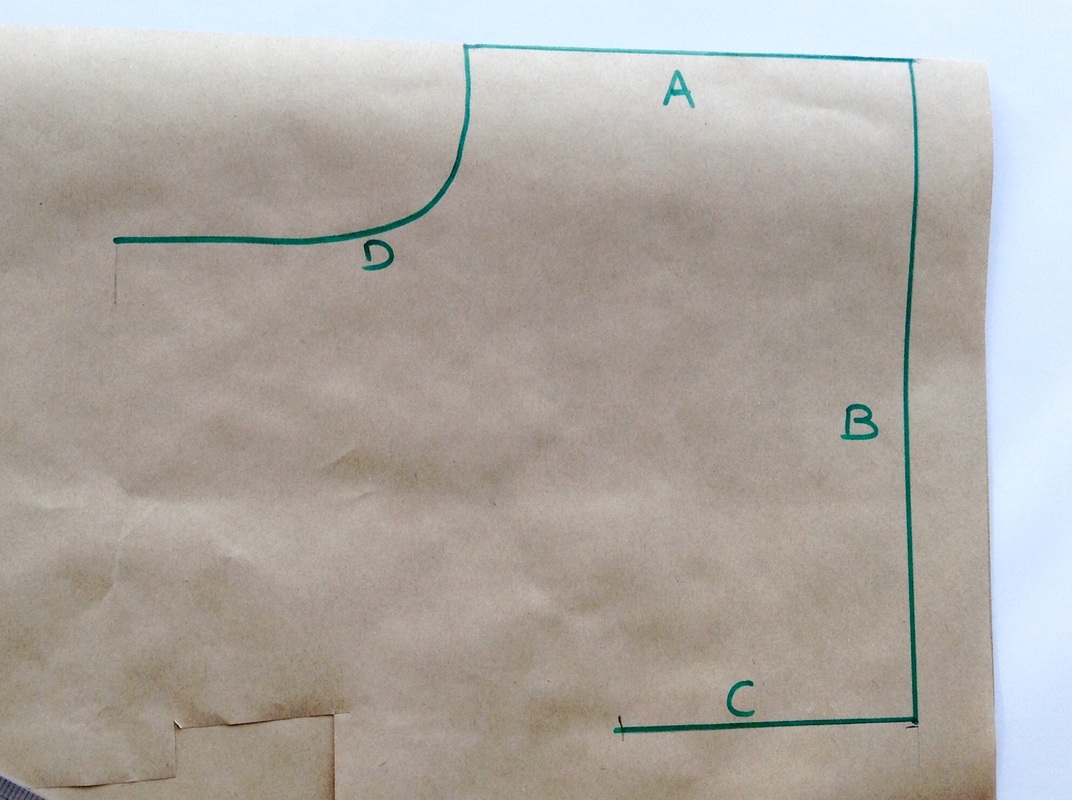
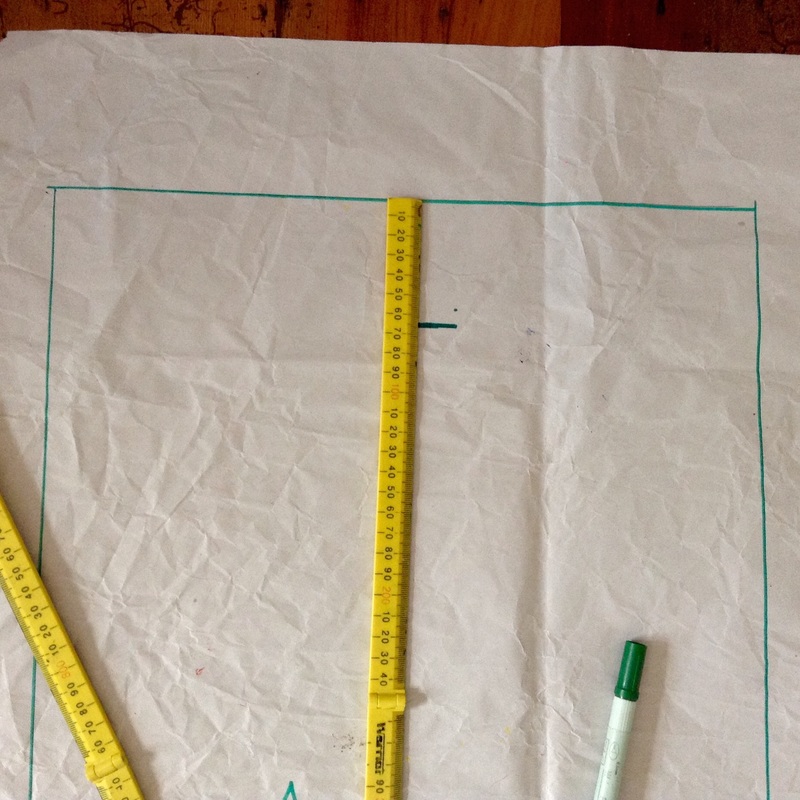
If you are using the drafted pattern from the link don't forget to add a seam allowance before cutting out the pieces. I added 1cm all the way around each pattern piece.
*In sewing to baste or to tack is to make quick, temporary stitching intended to be removed.
If you are using the drafted pattern from the link don't forget to add a seam allowance before cutting out the pieces. I added 1cm all the way around each pattern piece.
*In sewing to baste or to tack is to make quick, temporary stitching intended to be removed.
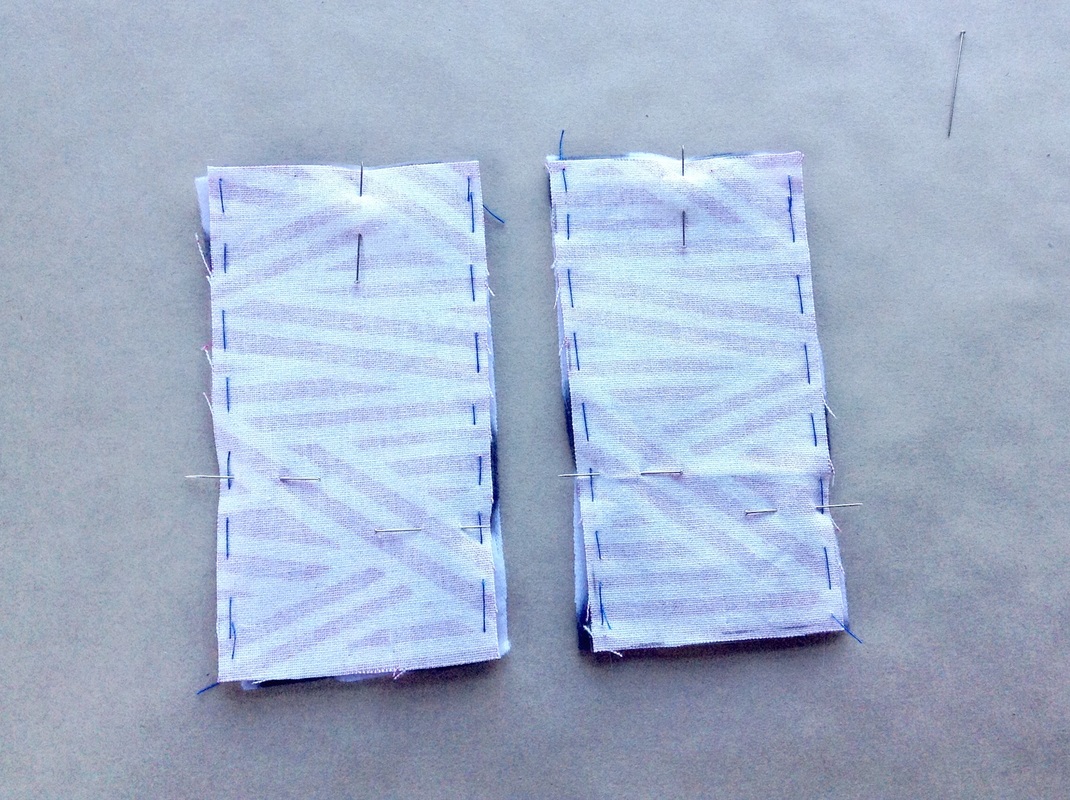
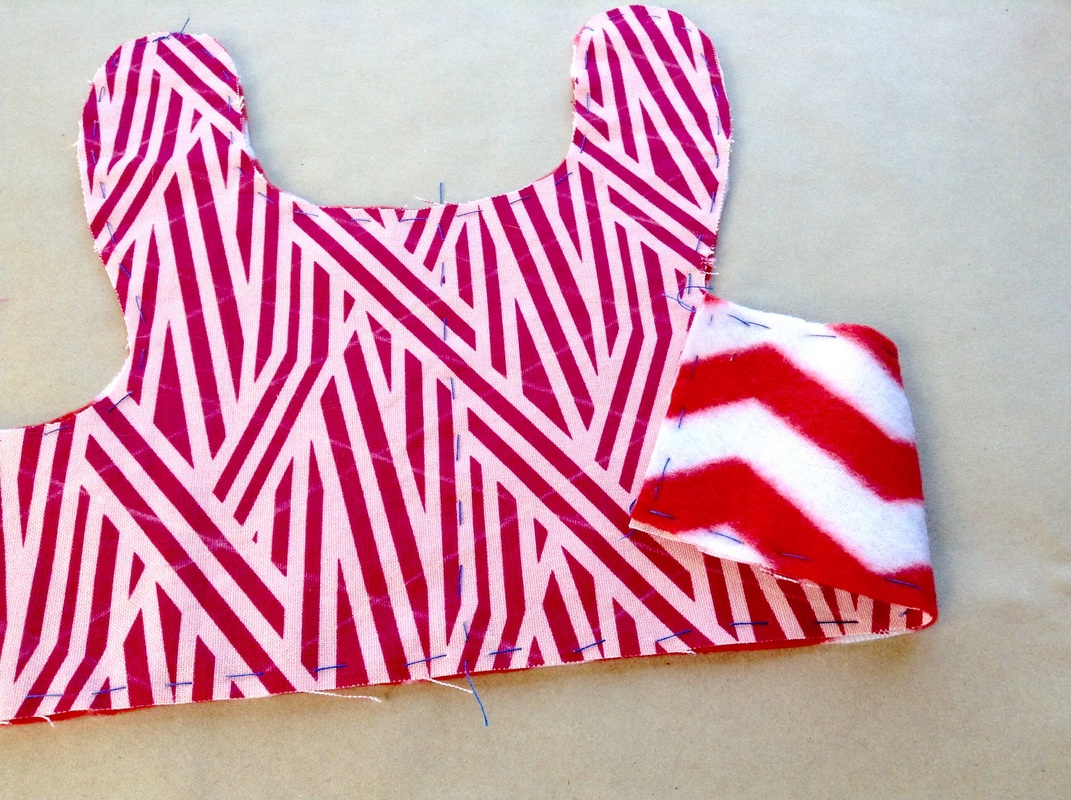
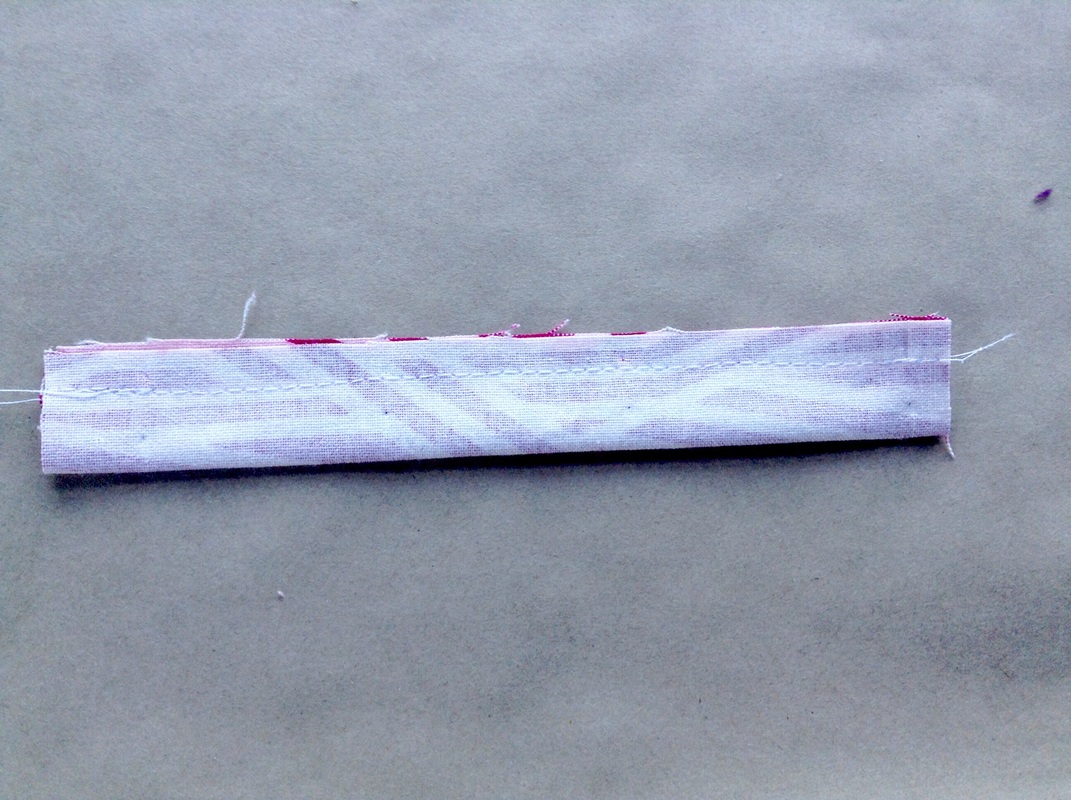
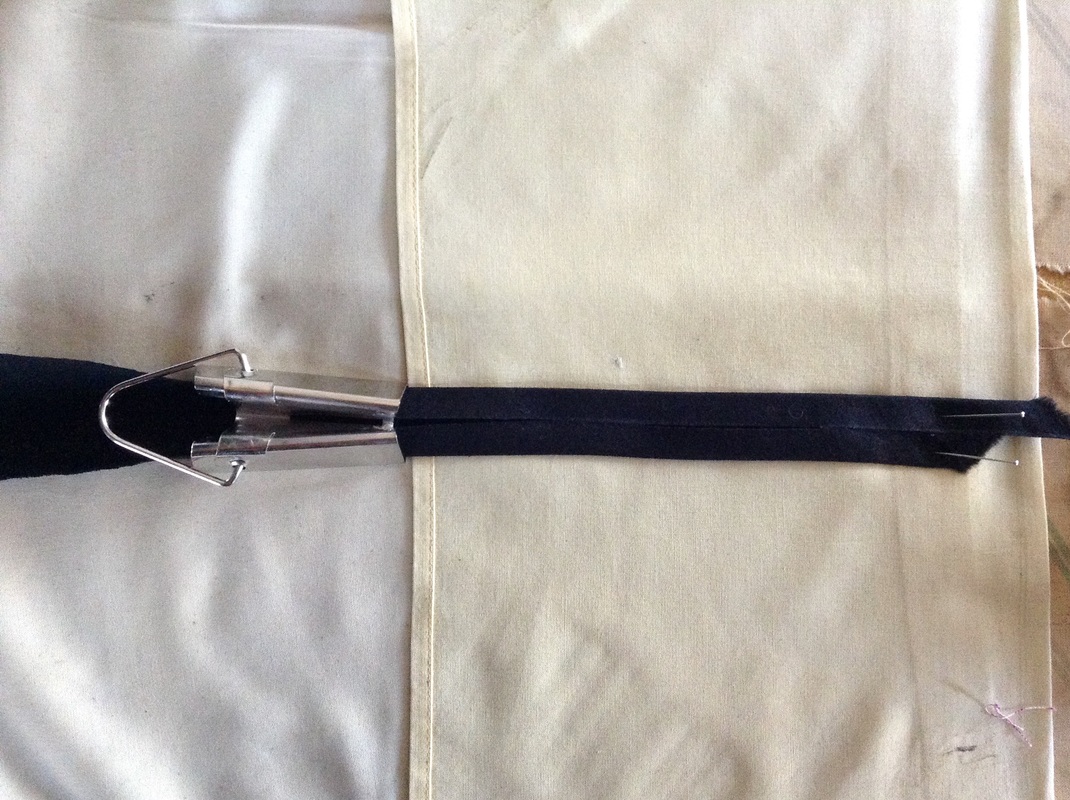
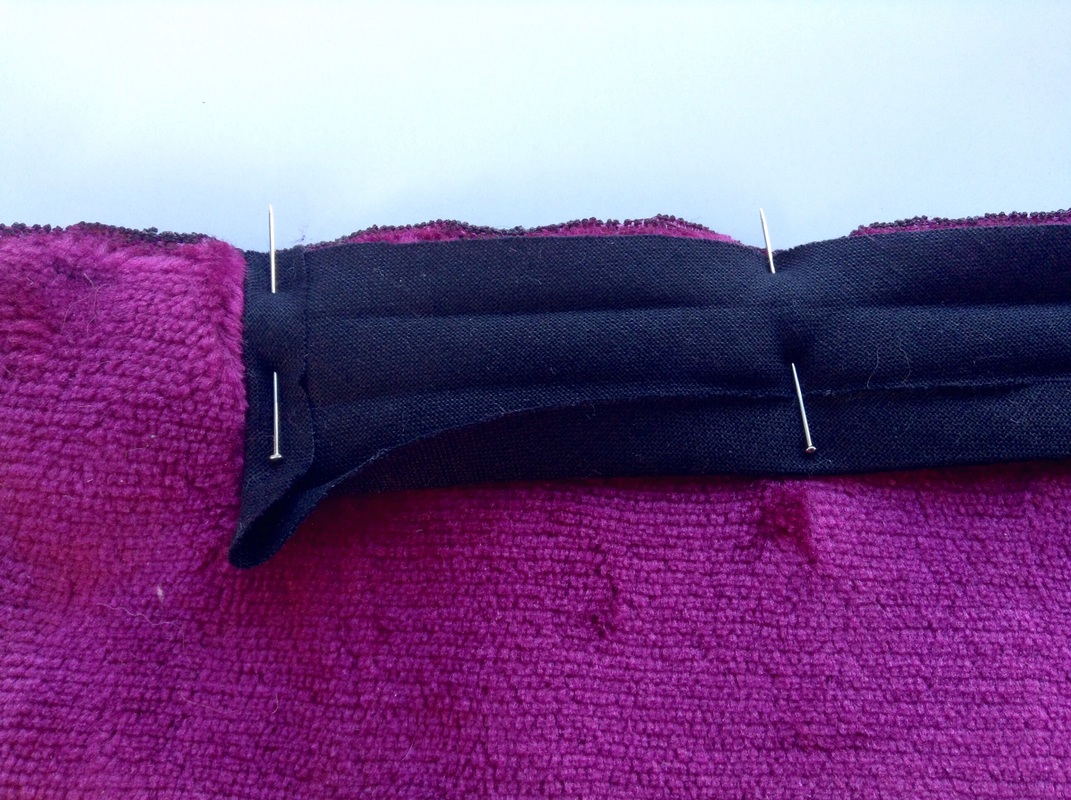
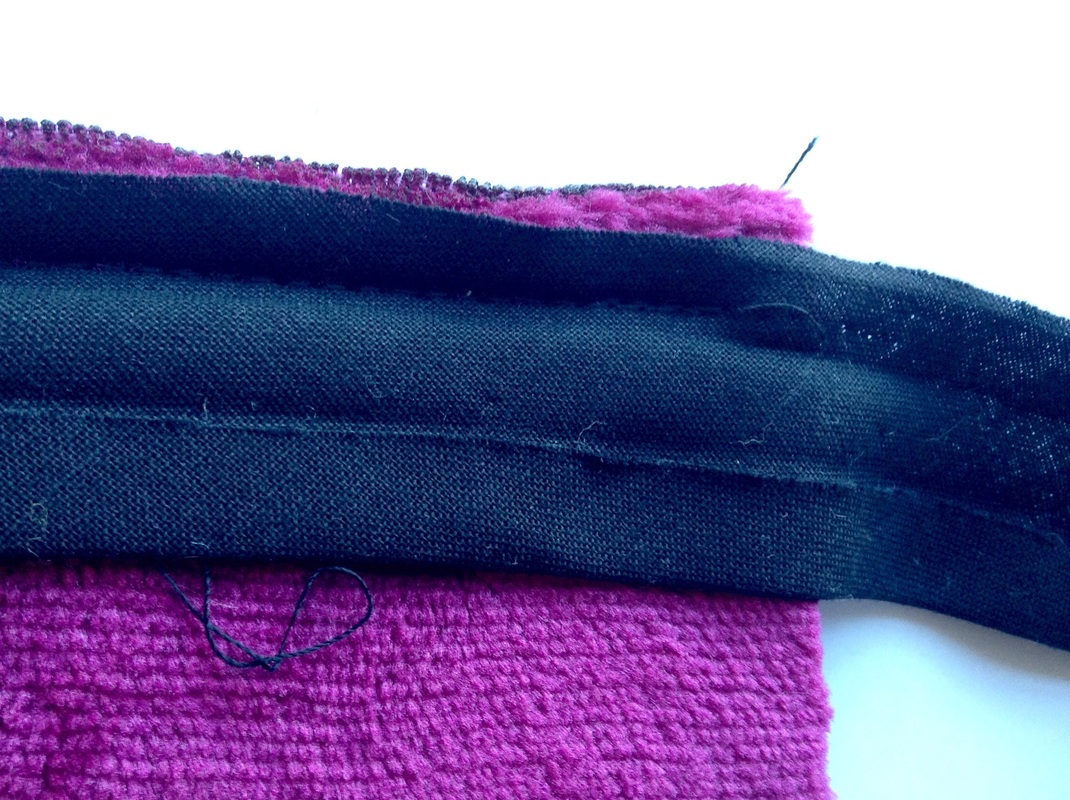
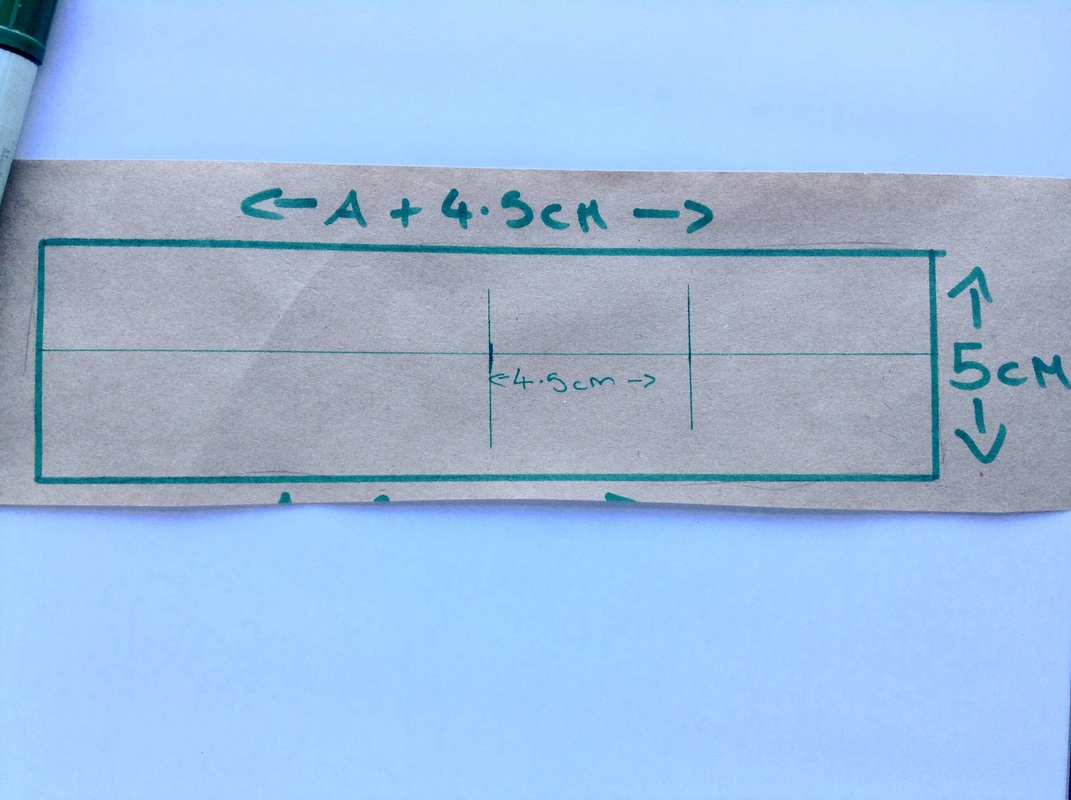
Pin the cotton strap to the fleece strap (good sides together). Leaving one end open sew each strap.
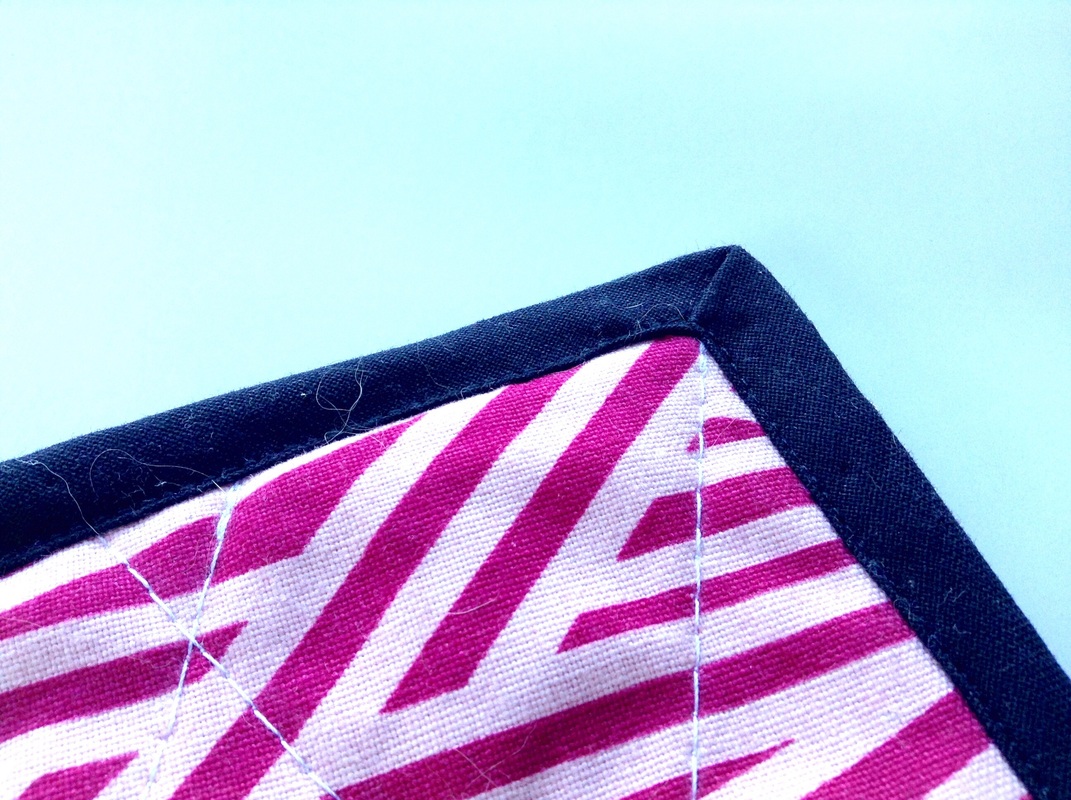
Trim the corners of the straps to reduce bulk, then turn the straps through so the good sides face out.
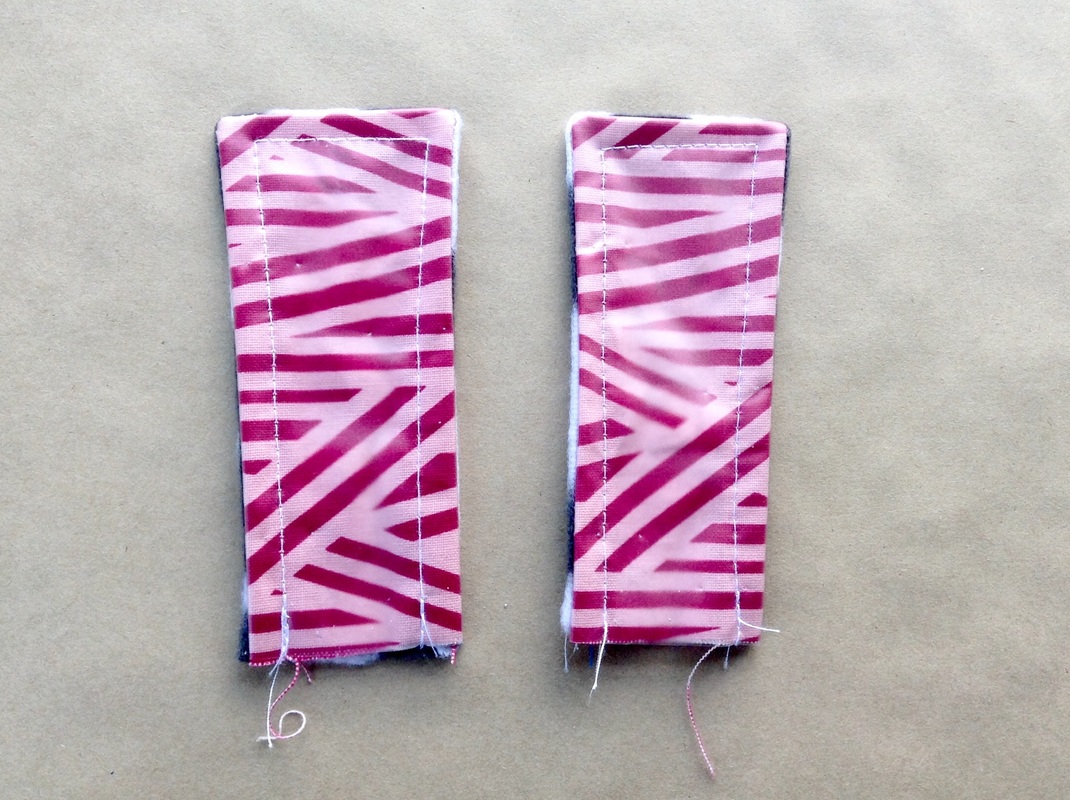
Top stitch* each strap. You don't have to do this step but I think it makes it look a little more professional. If you want to you can top stitch with a decorative stitch or with a tread in a contrasting colour.
* Top stitching is basically stitching that you will remain visible on the garment. Usually the aim in sewing is hide all the stitching on the inside of a garment/project. Top stitching is usually visible and can be used to add a bit of decorative flare.
* Top stitching is basically stitching that you will remain visible on the garment. Usually the aim in sewing is hide all the stitching on the inside of a garment/project. Top stitching is usually visible and can be used to add a bit of decorative flare.
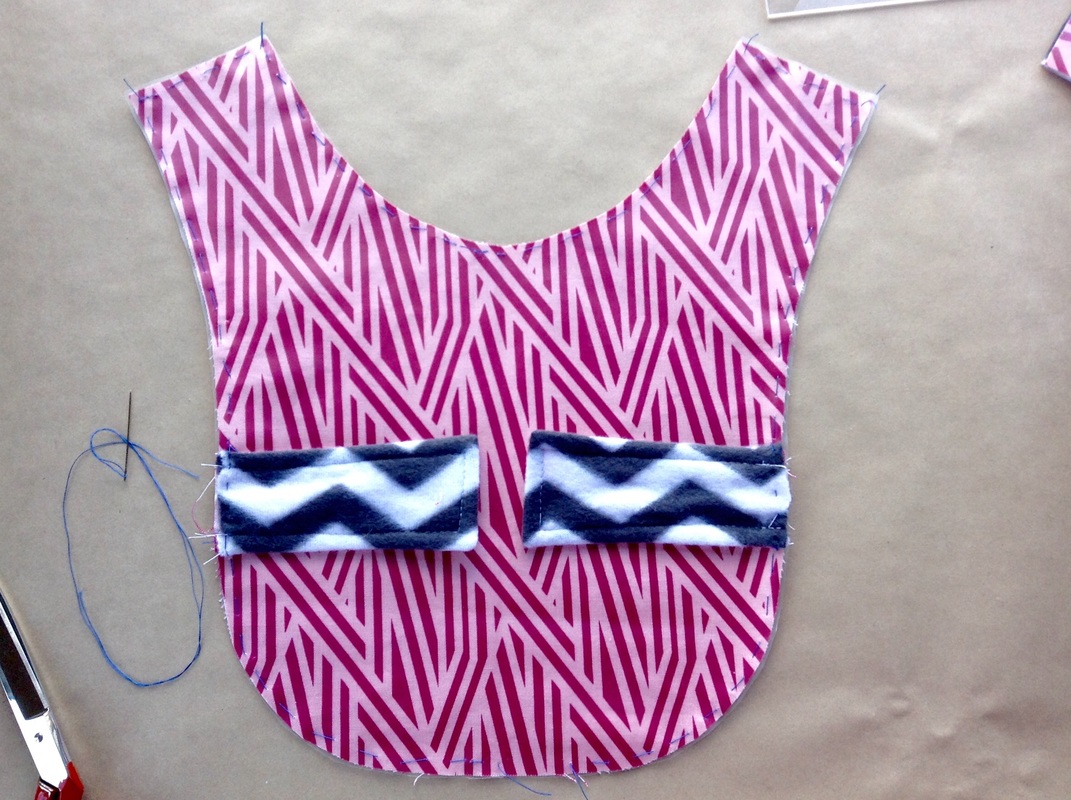
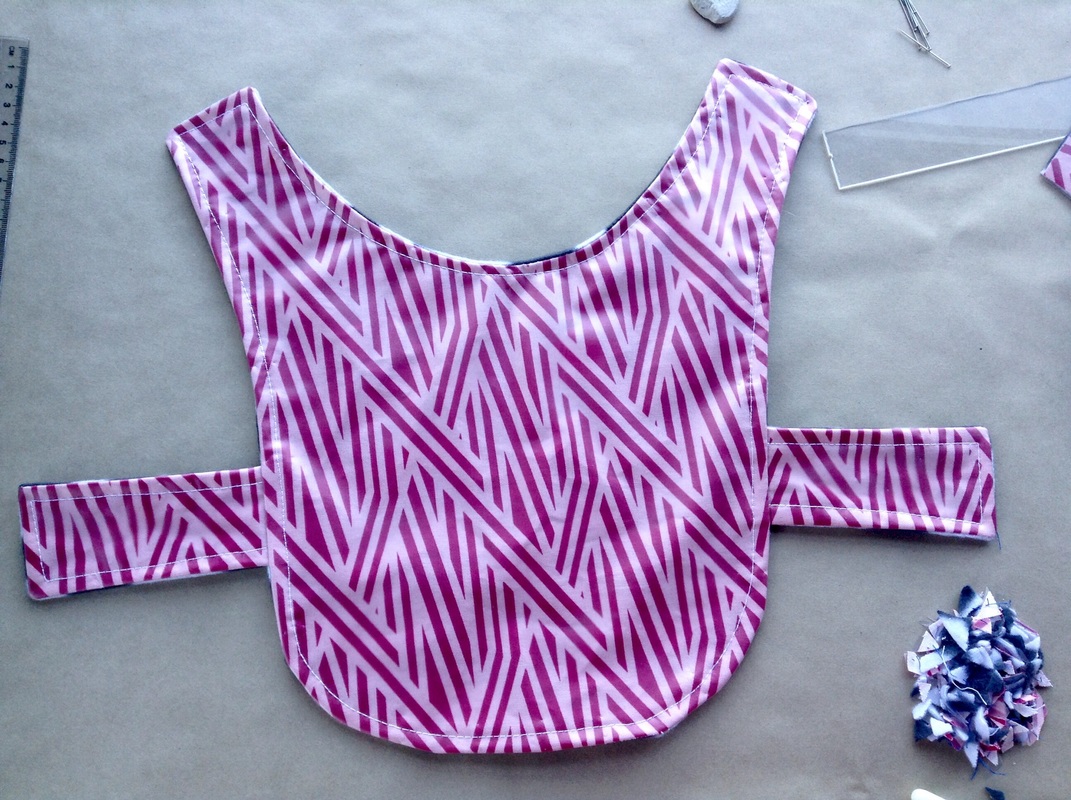
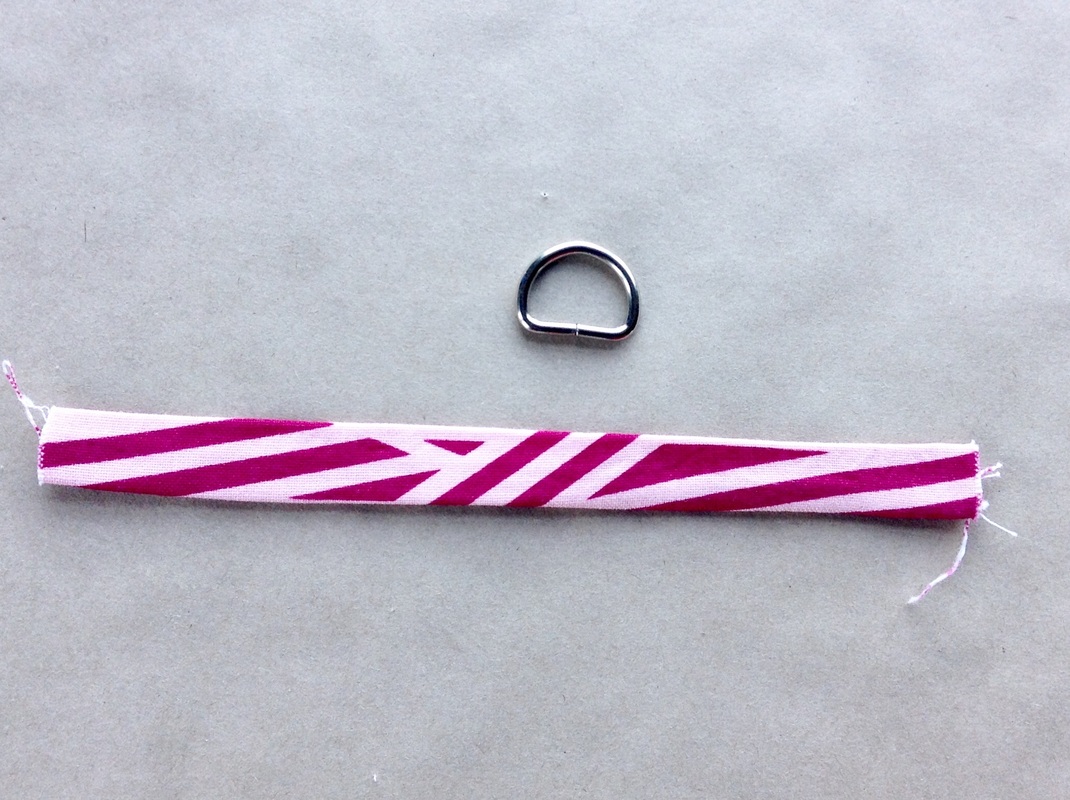
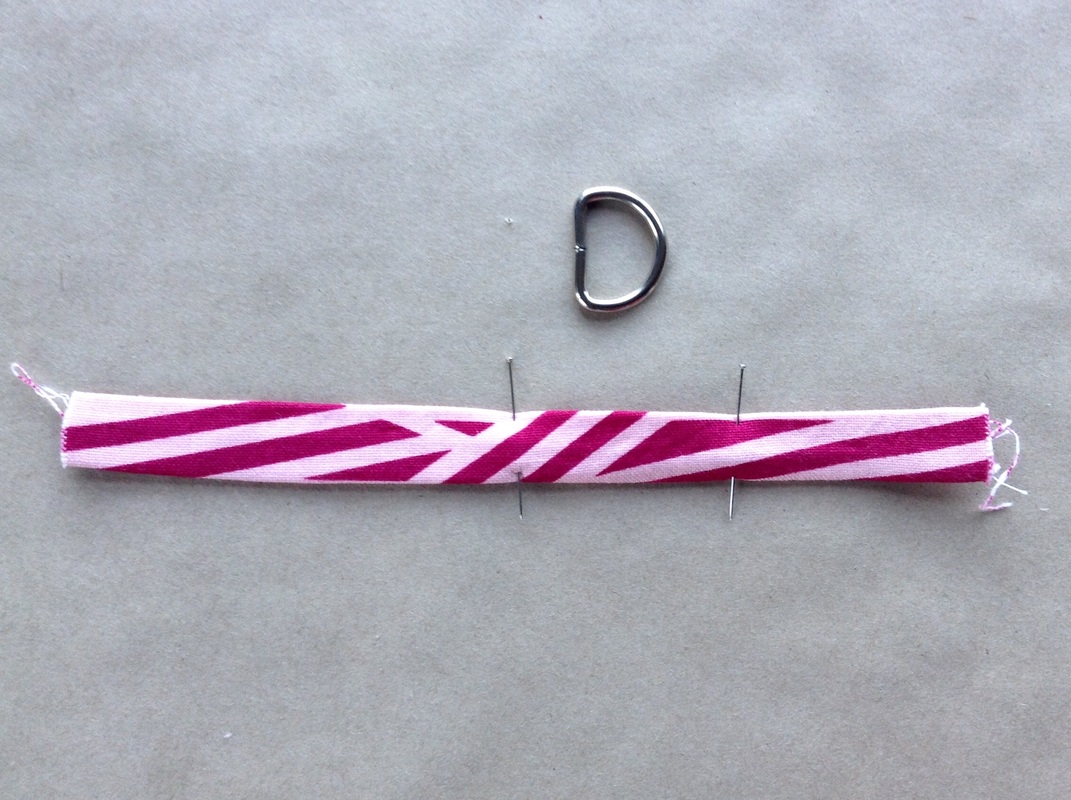
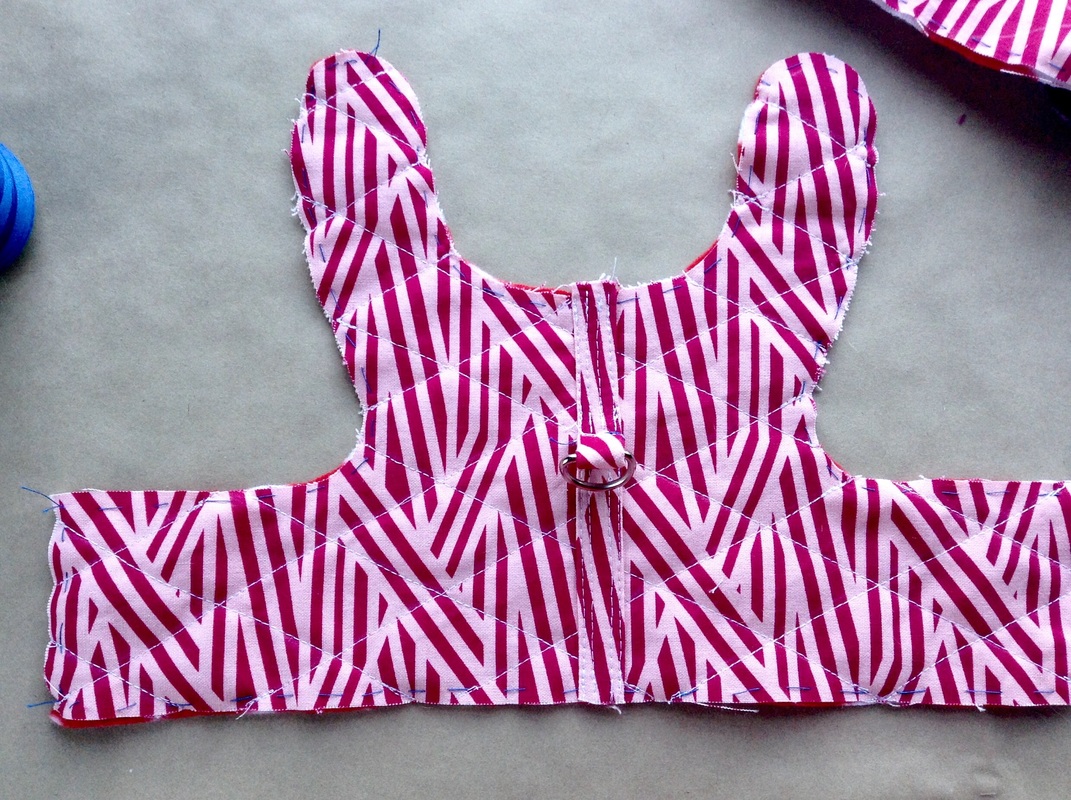
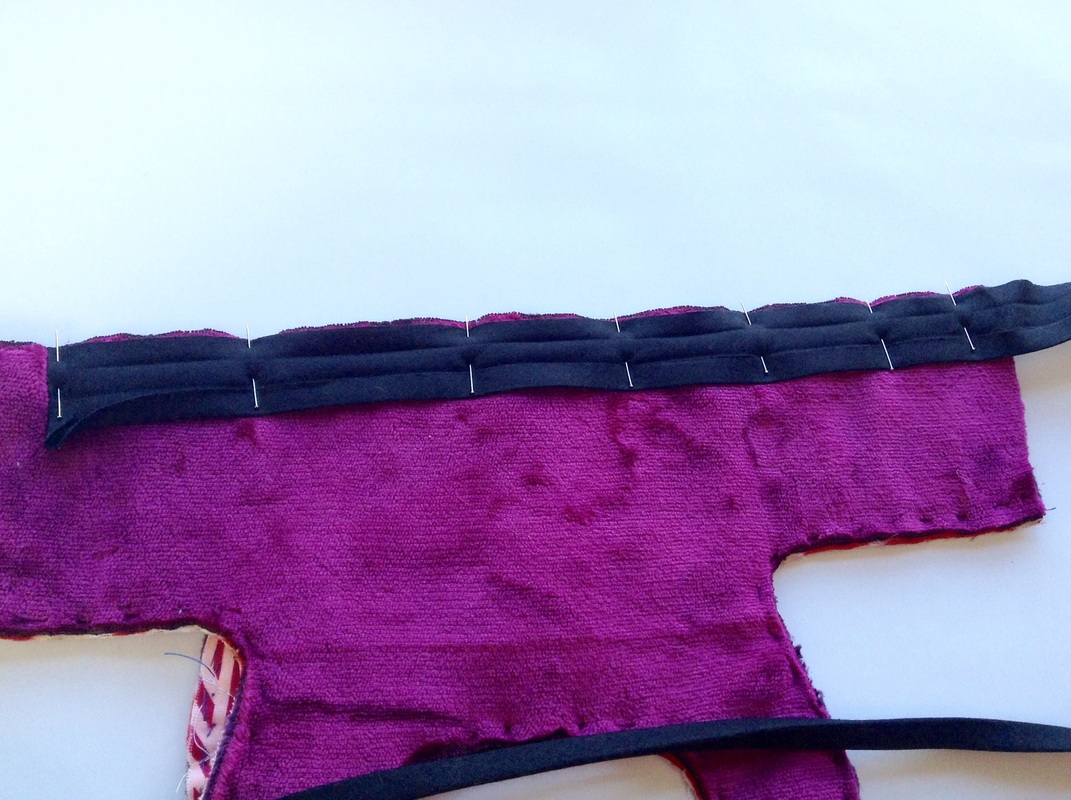
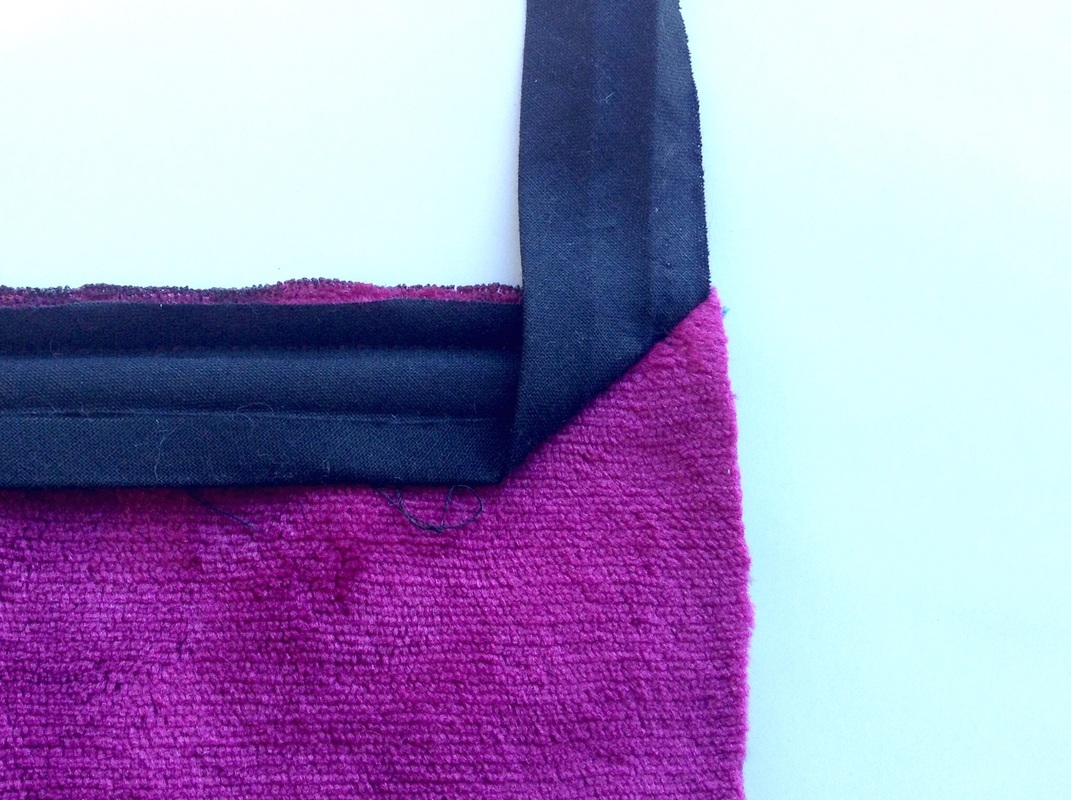
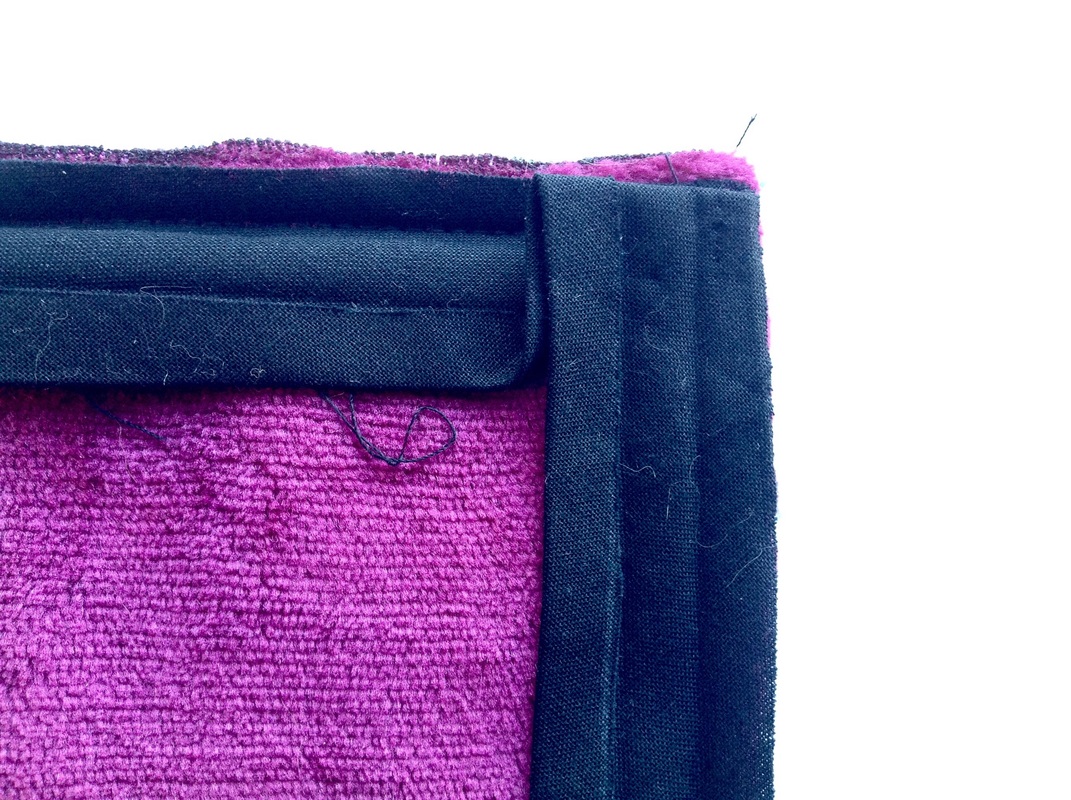
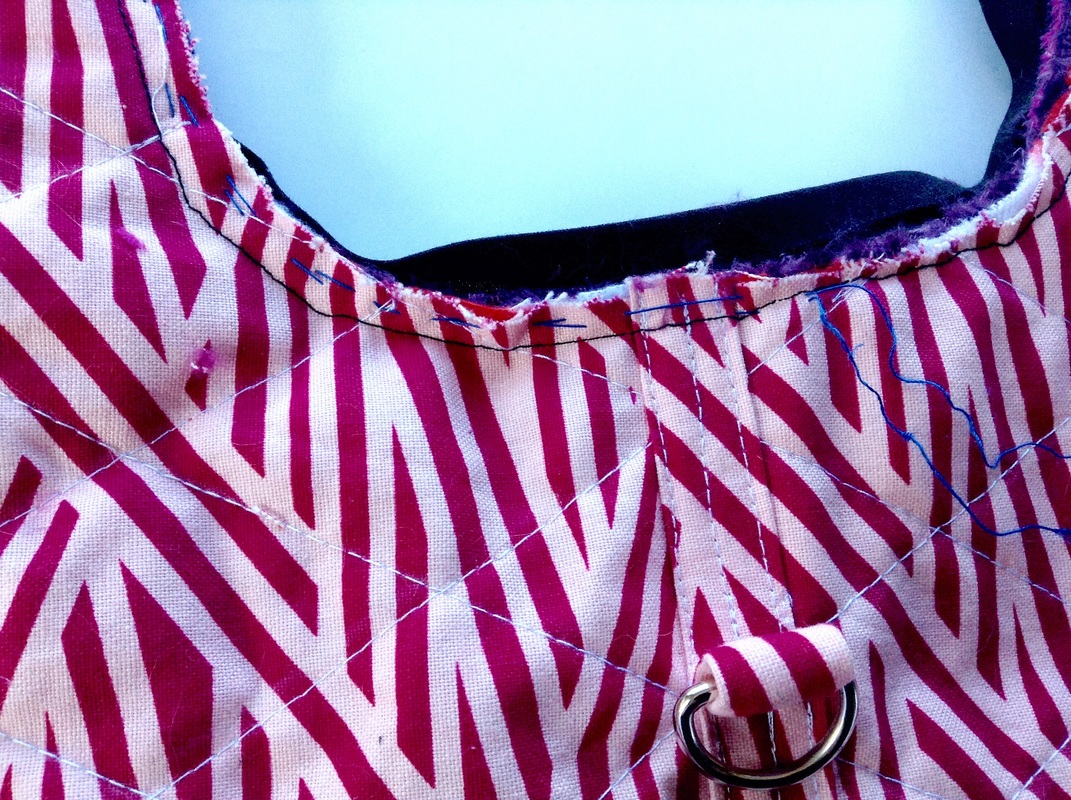
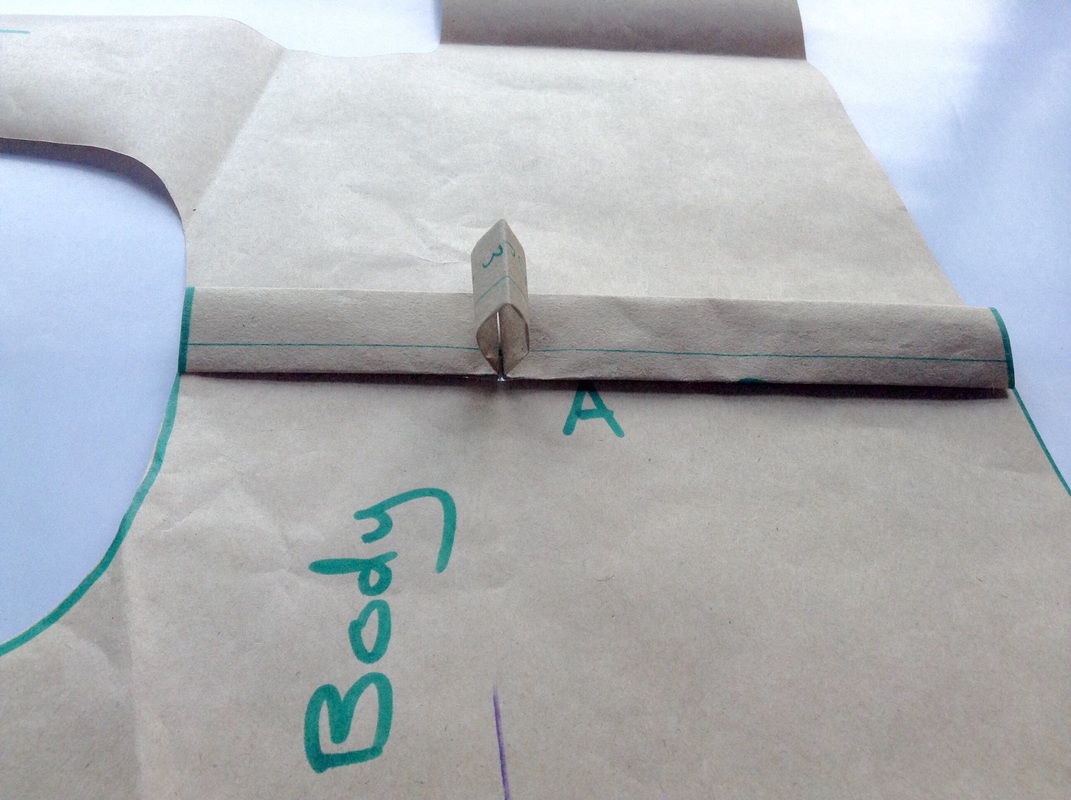
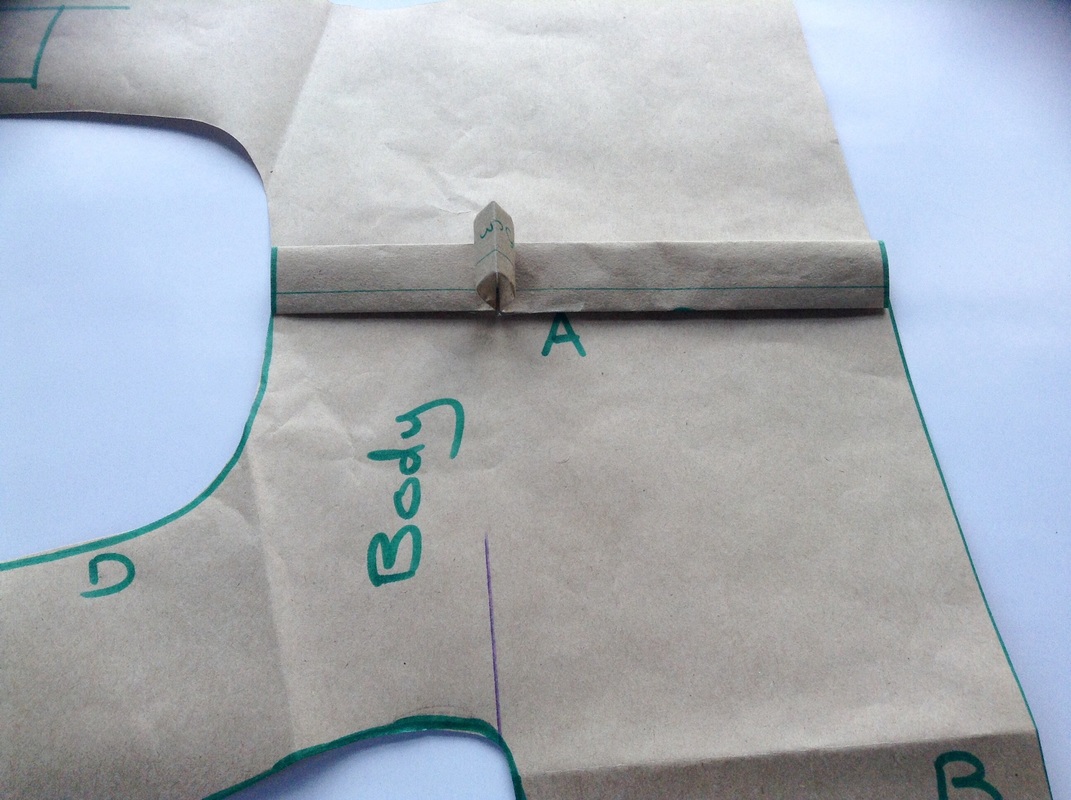
Pin the straps to the body matching the patterned side of the strap to the same patterned side of the body (pink to pink)
The placement of the straps should be marked on your pattern.
I use a couple of tacking stitches to keep the straps in place.
The placement of the straps should be marked on your pattern.
I use a couple of tacking stitches to keep the straps in place.
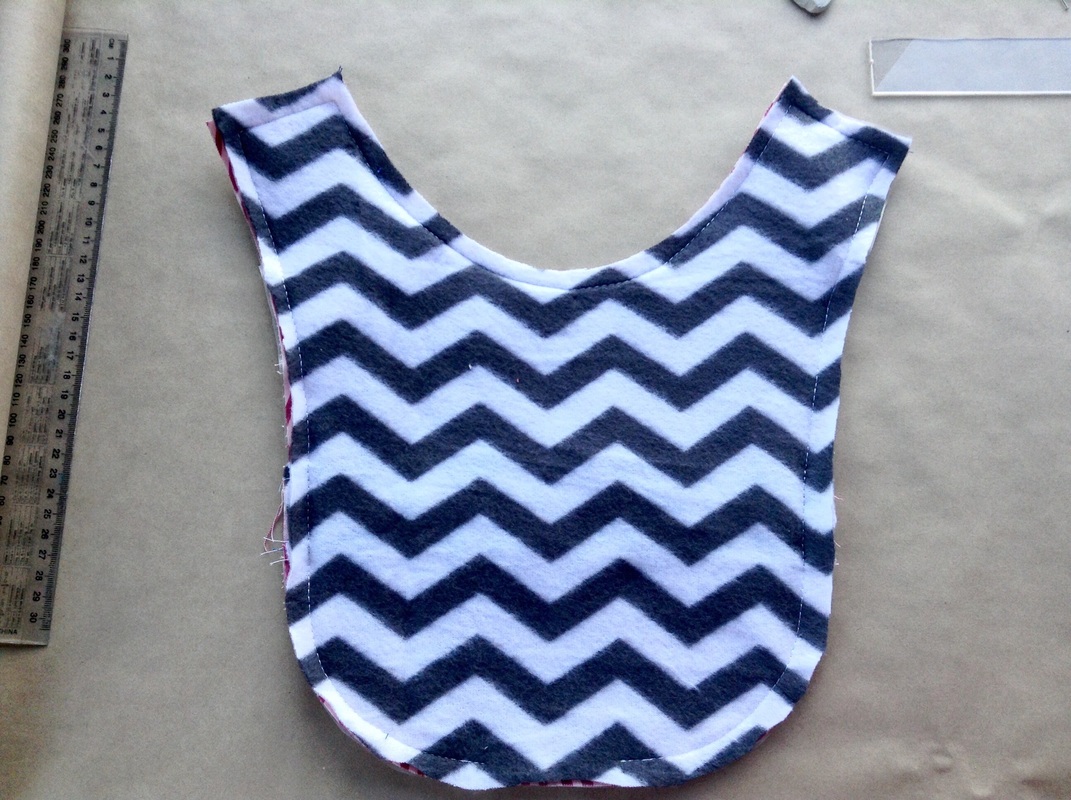
Pin the fleece to the vinyl/cotton body (good sides together) and sew together.
Leave an opening at the bottom of the body.
Leave an opening at the bottom of the body.
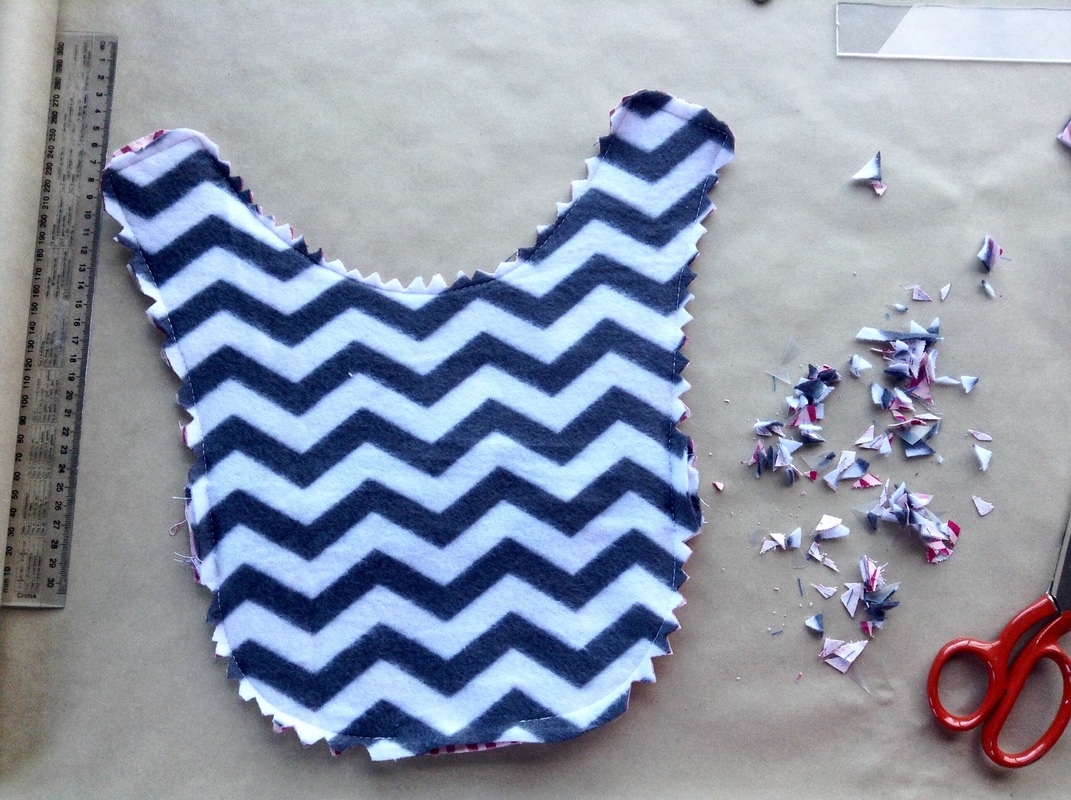
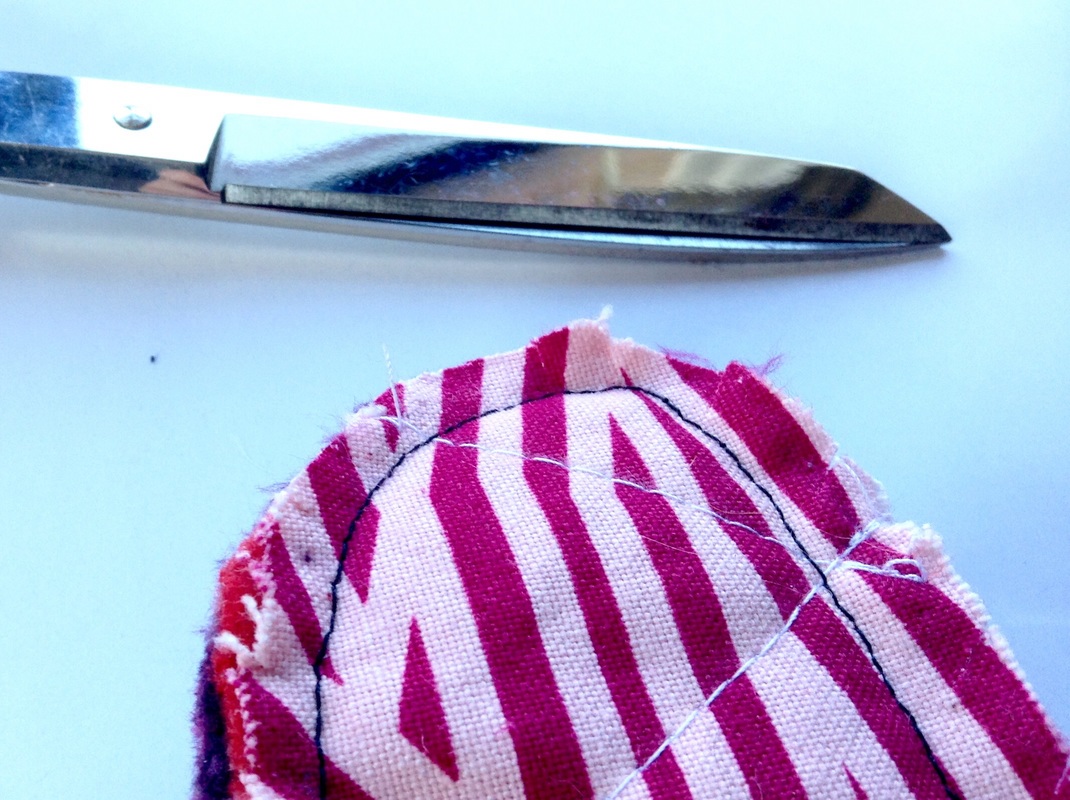
Trim up the corners and clip all the curved edges.
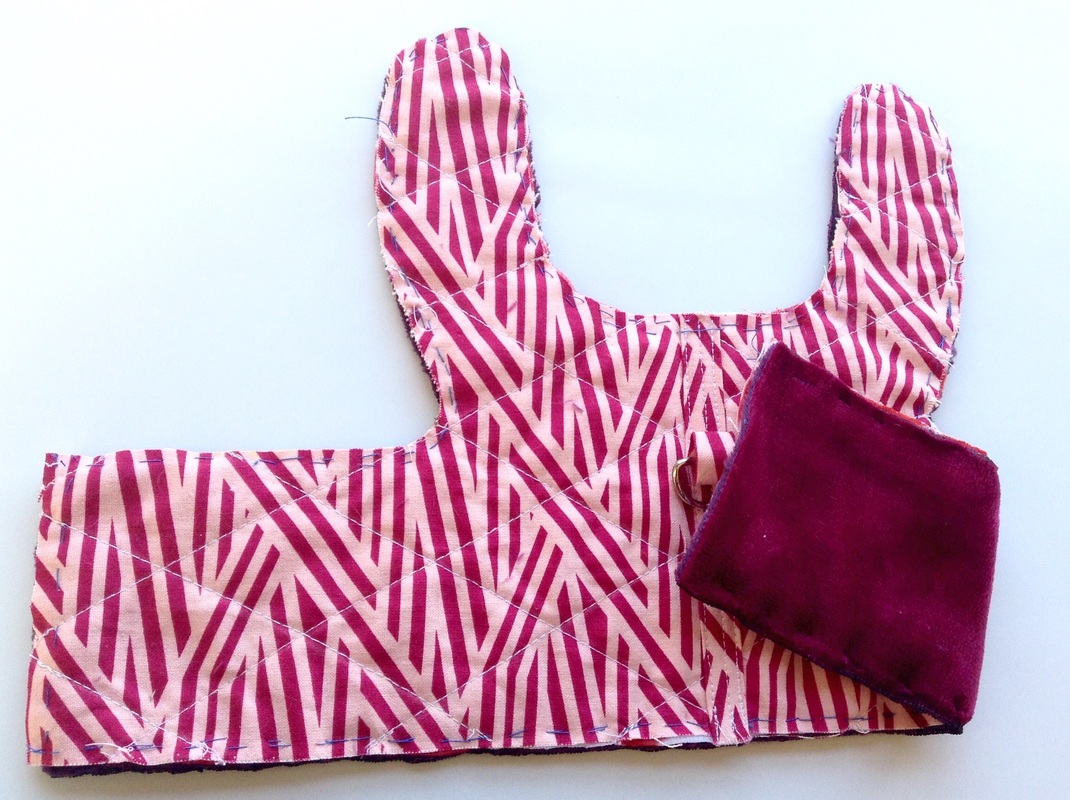
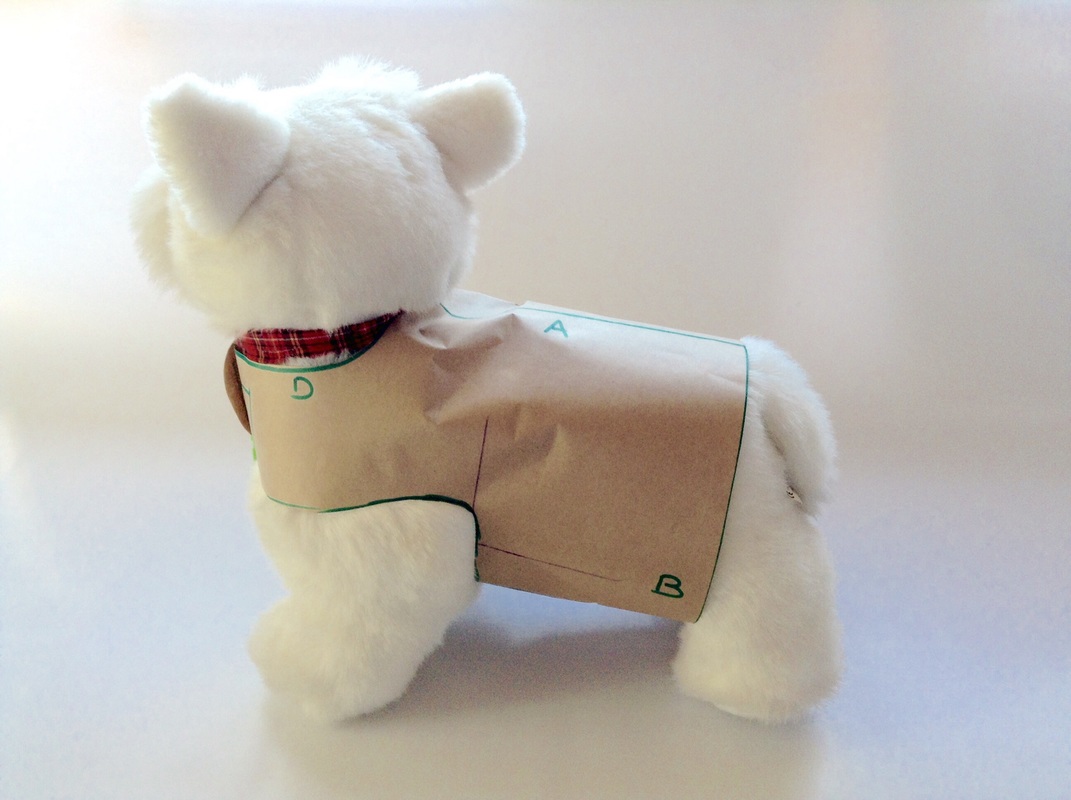
Turn the body through and top stitch. The top stitching will close up the opening left at the bottom of the body.
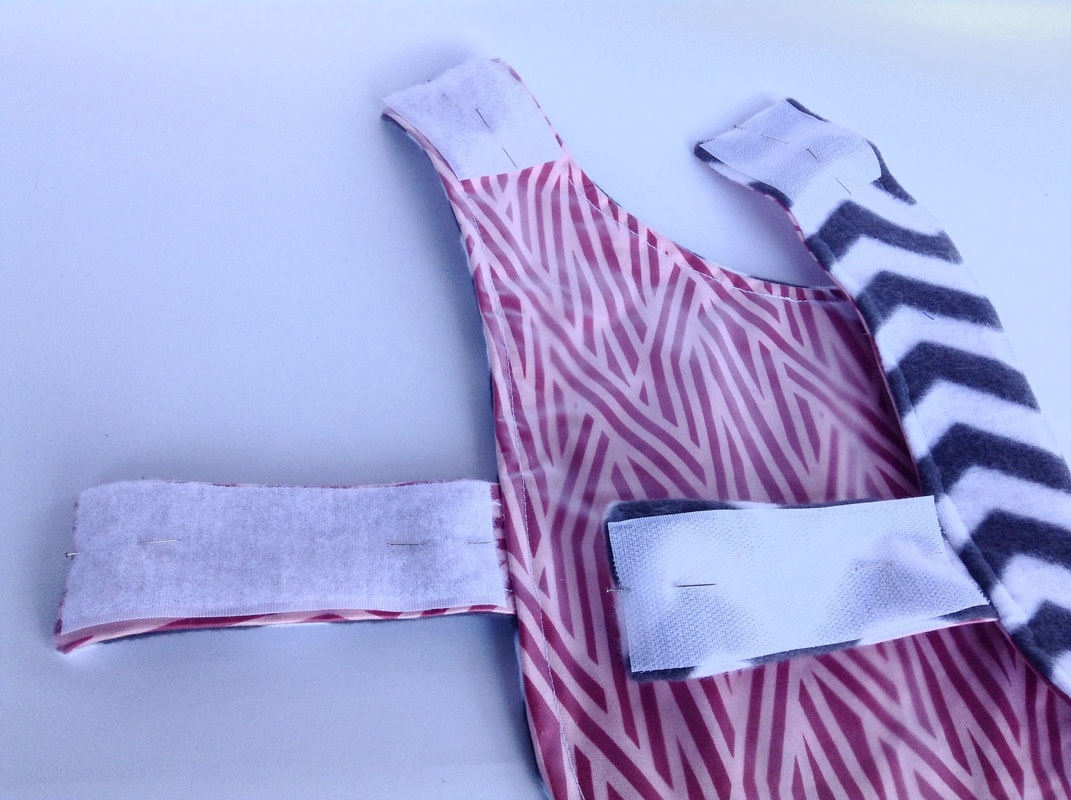
Lastly sew on some Velcro. Sew the fuzzy side of the Velcro to the straps that face toward the body and the rough side to the straps that face away from the body. This should prevent the Velcro from sticking to your dogs fur, especially if you have a fuzzy canine.


 RSS Feed
