Box Tote - Template A
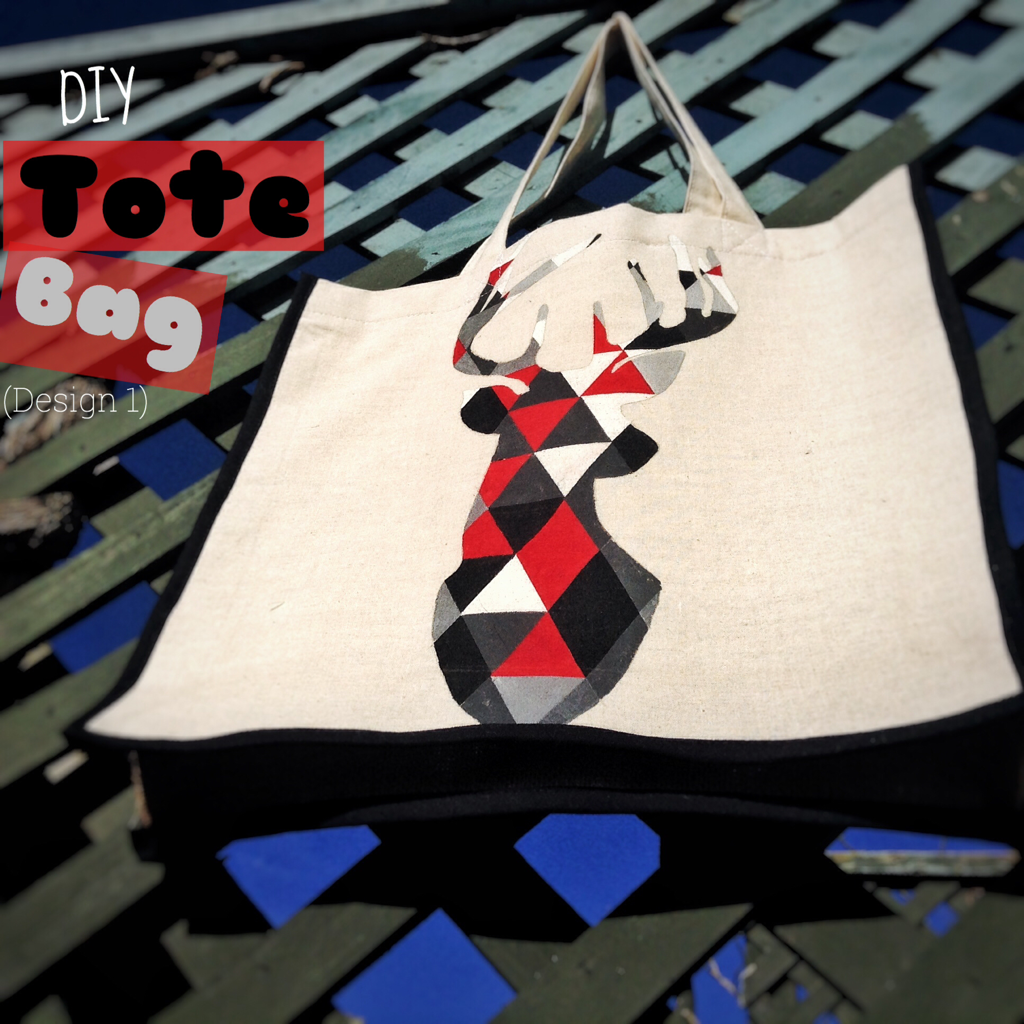
I've been making tote bags! I have two different styles, they both look essentially the same but have a slightly different pattern. Personally I like this one the best.
You Will Need
🛍 Fabric - I've gone for burlap and calico (stiffer fabrics that hold their shape are ideal e.g. Canvas)
🛍 Fabric paint
🛍 Bias binding
🛍 Velcro/snaps (totally optional)
🛍 General sewing equipment
- Sewing machine
- Scissors
- Chalk
- Pins
- Thread
- iron
🛍 Fabric paint
🛍 Bias binding
🛍 Velcro/snaps (totally optional)
🛍 General sewing equipment
- Sewing machine
- Scissors
- Chalk
- Pins
- Thread
- iron
Pattern
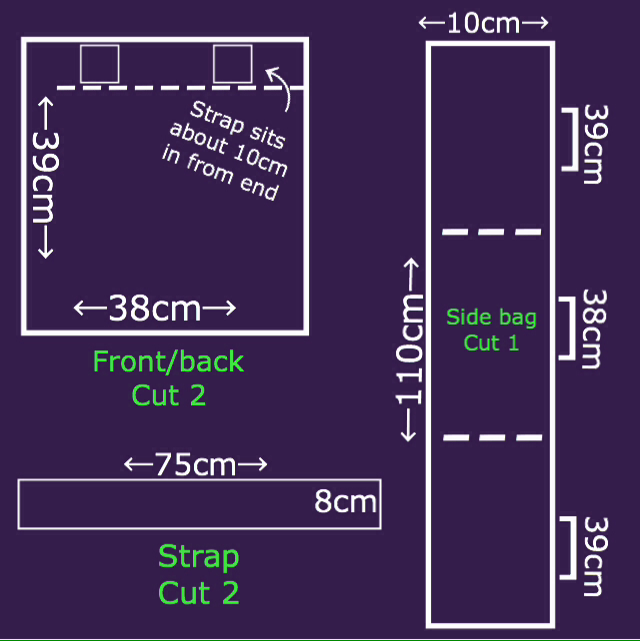
I've given you a general template above using the measurements I used.
There are three basic components to this tote bag:
Front/back piece - basically a square/rectangle as big as you want your tote to be.
Side piece - this is sewn down one side of the front/back pieces, across the bottom, and back up the other side. It's easy to figure out how long this piece needs to be.
It's simply the measurements of the front/back piece added together = side measurement + bottom measurement + side measurement.
Make it as wide you like, I've gone for a 10cm depth.
Strap piece - I think 75cm is a great length, not too short, not too long.
Cutting Out
Cut out
- two front/ back pieces.
- two strap pieces
- one side piece.
Fold over and press the top of the front/back, and side pieces. About 4-5cm.
- two front/ back pieces.
- two strap pieces
- one side piece.
Fold over and press the top of the front/back, and side pieces. About 4-5cm.
Painting
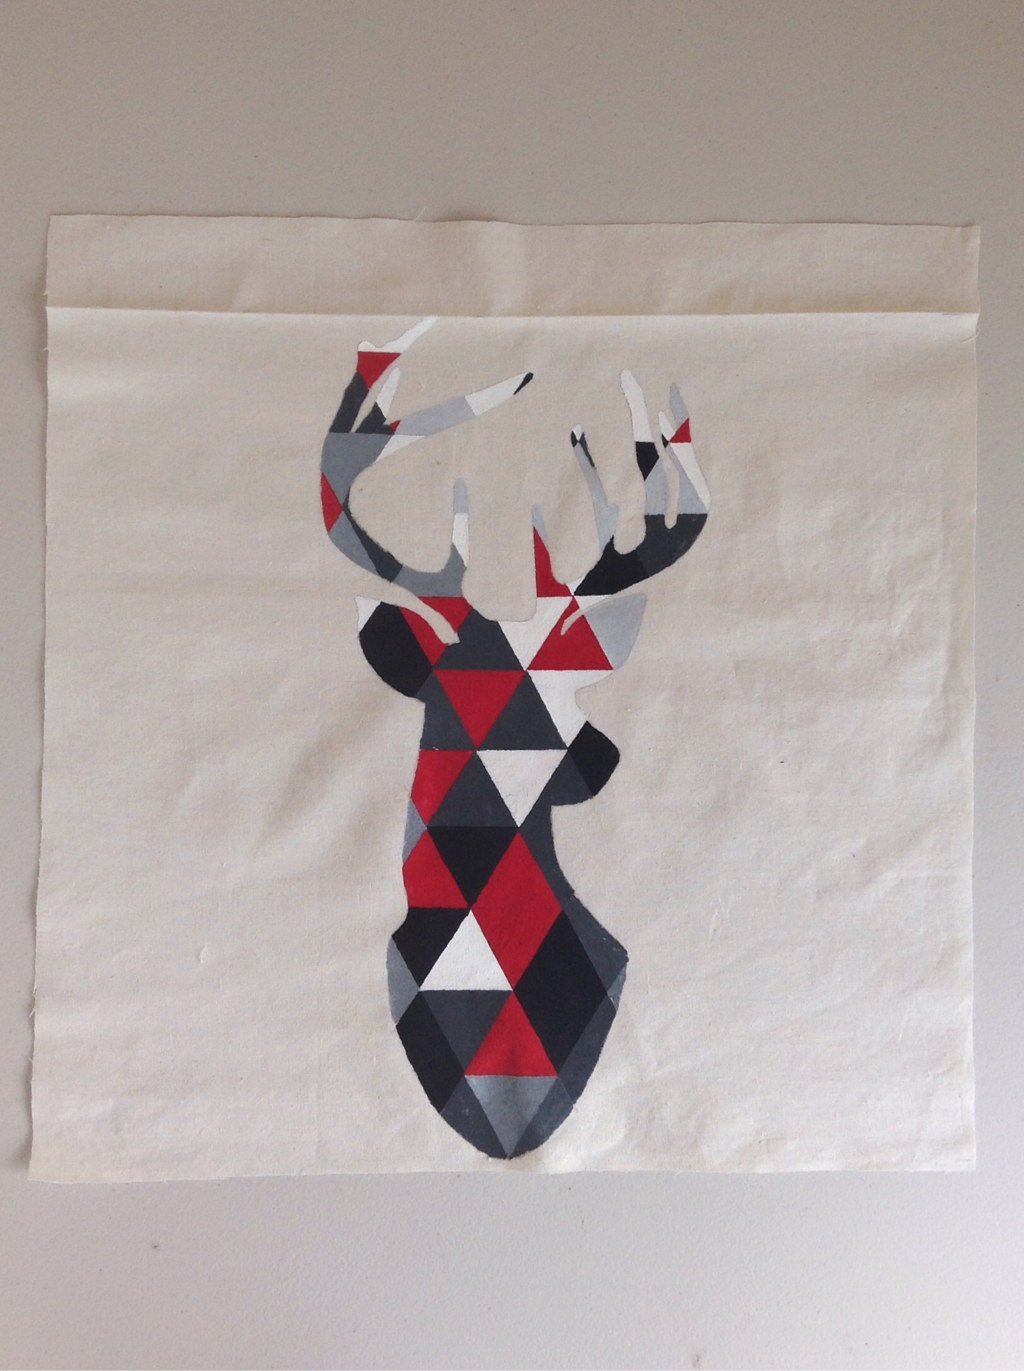
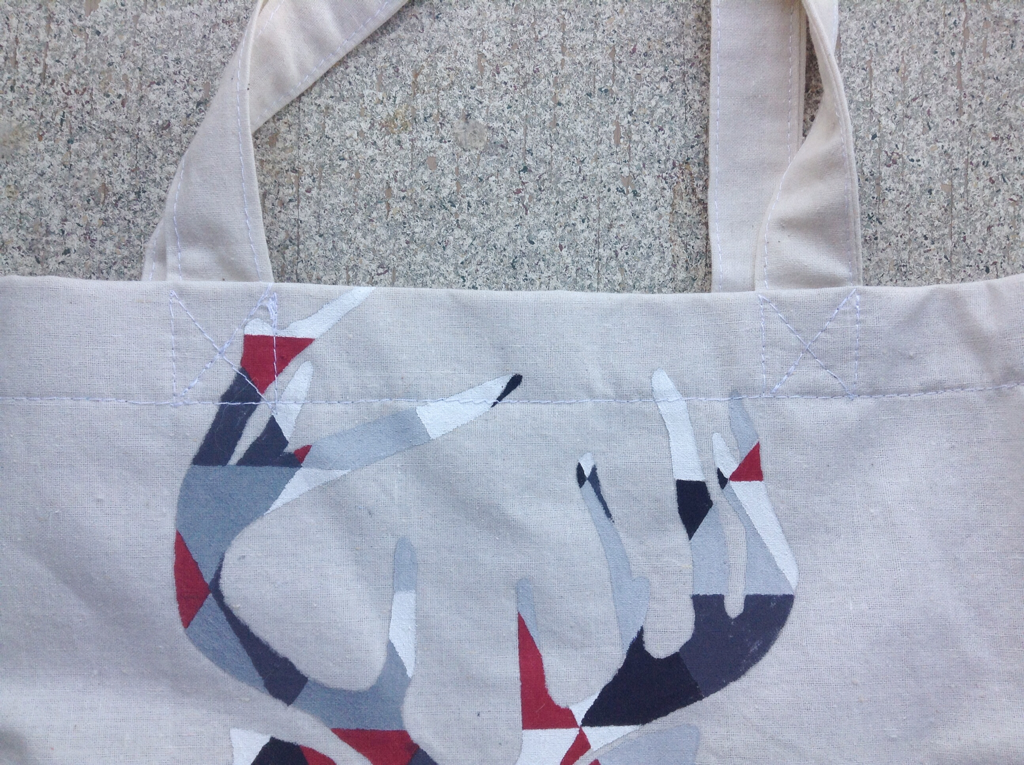
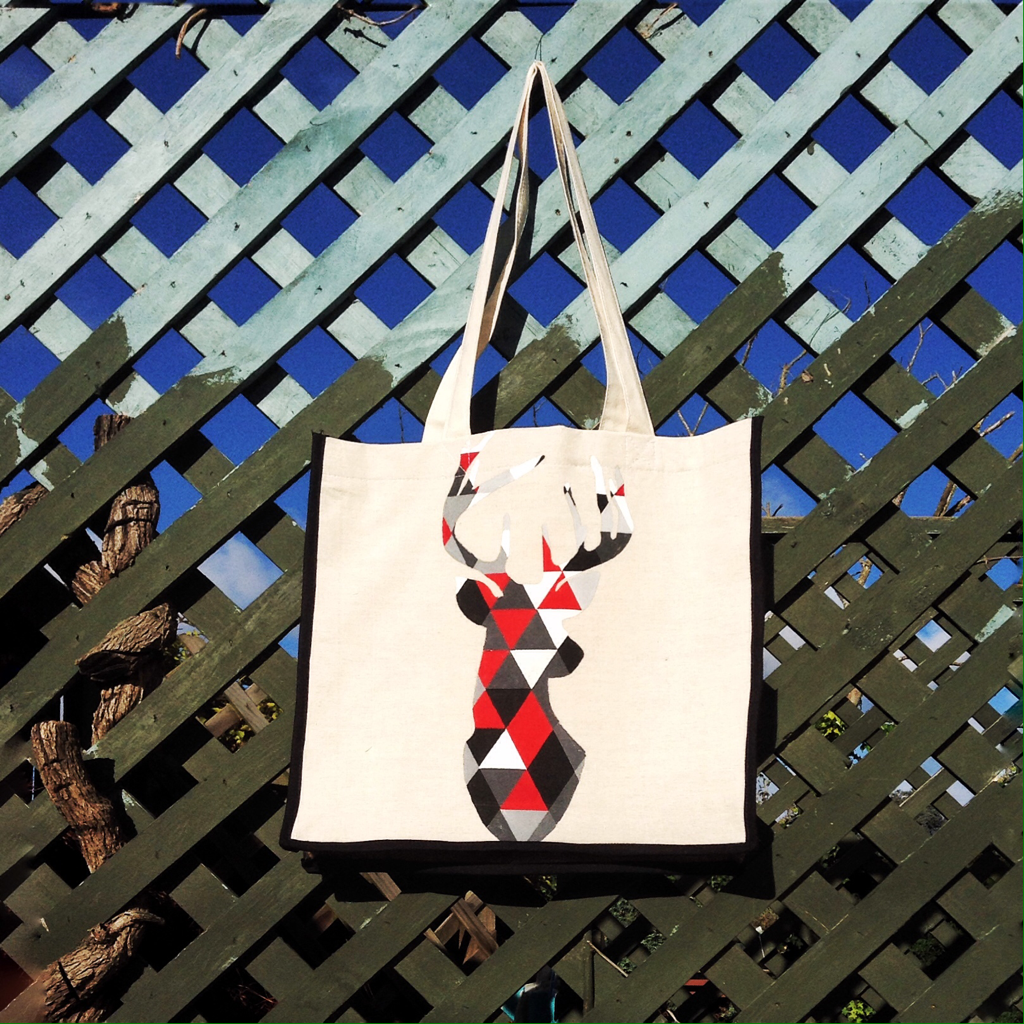
Take your front piece and paint a funky design.
I've gone with a geometric deer - for a better look at how to make geometric animals see THIS POST.
I've gone with a geometric deer - for a better look at how to make geometric animals see THIS POST.
Sewing
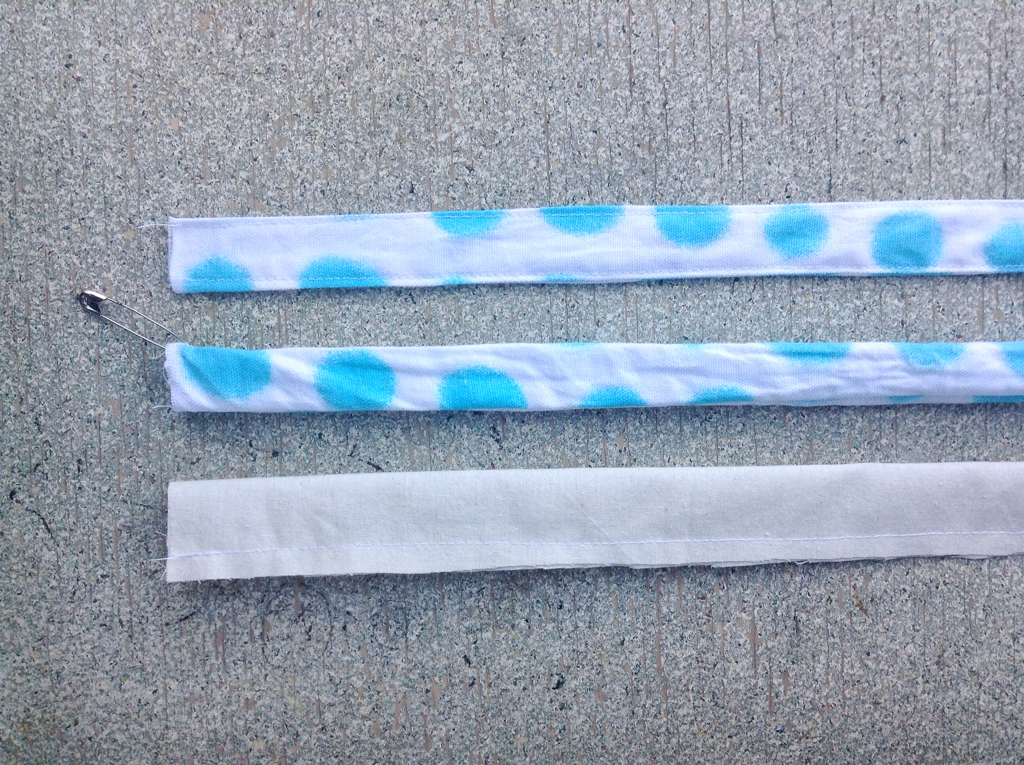
Fold the strap pieces in half (good sides together) and sew down the long side.
Turn through and press.
Edge stitch each strap. (Sew up each side of the straps - stitching will keep the straps flat. And it looks more professional)
Turn through and press.
Edge stitch each strap. (Sew up each side of the straps - stitching will keep the straps flat. And it looks more professional)
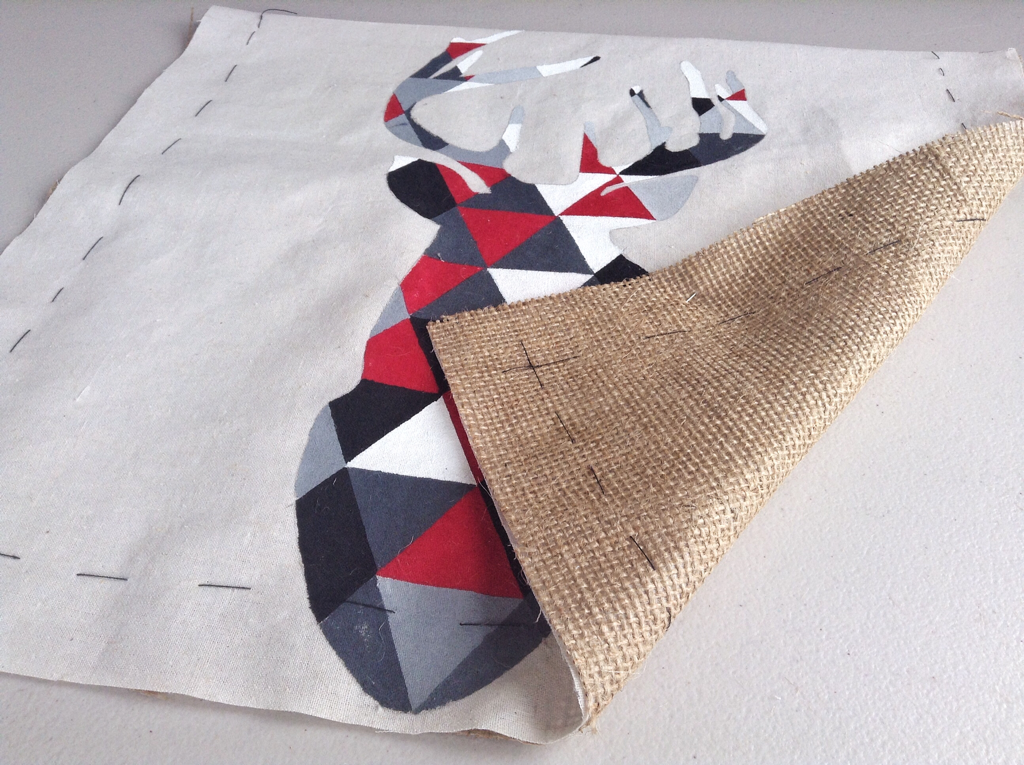
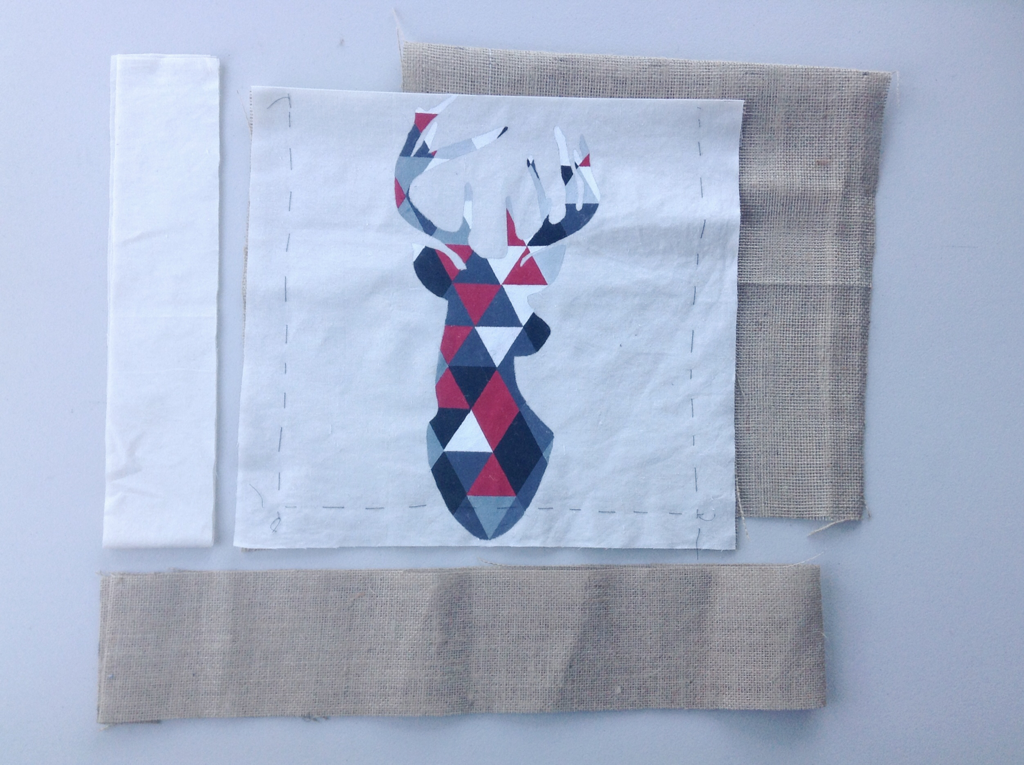
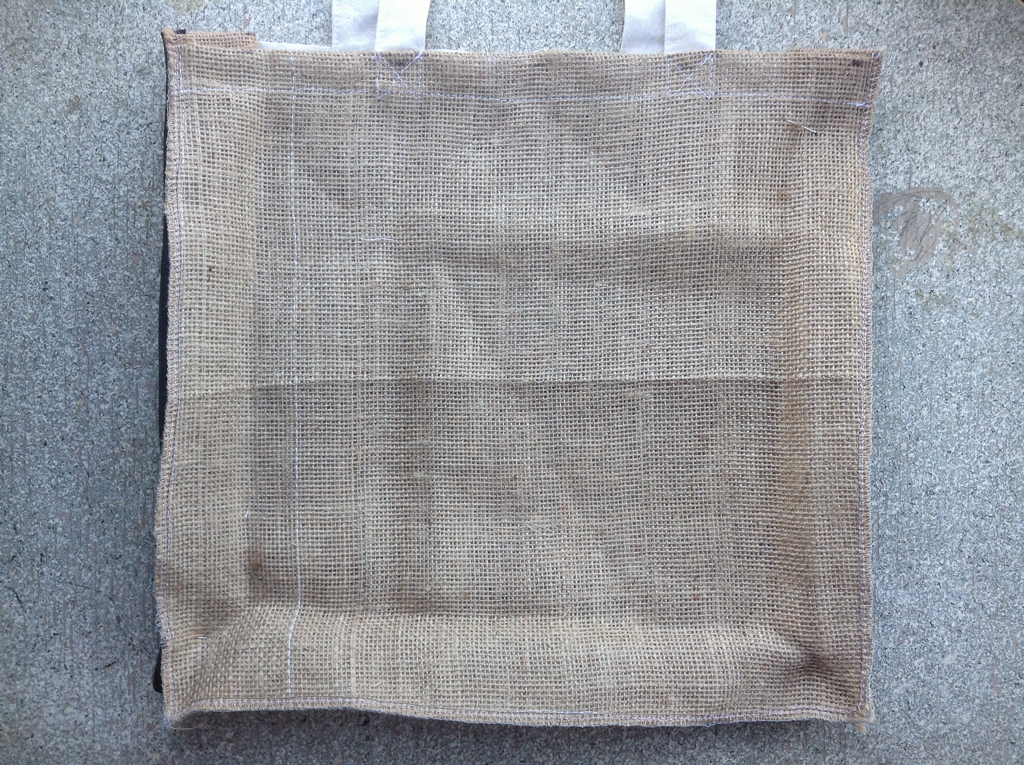
I painted my deer onto a piece of calico. It was a bit thin and flimsy so I added a burlap backing. I quickly hand tacked the two pieces together.
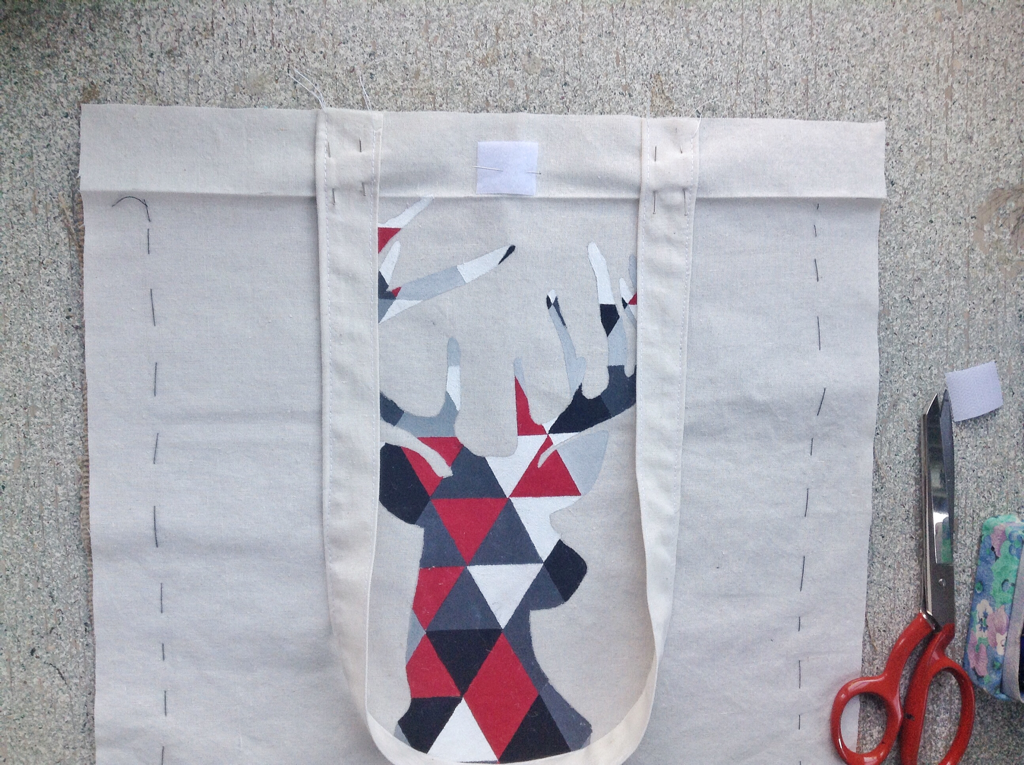
Pin straps to front/back pieces (onto the good side of the fabric). Pin straps about 10cm in from the sides.
Also sew on a bit of Velcro.
Also sew on a bit of Velcro.
 |  |
Fold under raw edges at the top of the front/back pieces and sew.
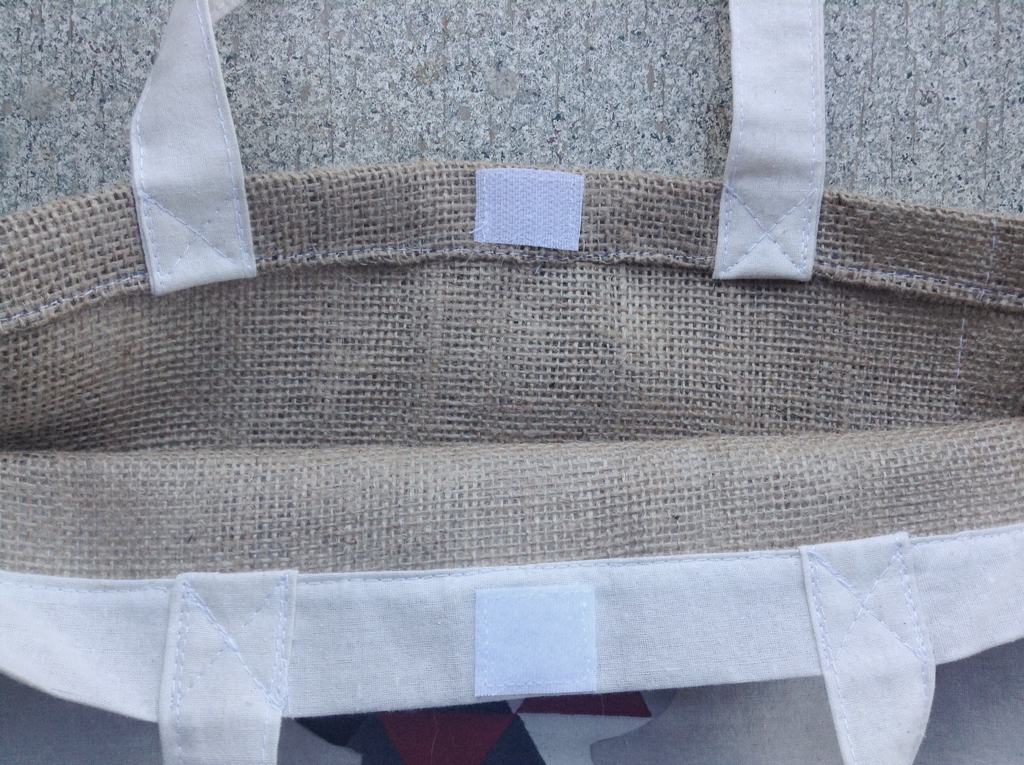
Sew straps more securely to bag creating an X
Sew straps more securely to bag creating an X
Pin and sew side piece to front piece.
With wrong sides together pin side piece to one side of the front piece. Sew all the way down to the end (stop about 0.5cm from the end) Anchor the needle through the fabric. Lift the presser foot and swivel the front piece so that the next edge is ready to be sewn. Line up the side piece flush with this edge. Lower the presserfoot and sew to the next corner. Repeat.
Sew the back piece to side piece in the same way
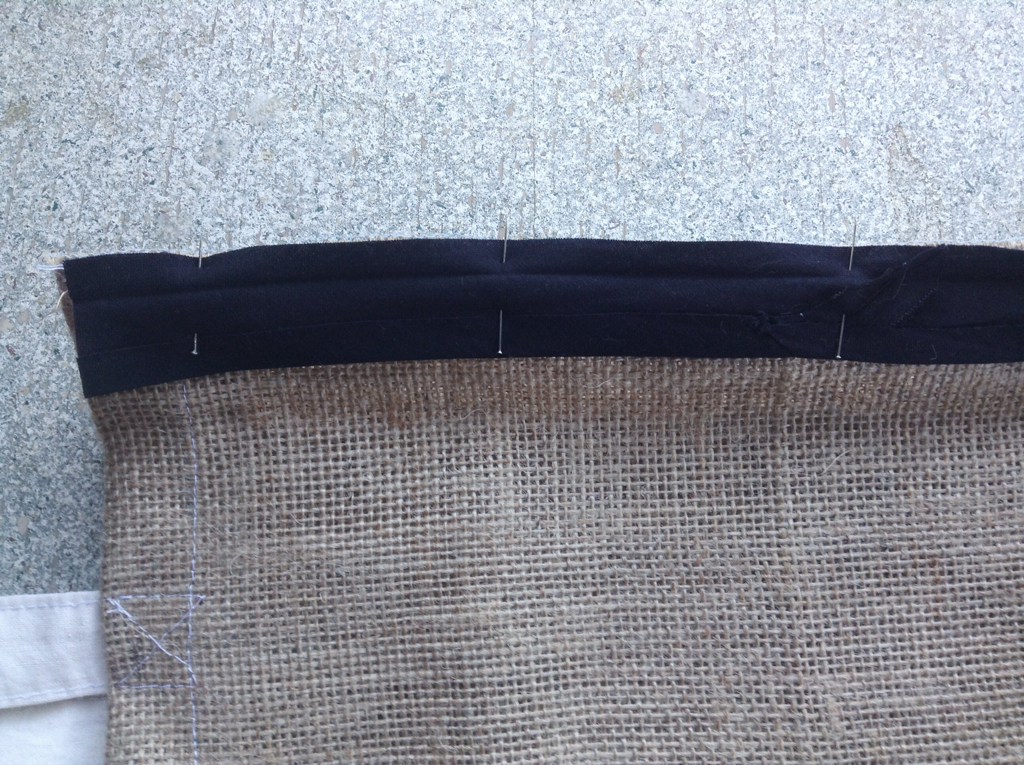 | 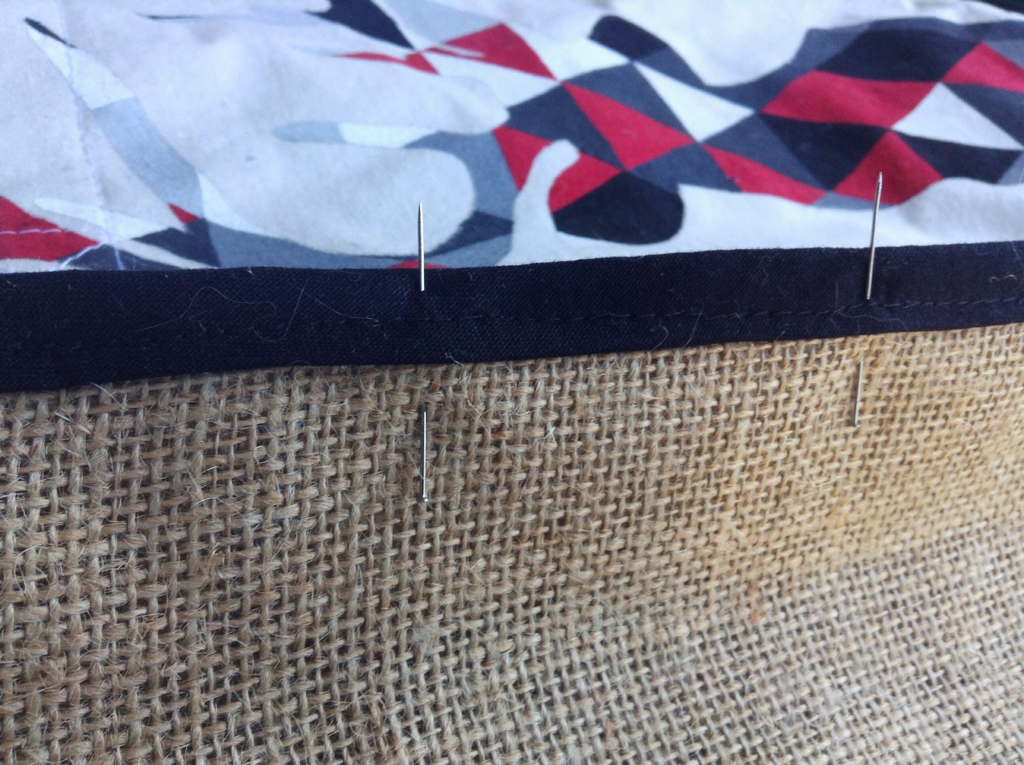 |
Sew on bias binding. If you aren't sure how to do this there is a more expansive tutorial HERE
The finished product! 😀
 RSS Feed
