Mouse Hooded Blanket
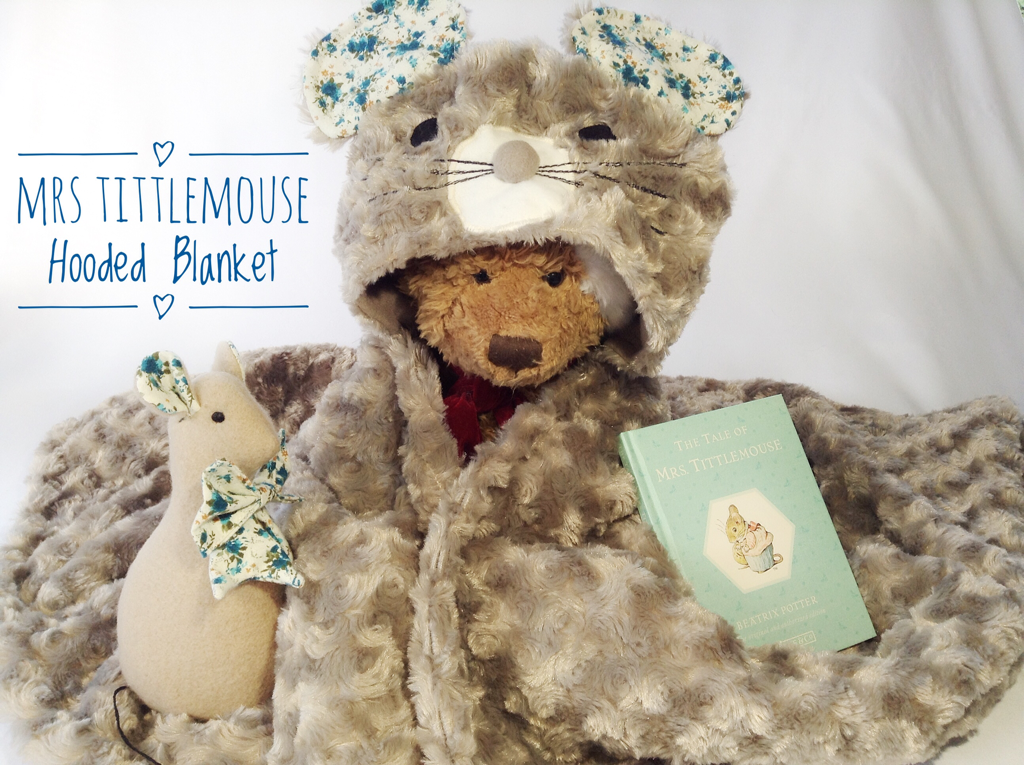
"Once upon a time there was a woodmouse, and her name was Mrs Tittlemouse."
I have a Beatrix Potter themed DIY today.
I have been invited to a one year olds birthday party! I think its the first infants party I've been to (since I was a child, of course)
After some deliberation, and internet searching, I decided to go with a Beatrix Potter theme, you're never too young for artfully drawn woodland creatures.
I made a hooded blanket. It's something cuddly, versitile, and useable, with no small parts. And unlike clothing you don't need to worry so much about geting the size right.
Peter Rabbit is probably the most obvious Beatrix Potter story to go with but in the end I decided to go with The Tale of Mrs Tittlemouse, just because I felt a mouse face might translate better to a hood than a bunny face. In the end it all came down to the ears, mouse ears will just sit better.
I teamed the cuddlesome hooded blanket with the book The Tale of Mrs Tittlemouse, and a toy mouse which i made out of the scraps.
You Will Need:
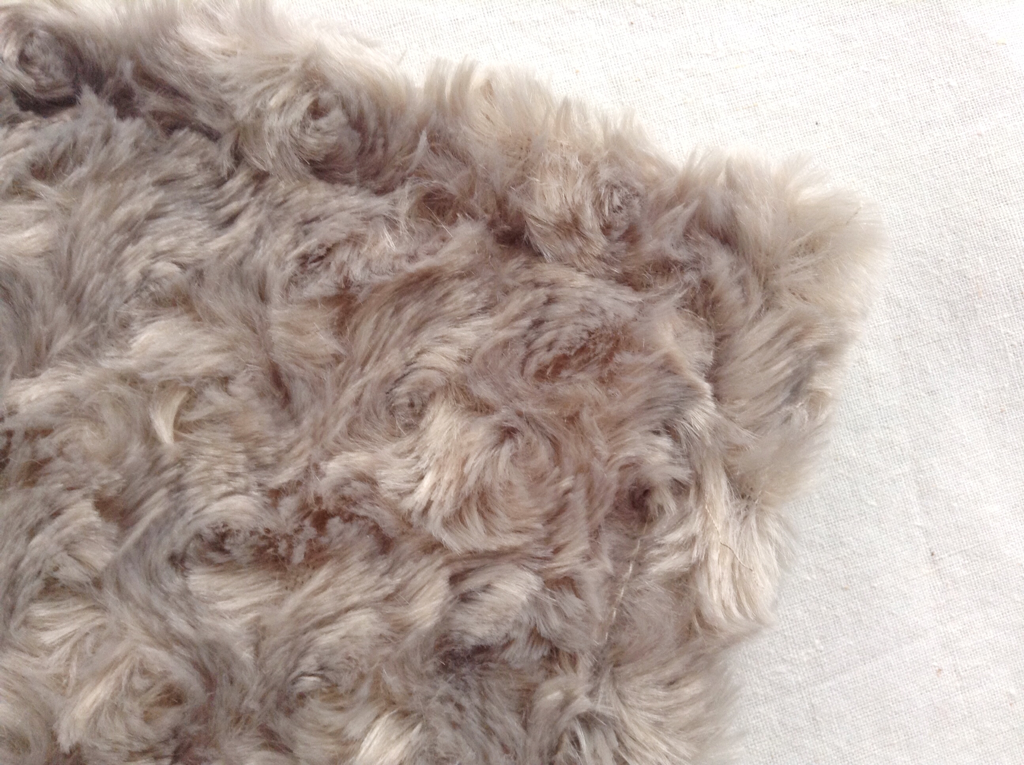
- Soft cuddly fabric for the blanket and outer hood.
- Lining for the hood
- Contrasting fabric for the ears
- Felt (to make the face)
- Thread (you'll probably need multiple colours)
- Scissors, pins etc...
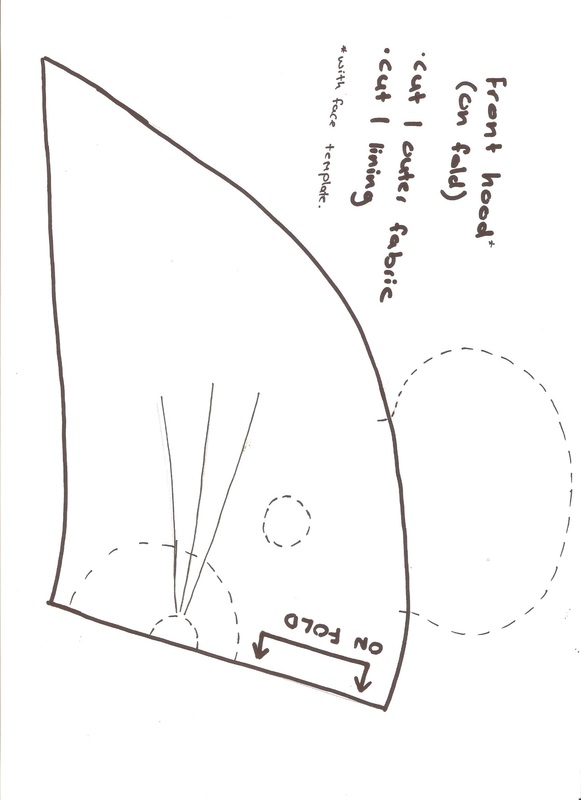
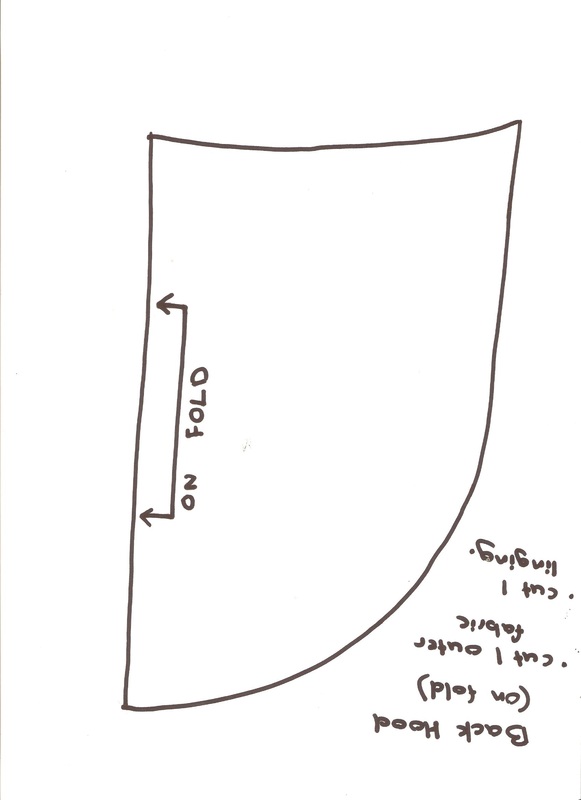
Pattern
I traced out the pattern pieces, which you can see in the pictures below. Each picture should be sized and printed on A4 paper.
 |  |  |
Cutting
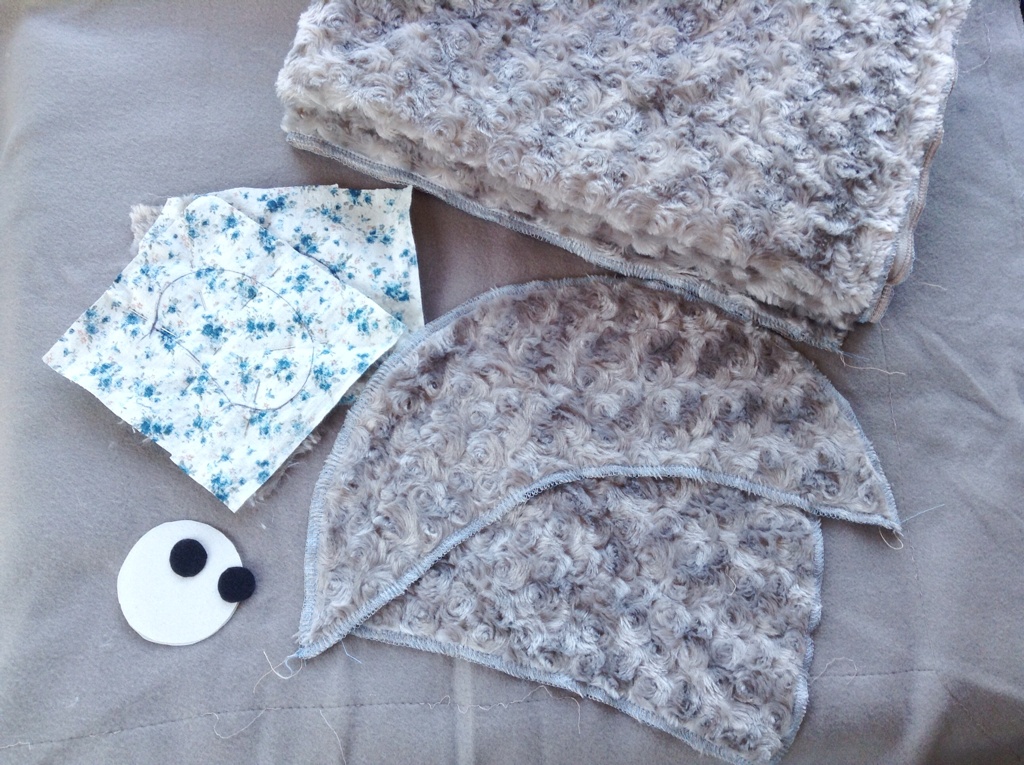
Hood
Main soft cuddly fabric - cut one hood front and one hood back piece. lining fabric - cut one hood front and one hood back piece.
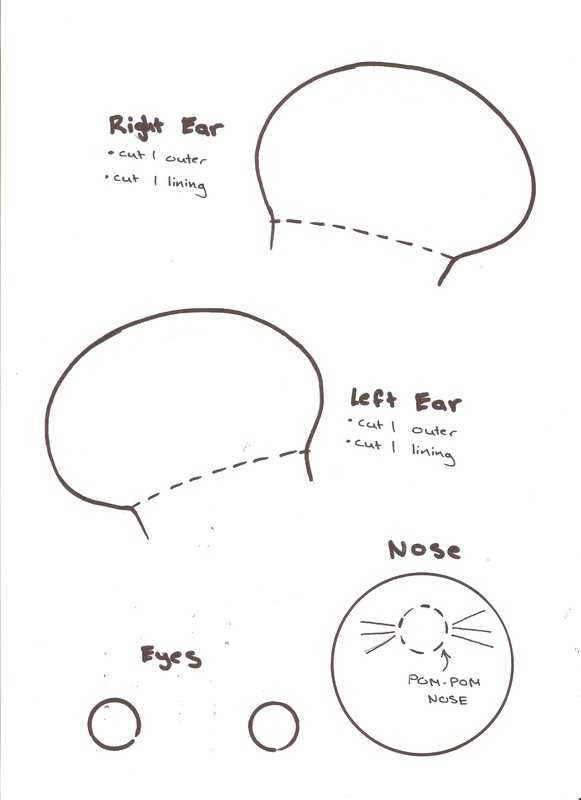
Face - Cut out two felt eyes, and one felt nose.
Ears - Cut out two ears in the main soft cuddly fabric, amd two ears in the contrasting ear fabric. Beacuse the ears are small they can be hard to sew so instead of cutting out the ear shape I cut a square of fabric around the ears, sew, then cut around the ears. - you can see this in the picture above.
The blanket - Cut out 2 rectangles about 90 X 80 cm.*
* The blanket piece is double sided. I cut out two pieces of the cuddly fabric because its so soft and snuggly but you could also line the blnket in a different fabric if you want to.
Main soft cuddly fabric - cut one hood front and one hood back piece. lining fabric - cut one hood front and one hood back piece.
Face - Cut out two felt eyes, and one felt nose.
Ears - Cut out two ears in the main soft cuddly fabric, amd two ears in the contrasting ear fabric. Beacuse the ears are small they can be hard to sew so instead of cutting out the ear shape I cut a square of fabric around the ears, sew, then cut around the ears. - you can see this in the picture above.
The blanket - Cut out 2 rectangles about 90 X 80 cm.*
* The blanket piece is double sided. I cut out two pieces of the cuddly fabric because its so soft and snuggly but you could also line the blnket in a different fabric if you want to.
Sewing
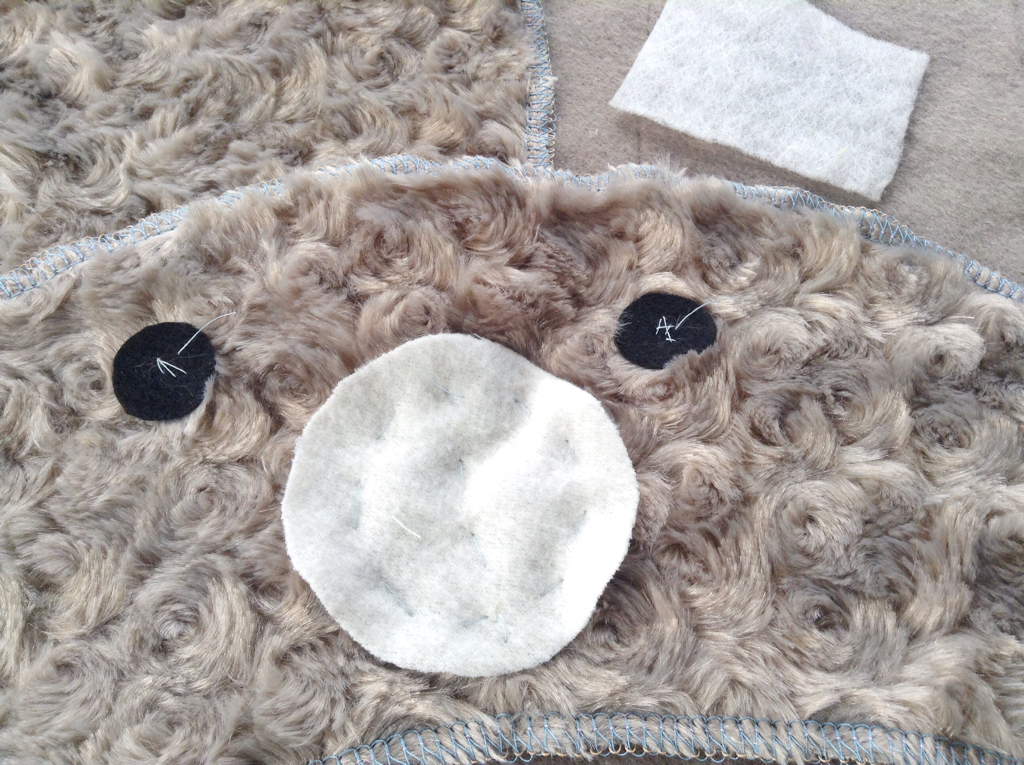
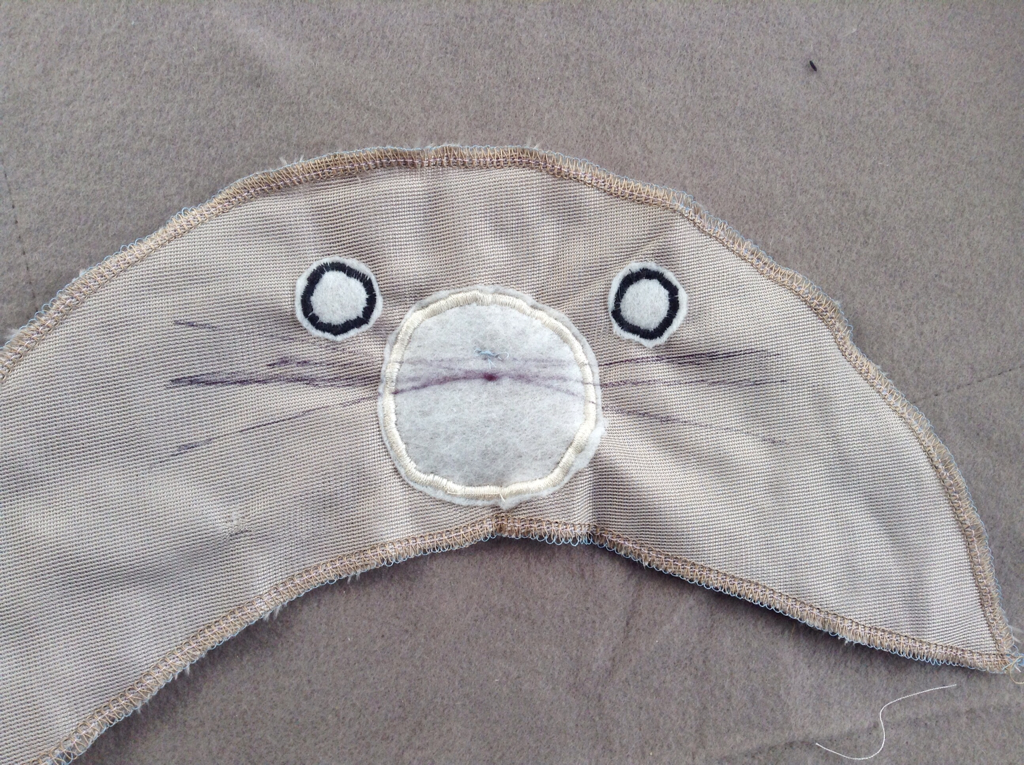
Pin and tack the felt nose and eyes onto the front hood piece. Placement for the face can be found on the front hood pattern.
*Tip: The fabric I was using frayed easily and lost lots of fluff the minute it was cut, before I did anything I overlocked every cut edge. If you don't have an overlocker Zig-zag the edges before you start.
*Tip: The fabric I was using frayed easily and lost lots of fluff the minute it was cut, before I did anything I overlocked every cut edge. If you don't have an overlocker Zig-zag the edges before you start.
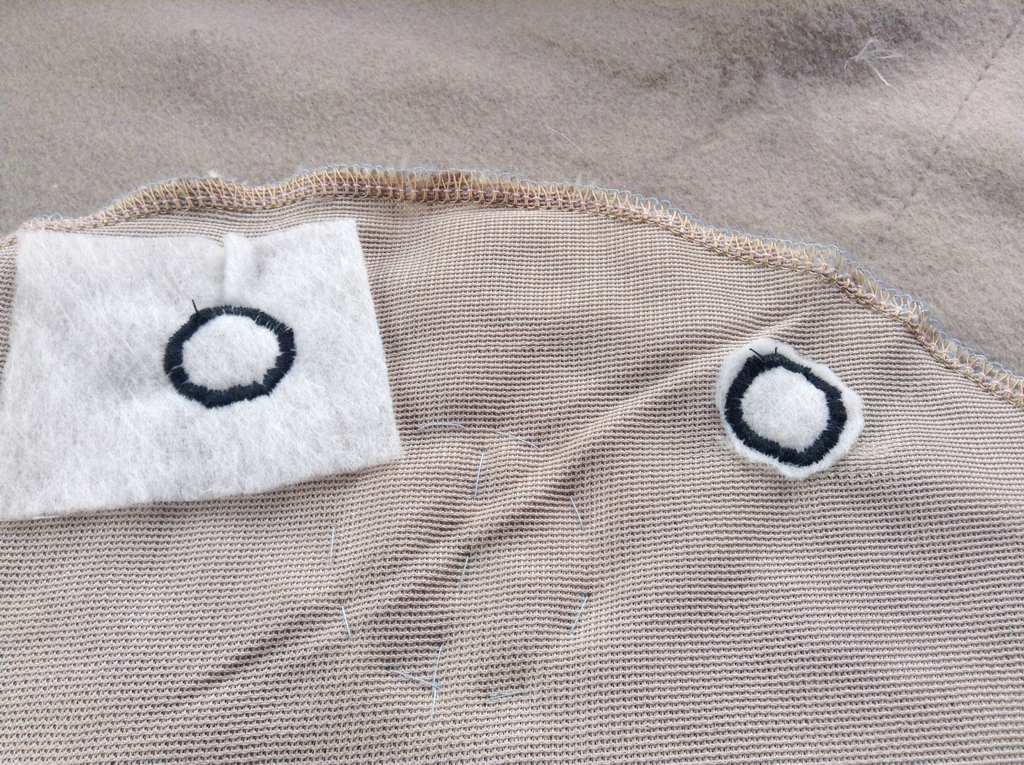 |  |
Satin stitch around the outside of the eyes and nose. Remove tacking stitches.
*Tip: Place a piece of tear away interfacing/fusible web, or even a piece of calico behind the eyes and nose before satin stitching, this should help to prevent the fabric from bunching. Cut/tear away excess backing after you've finished stitching.
*Tip: Place a piece of tear away interfacing/fusible web, or even a piece of calico behind the eyes and nose before satin stitching, this should help to prevent the fabric from bunching. Cut/tear away excess backing after you've finished stitching.
 |  |
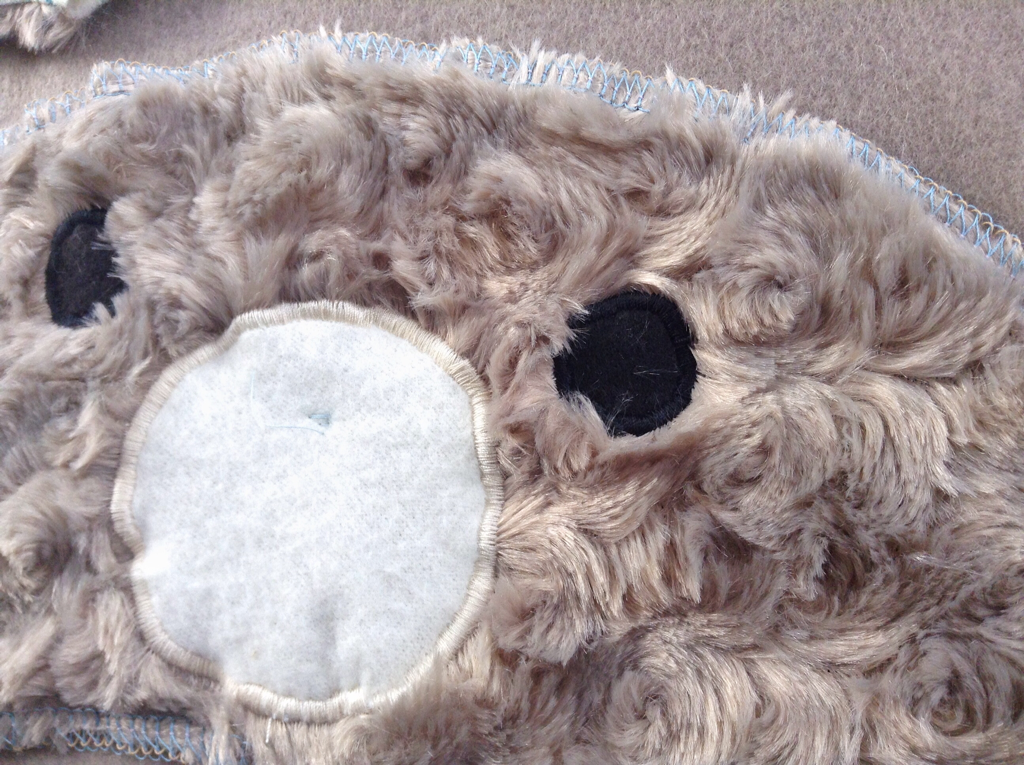
Adding whiskers.
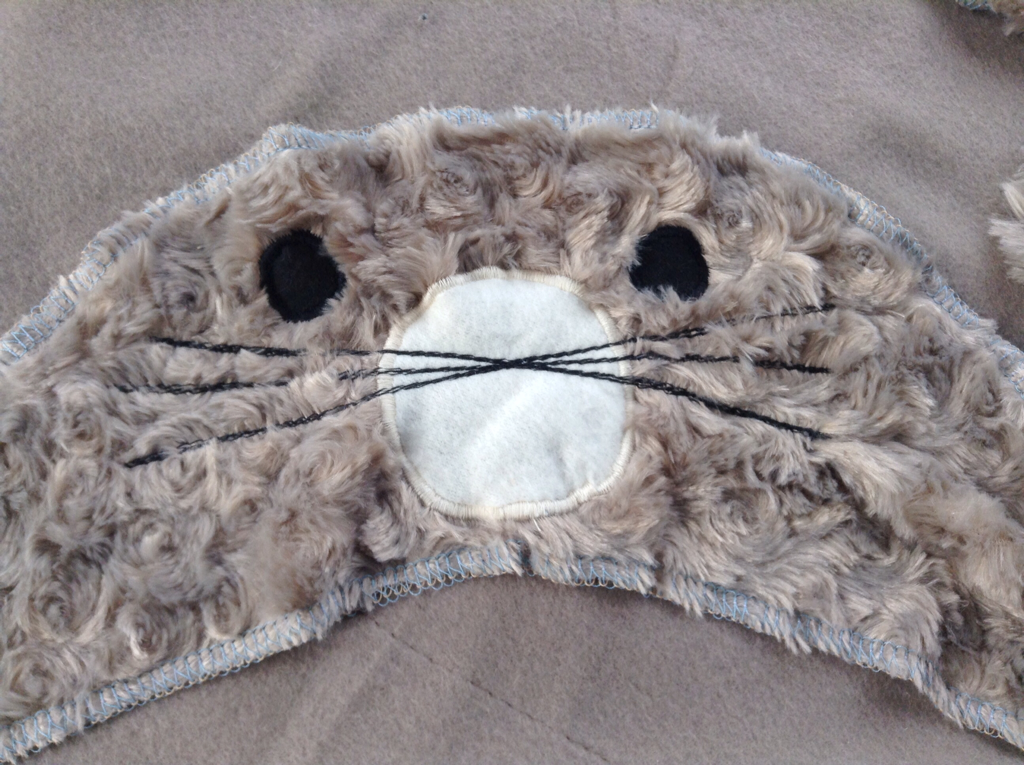
On the wrong side of the fabric draw out lines of whiskers. Using these lines as a template sew whiskers onto the front hood. Sew over each line 2-3 times so the whiskers stand out.
On the wrong side of the fabric draw out lines of whiskers. Using these lines as a template sew whiskers onto the front hood. Sew over each line 2-3 times so the whiskers stand out.
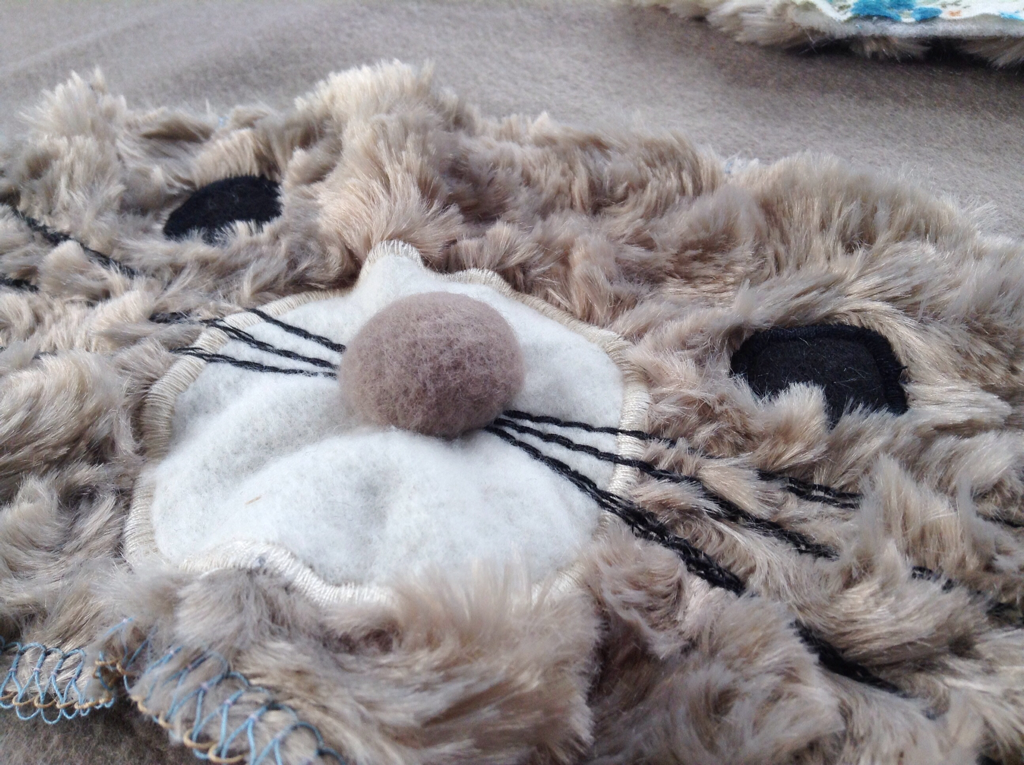
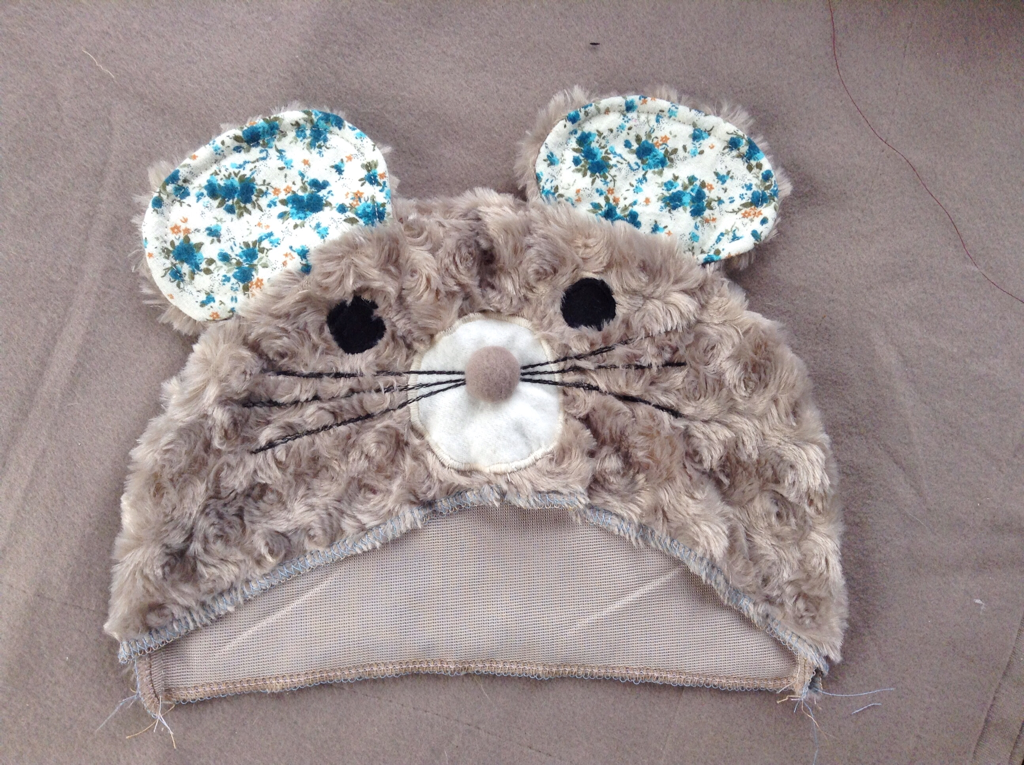
Add a twitchy little button nose.
In the lining fabric cut out a small circle about 4-5cm. Hand stitch around the edge of the circle and pull tight to gather the circle into a ball. Stuff with stuffing and sew onto the face over the whiskers.
In the lining fabric cut out a small circle about 4-5cm. Hand stitch around the edge of the circle and pull tight to gather the circle into a ball. Stuff with stuffing and sew onto the face over the whiskers.
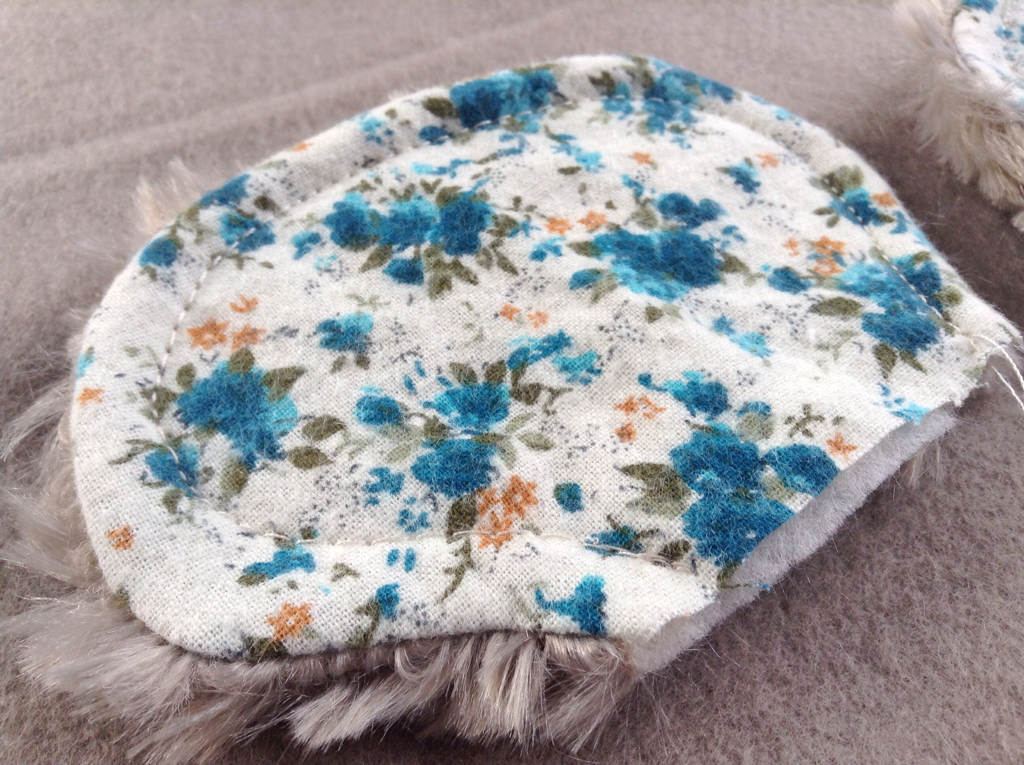
Trace a right ear and a left ear onto the wrong side of the contrasting ear fabric. Pin contrasting fabric to soft cuddly fabric (good sides together) and sew each ear. Cut around each ear and turn through. Top stitch each ear.
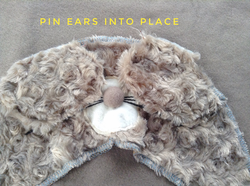 |  |
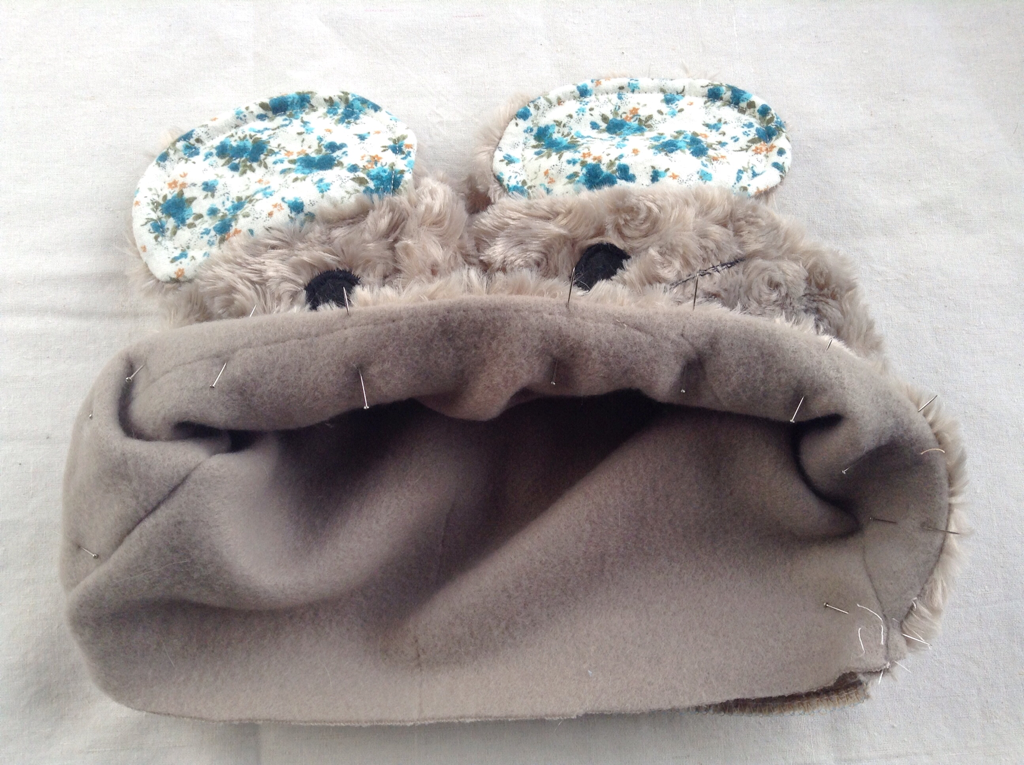
Pin and tack ears onto front hood piece. Placement for ears is drafted on the pattern.
The contrasting fabric should be facing the good side of the hood front.
The contrasting fabric should be facing the good side of the hood front.
Pin hood front and hood back pieces together and sew. Turn through.
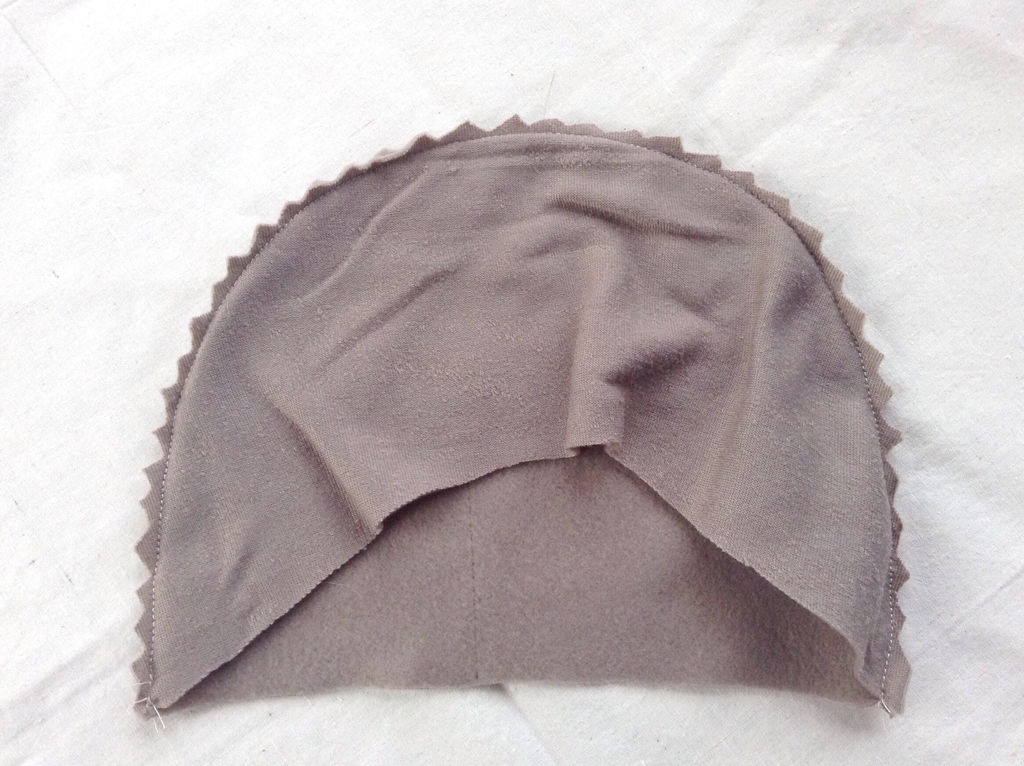
Do the same for the hood lining pieces. Pin and sew hood front to hood back (good sides together)
Cut notches into the seem allowance to reduce bulk.
Cut notches into the seem allowance to reduce bulk.
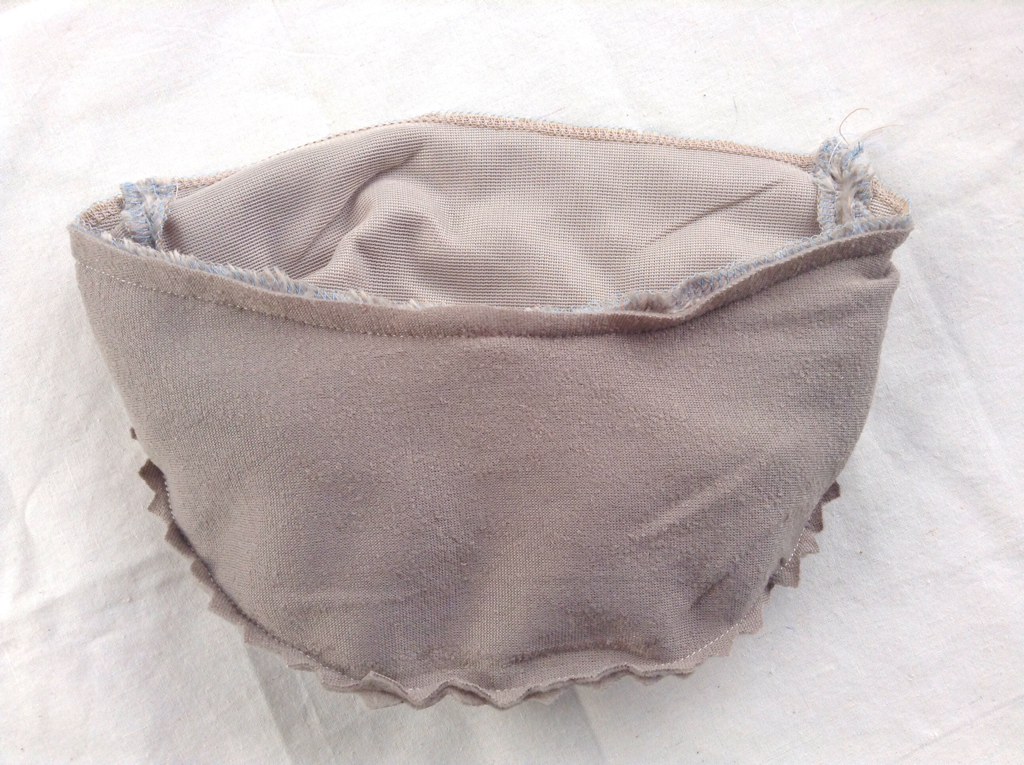
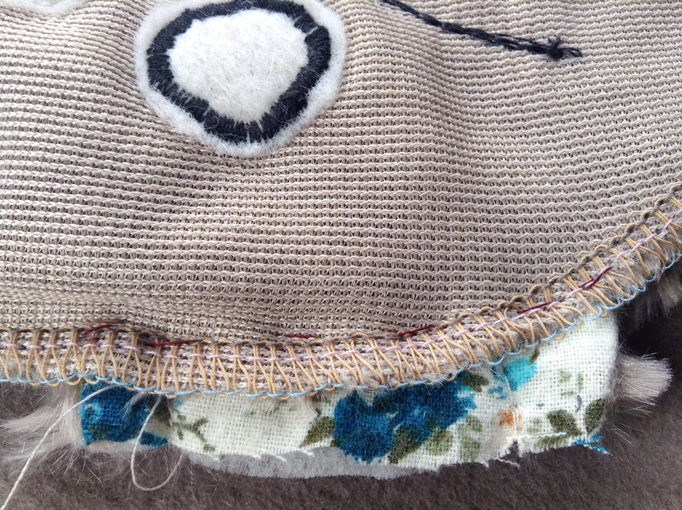
Leave hood lining inside out and place over the outer piece (good sides together). Pin and sew the two pieces together along the front hood edge.
 | 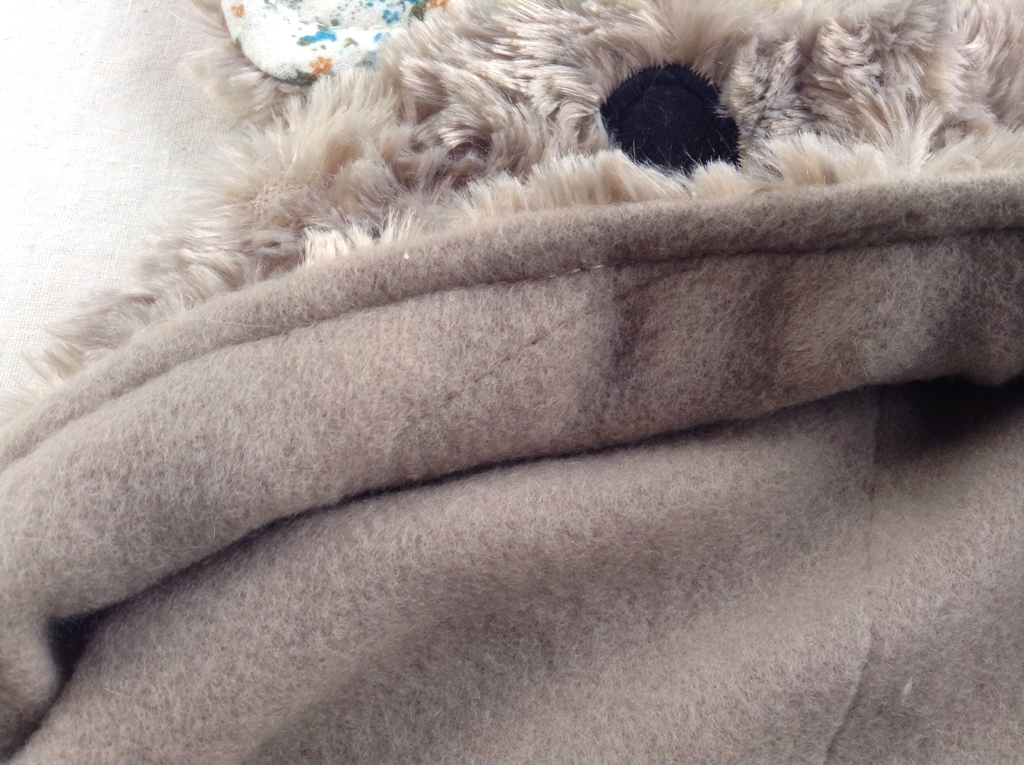 |
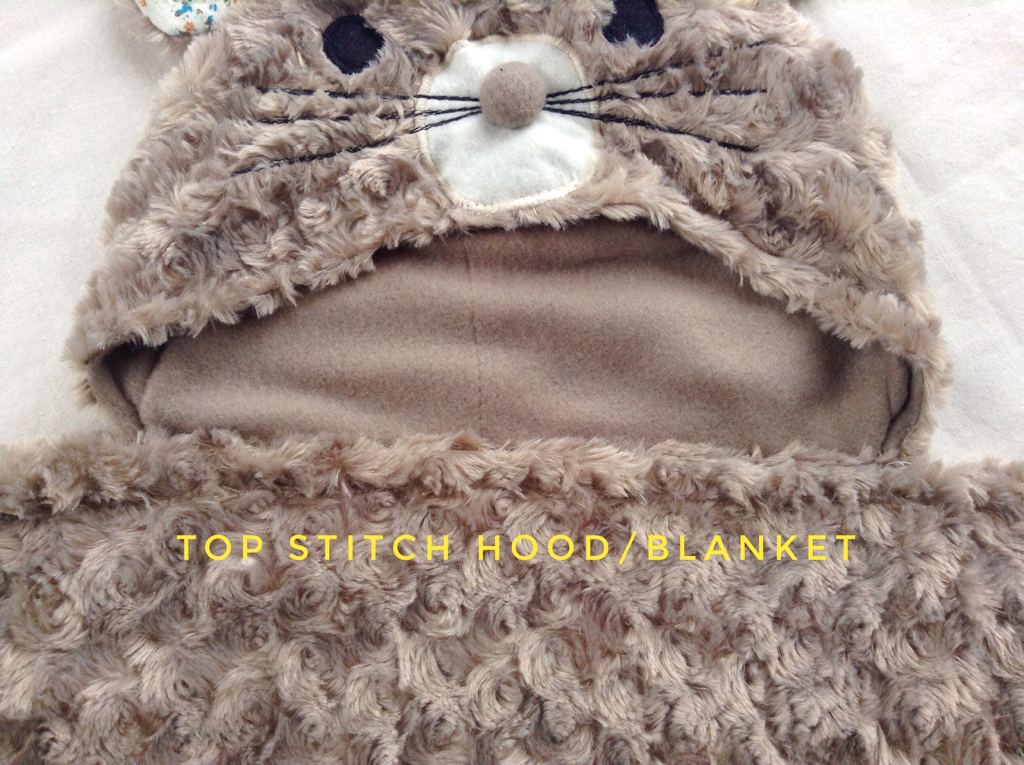
Turn through so the hood lining sits inside the outer hood. Pin along the front hood edge and topstitch.
Take one of the blanket pieces and fold in half along the longest edge to find the center. Pin the hood to the blanket and tack into place.
Place the second blanket piece on top (good sides together) and sew together. Leave a small opening to turn the blanket out the right way.
Place the second blanket piece on top (good sides together) and sew together. Leave a small opening to turn the blanket out the right way.
Turn through and topstitch all along the edge of the blanket.
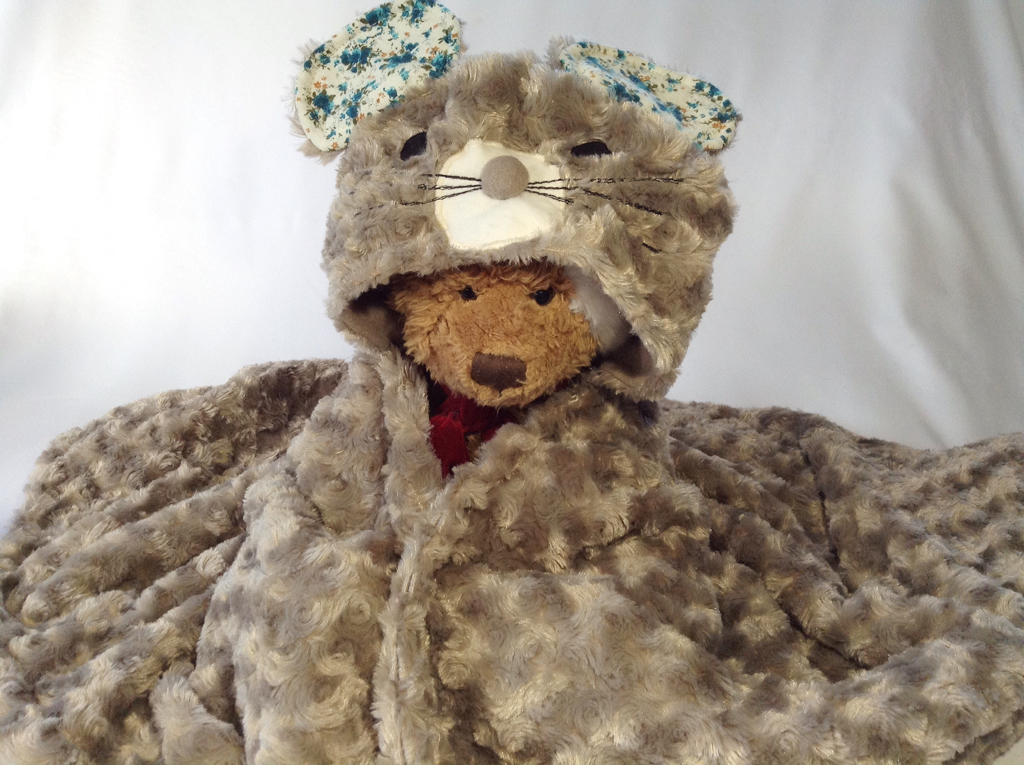
And here we have the finished hood and blanket. That fabric is too soft for words. I didn't have a one year old to model it on so Santa bear is standing in, he's a little smaller than your average one year old but he's close enough.
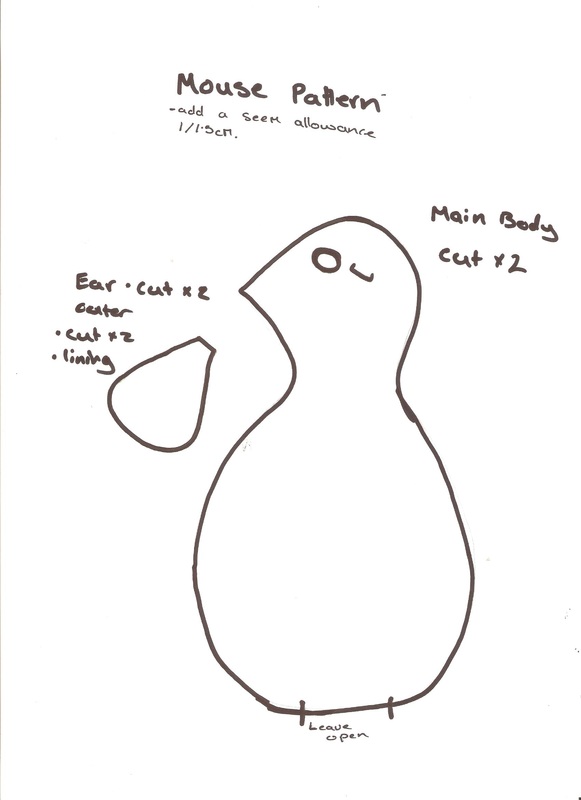 | 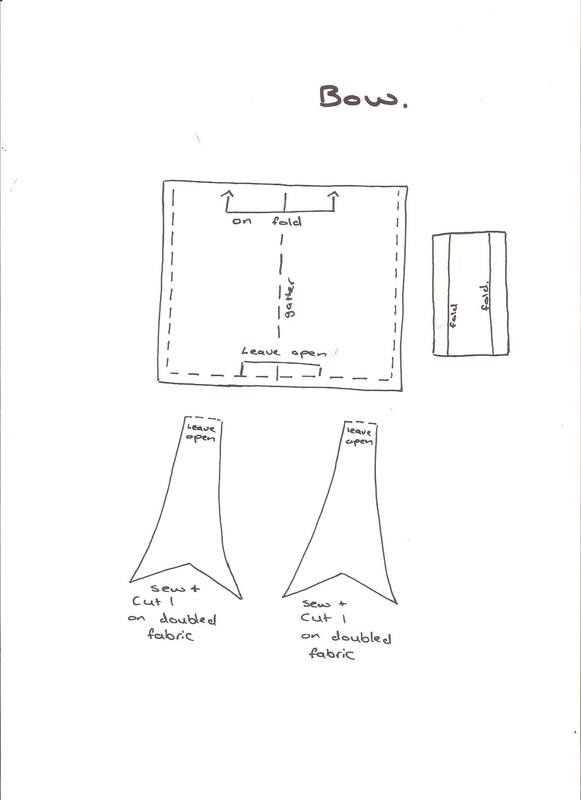 |
I've added the pattern for the mouse companion. It's made out of the left over lining fabric, a fleece material.
I'll probably do a quick tutorial later for it but I'll leave the pattern here for now.
Like the other patterns it prints out on an A4 sheet of paper.
I'll probably do a quick tutorial later for it but I'll leave the pattern here for now.
Like the other patterns it prints out on an A4 sheet of paper.
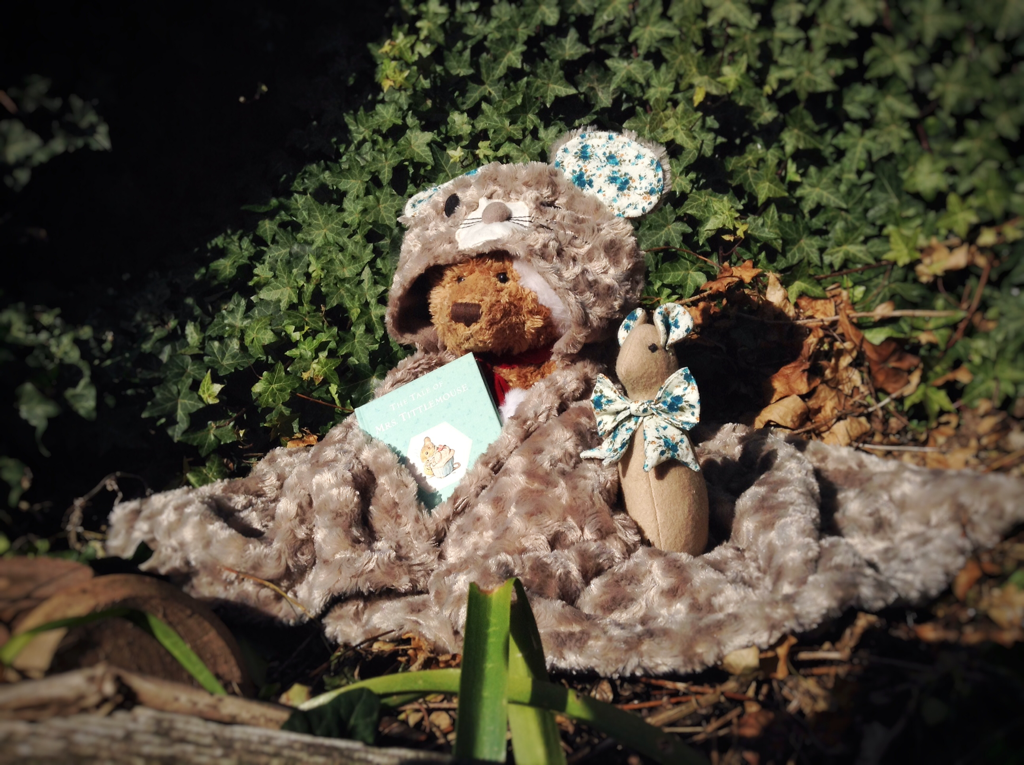
All ready for a teddy bears picnic.
 RSS Feed
