Reversible Doggy Raincoat
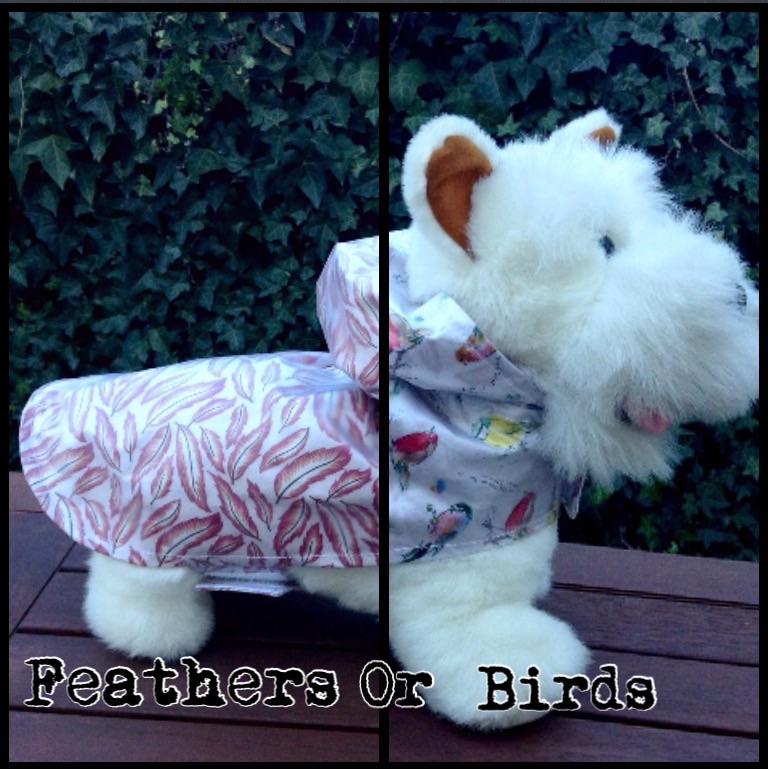
You can make some really cute double sided raincoats for your dog using clear PVC/vinyl.
You can customise colours and patterns by placing colourful cotton under the clear sheeting. This is a great opportunity for personalisation. Want a Doctor Who dog? now you have one. Batdog? Yes. You can go as far as using fabric pens/paint to further personalise the cotton.
My notes on the waterproofing element
There are a couple of different types of this clear sheeting you can get. I think most craft stores would probably stock some and possibly some hardware stores too.
The main type of PVC/vinyl/sheeting that I've seen around is that clear tablecloth plastic you can buy by the meter. Its kind of thick but completely see through. Usually found stuck hovering somewhere between the dressmaking and upholstery fabrics. You don't want to use this sort, its just too thick and bulky.
The other kind - and this is the kind I use- is actually found in the fabric/ dressing making section of the store. It's a bit thinner than the tablecloth sort and is nice and light and flexible. I stumbled across it completely by accident when browsing fabrics. The sort I bought was labelled 'Egypt' and was about $14 a meter. I don't know if that's particularly helpful information but might help you track down the right sort of plastic sheeting for this tutorial.
I think you could probably use a transparent shower curtain also.
You can draft your own pattern using the steps found HERE
You will need
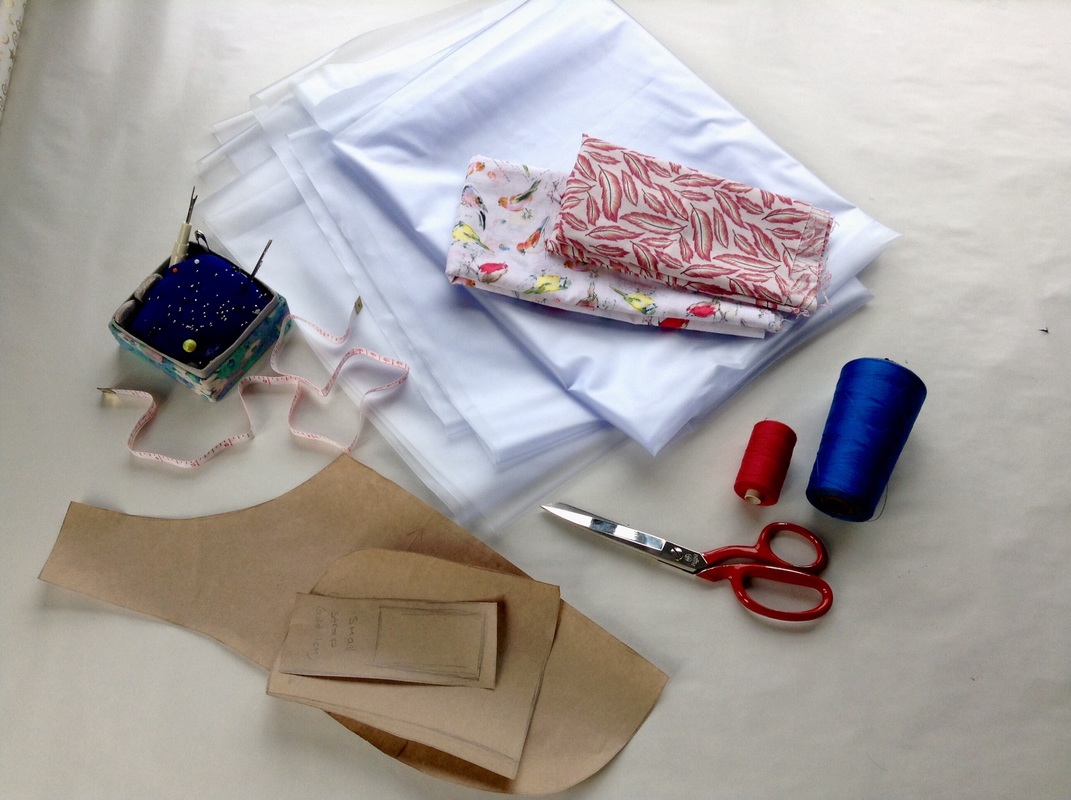
- Vinyl/PVC/Plastic sheeting
- Cotton - in one or two colours/patterns (pre-washed)
- Velcro
- Pins
- Scissors
- Thread
- Sewing machine
- A customised pattern from HERE
- Cotton - in one or two colours/patterns (pre-washed)
- Velcro
- Pins
- Scissors
- Thread
- Sewing machine
- A customised pattern from HERE
Method
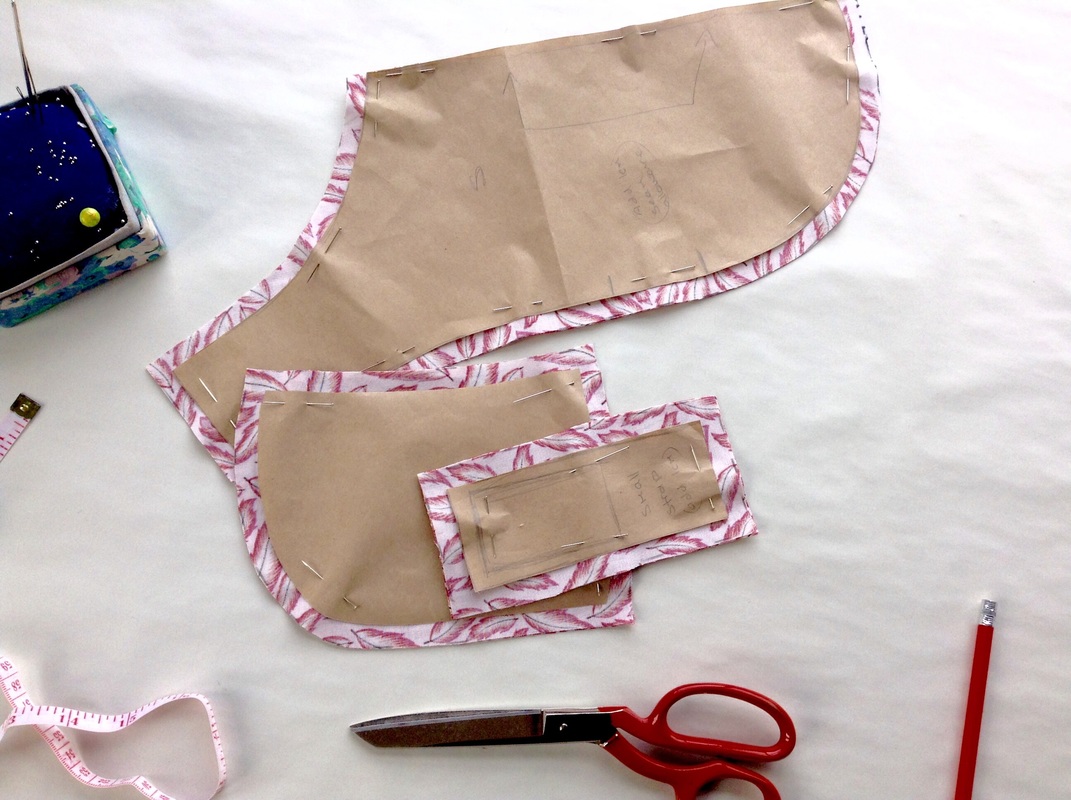
I started by cutting out all the pattern pieces using the pattern I made. The pattern I drafted didn't leave room for a sea allowance so I added a 1cm see allowance before cutting.
Note - cut out the body pieces on the fold, along back edge.
Note - cut out the body pieces on the fold, along back edge.

I used two different patterned cotton, one with pink feathers, the other with water colour birds. I Needed to cut out:
2 body, 4 strap, 4 hood pieces out of the vinyl.
1 body, 2 strap, and 2 hood pieces out of the feather fabric.
1 body, 2 strap, and 2 hood pieces out of the bird fabric.
2 body, 4 strap, 4 hood pieces out of the vinyl.
1 body, 2 strap, and 2 hood pieces out of the feather fabric.
1 body, 2 strap, and 2 hood pieces out of the bird fabric.
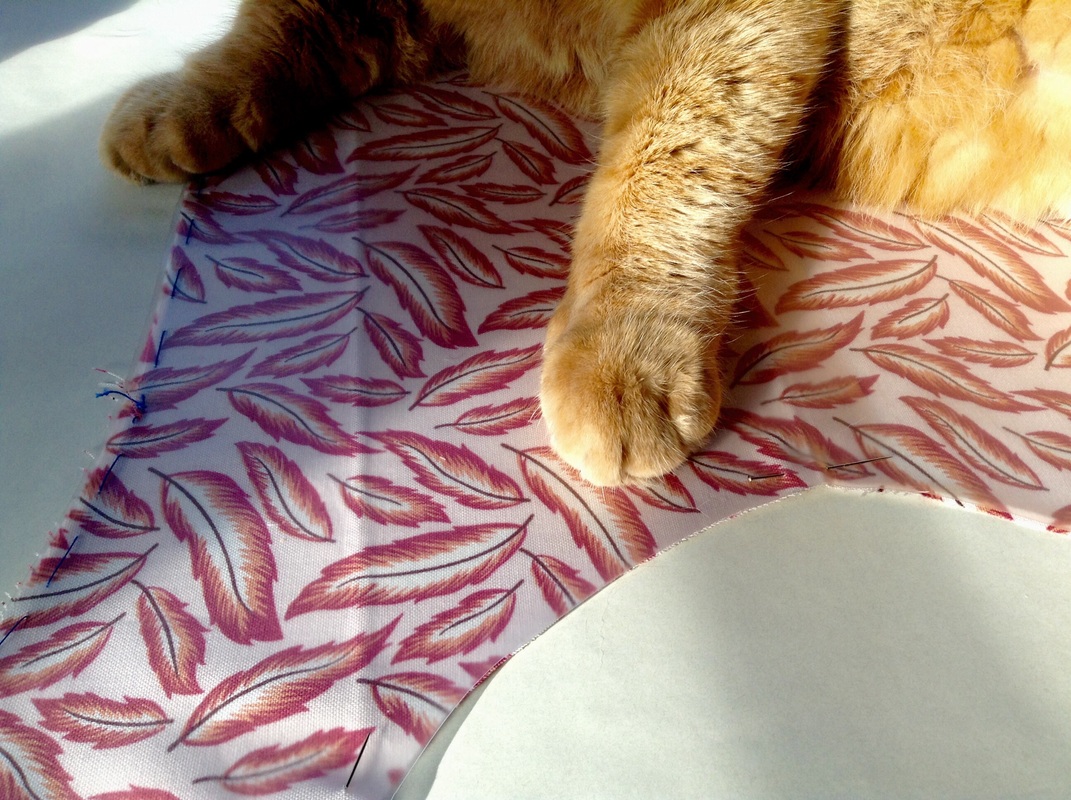
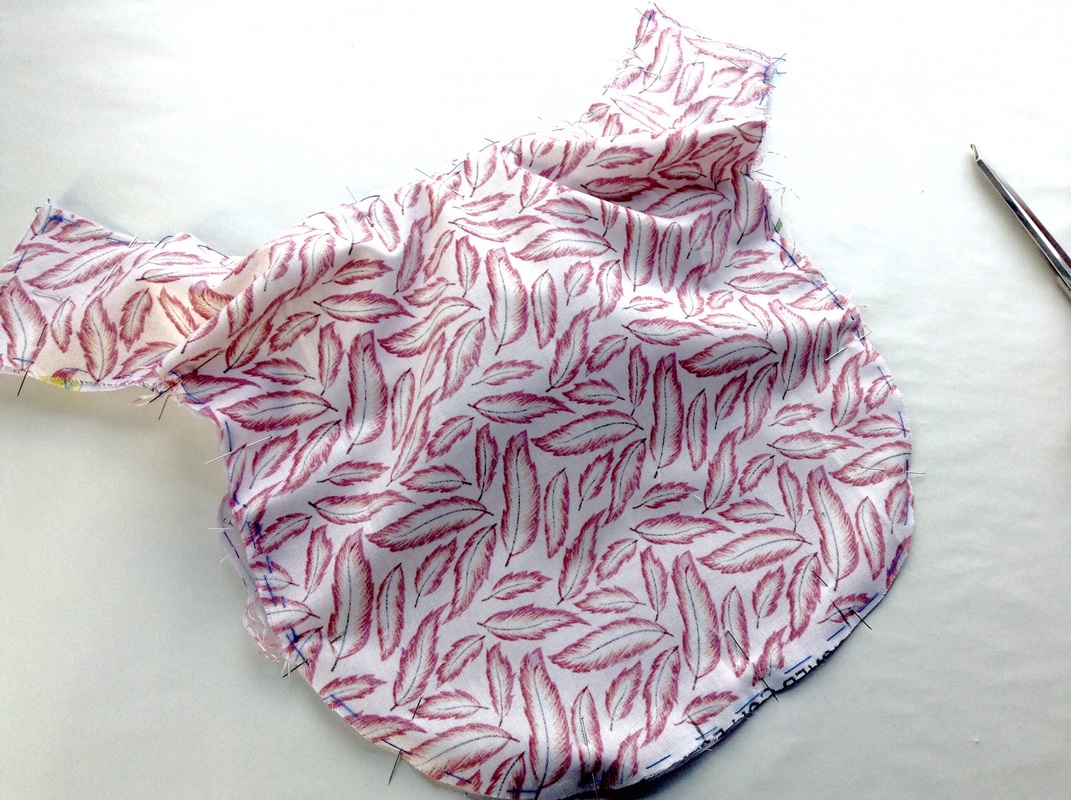
Next I pinned the vinyl to the GOOD sides of the patterned cotton pieces.
Getting some help from the cat there. Thanks Figwit.
Getting some help from the cat there. Thanks Figwit.
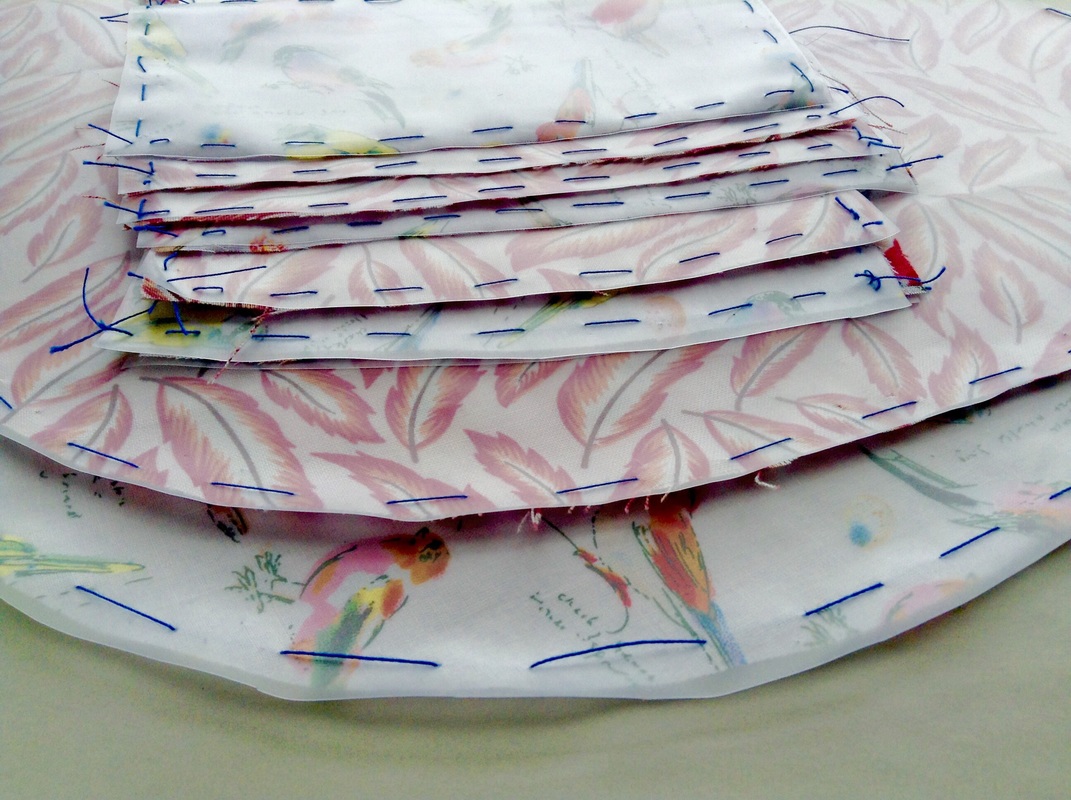
Using some hand stitches I tacked the vinyl to the cotton pieces. I did this to every single piece.
I did this because the vinyl is very slippy slidy and likes to move about a lot, the tacks help keep it in place.
I did this because the vinyl is very slippy slidy and likes to move about a lot, the tacks help keep it in place.
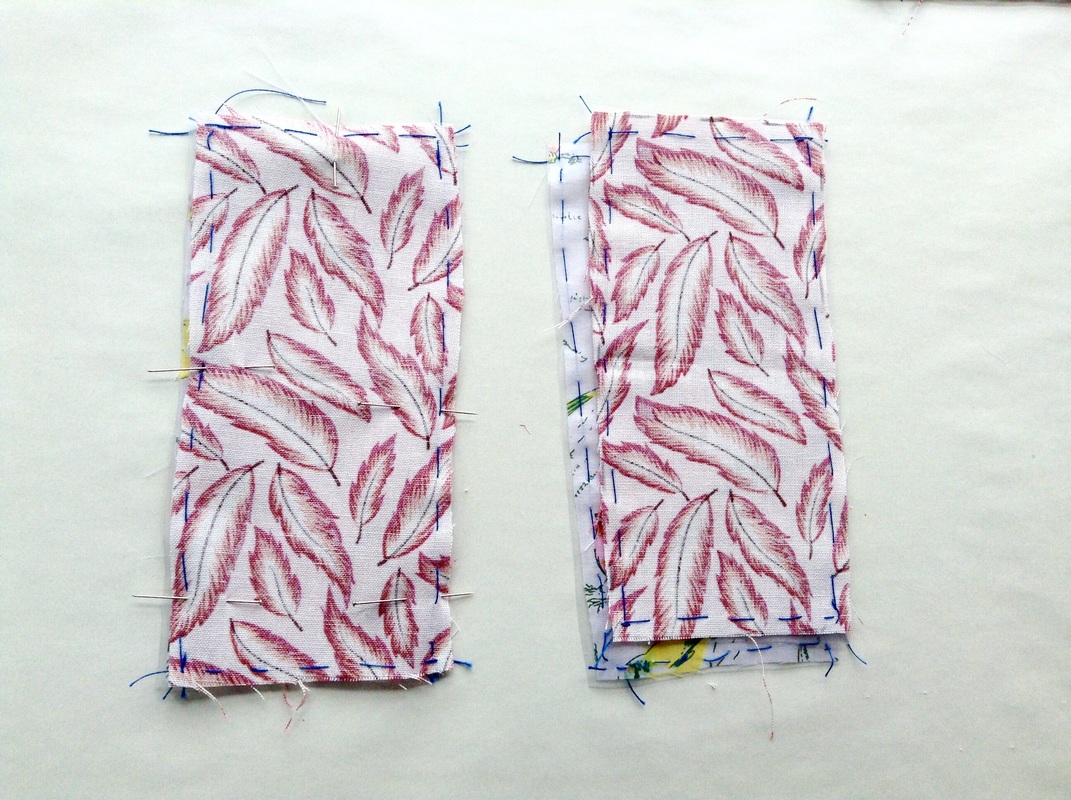
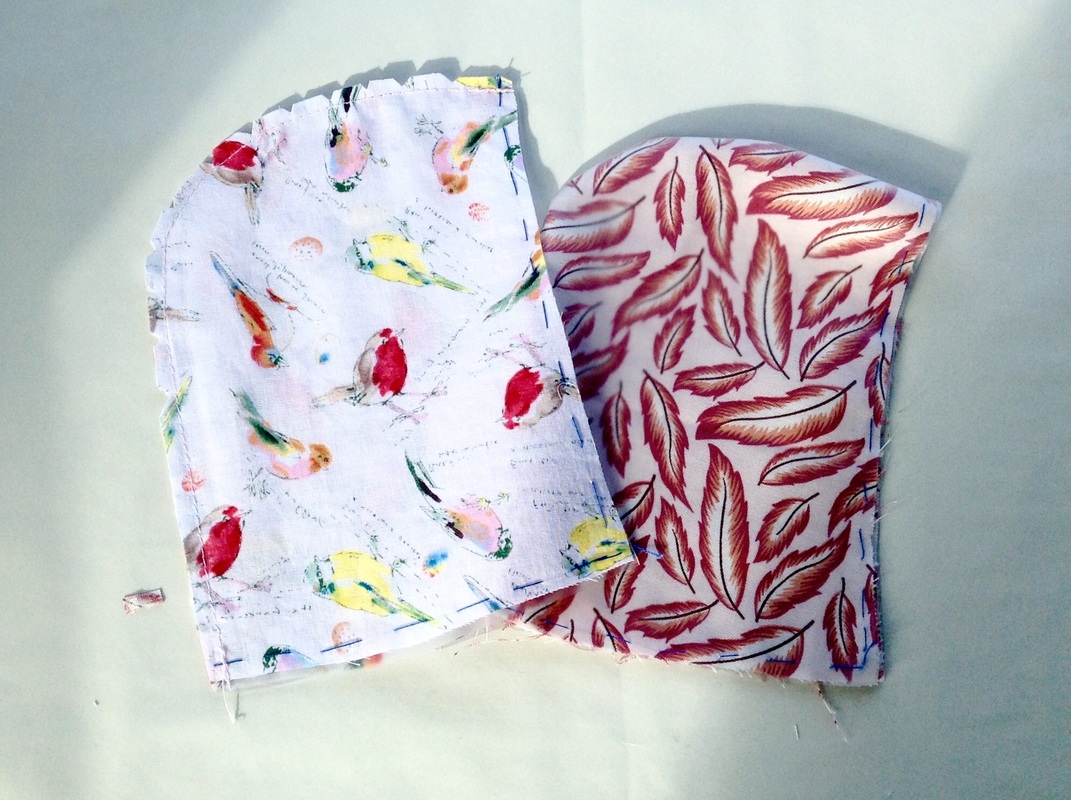
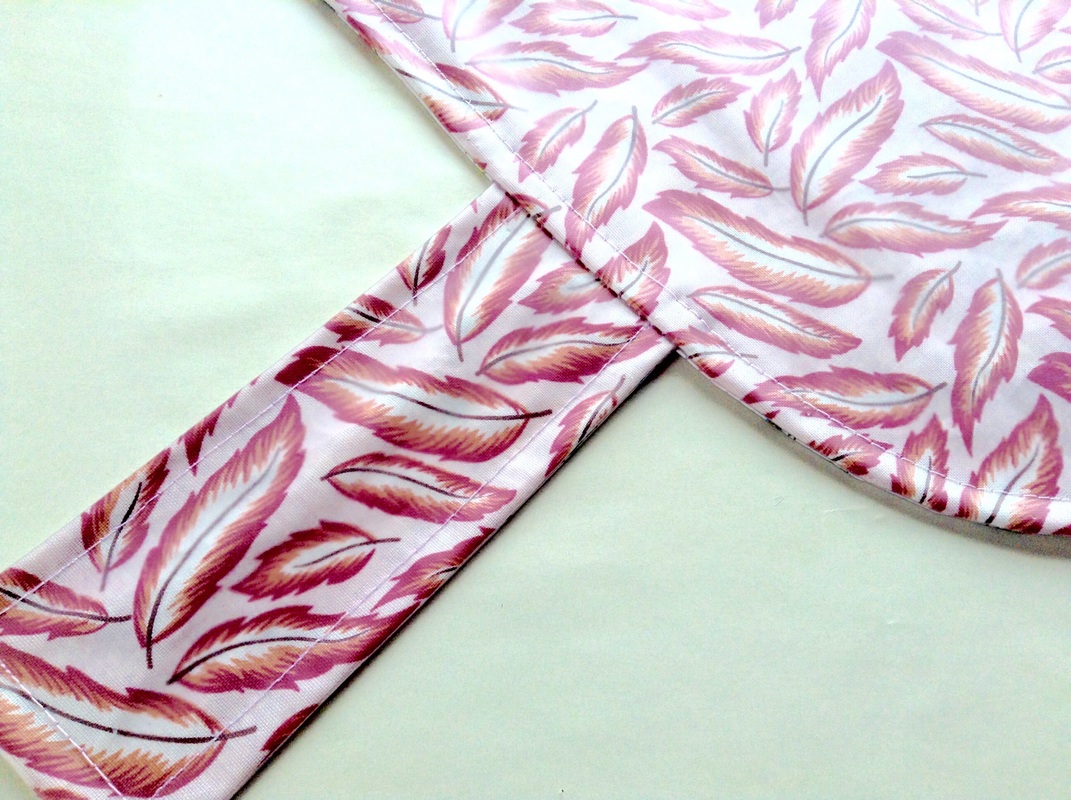
I started by sewing the straps. Placing the good side of the feather strap and placing it on the good side of the bird strap. I pinned the two in place, as you can see on the strap to the left (pictured above) I want one side of each strap to have a feather side and a bird side.
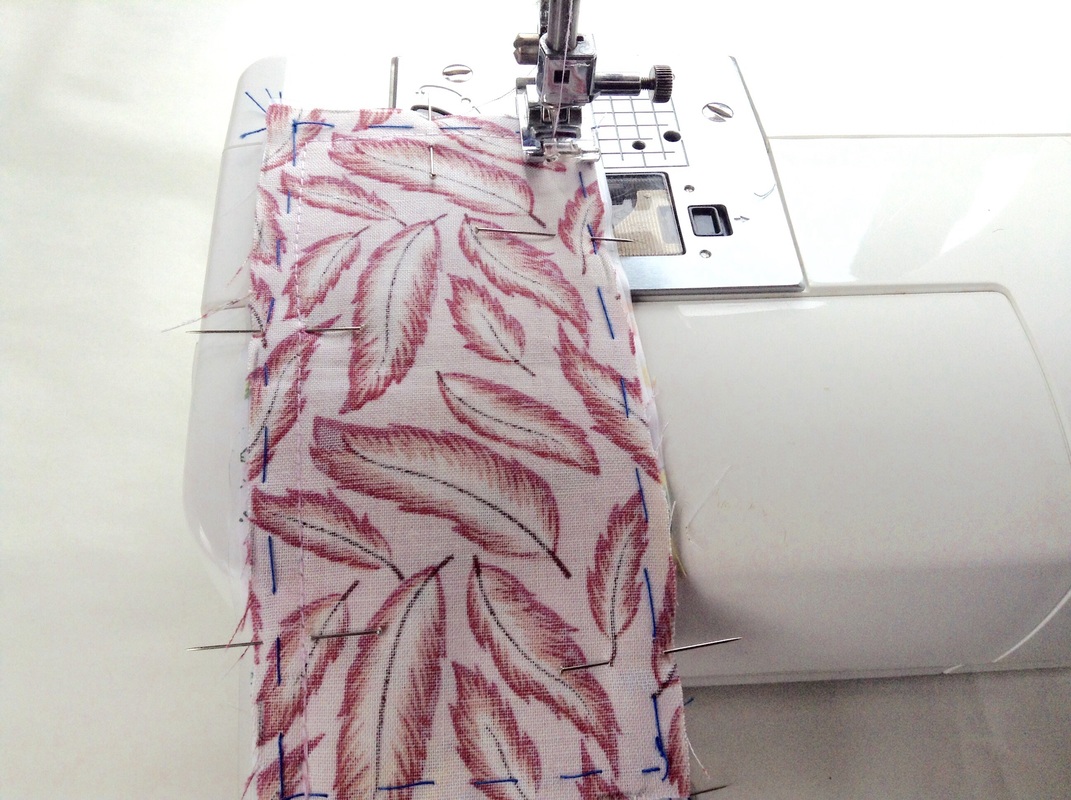
leaving one end open I sewed round three sides leaving just a presser foot width seam (about 1 cm seam)
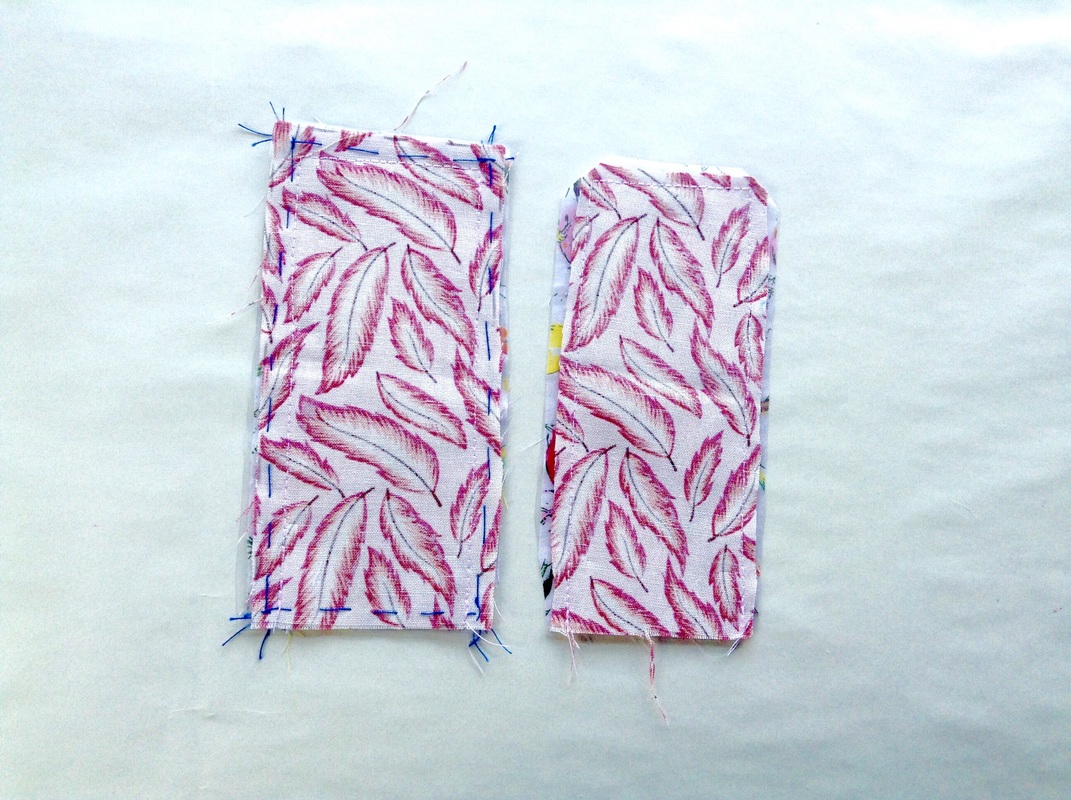
I clipped the corners on the straps to remove bulk and turned the straps through to reveal the good side.
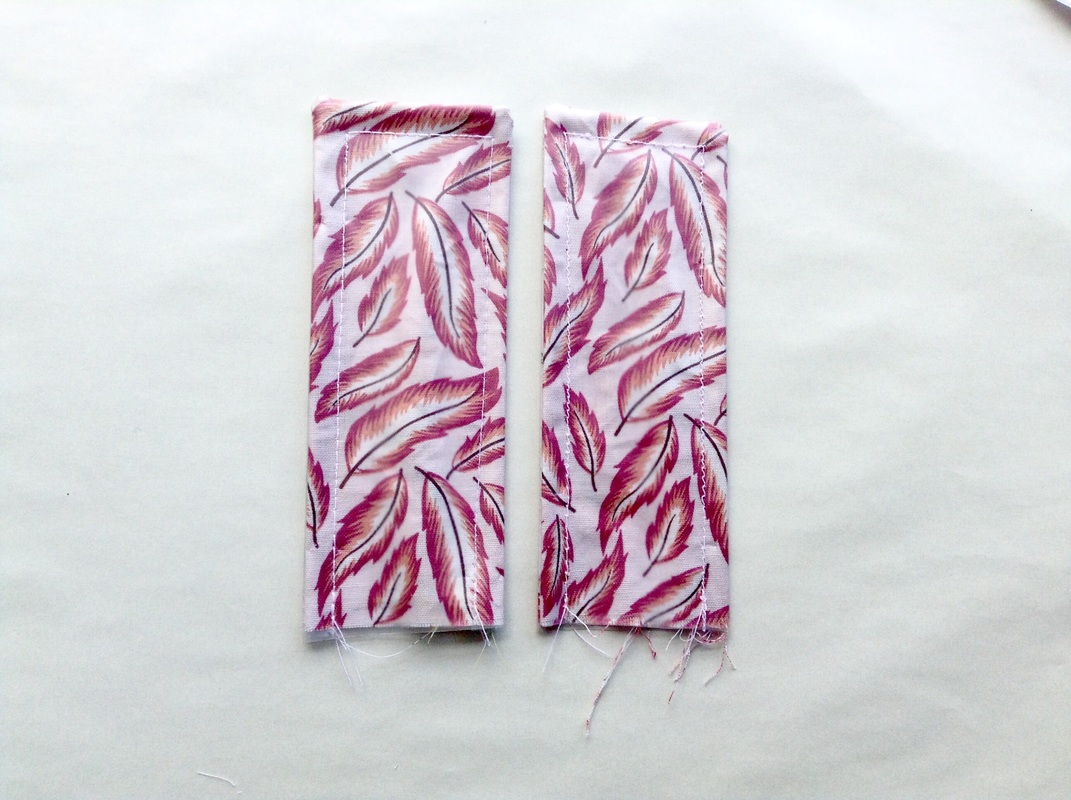
Once turned through I top stitched each strap. Usually when dress making I do a very small top stitch only a couple of millimetres wide but wanted these to be chunkier.
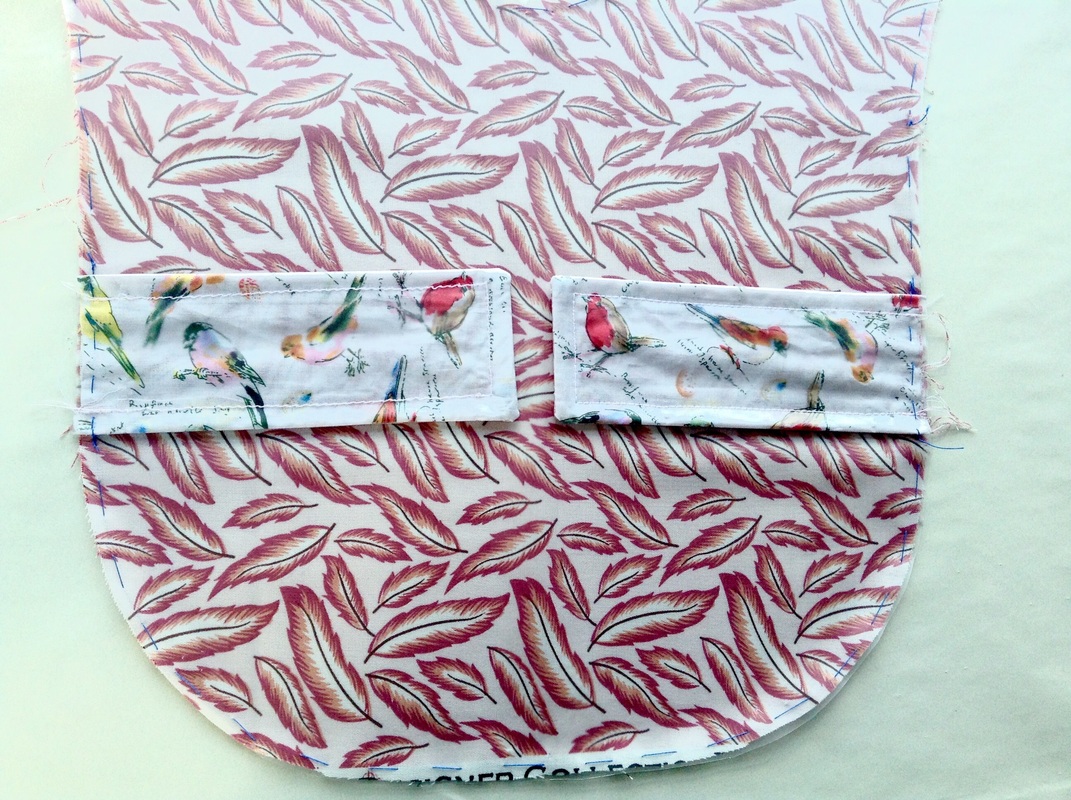
I pinned the finished straps onto the feathered body piece, placing the rough open end of the strap against the edge of the body piece. I placed the feather side of the strap face down against the feather body piece, that's very important because you want the colour of the strap to match the colour of the main body.
I sewed a few hand tacks to keep the straps in place.
Note- the placement of the straps should be marked on your pattern.
I sewed a few hand tacks to keep the straps in place.
Note- the placement of the straps should be marked on your pattern.
I worked on the hood next.
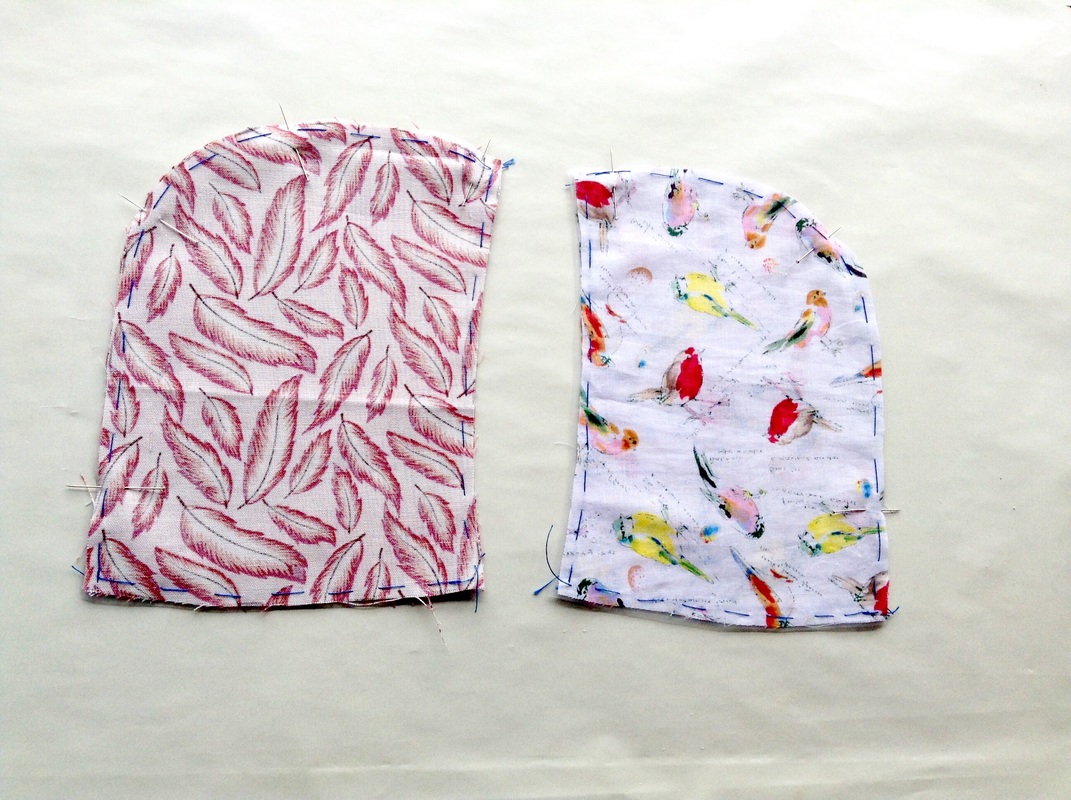
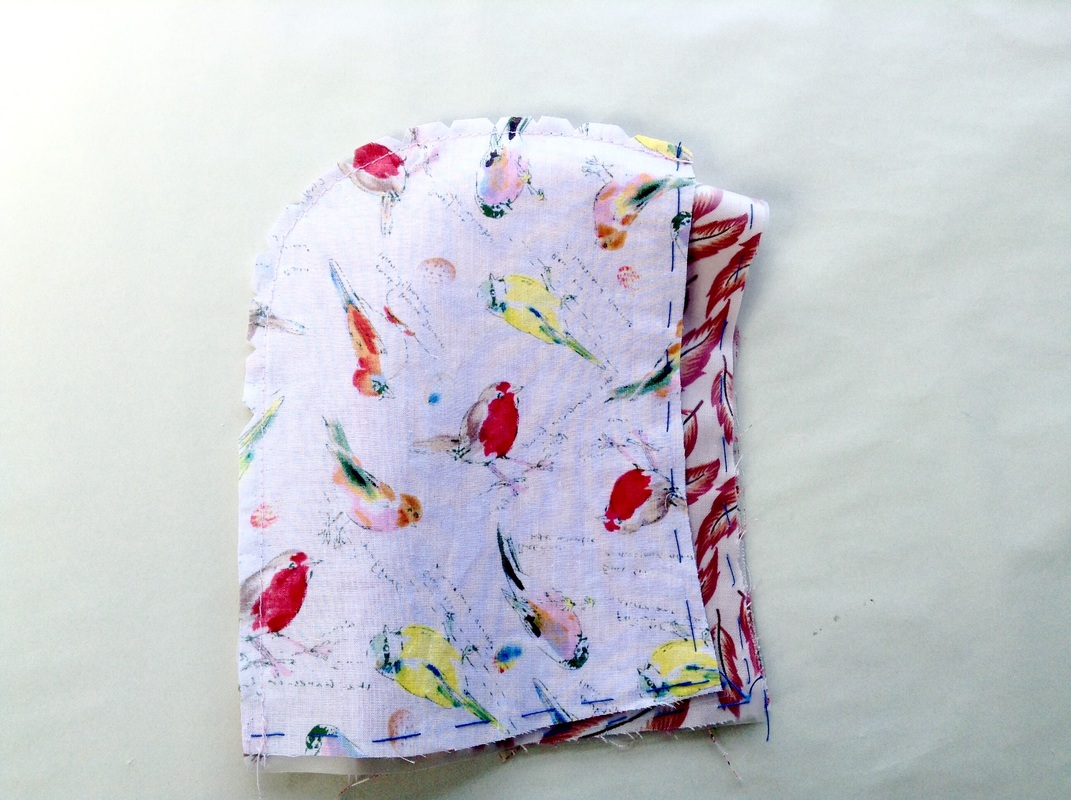
I placed the good side of the two feather pieces together and the good side of the bird pieces together and pinned down. Try to be as stingy as you can with the pins because you don't want to leave too many pinholes in the vinyl.
I sewed down the back of each hood.
I placed the good side of the two feather pieces together and the good side of the bird pieces together and pinned down. Try to be as stingy as you can with the pins because you don't want to leave too many pinholes in the vinyl.
I sewed down the back of each hood.
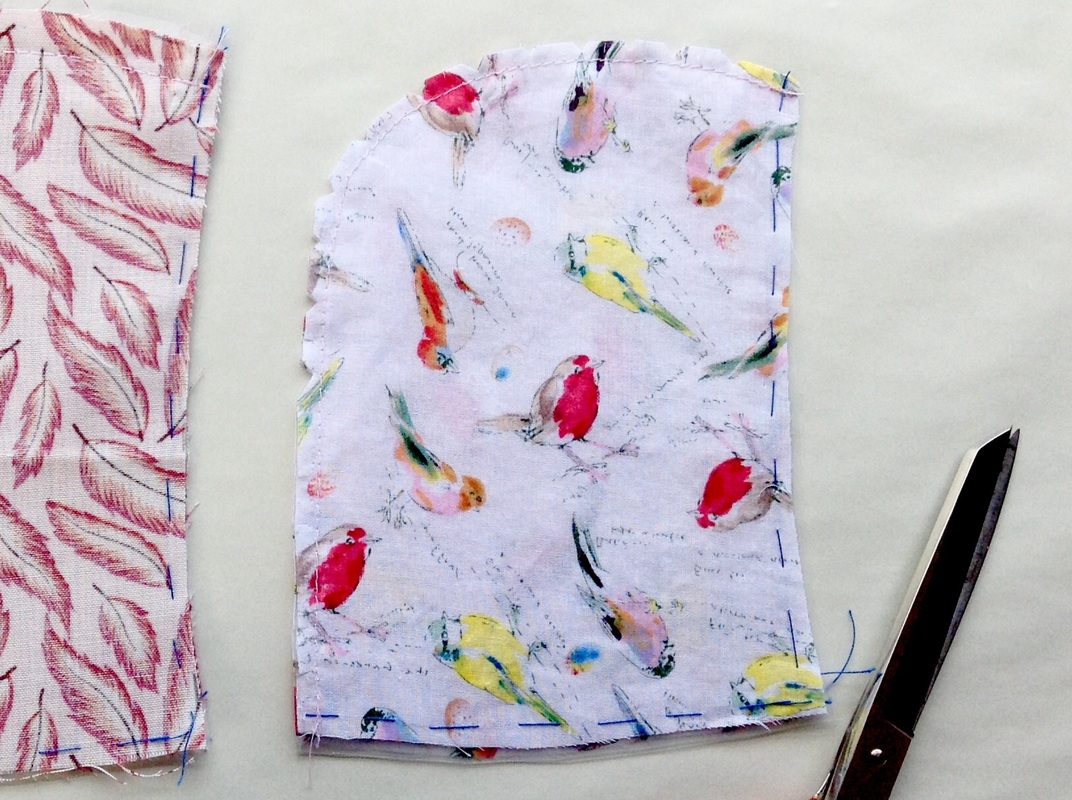
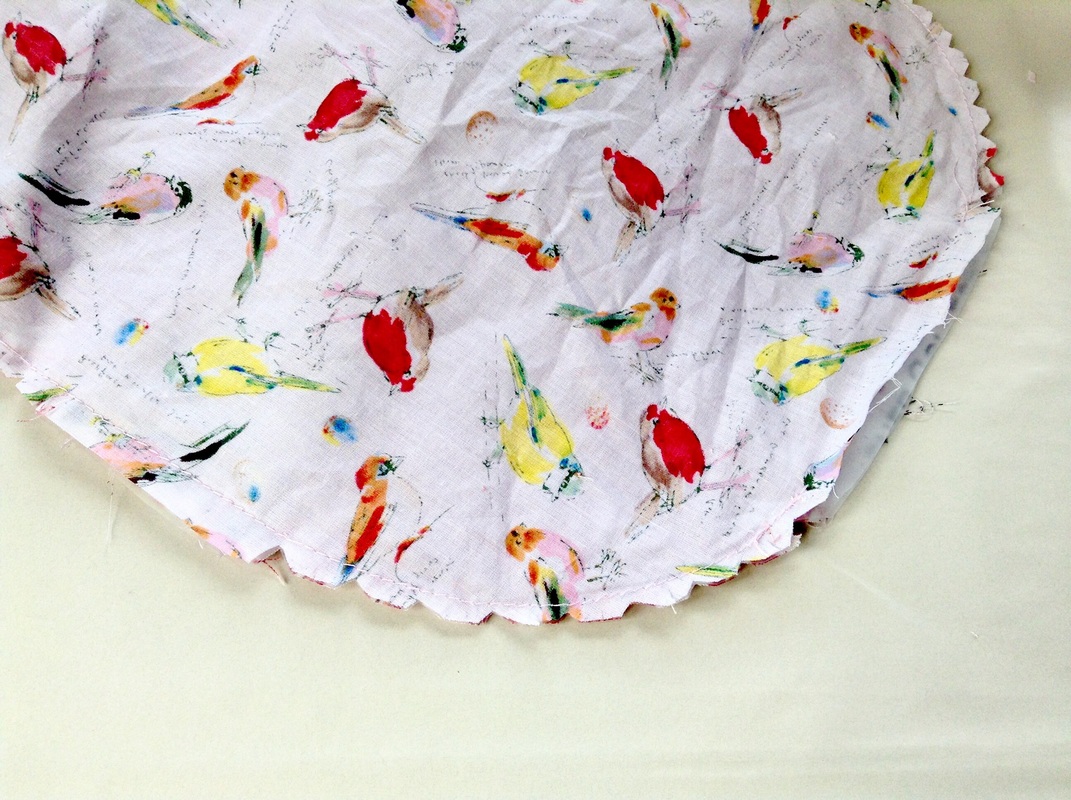
Then I clipped along the curved edge, this will make the hood sit nice and smooth. No bulk.
 |  |
Next I left the bird hood as is - inside out with good sides facing in - and turned the feather hood good side out. Then placed the feather hood inside the bird hood.
You basically want vinyl side to vinyl side.
Om nom nom
You basically want vinyl side to vinyl side.
Om nom nom
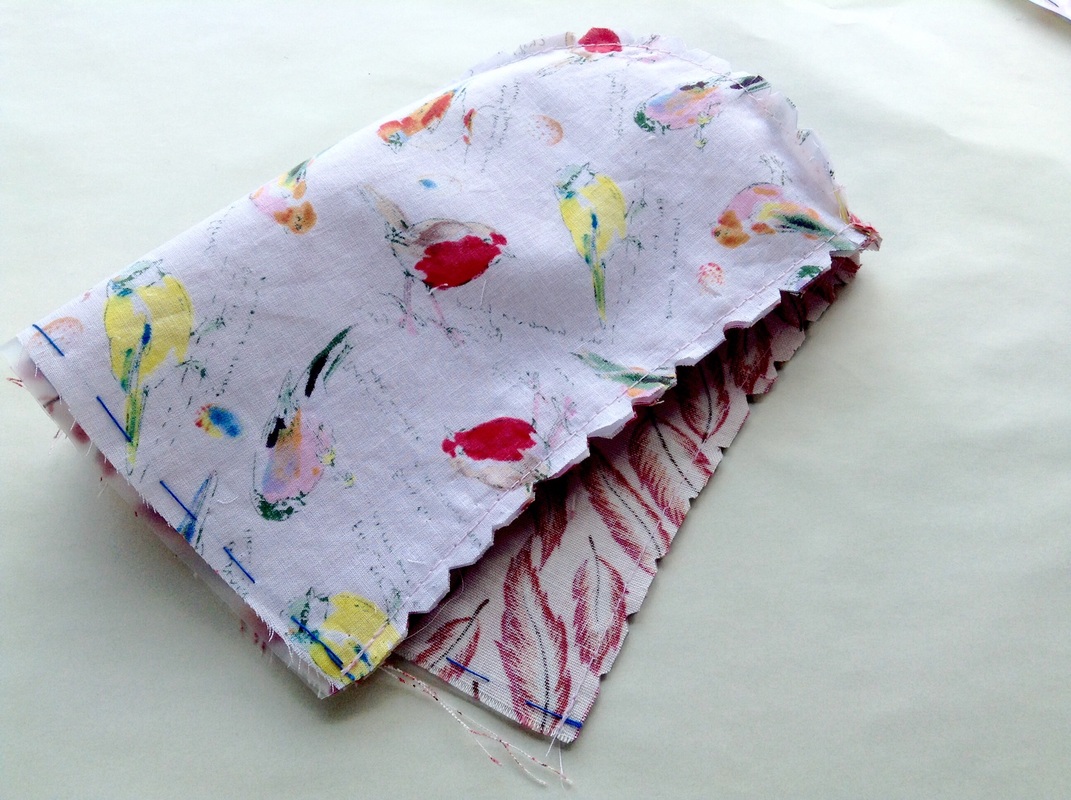
Next I pinned and sewed the front of the hood. (Leave the bottom open) I trimmed and clipped along the curved edge.
.
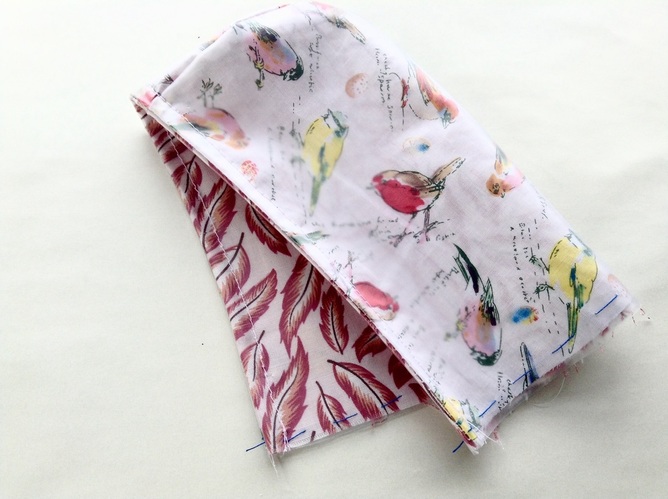
I turned the hood good side out and top stitched along the front edge.

Lastly for the hood.
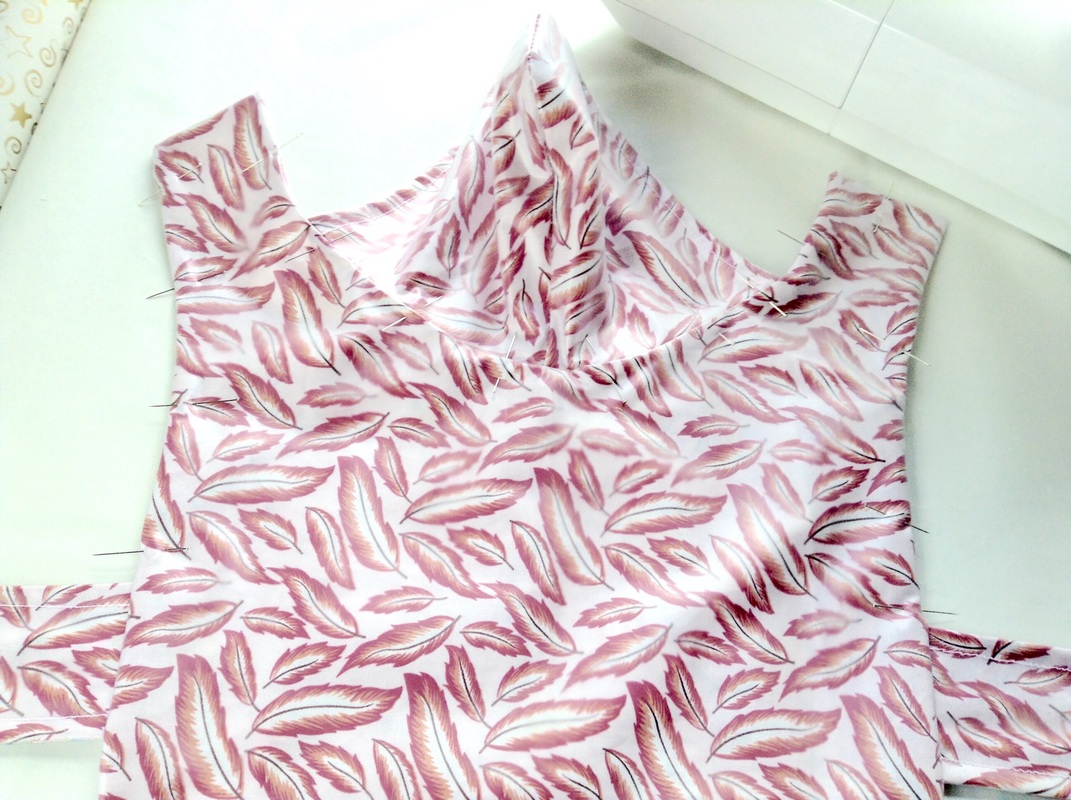
I pinned the hood to the body .(matching the bird side of the hood to the bird side of the body)
I lined up the centre seam of the hood to the centre line of the body.
Once happy with the placement I hand tacked the hood into place.
I pinned the hood to the body .(matching the bird side of the hood to the bird side of the body)
I lined up the centre seam of the hood to the centre line of the body.
Once happy with the placement I hand tacked the hood into place.
I pinned and sewed the two body pieces, leaving an opening at the bottom.
I clipped and trimmed the curved edges before turning the coat good side out.
 | 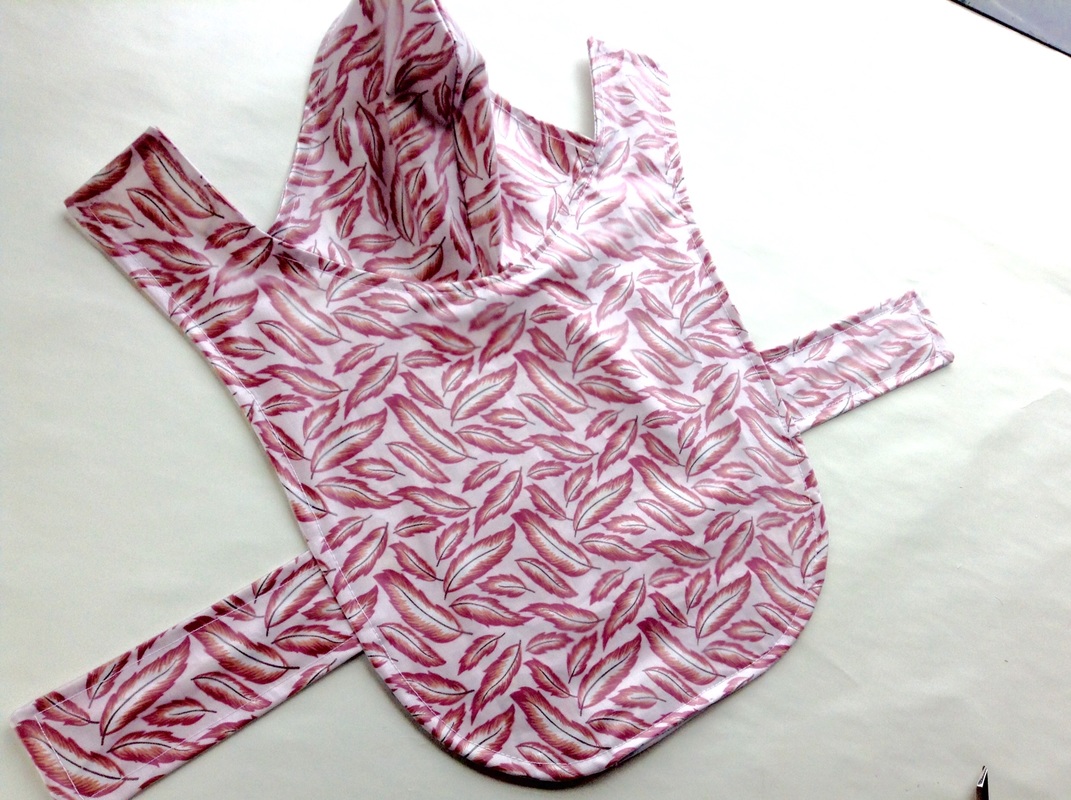 |
Lastly I top stitched round the body of the coat. This will close up the opening left in the body. And sewed Velcro to the body and neck straps.
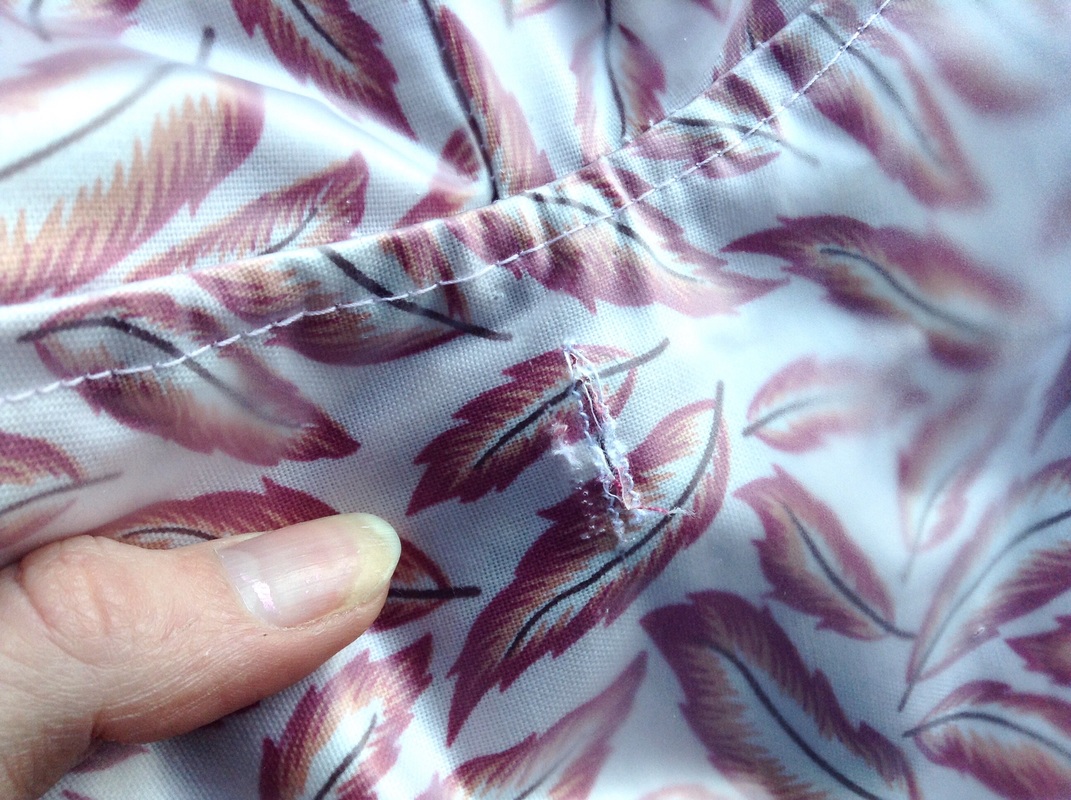
These coats are really great for walking your dog in the rain but with the hood up there's no way to attatchment a lead so what I've done is sewn a small buttonhole at the base of collar to allow for a lead to clip onto the collar.
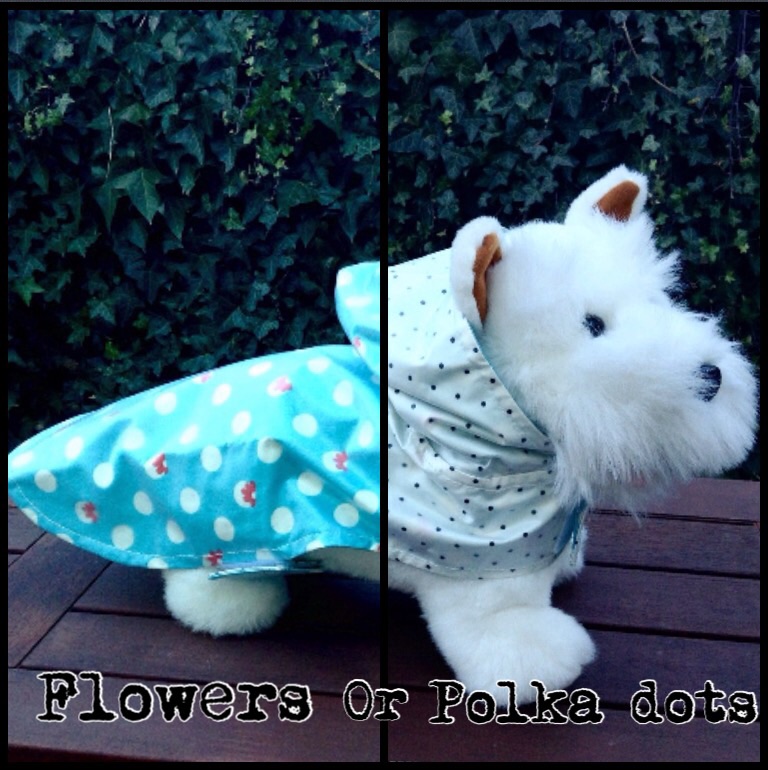
You can mix up all sorts of colours and patterns.
 RSS Feed
