DIY Polymer Clay Candle
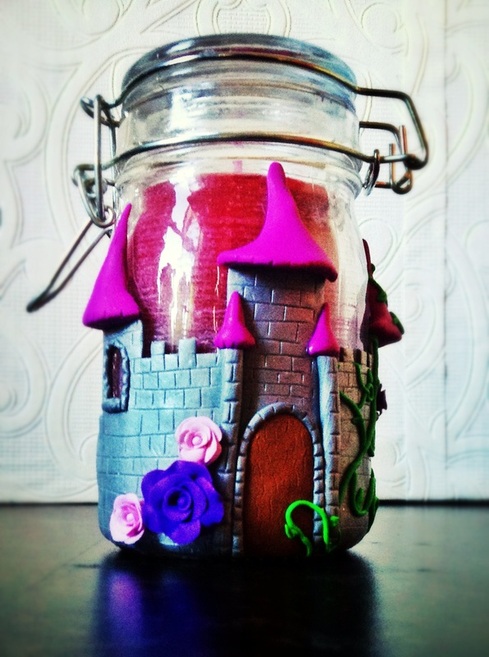
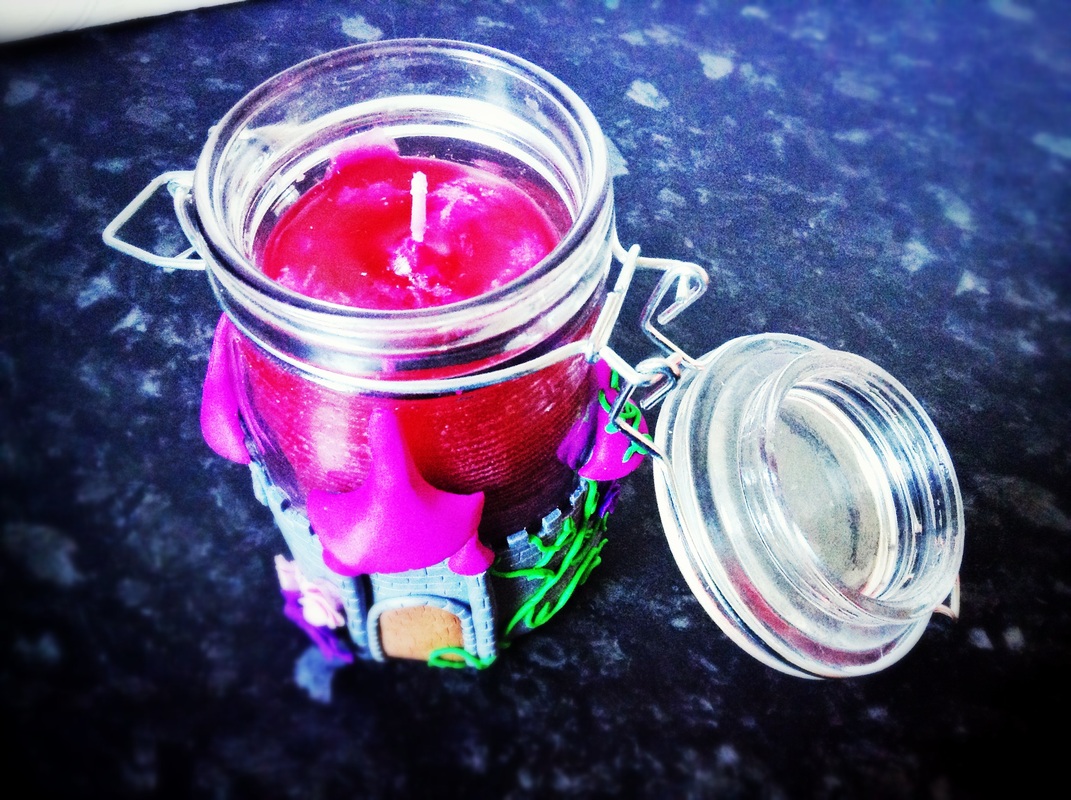
A glass jar wrapped in polymer clay and filled with a candle.
I have made a few of these candles. They make great birthday presents as they can be easily tailored to each persons tastes.
Its a relatively cheap and easy gift to make. They can take anywhere from 1 hour to a day to make.
You do not need to have any specific candle making kit to make this. The candle can be made using bees wax/ store bought wax melts/ soy melts/ old crayons or by simply melting a candle.
YOU Will Need:
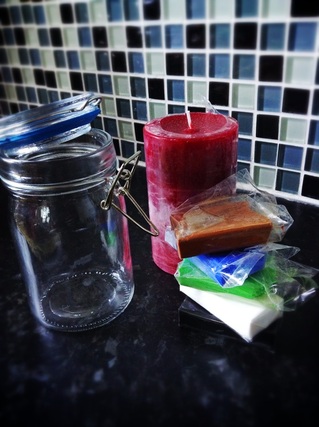
+ A glass jar
+ Polymer clay (I use fimo and
Du-kit)
+ Sculpting equipment (I used a pin, a skewer, and a craft knife)
+ A candle or wax melts and a wick.
+ Essential oil (if desired)
+ Polymer clay (I use fimo and
Du-kit)
+ Sculpting equipment (I used a pin, a skewer, and a craft knife)
+ A candle or wax melts and a wick.
+ Essential oil (if desired)
Method
One
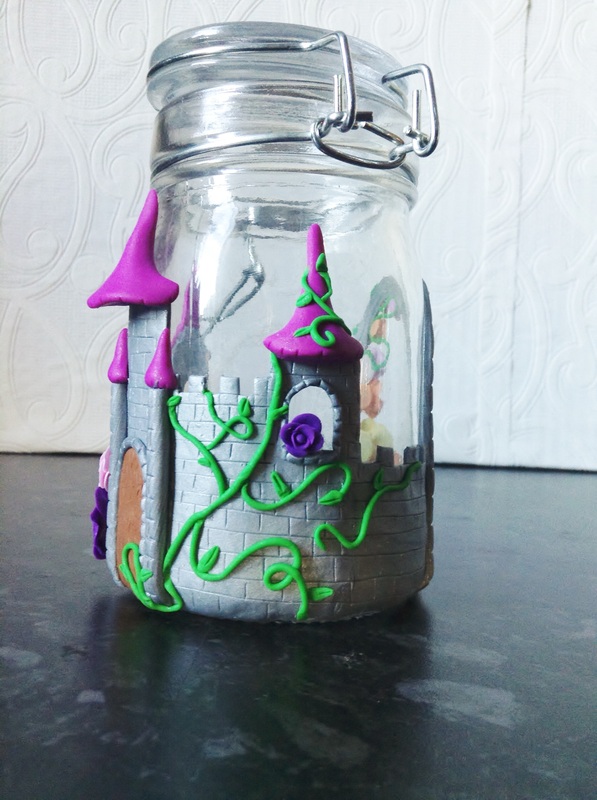
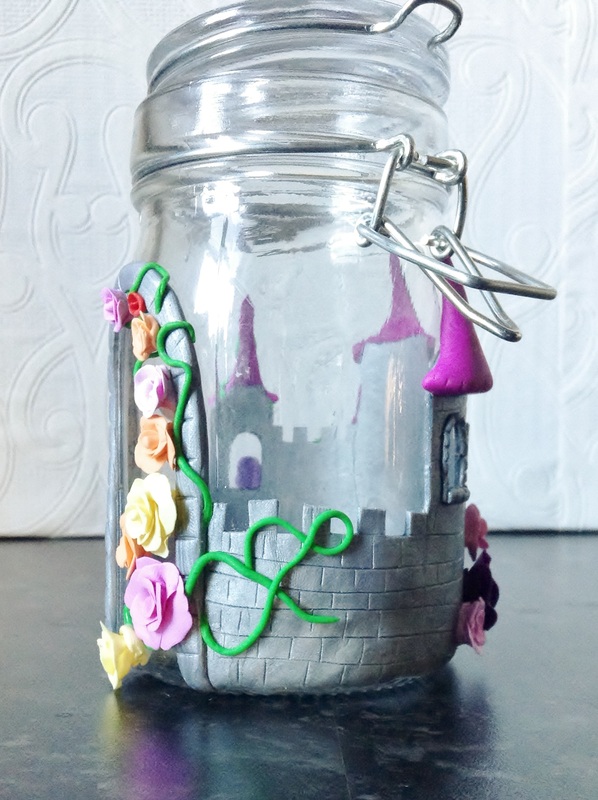
Play around with the clay, sculpt some things and play around with the composition of the jar.
The great thing about polymer clay is that it doesn't dry out so you can spend as much time on this as you like.
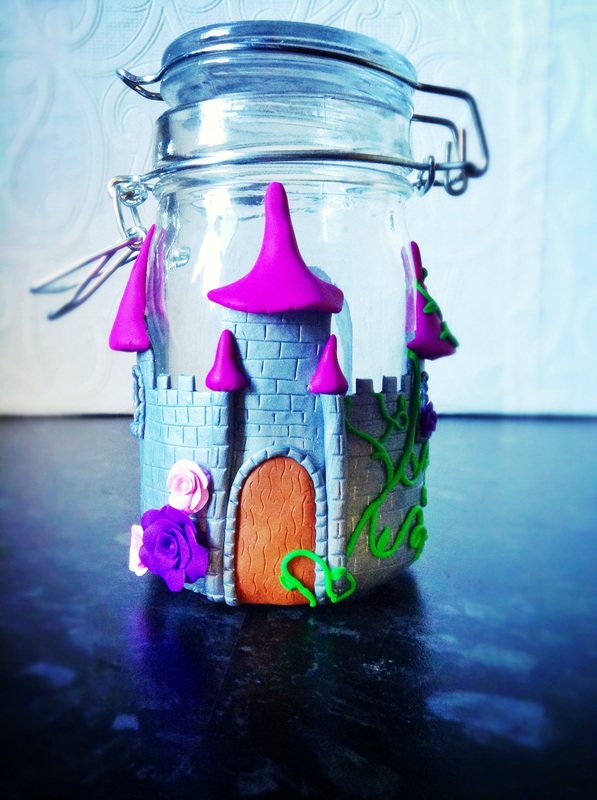
For this candle I made a castle, using the jar as a rolling pin to roll out the clay.
*TIP* - A large surface area of clay is better than a small surface area. In this case more is better. Small bits of clay will fall off of the glass.
The great thing about polymer clay is that it doesn't dry out so you can spend as much time on this as you like.
For this candle I made a castle, using the jar as a rolling pin to roll out the clay.
*TIP* - A large surface area of clay is better than a small surface area. In this case more is better. Small bits of clay will fall off of the glass.
Two
Bake.
Once satisfied with your sculpt bake the jar, following the instructions provided with the clay . I baked mine at 110 degrees Celsius for 30 minutes.
I preheated my oven before adding in the sculpted glass, if you are worried about the glass cracking you can put the sculpted glass into a cold oven and heat from there. I have tried it both ways and they both work.
Three

Melting the wax.
As stated above you can use a variety of things for the wax - store bought wax or soy melts (many craft stores sell candle making sets), beeswax (This will come out yellow and smell heavily of wax. It may also attract a lot of bees when melted), old crayons (I remember doing that is school), or a candle.
I melt down an old candle not only is it cheaper than buying wax melts, you also get the added benefit that it comes with a wick, and comes any colour or scent that you could want.
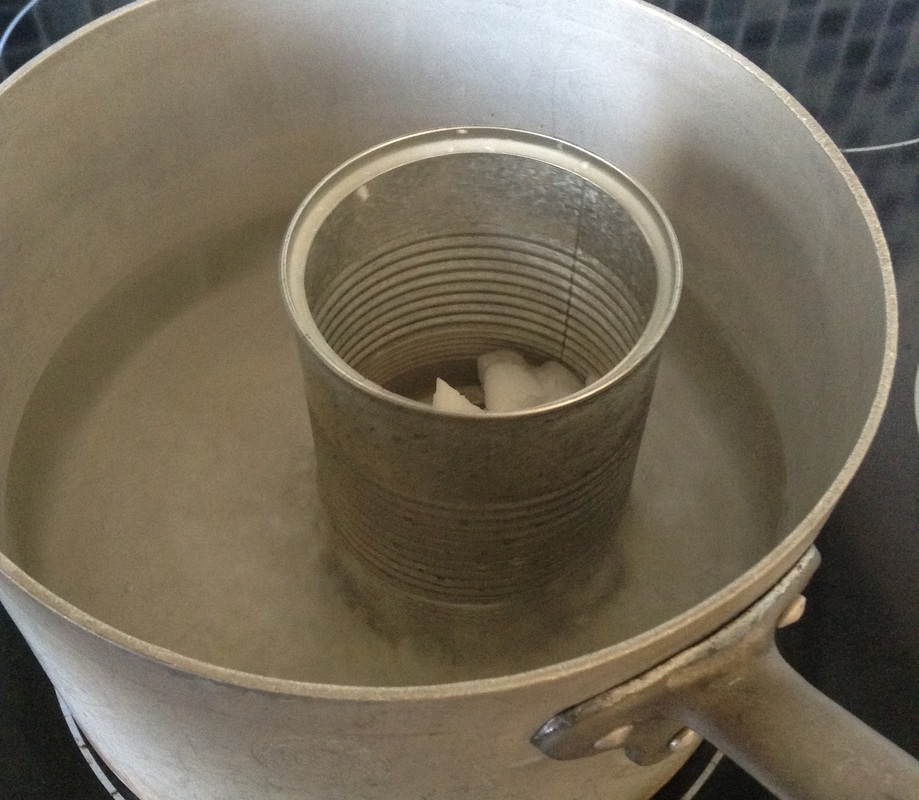
You can melt your wax in a saucepan but this means destroying a perfectly good saucepan, no matter how hard you try you will never be able to wash out all the wax from the inside of the pan.
So instead of melting the wax in a saucepan I place the wax into a tin (wash tin out and remove food label first) Then I place the tin and small amount of water into a saucepan, bringing the water to a simmer on medium-high heat. The water will bubble around the tin, making the wax melt much faster.
Once the wax has melted you can add few drops of essential oils, if desired.
A note on the wick - If you are in a pinch and can't find a wick (Hardest thing to find in a craft store, they sell the wax but not the wick!!), you can use string or twine that is made out of a natural fibre - that means don't use that blue string Bridget Jones uses to make blue soup, that string can't make soup or candles. Just soak the string in melted wax, then follow instructions as usual.
Thin wooden strips can also be used as a makeshift wicks.
Wool might work but I have never tried it so I'm not 100% sure.
*TIP* -You can't get the damn wick out of the candle you wish melt? Never fear! Simply tie a piece of string to the end of a safety pin, the attach the safety pin to the wick of your candle. When the wax has melted pull on the string and remove the wick from that hot melty wax.
*TIP* - The wax will melt much faster if you break it up into smaller pieces. Either use a knife you are not particularly attached to or a hammer to break the wax up.
As stated above you can use a variety of things for the wax - store bought wax or soy melts (many craft stores sell candle making sets), beeswax (This will come out yellow and smell heavily of wax. It may also attract a lot of bees when melted), old crayons (I remember doing that is school), or a candle.
I melt down an old candle not only is it cheaper than buying wax melts, you also get the added benefit that it comes with a wick, and comes any colour or scent that you could want.
You can melt your wax in a saucepan but this means destroying a perfectly good saucepan, no matter how hard you try you will never be able to wash out all the wax from the inside of the pan.
So instead of melting the wax in a saucepan I place the wax into a tin (wash tin out and remove food label first) Then I place the tin and small amount of water into a saucepan, bringing the water to a simmer on medium-high heat. The water will bubble around the tin, making the wax melt much faster.
Once the wax has melted you can add few drops of essential oils, if desired.
A note on the wick - If you are in a pinch and can't find a wick (Hardest thing to find in a craft store, they sell the wax but not the wick!!), you can use string or twine that is made out of a natural fibre - that means don't use that blue string Bridget Jones uses to make blue soup, that string can't make soup or candles. Just soak the string in melted wax, then follow instructions as usual.
Thin wooden strips can also be used as a makeshift wicks.
Wool might work but I have never tried it so I'm not 100% sure.
*TIP* -You can't get the damn wick out of the candle you wish melt? Never fear! Simply tie a piece of string to the end of a safety pin, the attach the safety pin to the wick of your candle. When the wax has melted pull on the string and remove the wick from that hot melty wax.
*TIP* - The wax will melt much faster if you break it up into smaller pieces. Either use a knife you are not particularly attached to or a hammer to break the wax up.
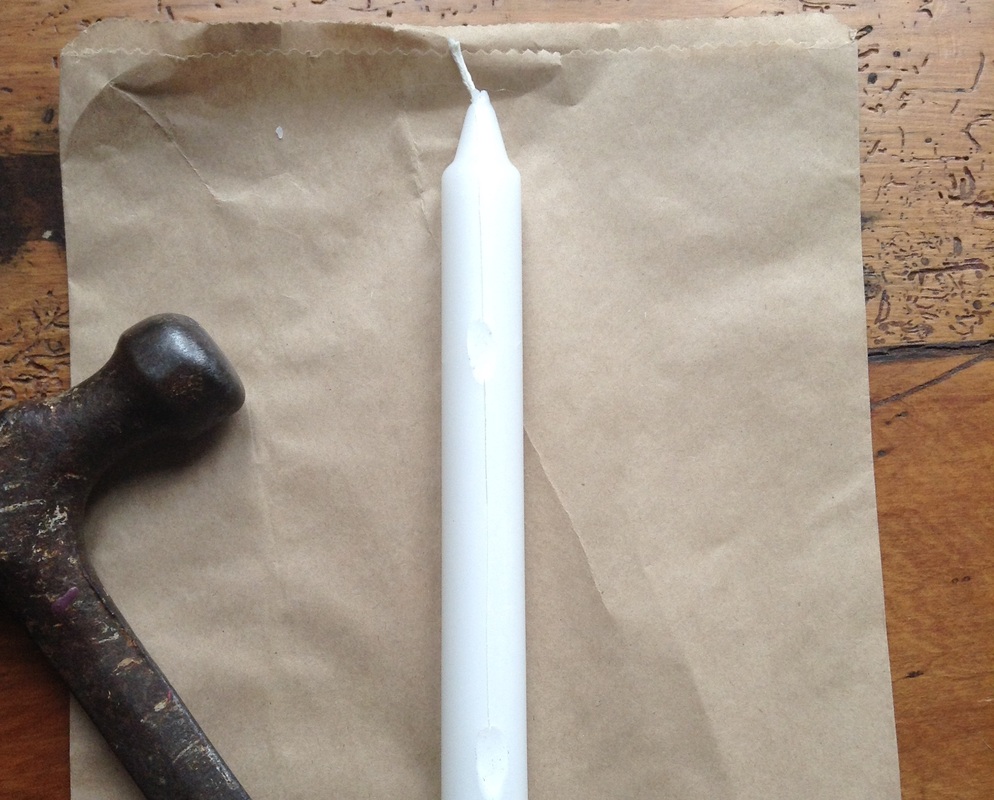
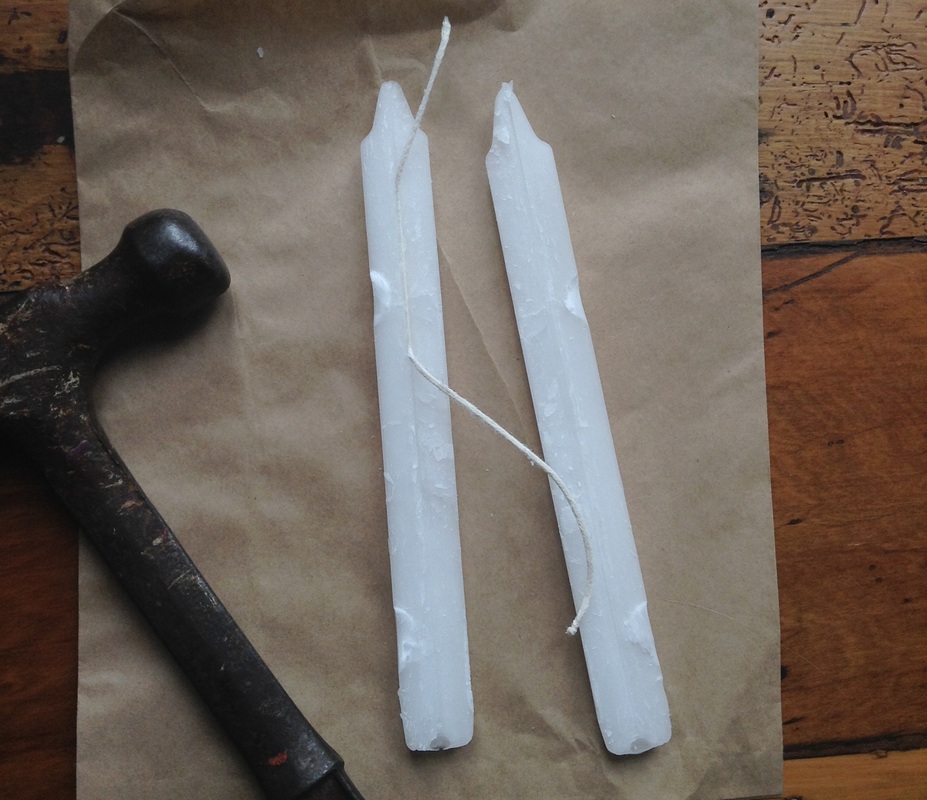
EXTRA FUN TIP*** - Long candles as shown above will split neatly down the middle if each end is tapped with hammer, making it super easy to remove the wick from these candles. How you remove the wick all depends on what sort of candle you wish to remove it from but I hope that tip is helpful.
Four
Pour melted wax into jar.
I cover the entire outside of the jar in tinfoil/baking paper - just in case of overspill. You do not want to ruin your carefully crafted clay sculpture by pouring wax all over it.
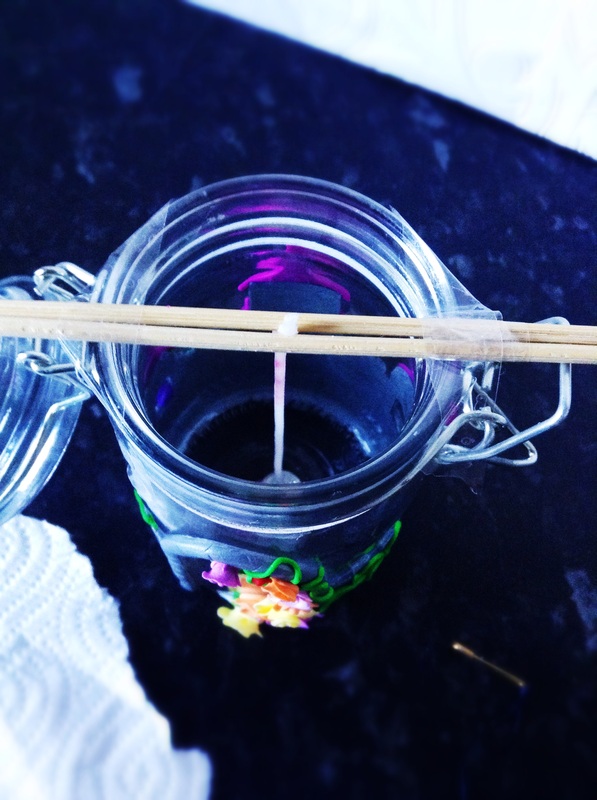
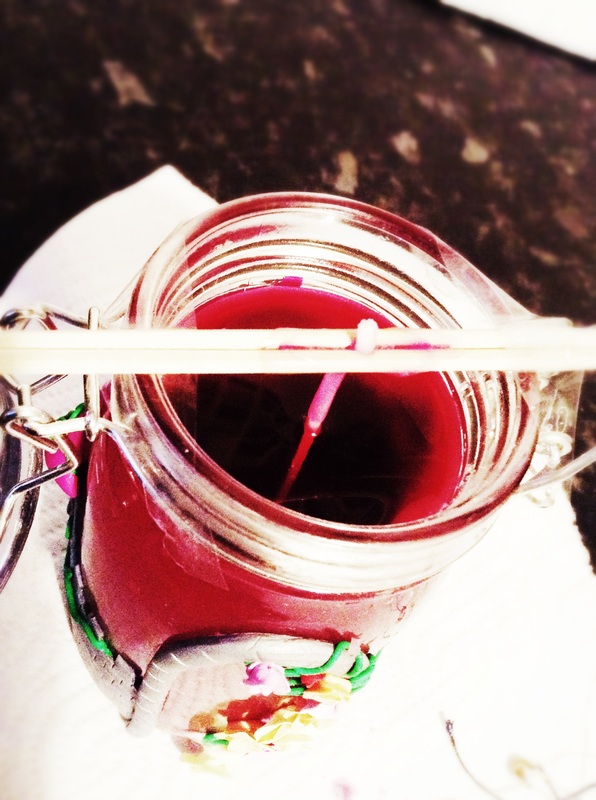
Carefully pour the melted wax into the jar. Leave to set. Once the wax has completely set snip the wick.
*TIP - Tape the wick to a skewer to keep it in place.
*TIP - Set some melted wax aside. I find that as the wax sets it tends to sink/collapse in the centre a little. If this does happen simply melt the leftover wax and fill in the sinkhole.
*TIP* - Need the wax to set now!? Placing the candle into the fridge or freezer will help the wax to cool and set faster.
I cover the entire outside of the jar in tinfoil/baking paper - just in case of overspill. You do not want to ruin your carefully crafted clay sculpture by pouring wax all over it.
Carefully pour the melted wax into the jar. Leave to set. Once the wax has completely set snip the wick.
*TIP - Tape the wick to a skewer to keep it in place.
*TIP - Set some melted wax aside. I find that as the wax sets it tends to sink/collapse in the centre a little. If this does happen simply melt the leftover wax and fill in the sinkhole.
*TIP* - Need the wax to set now!? Placing the candle into the fridge or freezer will help the wax to cool and set faster.
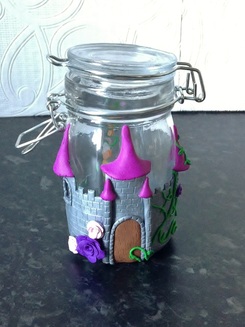
This was a birthday present for friend, that very narrowly, avoided having skulls added to it.
 RSS Feed
